Single Sign-On(SSO) with OAuth 2.0 authentication in Bold Reports®
The Bold Reports® application can be configured to support OAuth 2.0 for Single Sign-On(SSO), allowing users to log in directly to the Bold Reports® application after authenticating using OAuth 2.0.
Prerequisites
-
An account with an OAuth 2.0 provider is required.
-
Register the Bold Reports® application with the OAuth 2.0 provider.
Steps to configure OAuth 2.0 in Bold Reports®
-
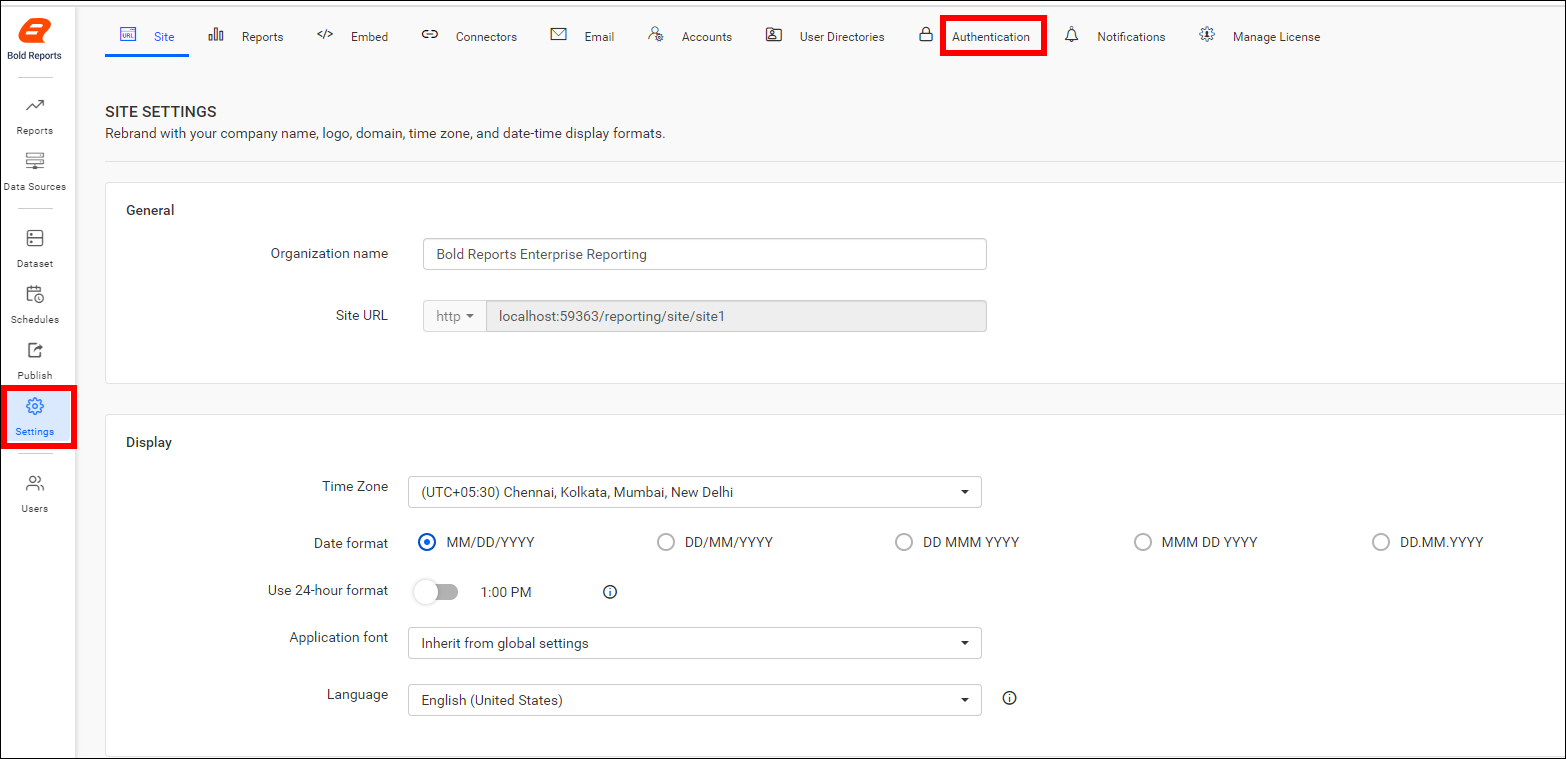
Log in to Bold Reports® with the admin credentials and click on the
Settingsoption in the Report Server left-side panel. -
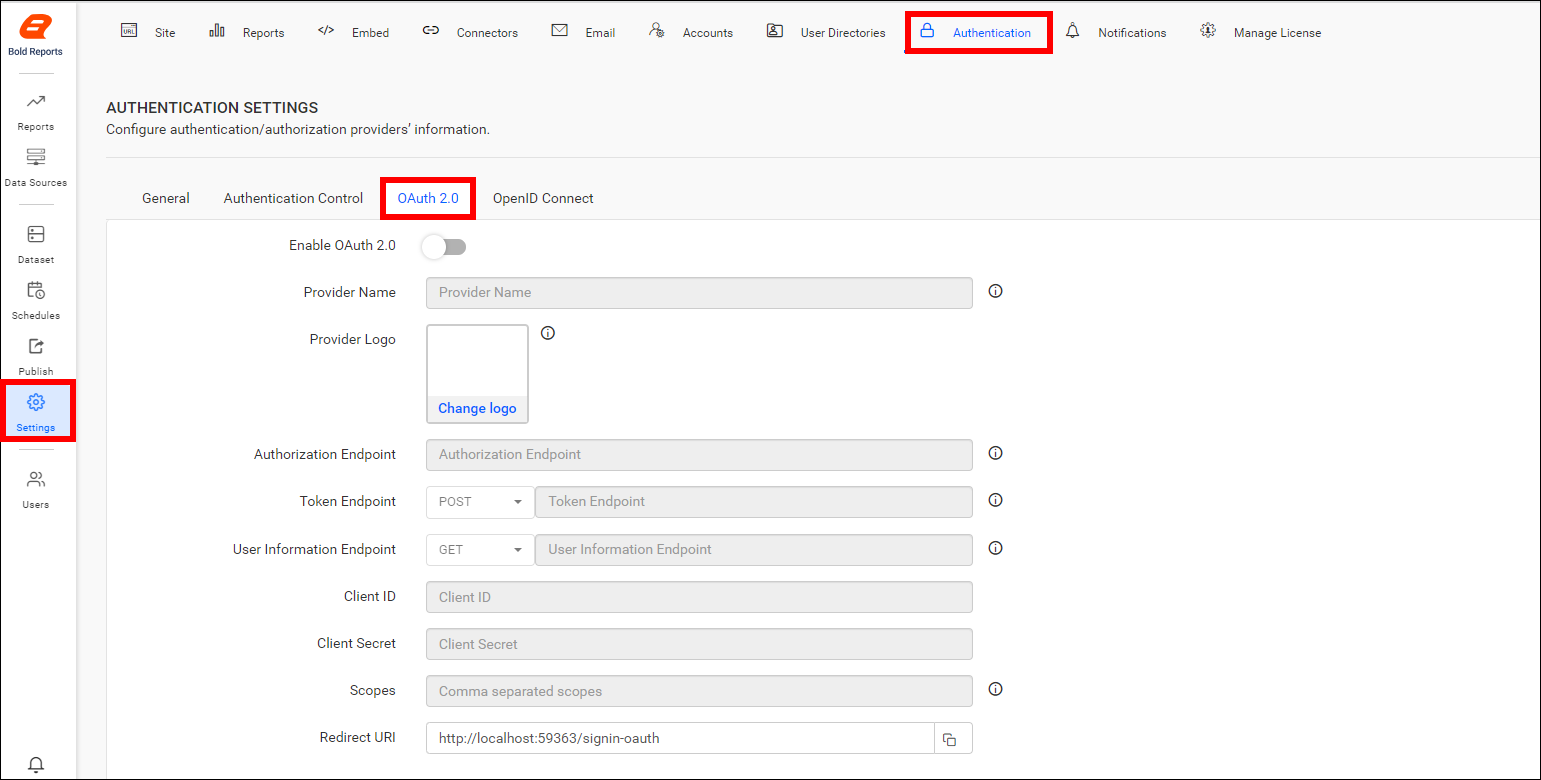
Navigate to the Authentication tab and select OAuth 2.0 as shown in the following image
-
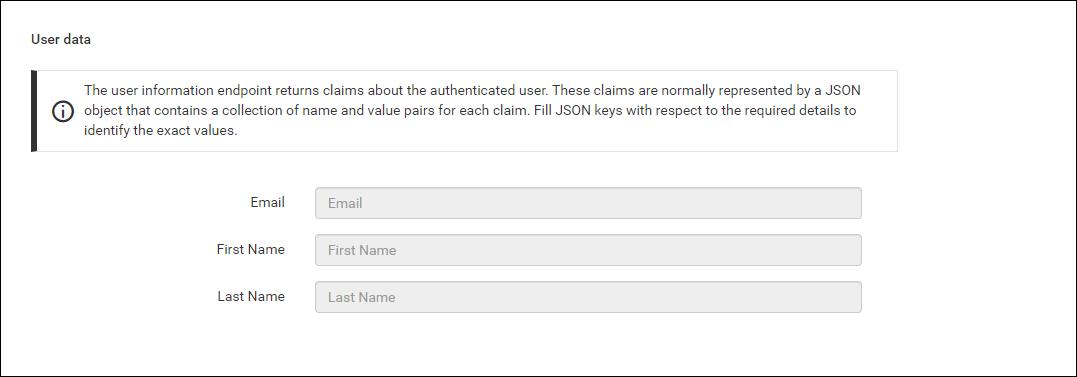
Provide the following details in the OAuth 2.0 settings of the Bold Reports® application.
| Provider Name | It represents the name of the authentication provider to be displayed on the login page. |
| Provider Logo | It represents the logo of the authentication provider to be displayed on the login page. |
| Authorization Endpoint | This is the endpoint in the provider used to authorize the user. |
| Token Endpoint Method | It represents the request type to access the token endpoint. |
| Token Endpoint | It is the endpoint in the provider responsible for generating the token. |
| User Information Endpoint Method | It is the endpoint in the provider used to retrieve the user details. |
| User Information Endpoint | It represents the request type used to access the user information endpoint. |
| Client ID | It is a unique identifier provided to each application during registration with the providers. |
| Client Secret | It is a secret key used to authorize the applications. |
| Scopes | It is a comma-separated list of identifiers that specifies the access privileges being requested from the provider. |
| This shoul be the email address of an admin account of the provider. |
The previously mentioned similar steps are applicable to configure OAuth 2.0 in the User Management Server by logging into the URL {Bold Reports<sup>®</sup> URL}/ums/administration/authentication with admin credential.
Here is a list of several OAuth 2.0 providers, along with explanations of how to connect them to the Bold Reports® application.
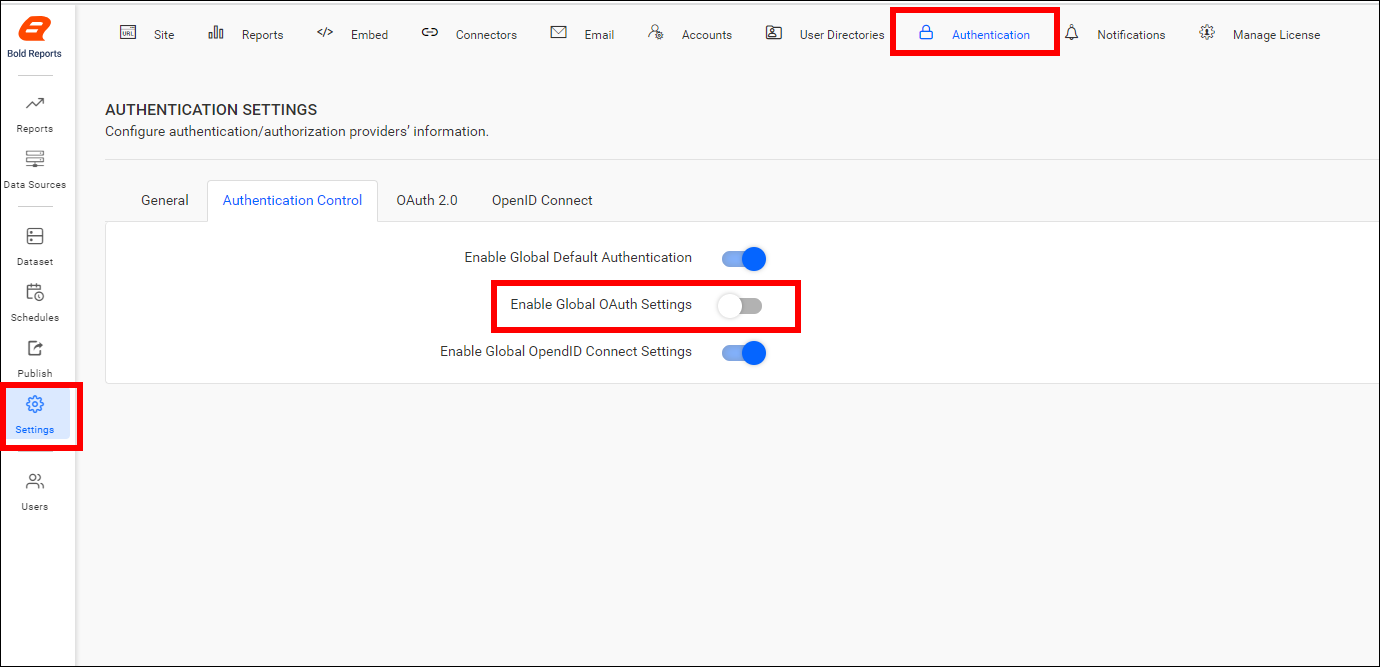
OAuth 2.0 functionality is available in both Bold Reports® sites and the User Management Server. It can be managed for each site individually on the settings page by disabling the option, as illustrated in the following screenshot.
Set OAuth 2.0 as Default Authentication
OAuth 2.0 can be set as the default authentication method when OAuth 2.0 settings is enabled and saved. Follow the below steps.
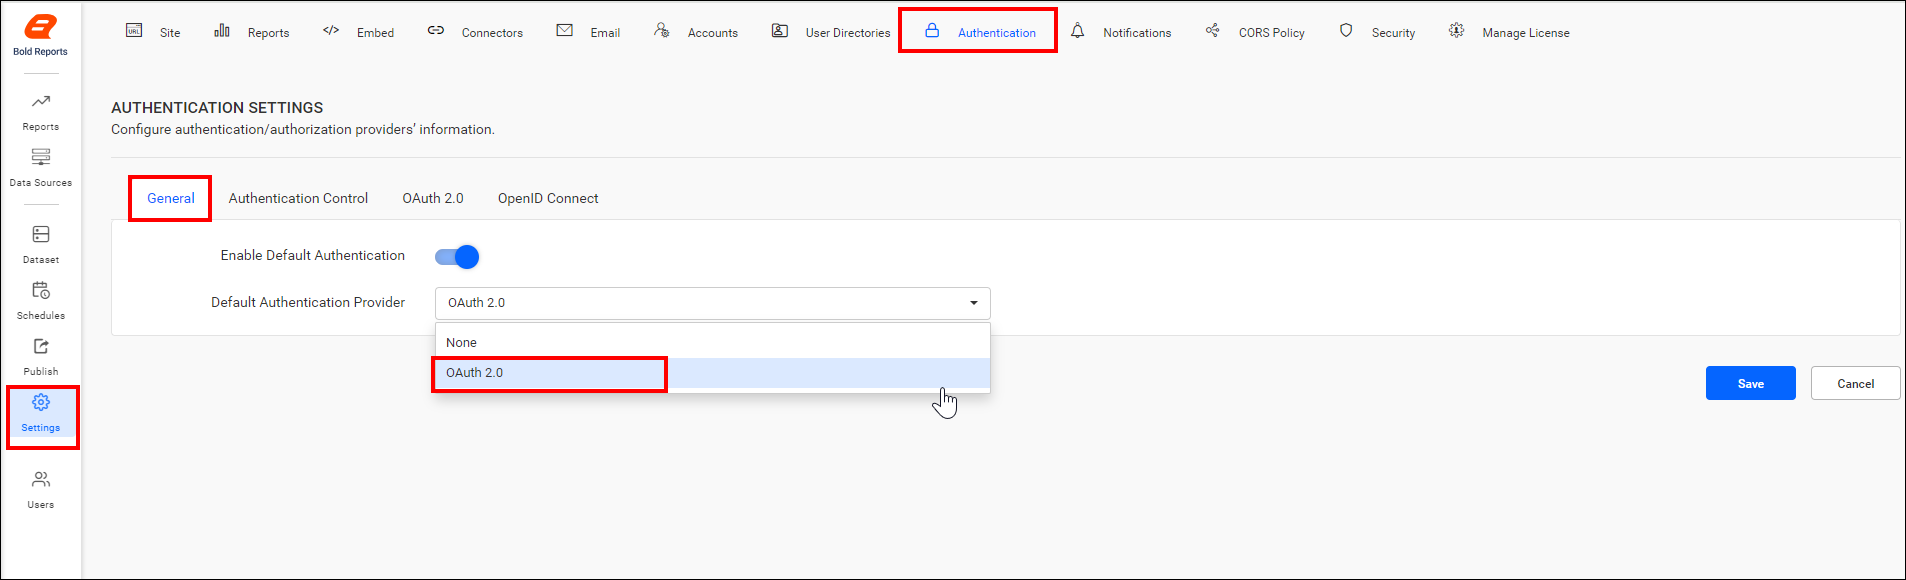
- On the settings page, click on the Authentication tab and select General.
- Enable the option Enable Default Authentication and select OAuth 2.0 as the default authentication provider, as shown in the following screenshot.
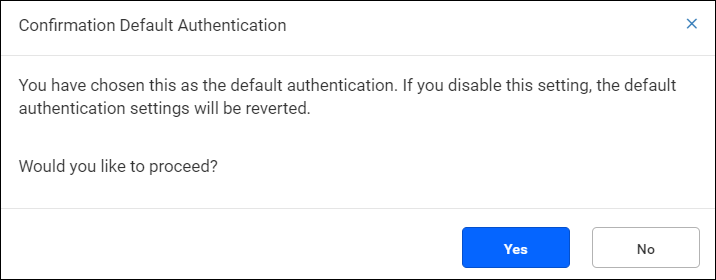
Disabling OAuth 2.0 Settings
When OAuth 2.0 is set as default authentication and try to disable the OAuth 2.0 settings will display below pop-up. Proceeding by clicking Yes will disable the OAuth 2.0 default authentication.
Bypassing OAuth 2.0 Authentication
Use the following custom login URL to log in as a normal user who is not using OAuth, when OAuth 2.0 default authentication is enabled.
{Bold Reports<sup>®</sup> URL}/reporting/site/{tenant-name}/login?use_default_authentication=false