Display SSRS RDL report in WPF .NET Core app using Report Viewer
Create your first WPF .NET Core reporting application to display an already created SSRS RDL report in the WPF Report Viewer without using a Report Server, using this step-by-step instruction.
To get start quickly with Report Viewer, you can check on this video:
Create the application project
-
Start Visual Studio 2022 and click Create new project.
-
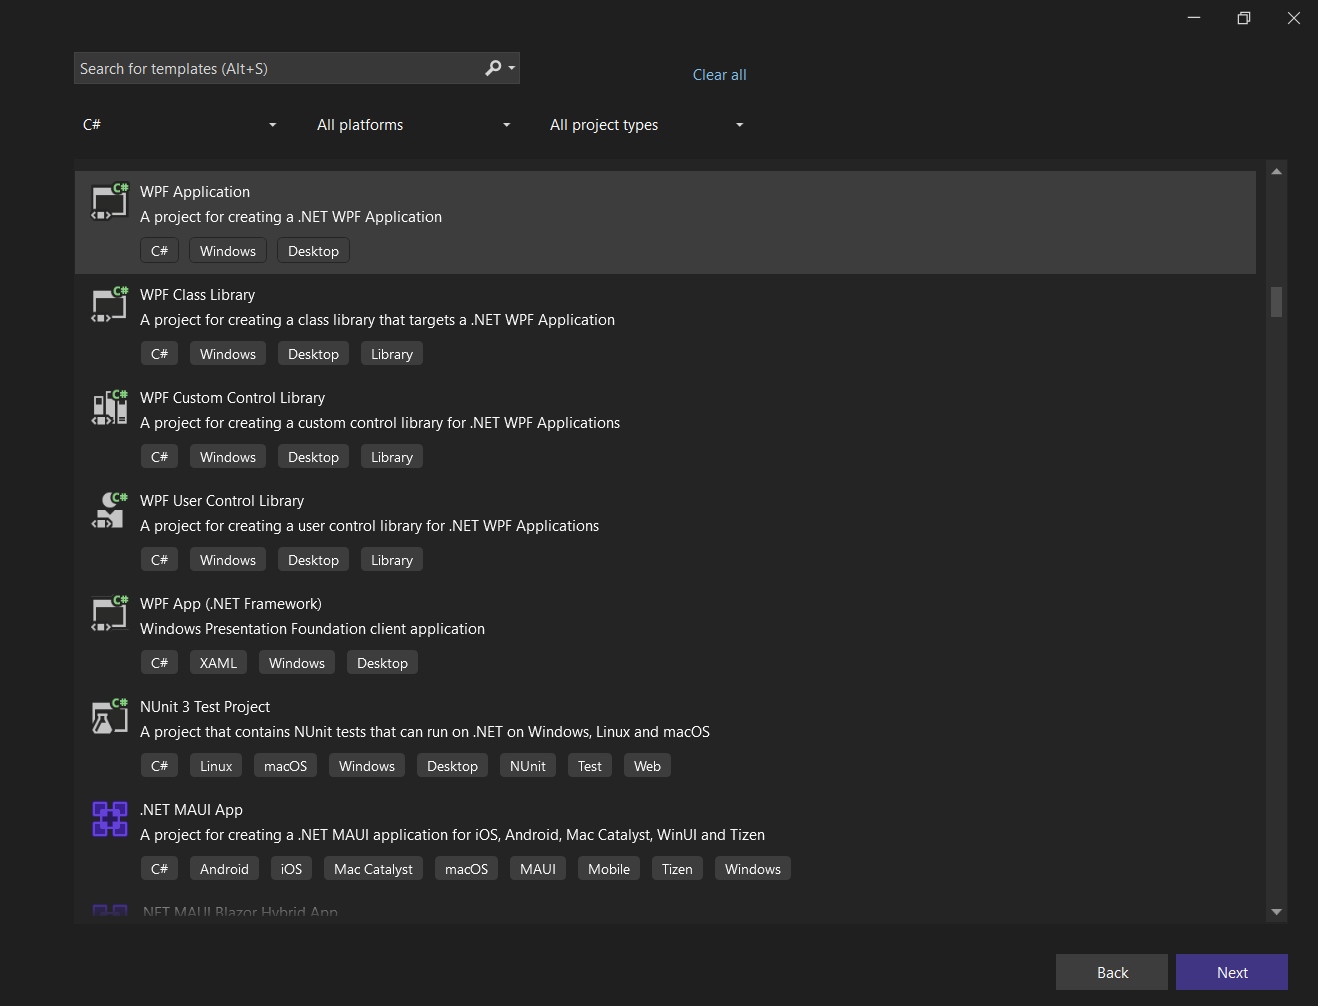
Select WPF Application, and then choose Next.
-
Change the project name, and then click Next.
-
Select .NET 8.0 or .NET 9.0, and then click Create.

Starting with Bold Reports® version 8.1.1, support for .NET Core versions lower than .NET 8.0 (including .NET Core 3.1, .NET 5.0, .NET 6.0, and .NET 7.0) has officially ended, with only limited support available for these versions. To continue receiving new features, improvements, and full support, upgrade to .NET 8.0 or later. If you need to stay on an earlier .NET version, use Bold Reports® version 7.1.10 or earlier.
Configure Report Viewer in an application
-
Right-click the project or solution on the Solution Explorer tab and choose Manage NuGet Packages. Alternatively, select Tools > NuGet Package Manager > Manage NuGet Packages for Solution.
Refer to the NuGet Packages to learn more details about installing and configuring Report Viewer NuGet packages.
-
Search for
BoldReports.WpfNuGet package and install them in your WPF application.Package Purpose BoldReports.WpfContains WPF Reporting controls (Report Viewer and Report Writer) to preview and export the reports.
Initialize Report Viewer
-
Import the Report Viewer namespace as shown below in the
MainWindow.xamlfile,xmlns:syncfusion="clr-namespace:BoldReports.UI.Xaml;assembly=BoldReports.Wpf" -
Initialize the Report Viewer component inside the
<Grid>tag as shown below in theMainWindow.xamlfile,<Window ..... ..... ..... ..... xmlns:syncfusion="clr-namespace:BoldReports.UI.Xaml;assembly=BoldReports.Wpf" ..... .....> <Grid> <syncfusion:ReportViewer Name="reportViewer" /> </Grid> </Window>
Add already created reports
The Report Viewer is only for rendering reports. You must use a report generation tool to create a report. To learn more about this, refer to the create RDL report section.
-
Create a folder
Resourcesin your application to store the RDL reports. -
Add already created reports to the newly created folder.
In this tutorial, the
sales-order-detail.rdlreport is used, and it can be downloaded at this link. You can add the reports from the Syncfusion® installation location. For more information, refer to the samples and demos section. -
Set the
Build Actionto content andCopy to Output Directoryto either Copy always or Copy if newer.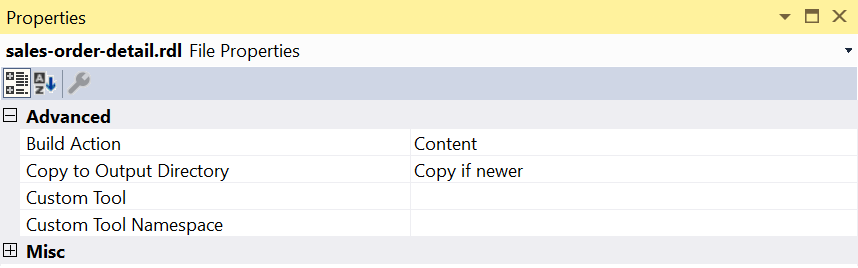
Set report path
-
Open the
MainWindow.xaml.csfile. -
Initialize the window loaded event inside the
MainWindow()constructor.public MainWindow() { InitializeComponent(); this.Loaded += new RoutedEventHandler(MainWindow_Loaded); } private void MainWindow_Loaded(object sender, RoutedEventArgs e) { } -
Set the
ReportPathproperty in theMainWindow_Loadedevent and invoke theRefreshReport()method to render the report. -
You can replace the following code in your
MainWindow_Loadedevent method.private void MainWindow_Loaded(object sender, RoutedEventArgs e) { this.reportViewer.ReportPath = System.IO.Path.Combine(Environment.CurrentDirectory, @"Resources\sales-order-detail.rdl"); this.reportViewer.RefreshReport(); }
Preview the report
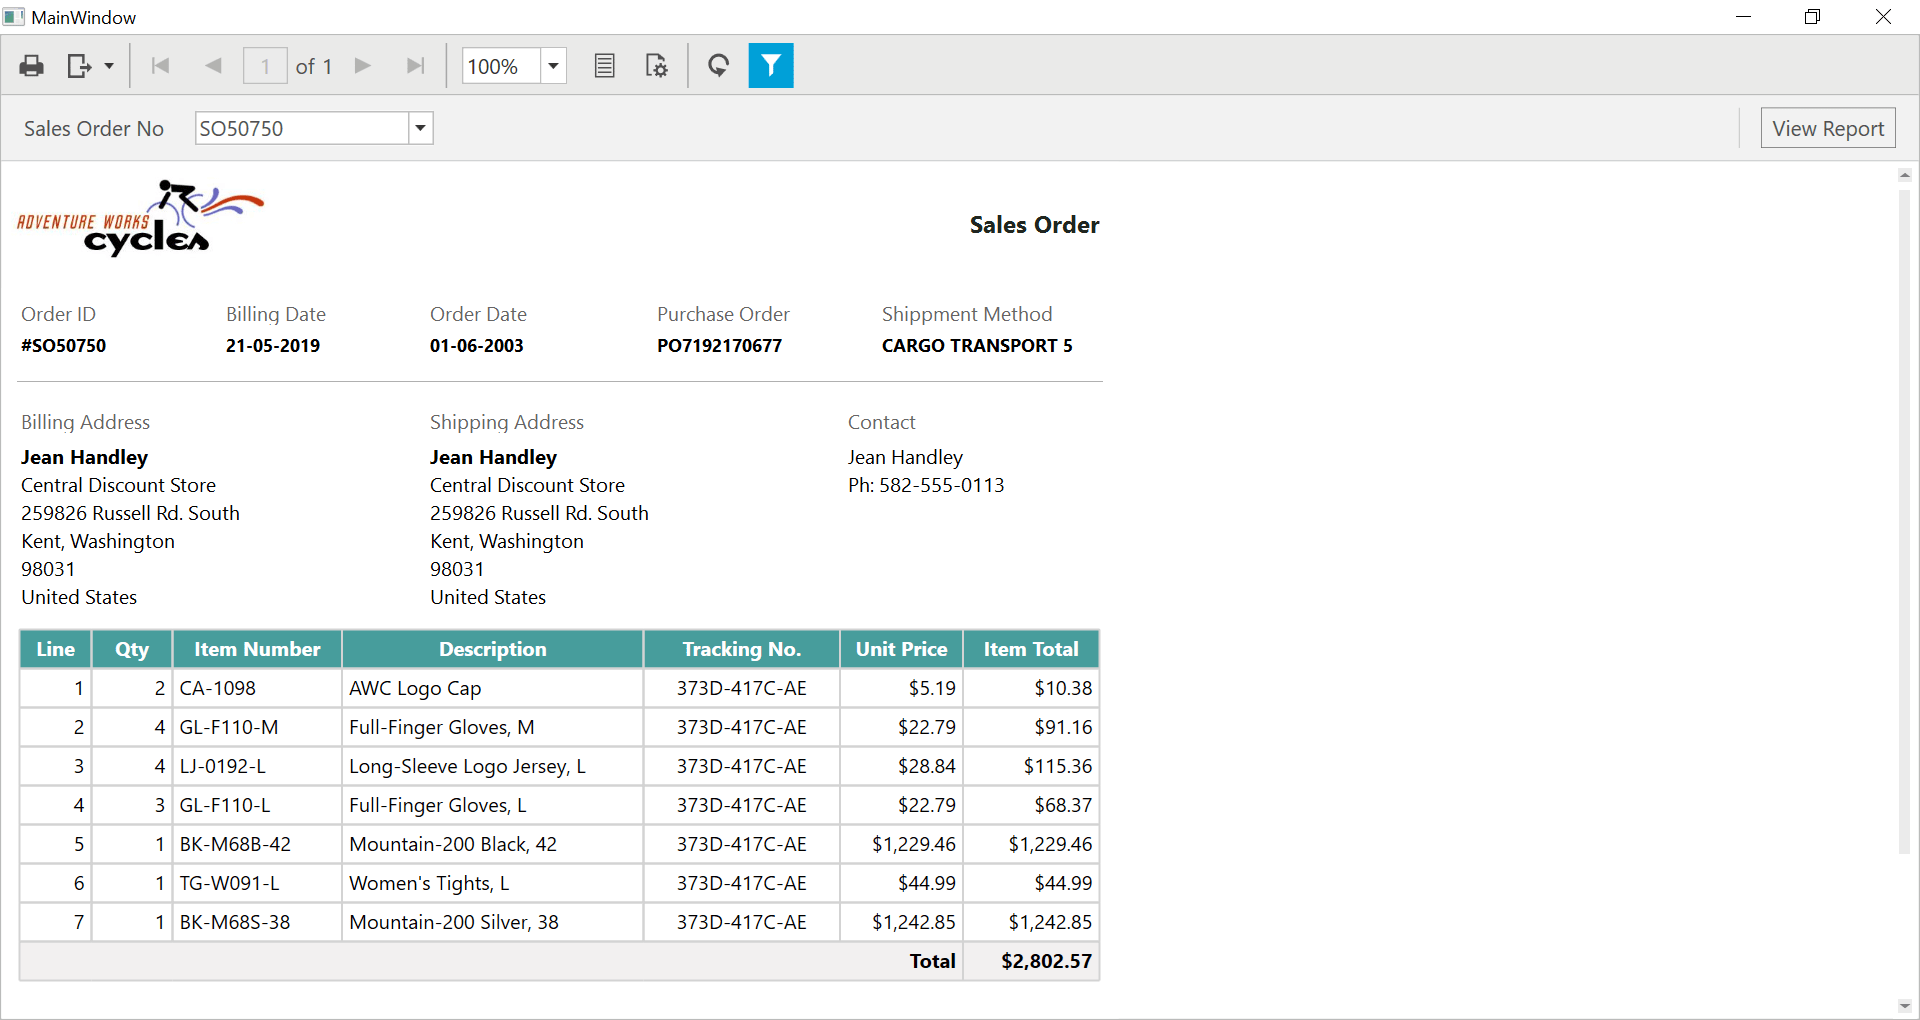
Build and run the application to view the report output in the Report Viewer as displayed in the following screenshot.