Create a RDLC report using business object data source
This section describes step by step procedure to create an RDLC report using Visual Studio Reporting project type.
Prerequisites
- Microsoft Visual Studio 2017 or higher
- Microsoft RDLC Report Designer
If you are using Microsoft Visual Studio lower to 2017 version then you should update SSDT with the Business Intelligence templates. Refer to Download SQL Server Data Tools.
Create business object class
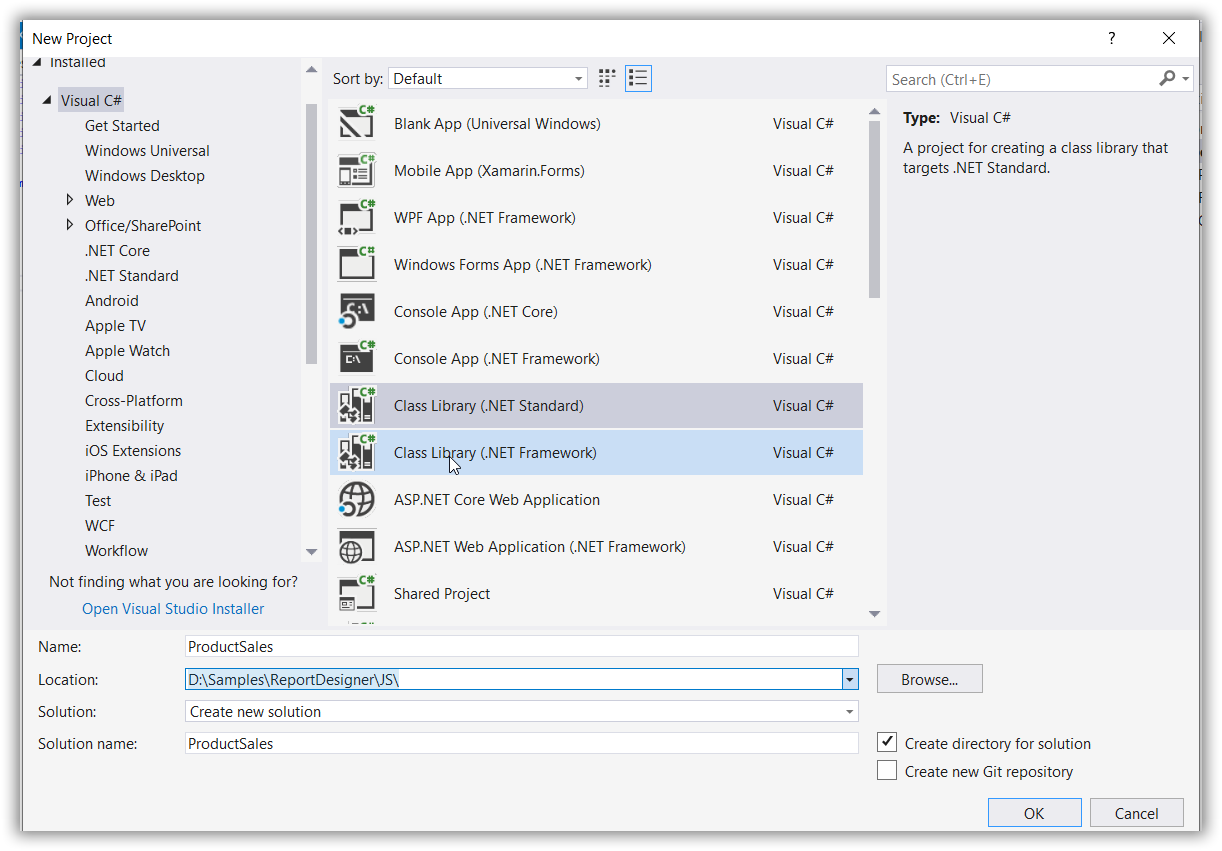
- Open Visual Studio from the File menu and select New Project.
- Create project with class library type from the project type list.
 3. Create the class with necessary properties. You can find the reference below,
```csharp
public class ProductSales
{
    public string ProdCat { get; set; }

    public string SubCat { get; set; }

    public string OrderYear { get; set; }

    public string OrderQtr { get; set; }

    public double Sales { get; set; }
}
```- Clean and build the application.
Add an RDLC report
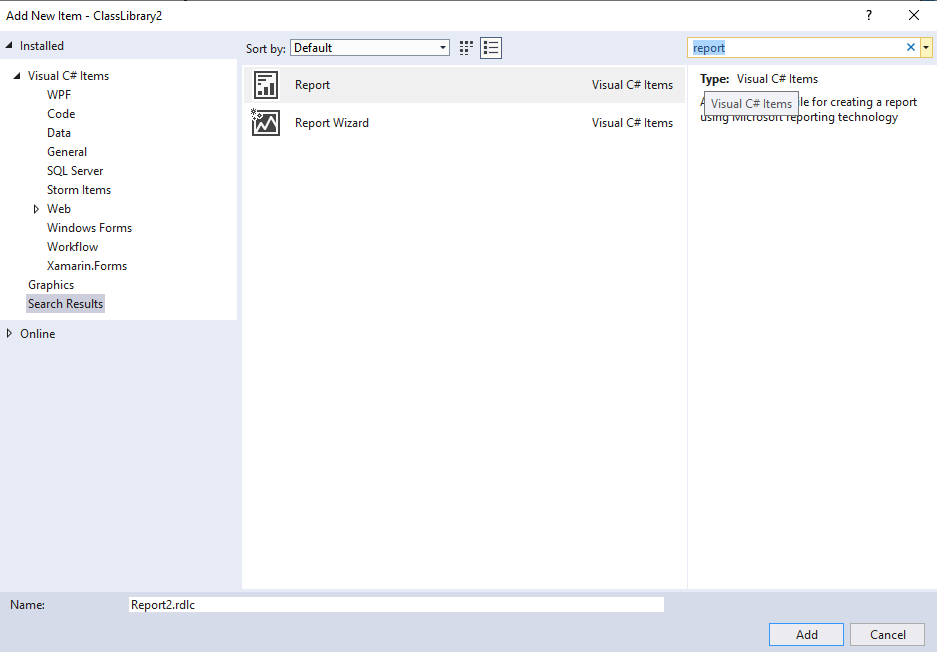
- Right-click the project and click Add > New Item.
- Search Report with new item and select
Report Wizardto start the report creation with dataset selection. - Click Add.
Data source and table configuration wizard
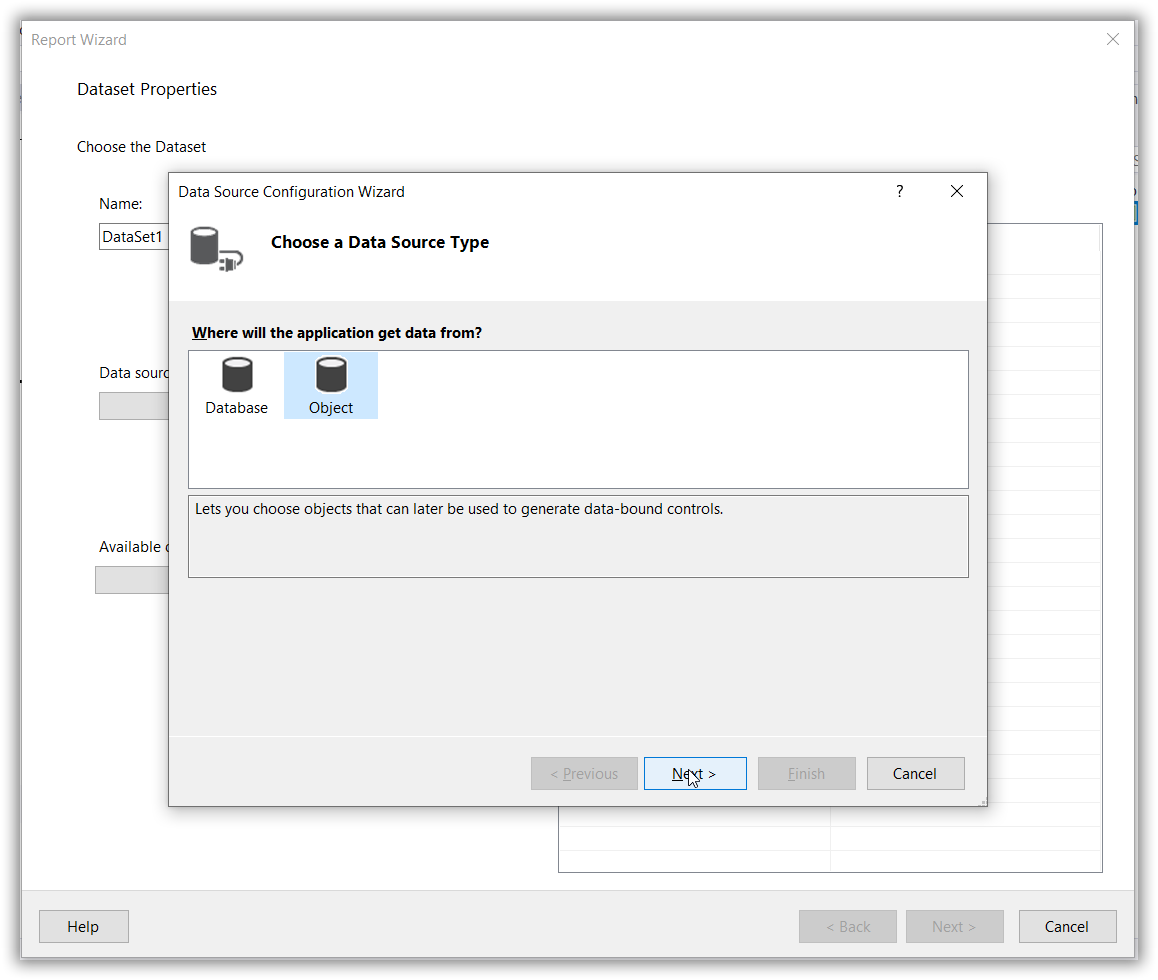
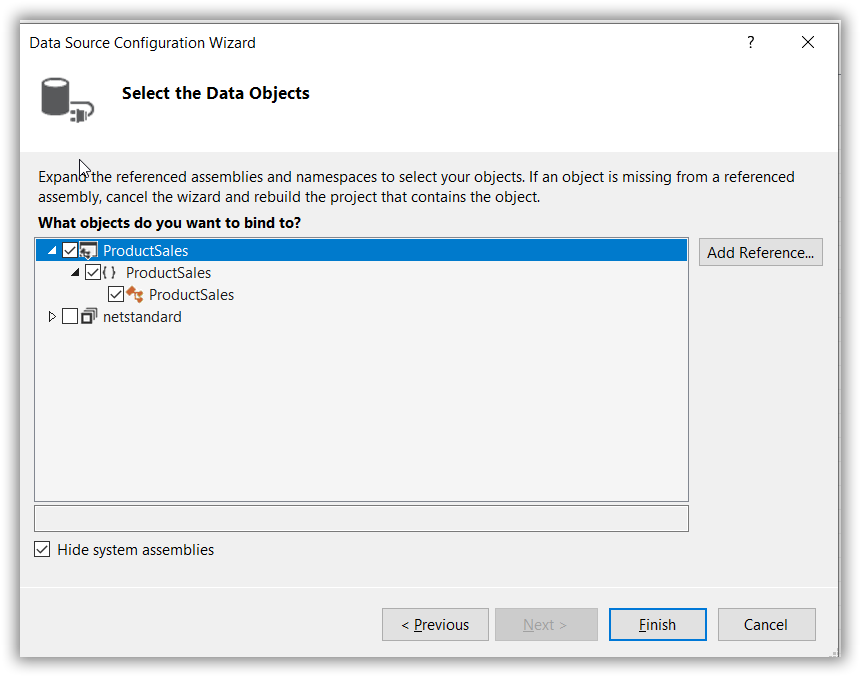
- Choose object type from the Data Source Configuration wizard and click Next.
- Expand the tree view and select
ProductSales, and then click Finish.
- In the DataSet Properties wizard, specify the dataset name as
SalesData.
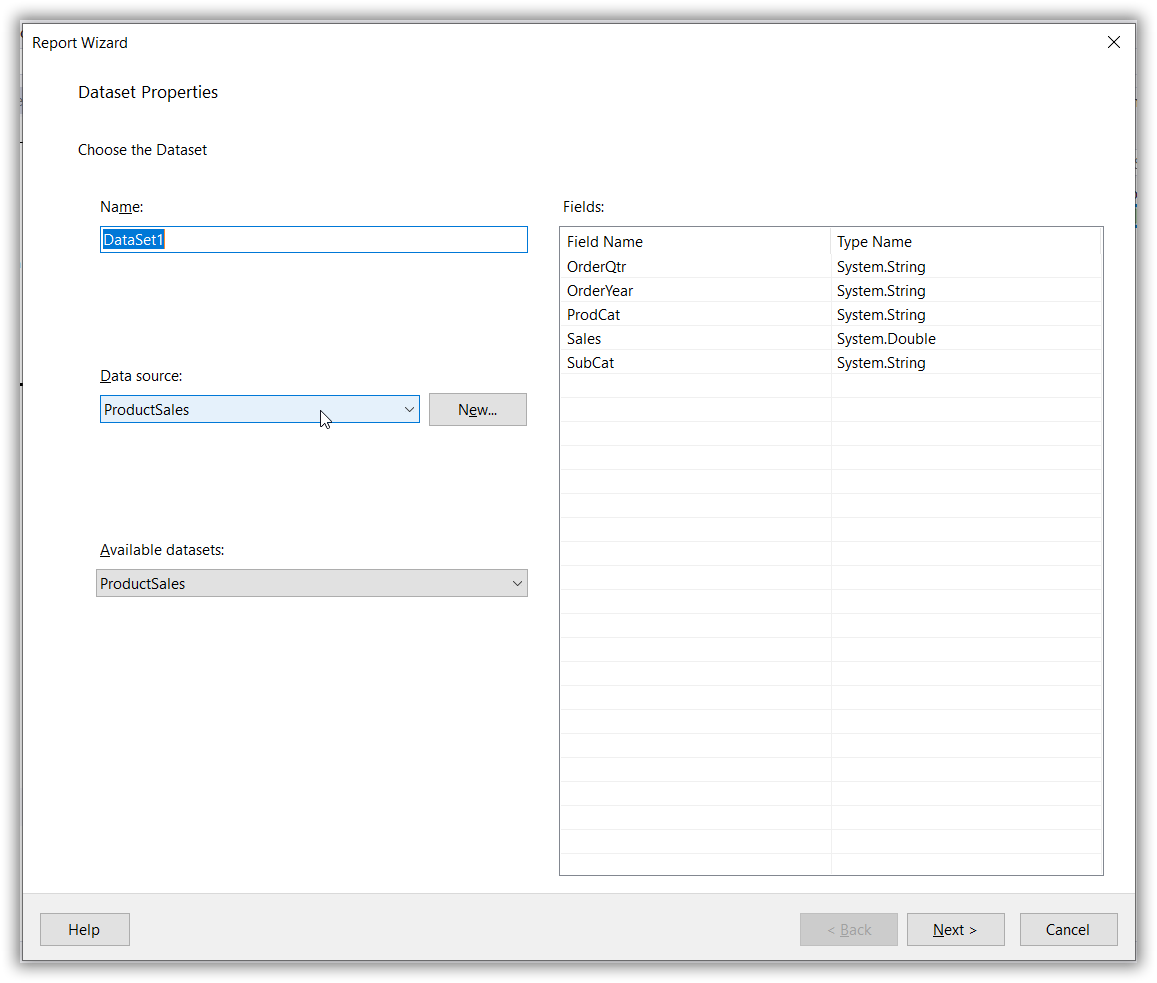
- Drag the fields into Values, Row, and Column groups, and then click Next.

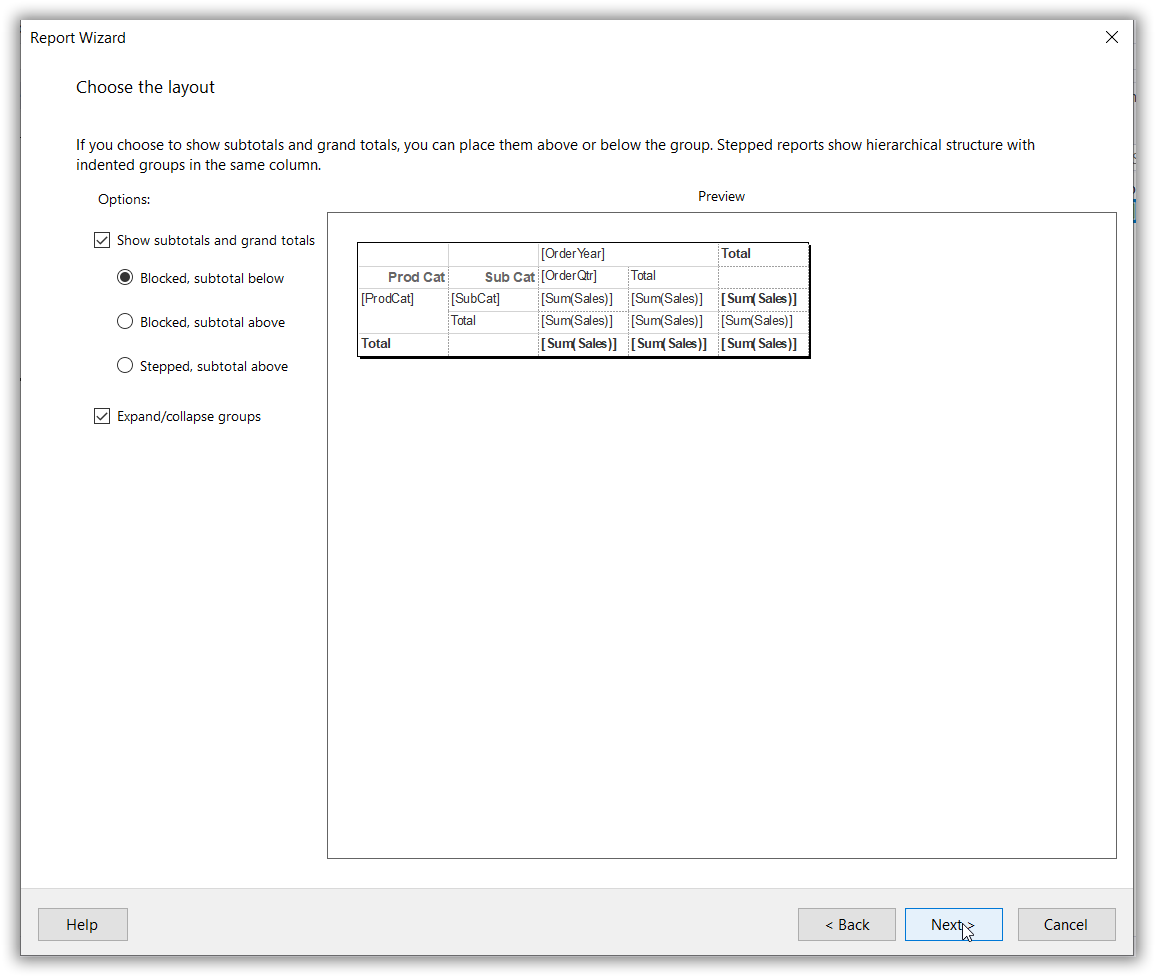
- Choose the table layout and click Next.
- Select table style and click Finish.
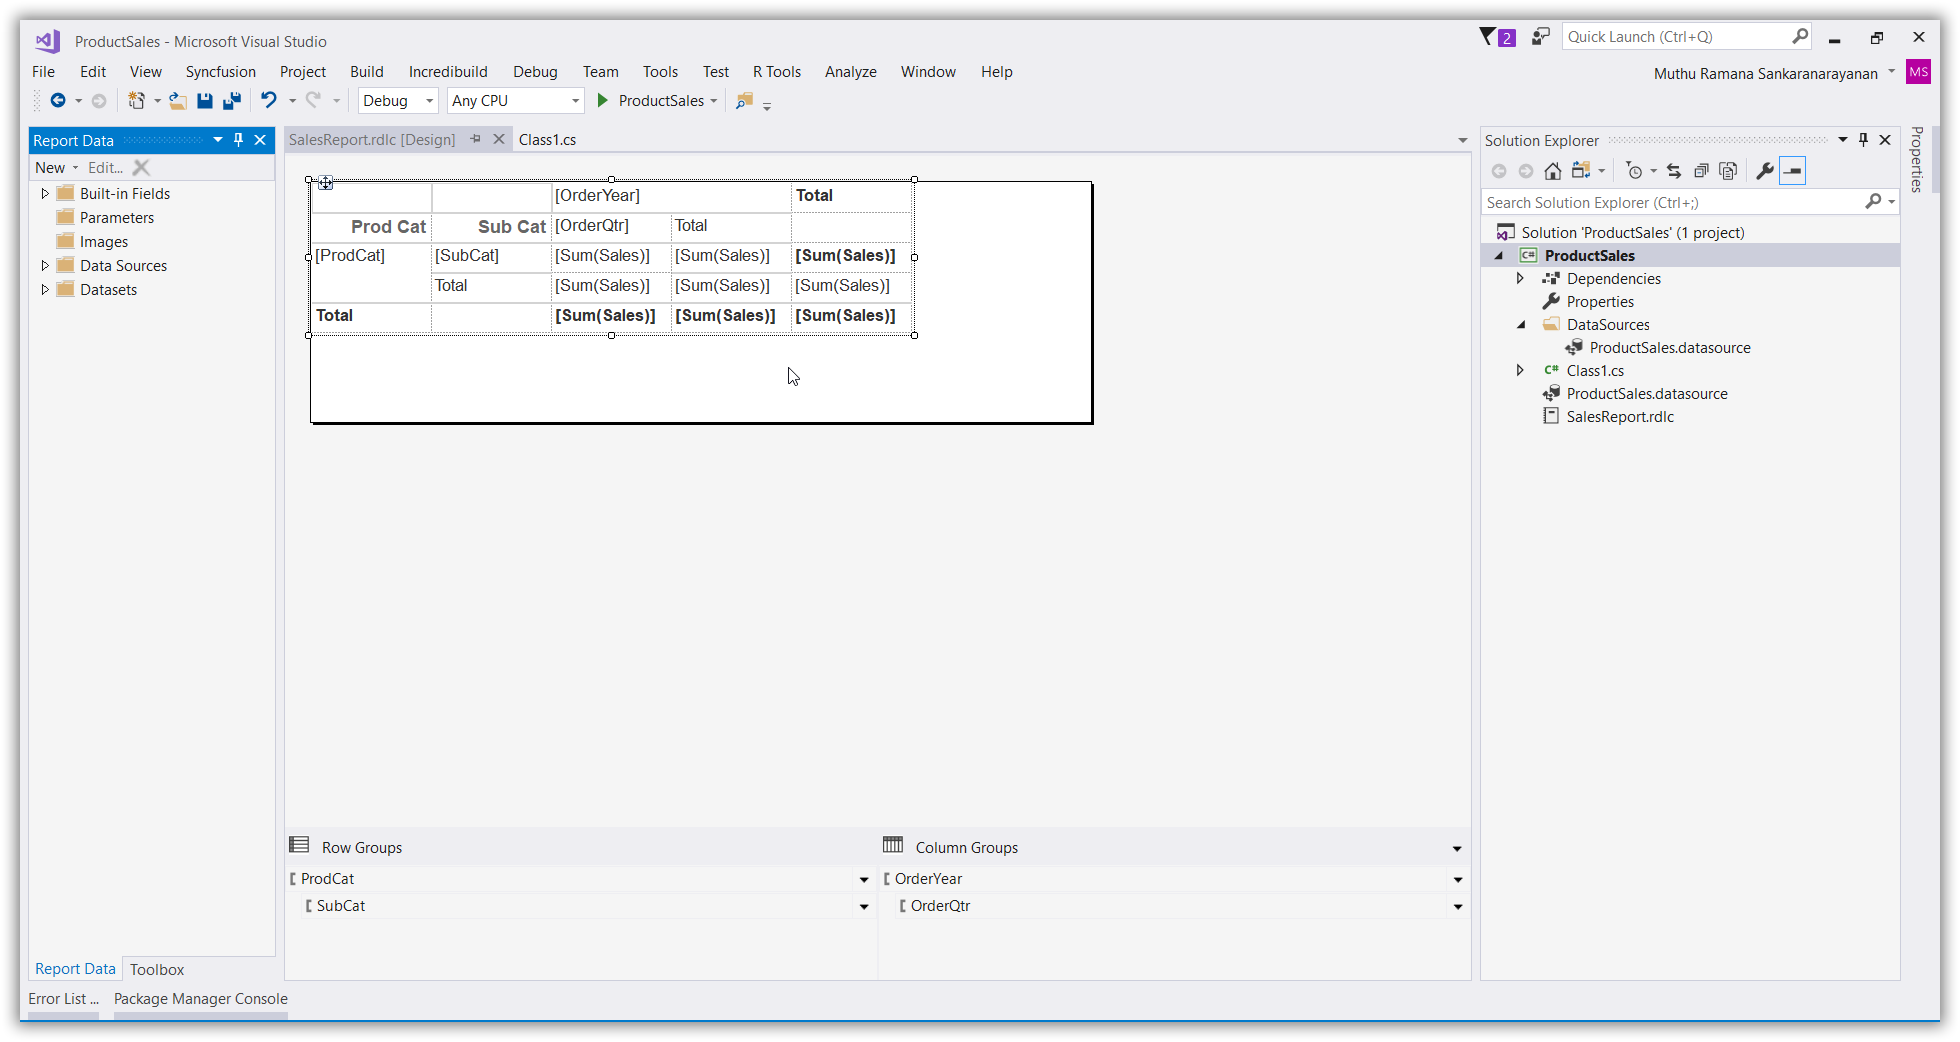
Now, the RDLC report is displayed in the Visual Studio as follows.