Display SSRS RDL report in Bold Reports® WPF Report Viewer
This section explains you the steps required to create your first WPF reporting application to display an already created SSRS RDL report in the Bold Reports® WPF Report Viewer without using a Report Server.
To create your first application on the other .NET Frameworks lower than 4.6.2, refer to the documentation for .NET Framework 4.6
Create the application project
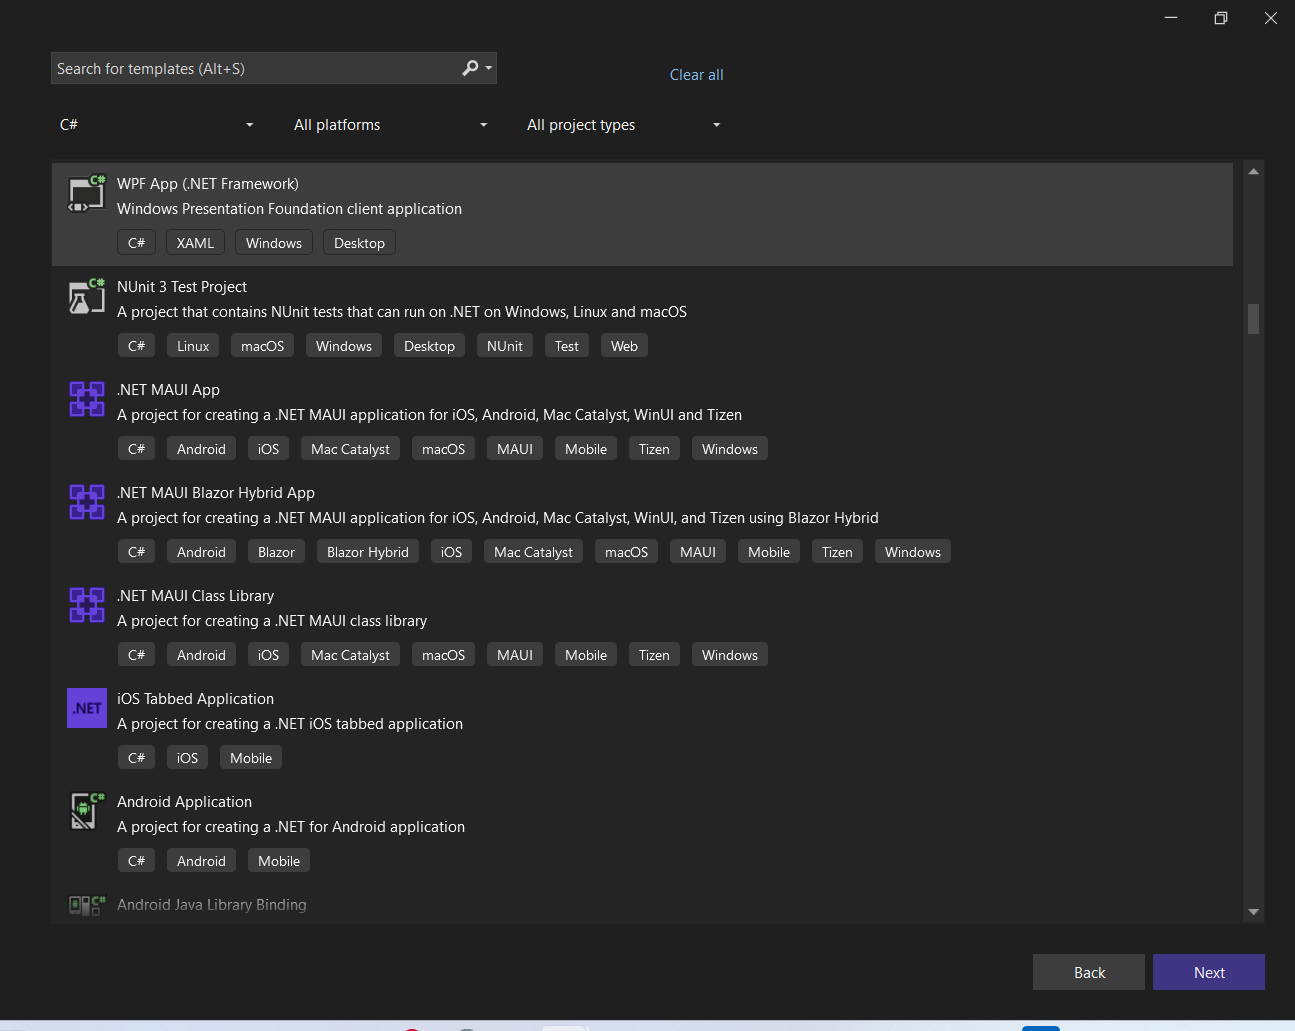
- Start Visual Studio 2022 and click Create new project.
- Select WPF App (.NET Framework), and then click Next.
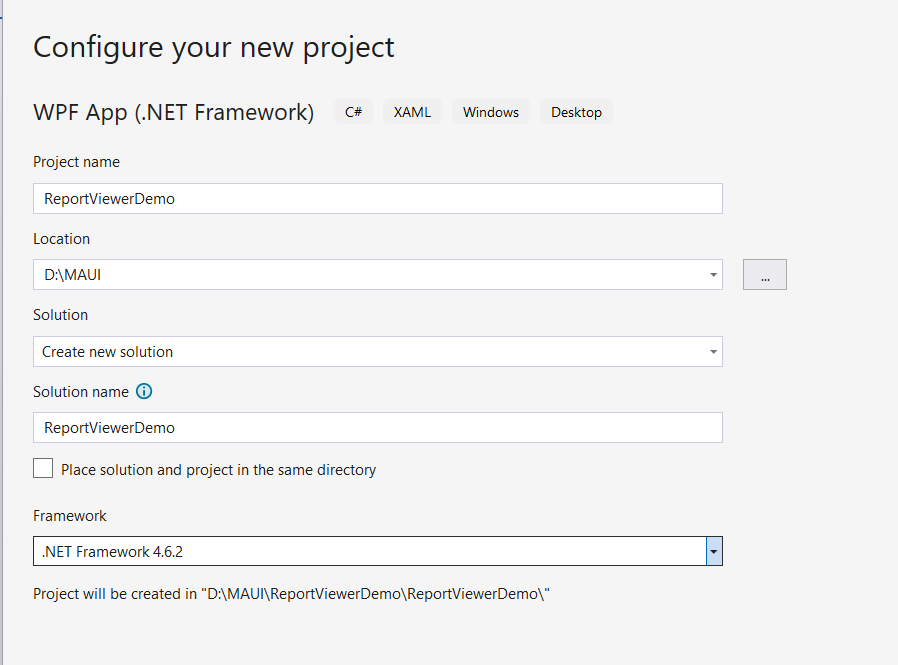
- Change the project name, choose .NET Framework 4.6.2 or Higher in the framework field, and then click Create.
Configure Report Viewer in an application
-
Right-click the project or solution on the Solution Explorer tab, and choose Manage NuGet Packages. Alternatively, select Tools > NuGet Package Manager > Manage NuGet Packages for Solution.
Refer to the NuGet Packages to learn more details about installing and configuring Report Viewer NuGet packages.
-
Search for
BoldReports.WpfNuGet package, and install them in your WPF application.Package Purpose BoldReports.WpfContains WPF Reporting controls (Report Viewer and Report Writer) to preview and export the reports.
Initialize Report Viewer
-
Import the Report Viewer namespace as shown below in the
MainWindow.xamlfile,xmlns:syncfusion="clr-namespace:BoldReports.UI.Xaml;assembly=BoldReports.Wpf" -
Initialize the Report Viewer component inside the
<Grid>tag as shown below in theMainWindow.xamlfile,<Window ..... ..... ..... ..... xmlns:syncfusion="clr-namespace:BoldReports.UI.Xaml;assembly=BoldReports.Wpf" ..... .....> <Grid> <syncfusion:ReportViewer Name="reportViewer" /> </Grid> </Window>
Add already created reports
The Report Viewer is only for rendering reports. You must use a report generation tool to create a report. To learn more about this, refer to the create RDL report section.
-
Create a folder
Resourcesin your application to store the RDL reports. -
Add already created reports to the newly created folder.
In this tutorial, the
sales-order-detail.rdlreport is used, and it can be downloaded at this link. You can add the reports from the Syncfusion® installation location. For more information, refer to the samples and demos section. -
Set the
Build Actionto content andCopy to Output Directoryto either Copy always or Copy if newer.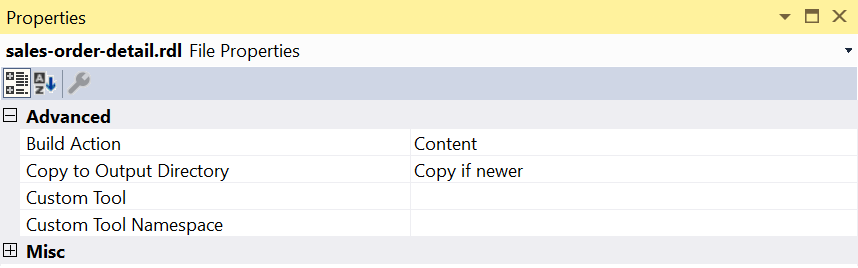
Set report path
-
Open the
MainWindow.xaml.csfile. -
Initialize the window loaded event inside the
MainWindow()constructor.public MainWindow() { InitializeComponent(); this.Loaded += new RoutedEventHandler(MainWindow_Loaded); } private void MainWindow_Loaded(object sender, RoutedEventArgs e) { } -
Set the
ReportPathproperty in theMainWindow_Loadedevent and invoke theRefreshReport()method to render the report. -
You can replace the following code in your
MainWindow_Loadedevent method.private void MainWindow_Loaded(object sender, RoutedEventArgs e) { this.reportViewer.ReportPath = System.IO.Path.Combine(Environment.CurrentDirectory, @"Resources\sales-order-detail.rdl"); this.reportViewer.RefreshReport(); }
Preview the report
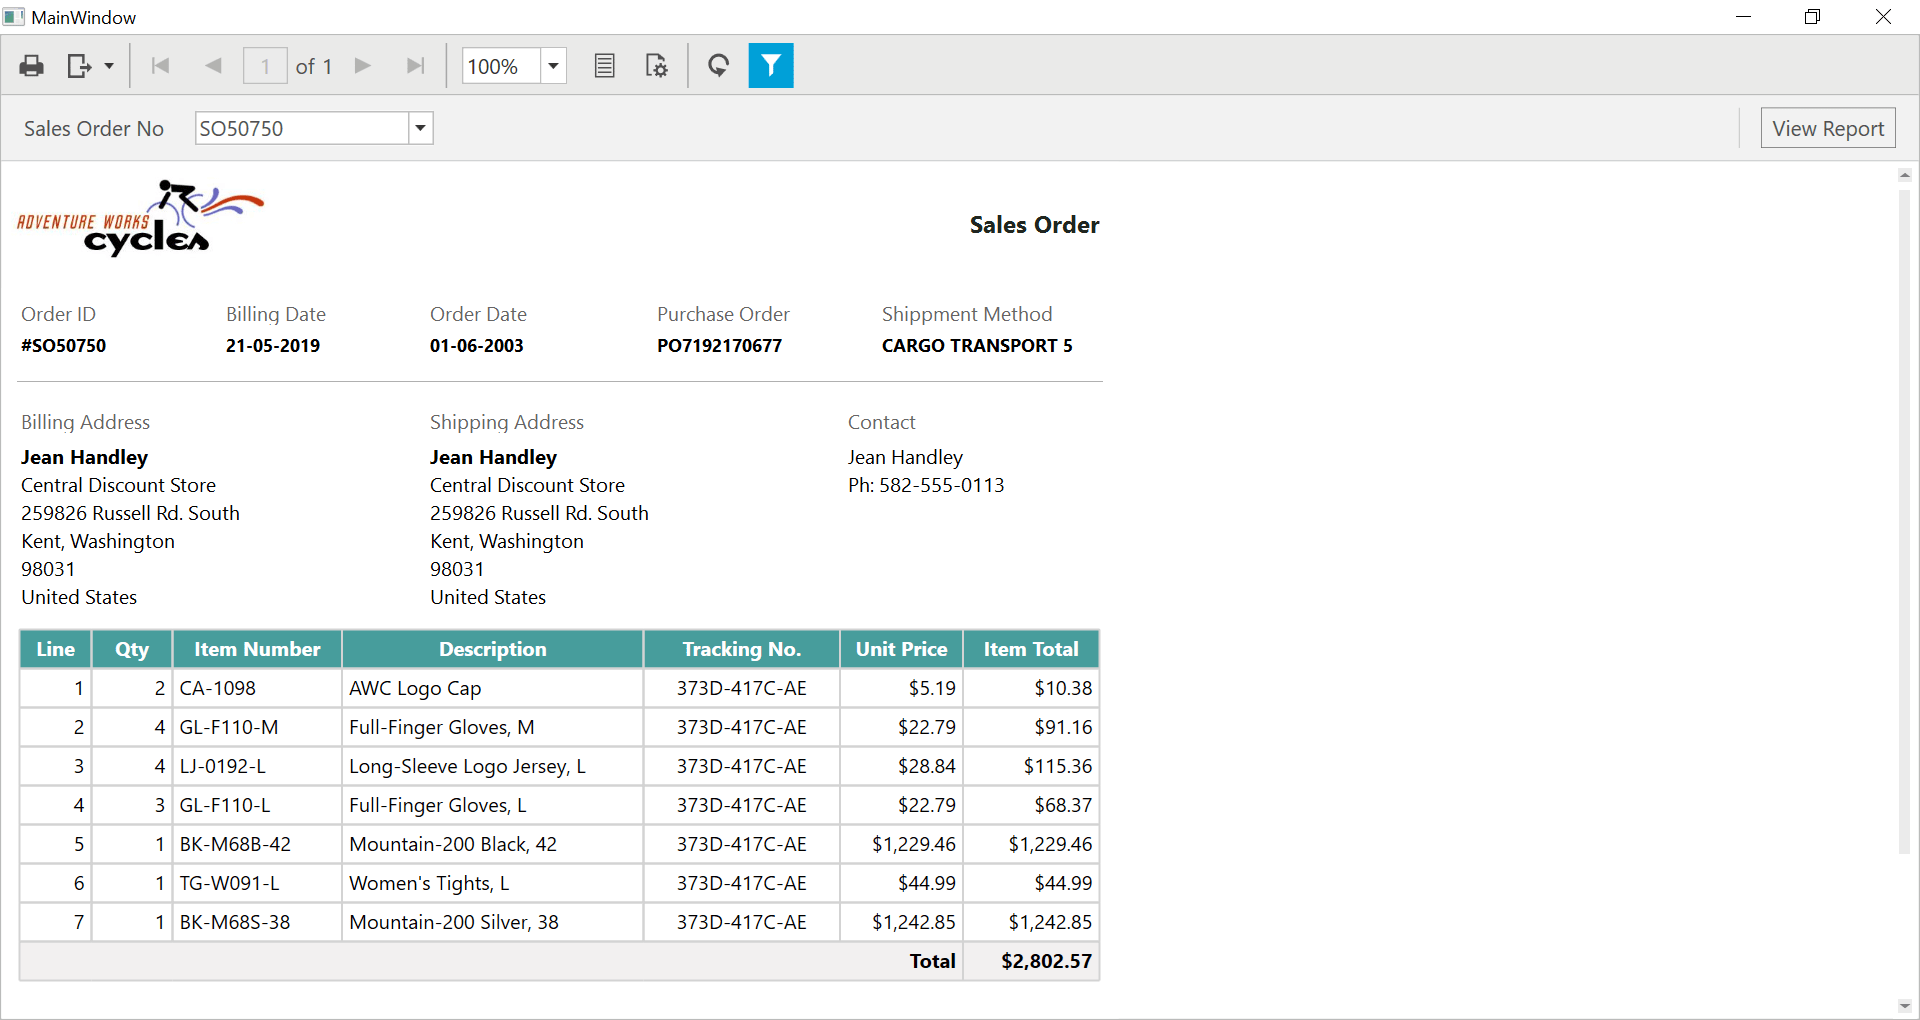
Build and run the application to view the report output in the Report Viewer as displayed in the following screenshot.
Note: You can refer to our feature tour page for the WPF Report Viewer to see its innovative features.