Connect to SQL data source
The Bold Reports® allows you to connect with SQL data source to visualize and analyze the data in reports.
Supported Server Versions: Microsoft SQL Server (2012, 2014, 2016, 2017, 2019, and 2022)
How to create Microsoft SQL Server data source
To configure the Microsoft SQL Server data source, follow these steps:
-
Click on the Data icon in the configuration panel.
-
In the
DATAconfiguration panel, click on theNEW DATAbutton.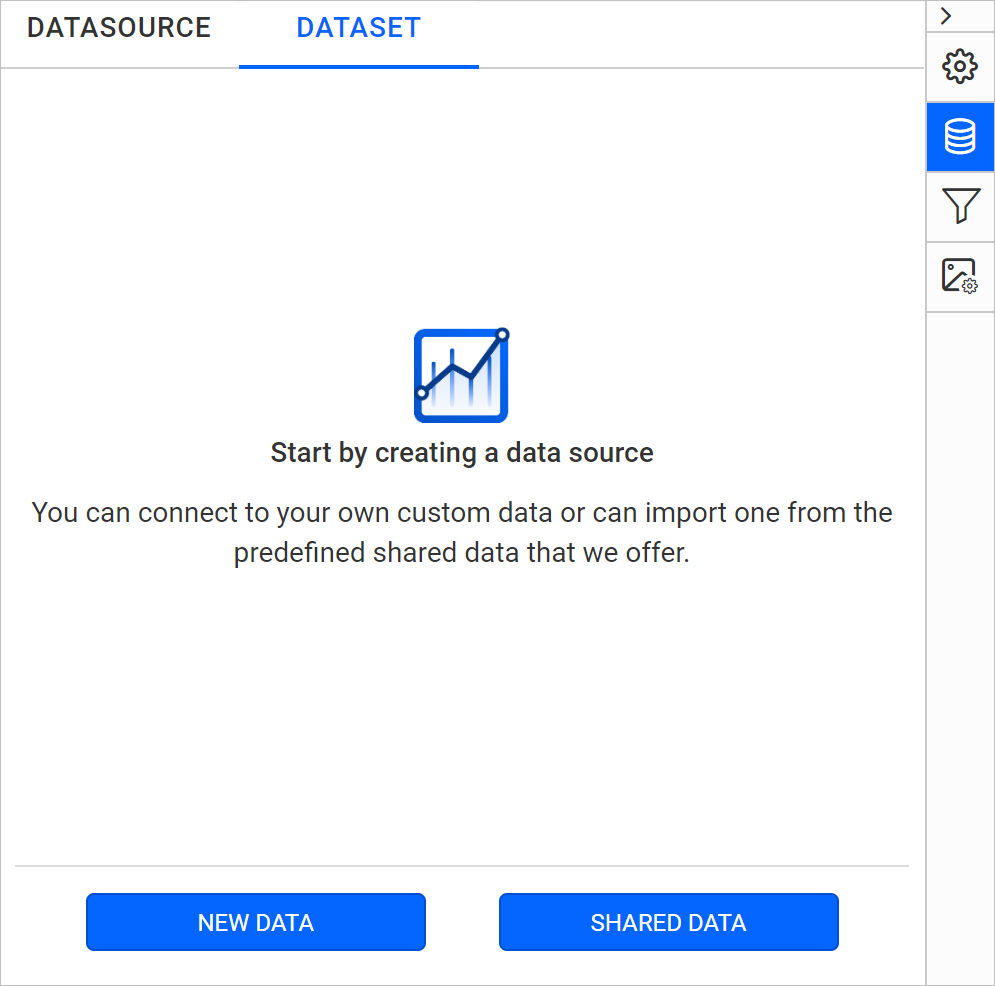
-
In the connection type panel, choose the
SQLdata source type.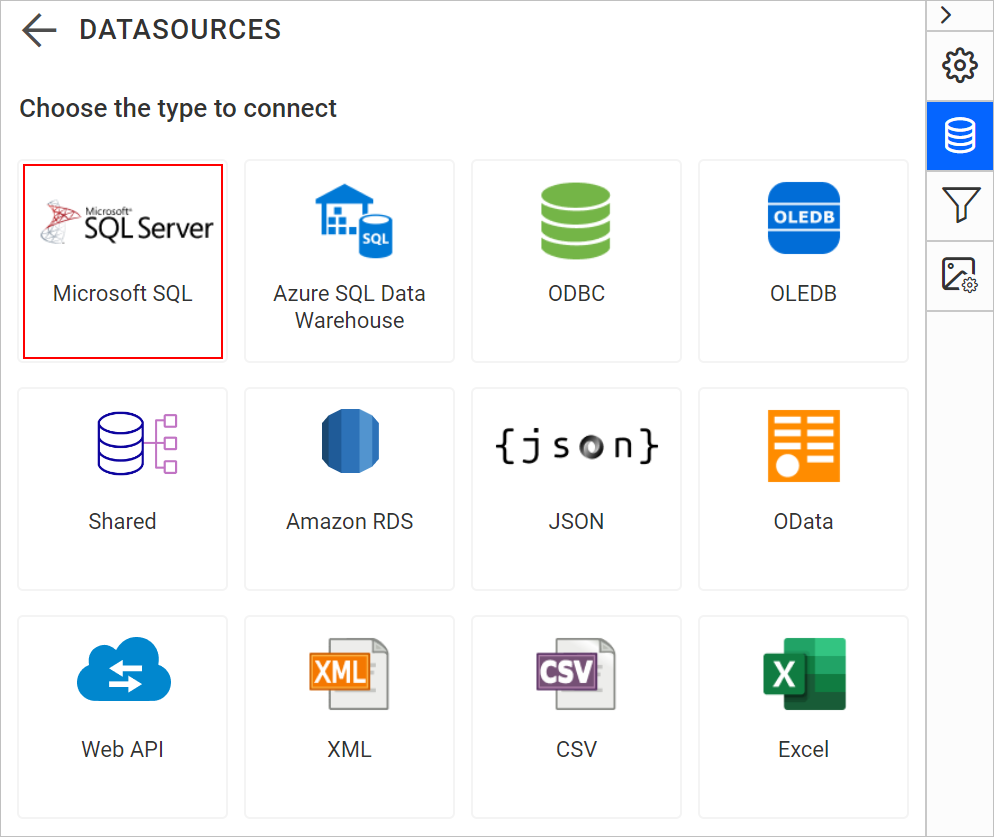
Create Microsoft SQL Server data source with basic options
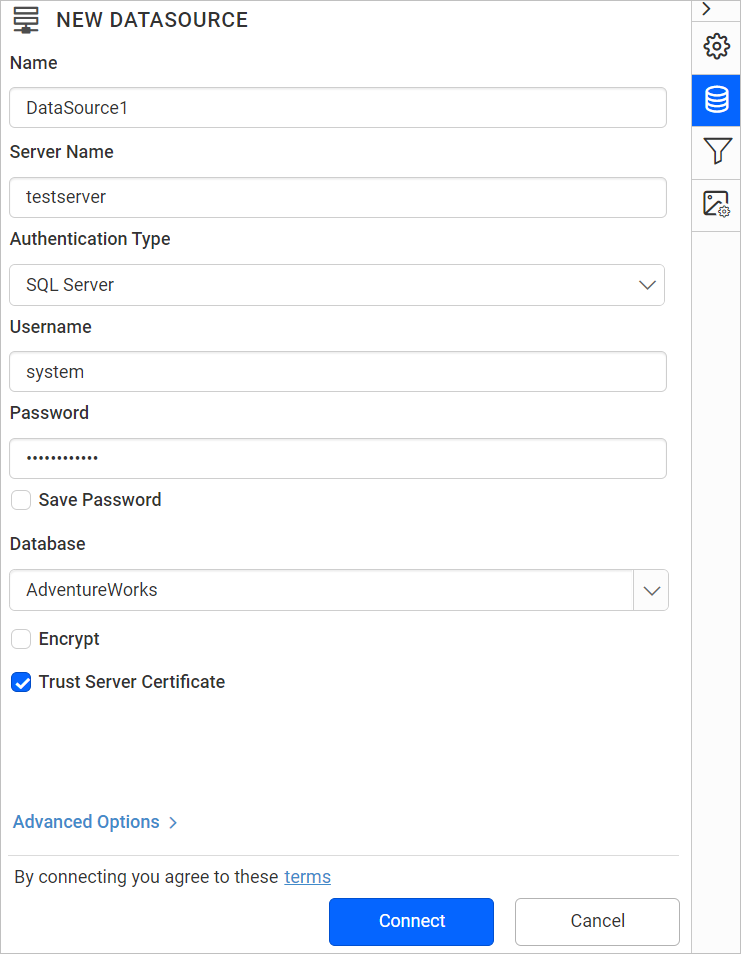
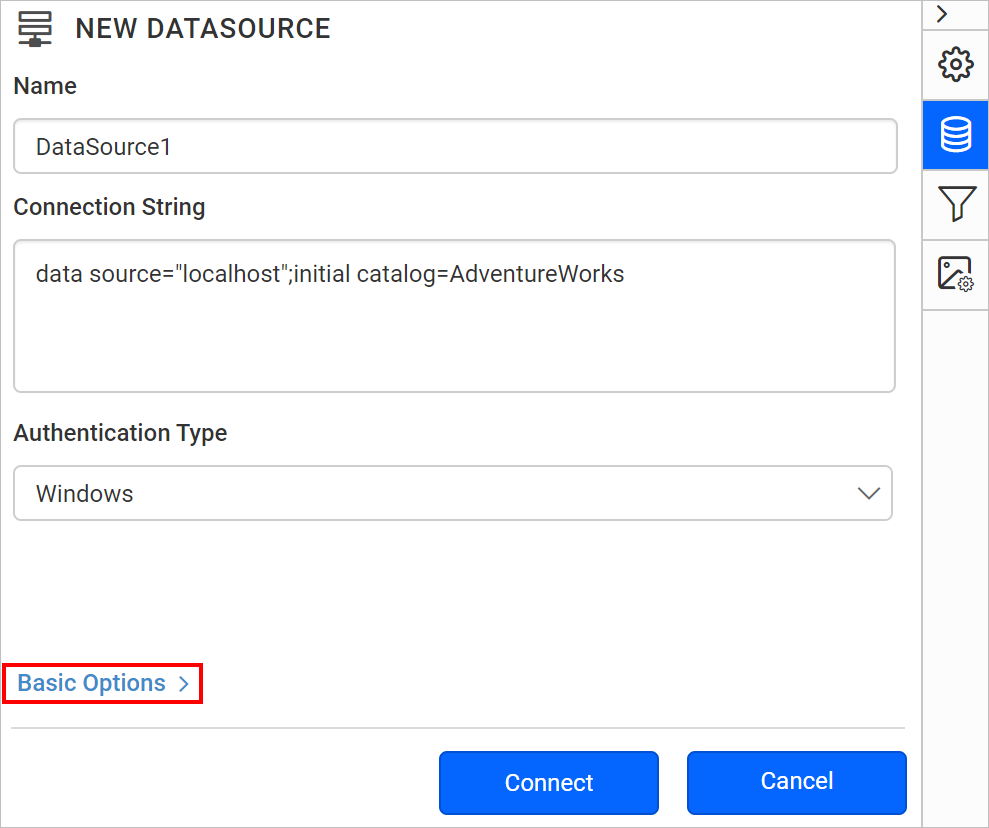
When you create a new data, the NEW DATASOURCE panel will show up with basic options,
- Specify the data source name without special characters, in Name field.
- In Server Name field, you need to select existing server in the local network from the drop-down list or specify the specific remote server name like
myserver.domain.com. - In Authentication Type field, choose Windows or SQL Server authentication.
- Choose or enter an existing valid database. e.g. AdventureWorks.
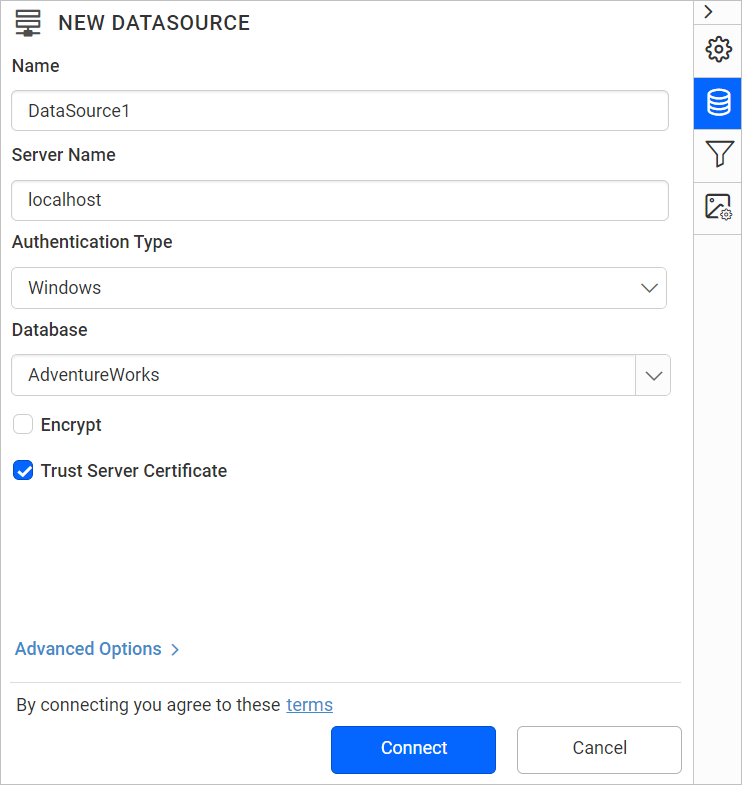
- Configure the
EncryptandTrust Server Certificateoptions based on your SQL Server configuration.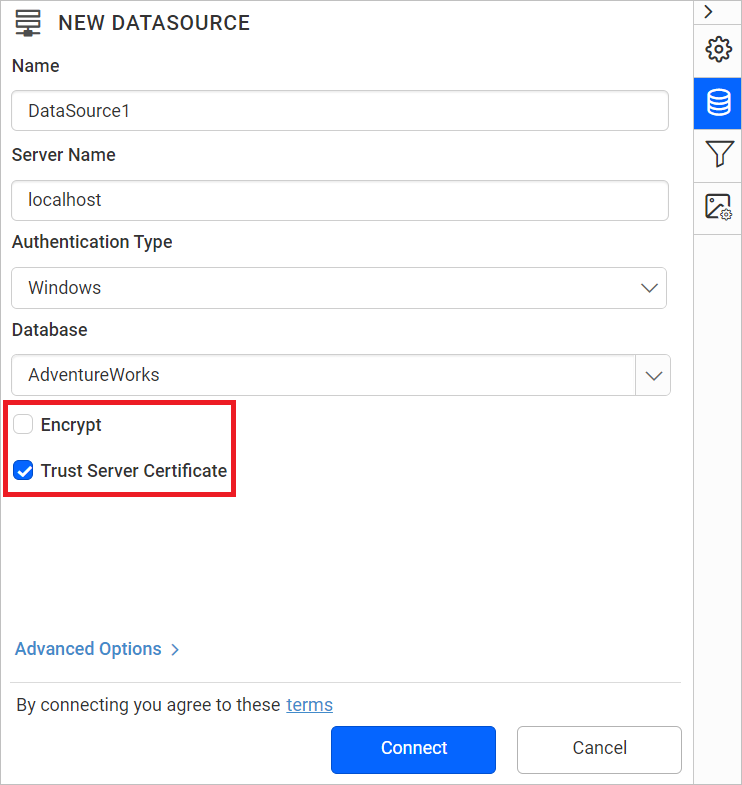
- Click on the
Connectto connect the Bold Reports® with Microsoft SQL server database. - Drag and drop the table from the table schema in the query design view page.

- Click
Finishto save the data source with a relevant name to proceed with designing report.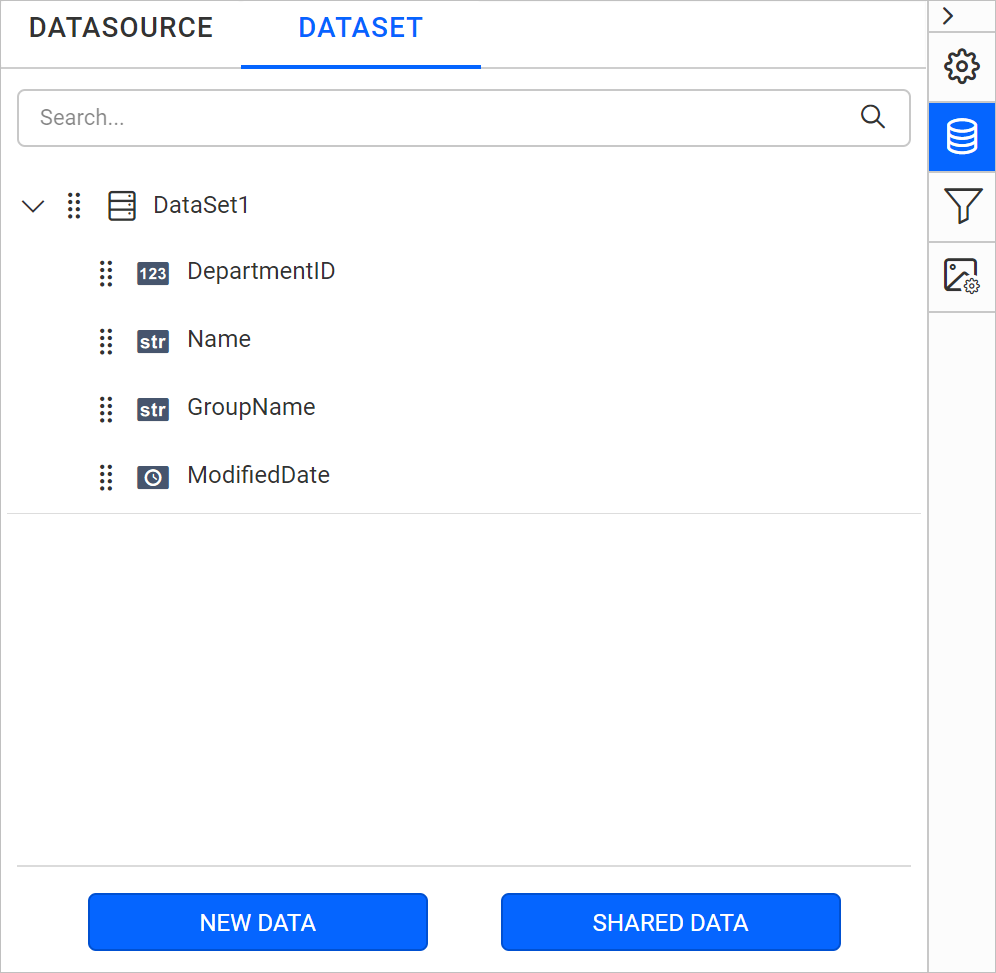
Authentication types for basic connection
You can set authentication type, either as Windows or SQL server.
If your data source supports authentication directly through Windows Credentials(Integrated Security), choose Windows under Authentication Type.
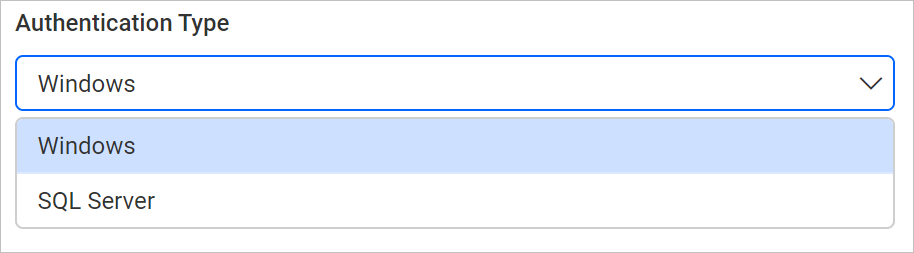
If your data source requires username and password to authenticate. Choose SQL server under Authentication Type and input the username and password for server name mentioned in Server Name field.
Enable the Save password option to embed the credentials within the report when saving it in Report Server.
On report download action, the credentials will be not be saved with report data.
Connecting to a Microsoft SQL data source through SSH Tunnel
You can now connect to a Microsoft SQL data source using a secure SSH tunnel. This enhancement provides a more robust and secure method for connecting, especially when accessing remote databases over untrusted or insecure networks.
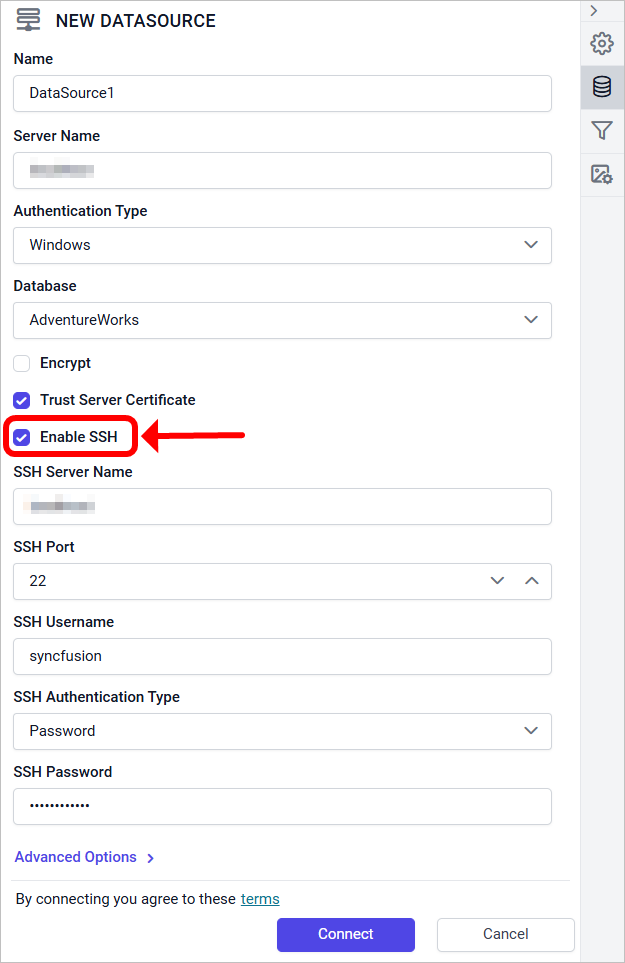
Refer Configuring SSH tunnel for data connectors for more details.
Create Microsoft SQL Server data source with advanced options
To connect the SQL server database with advanced options, click on the Advanced Options in New Data panel.
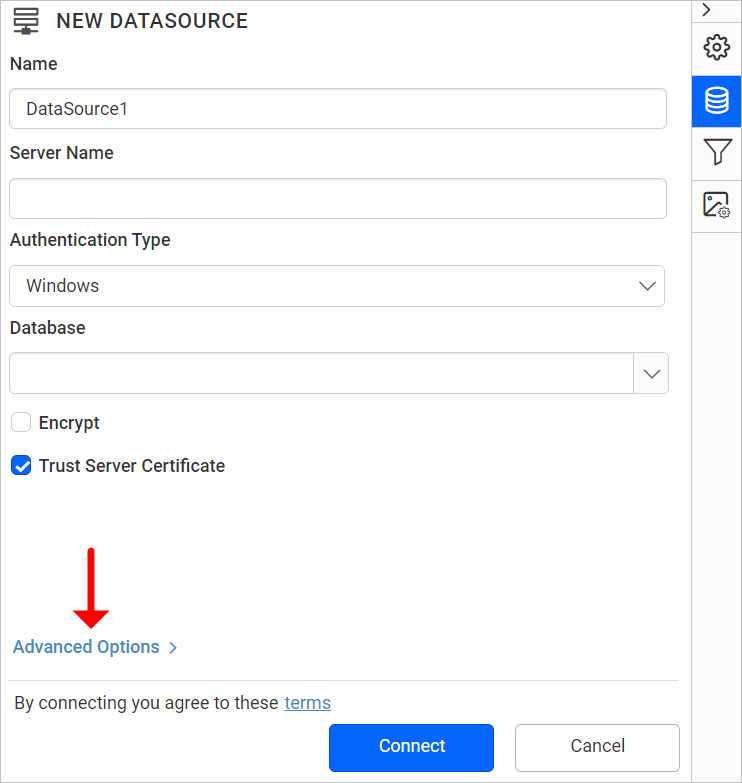
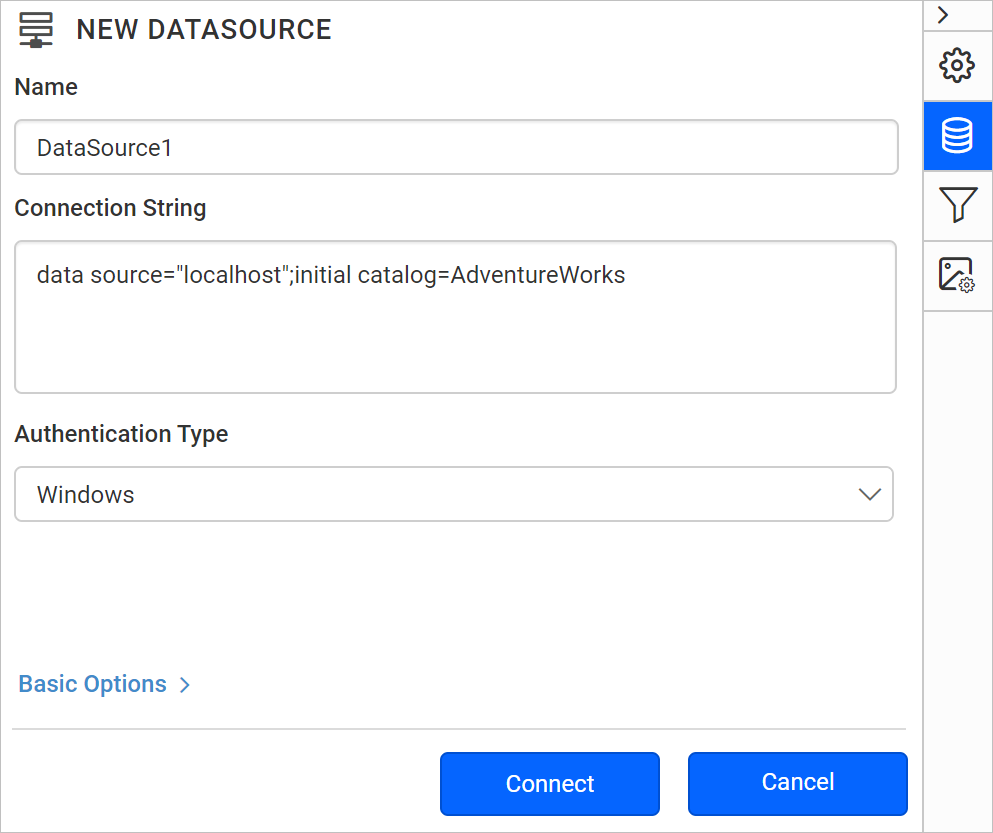
Now, the panel is switched to advanced options. In advanced options, you can build your own connection string.
Set the connection string and authentication type as required and click on Connect.
Drag and drop the table from the table schema in the query design view page.
Click Finish to save the data source with a relevant name to proceed with designing report.
Click on
Basic Optionsto switch back to the basic connection settings.
Connection string
Connection strings are the text representation of connection properties for a data provider.
If the database is located in the SQL Server Database Engine and installed on your local computer. Specify connection string like below example,
Data source=<InstanceName>; initial catalog=AdventureWorks
If database is located in any other server domain, specify connection string with or without credentials like below examples,
Data Source=myserver.domain.com;Initial Catalog=AdventureWorks
Data Source=myserver.domain.com;Initial Catalog=AdventureWorks;user id=sa;password=sa@123
Authentication types for advanced connection
You can use windows integrated security, SQL server credentials, prompted credentials, or use no credentials.
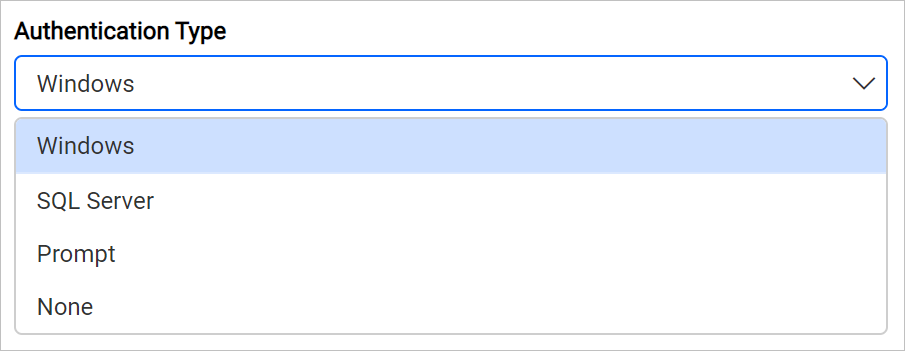
Windows - If your data source supports authentication directly through windows credentials(Integrated Security), choose Windows under Authentication Type.
SQL Server - A user name and password must be supplied to access the SQL Server database, the credentials might be for a database login. The credentials are passed to the data source for authentication.
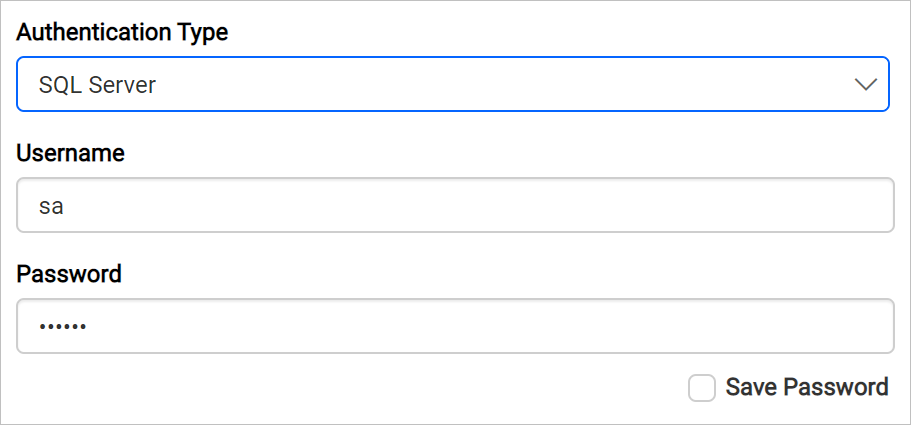
Enable the Save password option to embed the credentials within the report when saving it in Report Server.
On report download action, the credentials will be not be saved with report data.
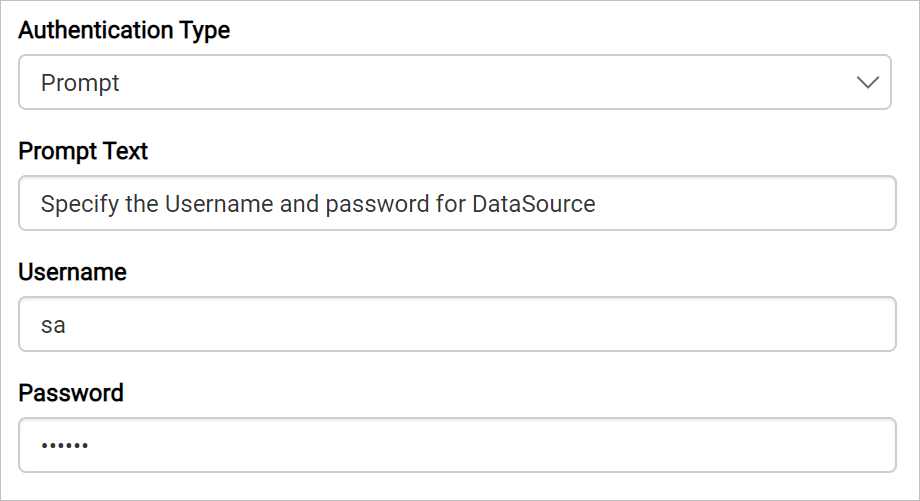
Prompt - When you configure a data source connection to use prompted credentials, each user who access the report must enter a user name and password on preview action to retrieve the data.
None - Choose the authentication type as None, when the authentication details or any other arguments required to connect with the data source are provided in connection string.
Connecting to stored procedure in SQL Server database
The Bold Reports® allows you to use stored procedures defined in the SQL server database using Microsoft SQL connection.
NOTE: Bold Reports® supports stored procedure only for Microsoft SQL Server.
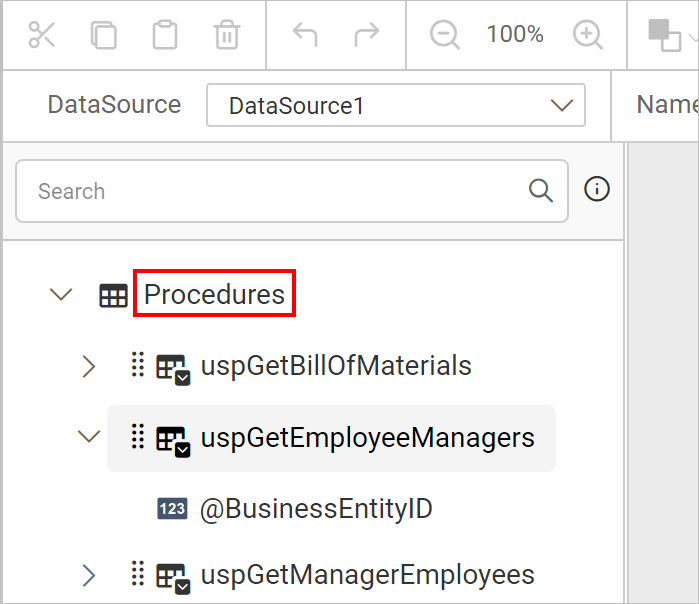
Connect to the SQL Server database with Basic Options or Advanced Options. After connect action, you will get into the query design view with the available stored procedure that is displayed on the left pane of tree view. The available parameters can also be displayed while expanding the procedure.
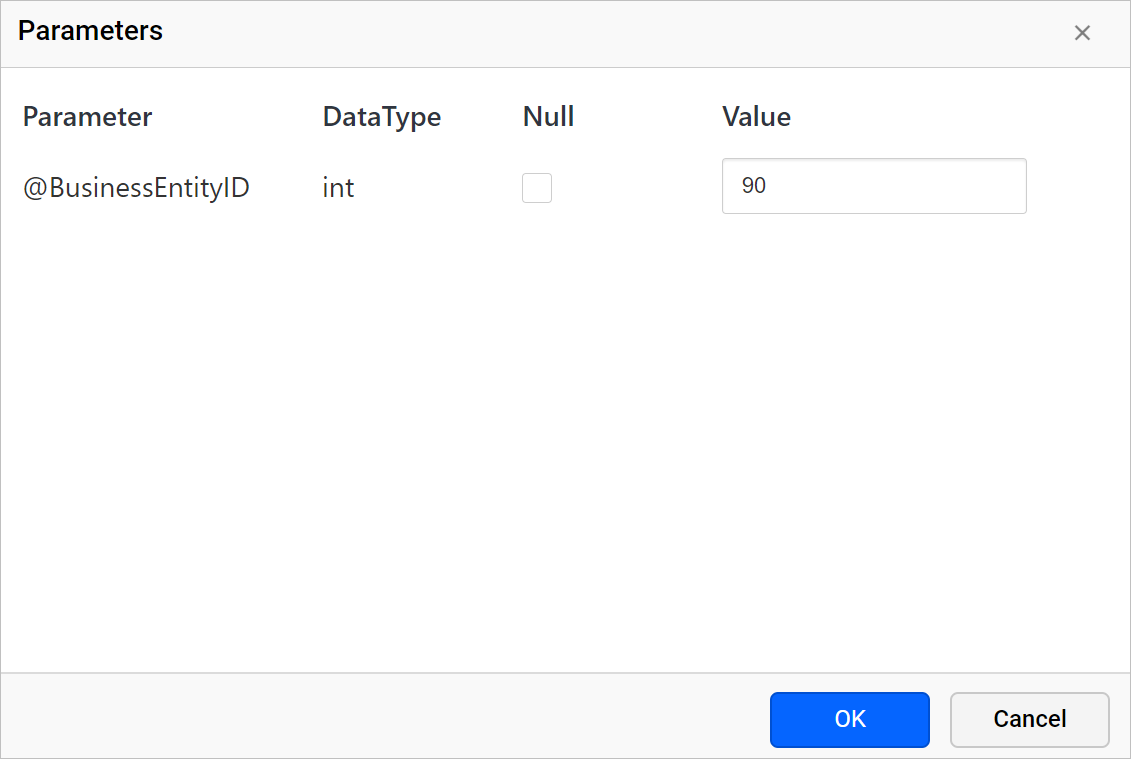
Now, you can drag and drop the table from left panel of query design page and enter the parameter value required for selected stored procedure and click OK button.
When the OK button is clicked, the selected stored procedures data based on supplied parameter will be extracted and displayed in the preview grid,
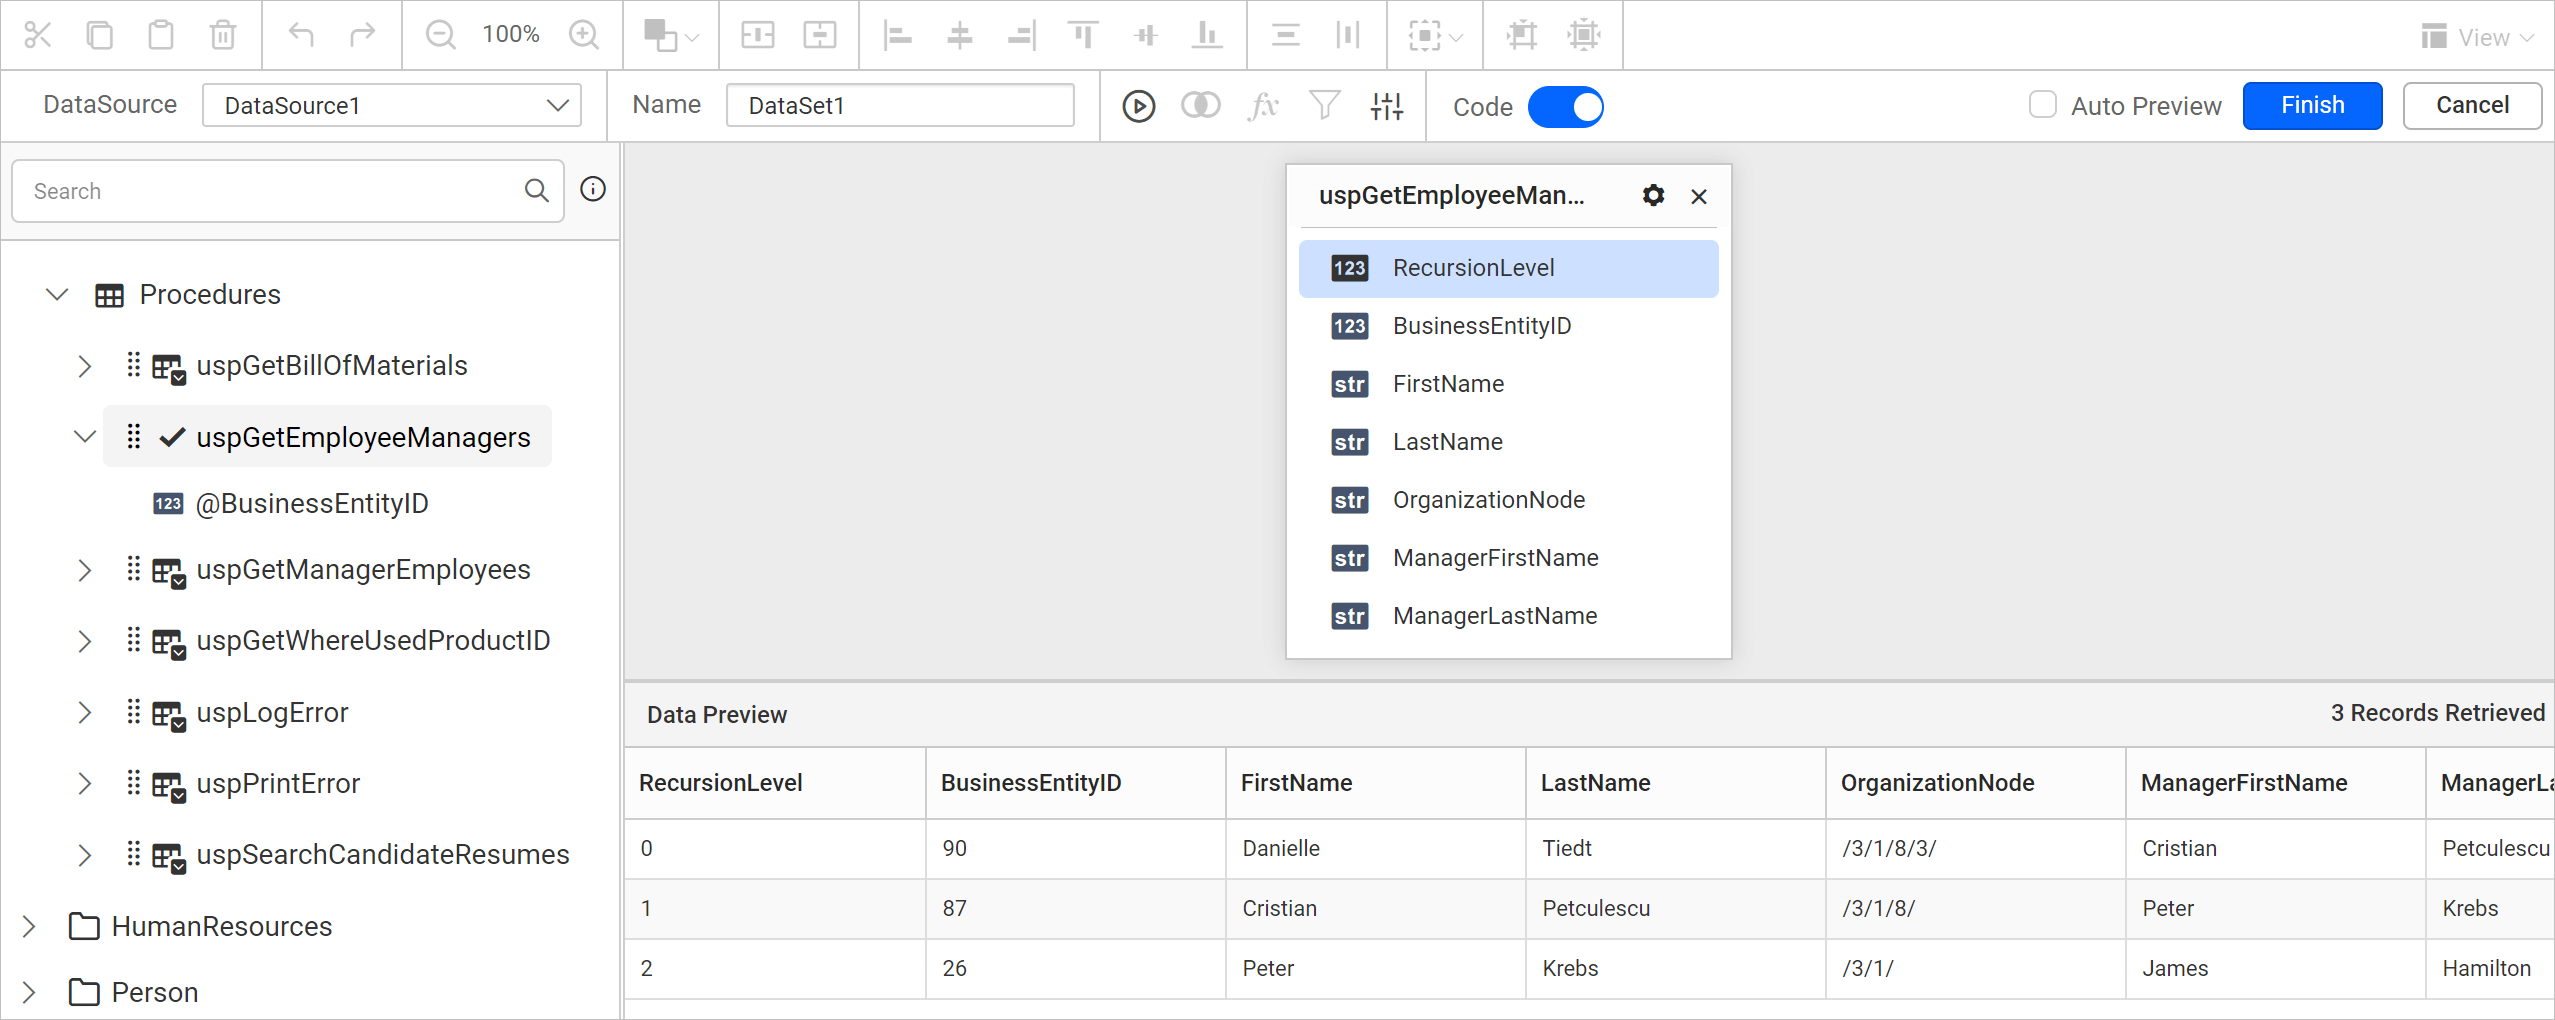
Save the data source by clicking the Finish button.
Connecting through custom SQL query
You can connect to data source of certain data connections through the custom SQL query. This feature allows you to define the data source with manually written queries instead of manually dragged tables for data connection type such as Microsoft SQL connections.
Connect to the SQL Server database with Basic Options or Advanced Options. After connect action, you will get into the query design view.
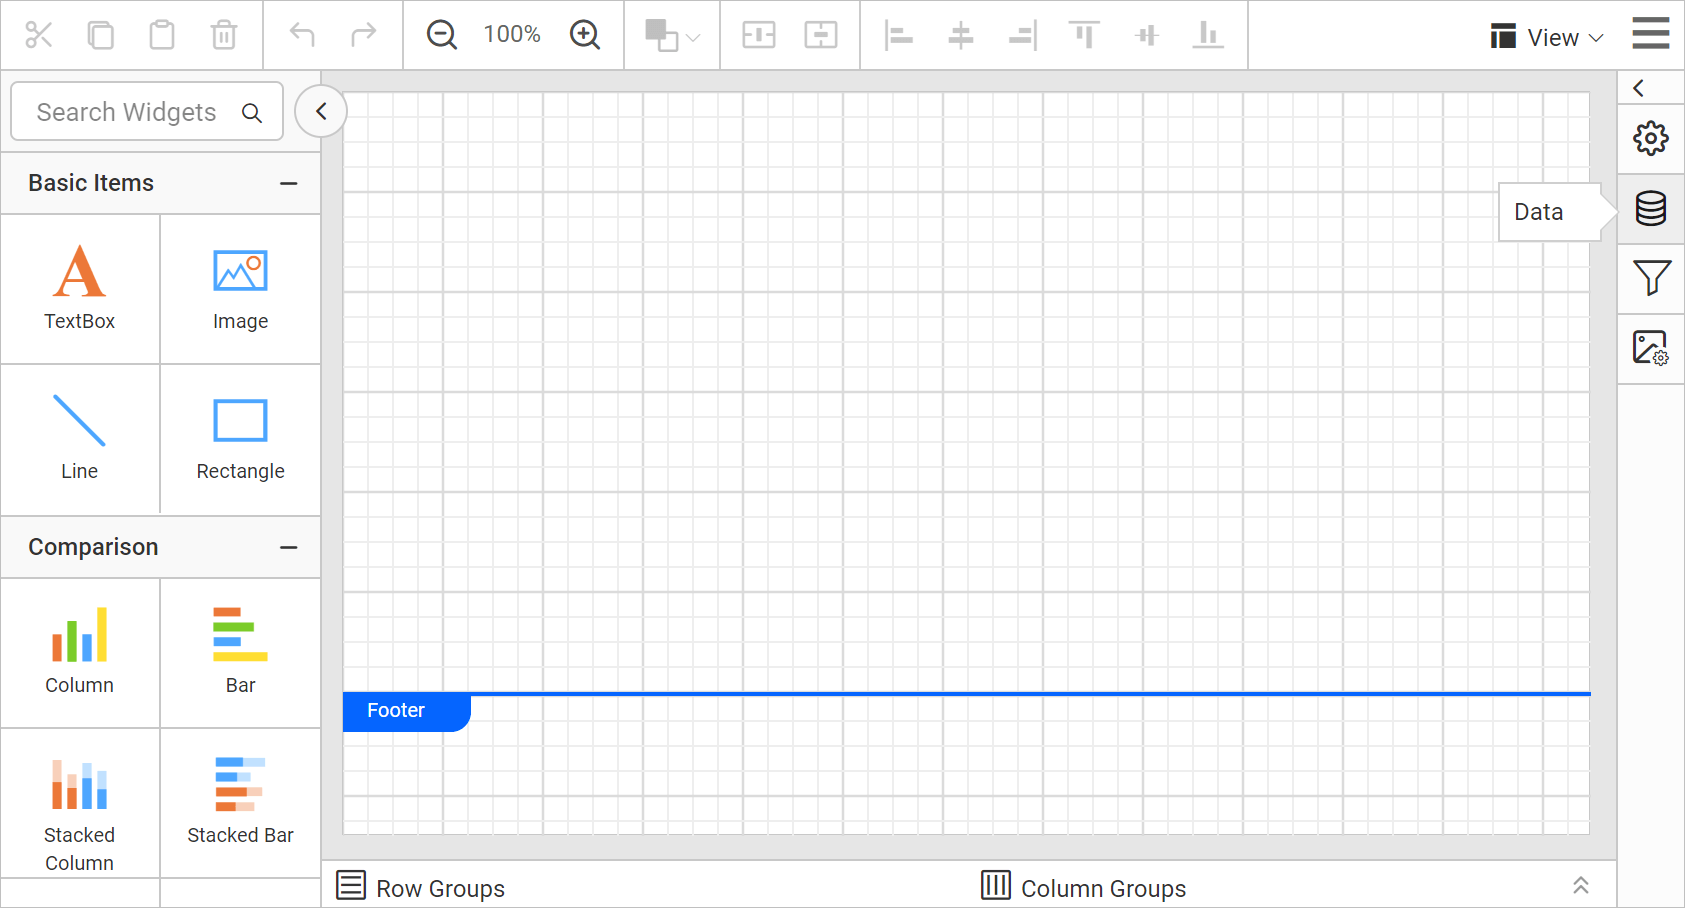
Switch to code view
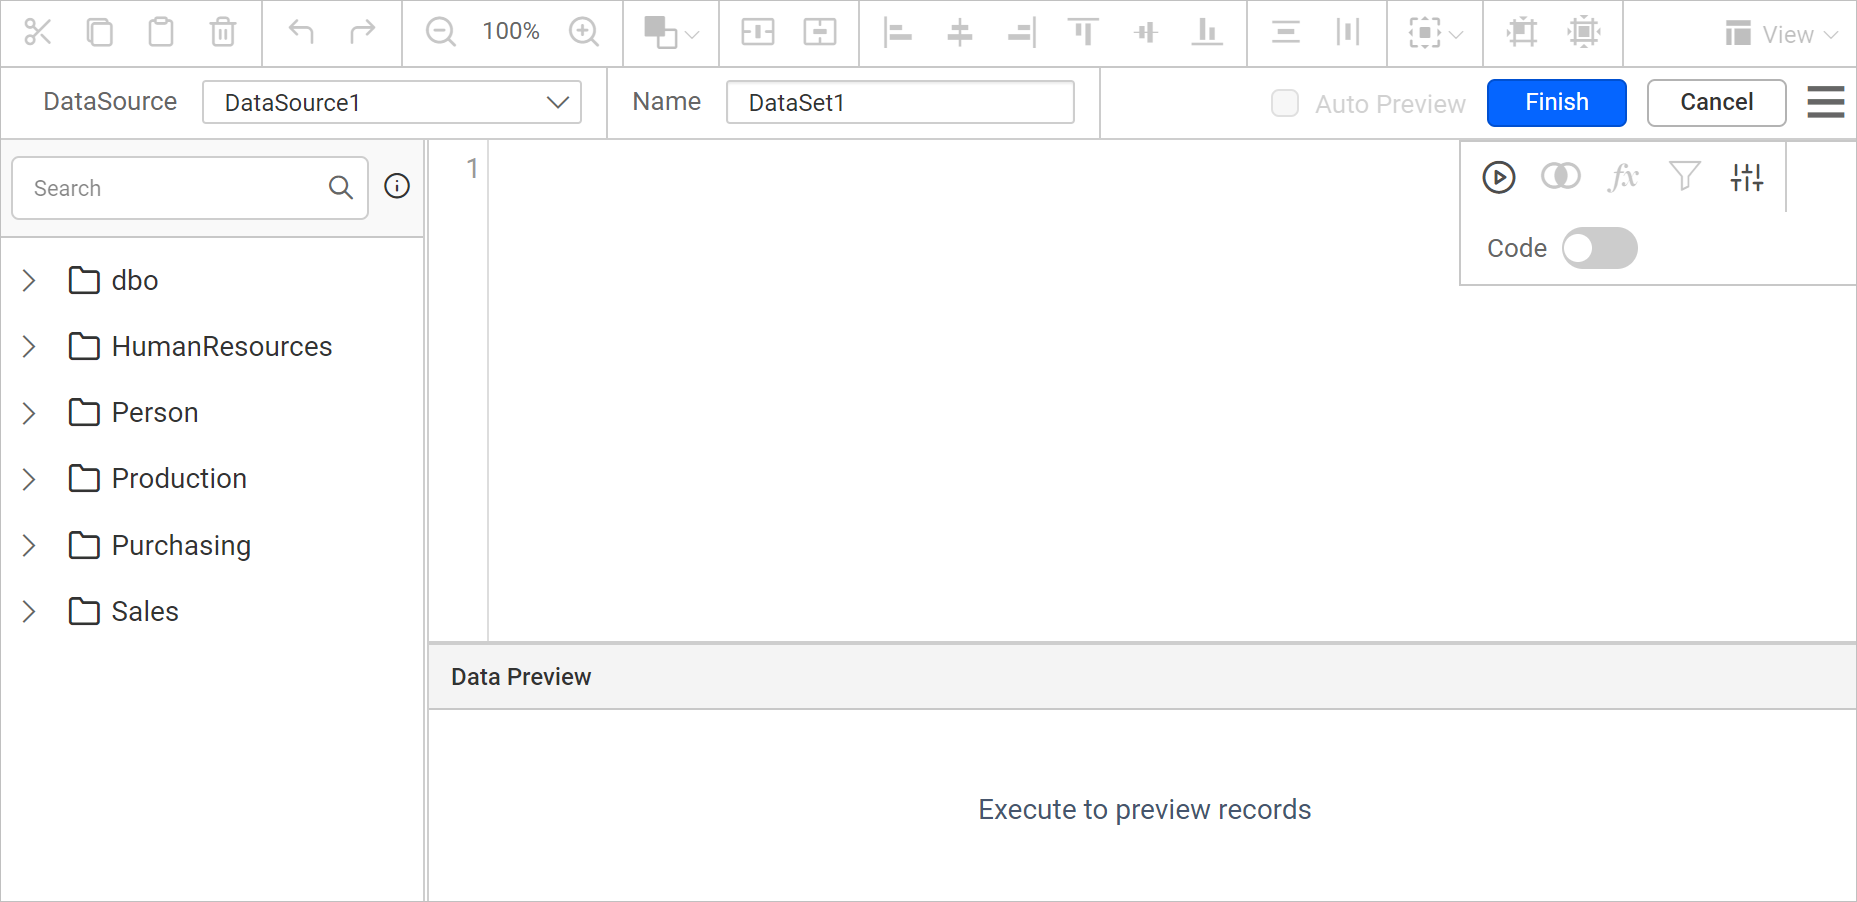
By default, the query design view opens with design view. Switch to the code view by enabling the slider option in the tools pane in query design view as shown (highlighted) in the following image.

This will switch the query editor pane as like below,
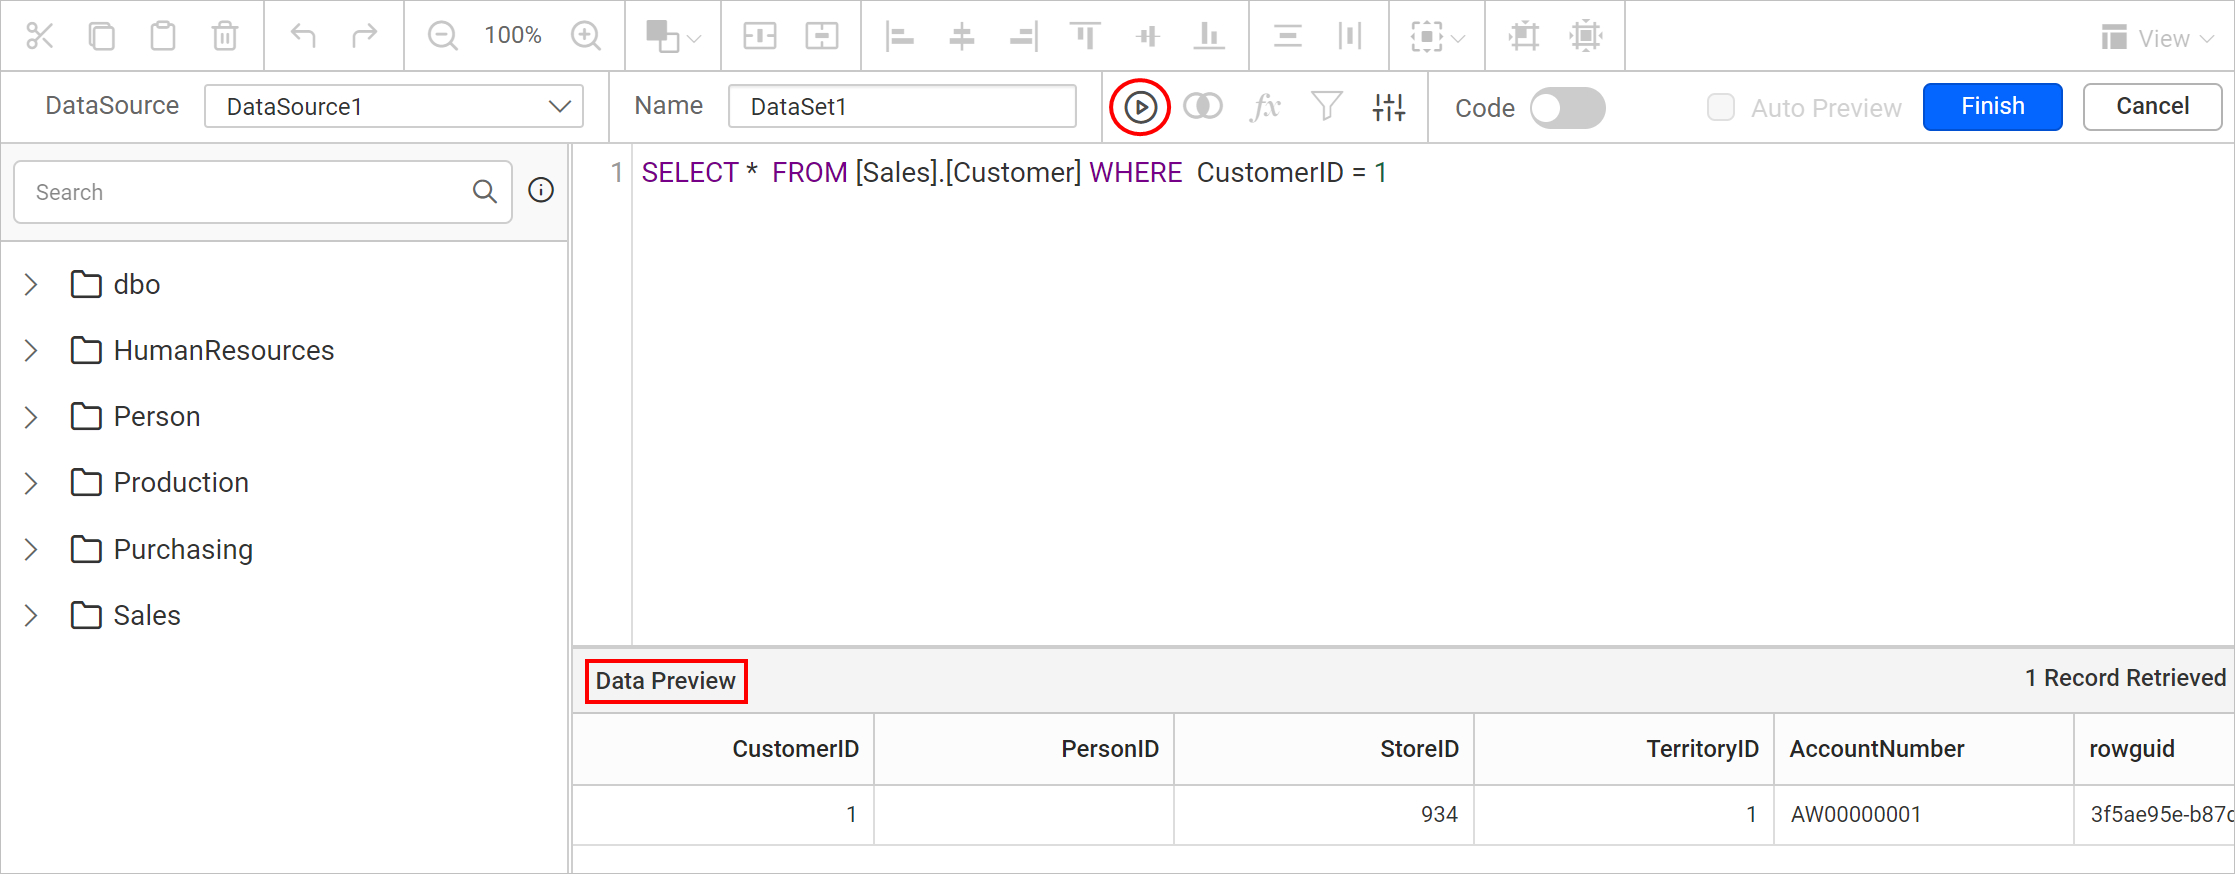
Write query and execute
In the Query Editor pane, you can write your own query which helps you to access table schema information and perform all the operations with respect to retrieving data from your database.
After writing your query, click the Execute option in the tools pane. You can also view the data for your query in bottom of the Query Editor.
If you tried to switch back design view by disabling the Code Slider in tools pane, you will be prompted with an alert message to remove your query for confirmation as proceeding with this action, will reset the code view query.
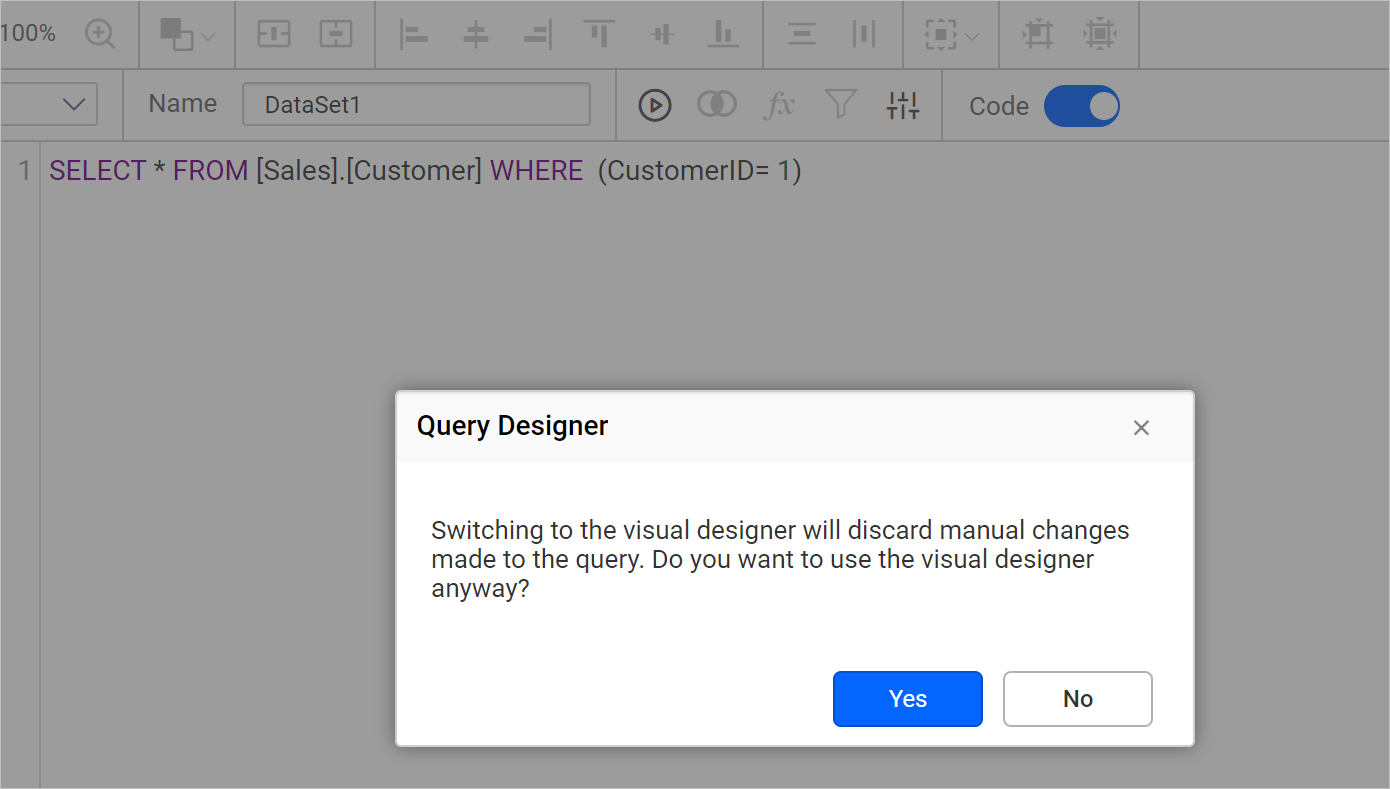
Clicking Yes will discard the query and take you to design view, otherwise click No. Save the data source by clicking the Finish button.
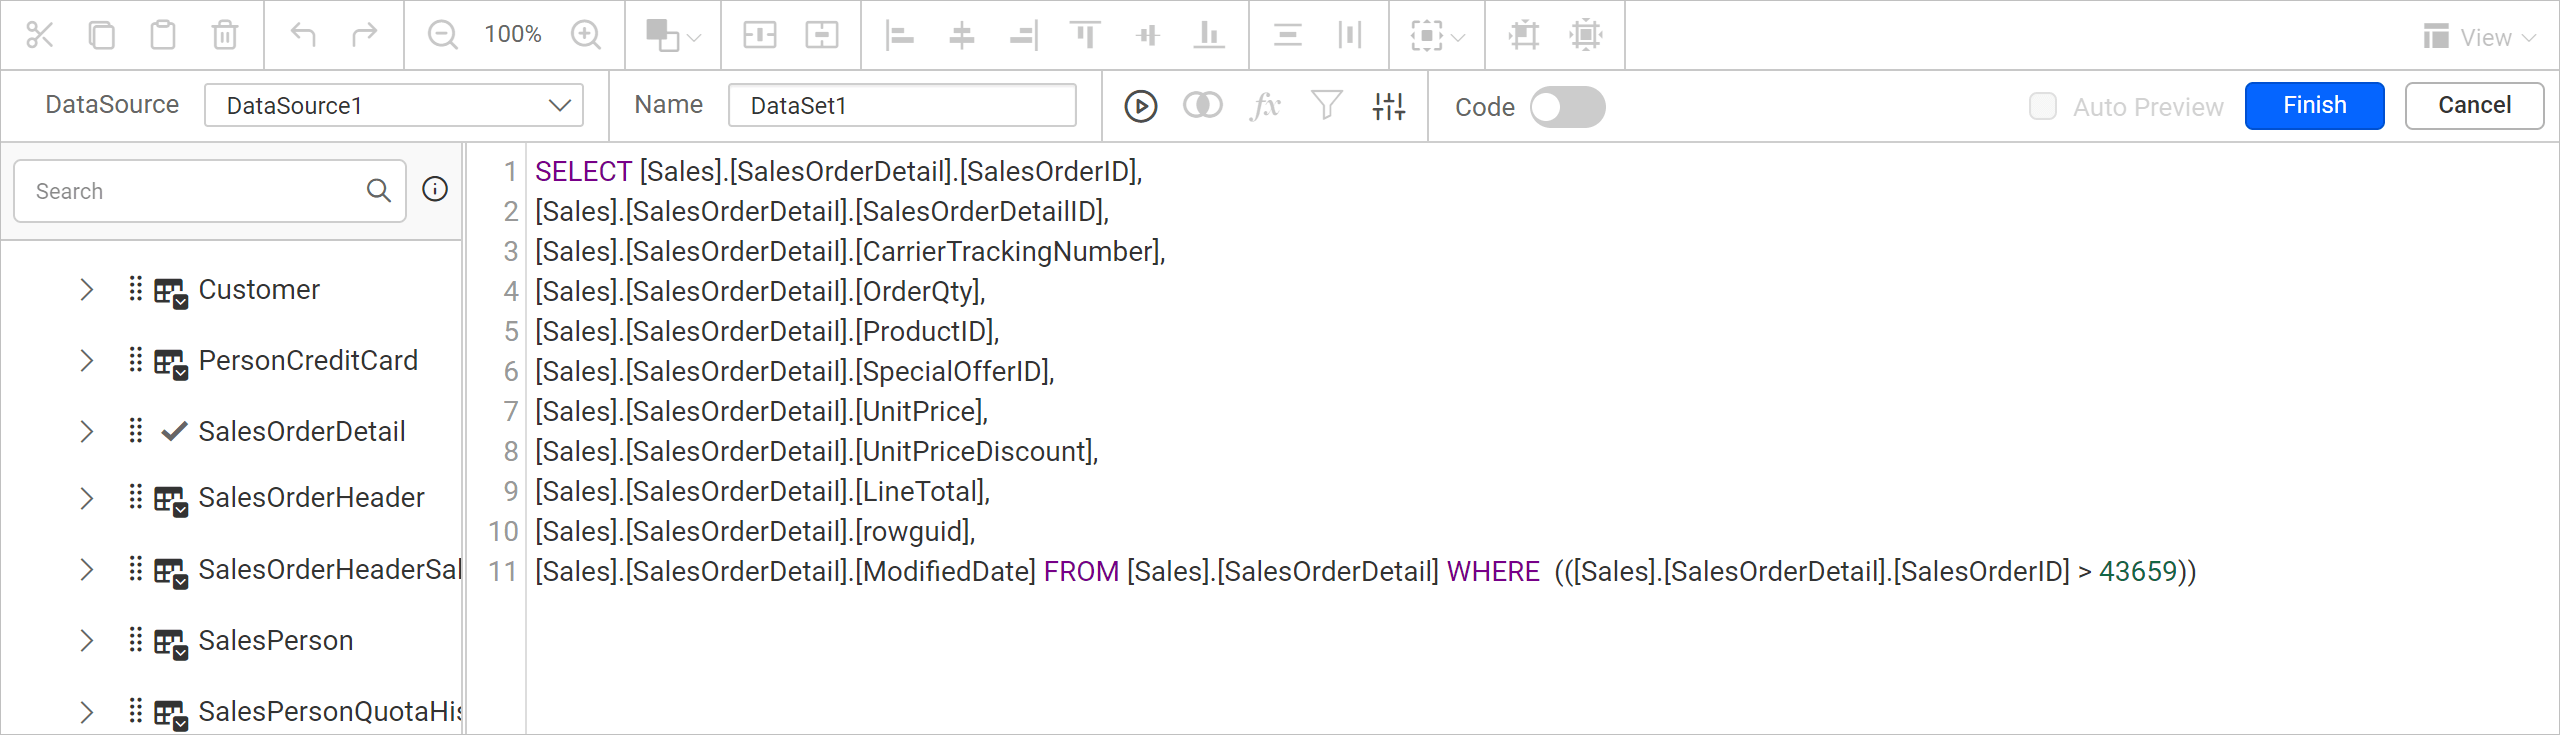
Code view for tables in design view
You can view the query in Query Editor pane for already created a data source in design view.
For example, I have dragged the SalesOrderDetail table in design view and applied filters too.
Then, I tried to enable the Code Switcher to view the query, this query shows the applied filters and whatever changes that made in the table.