How to register custom styles
You can register external custom styles in the Report Server using any of the following methods:
- File Upload
- Custom Location
- Preconfigured Location
Create a custom styles JSON File
Create a JSON file with a user-defined name represented as {name of file}.json, to define the required CSS styles. The file should follow the specified format:
"table header": {
     "font-family": "arial",
     "font-size": "13.333333333333334px",
     "font-weight": "bold",
     "background-color": "#6495ED",
     "border-bottom-color": "navy",
     "border-right-color": "gray",
     "border-left-color": "gray",
     "border-right-width": "1.333px",
     "border-left-width": "1.333px",
     "border-top-width": "2px",
     "border-bottom-width": "2px",
     "border-bottom-style": "double",
     "border-top-color": "navy"
 },
 "header": {
     "background-color": "#6495ED",
     "font-family": "arial",
     "font-size": "0.16666979166666665in",
     "font-style": "normal",
     "font-weight": "bold",
     "color": "white"
 }
Using a File Upload
To apply tenant-specific custom styles, use the File Upload option. This method allows each tenant to upload and manage their own unique styles independently. Follow these steps to configure custom styles using the file upload method:
-
Refer to the File Upload section in Report Server and upload your custom styles JSON file.
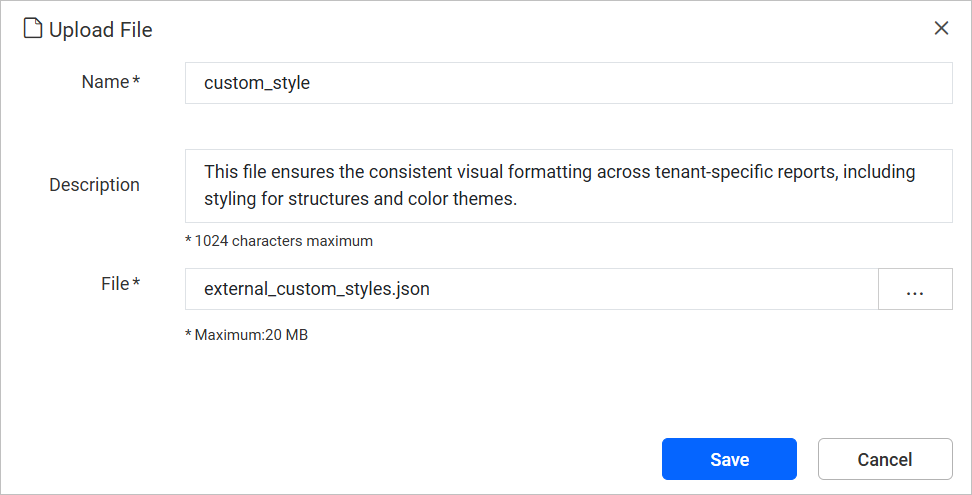
Note: In the Upload File dialog, the Name field must be set to
custom_style -
Once the file is uploaded, another file with the same name [custom_style] cannot be uploaded again.
-
To modify styles in an existing uploaded file, you must re-upload the file. This action can only be performed by the user who originally uploaded the file or by an administrator.
-
If a admin or user does not upload a custom styles file, the system will use the next available configuration, either from a
Custom Locationor aPreconfigured Locationthat is shared across all tenants.
Note: If a report is open in the Designer tab, reload it after uploading the file.
Using a Custom Location
To register a custom styles from your designated location, choose this option. The custom styles will be shared across all tenants, which provides the flexibility to modify the styles in the file from your designated location. After specifying the file path in the configuration file, restart the on-premises server to load the custom styles.
-
Add the reference path to the
custom_styleJSON file in the configuration settings using the following format:<CustomStyleSheet> <FilePath>{path-to-your-custom-style-JSON-file} </FilePath> </CustomStyleSheet>Note: Replace {path-to-your-custom-style-JSON-file} with the path to your custom_style JSON file in the designated location.
-
Once the custom styles file path is configured, any changes to the file can be applied without restarting the server.
-
If a admin does not configured the file path in configuration settings, the system will use the next available configuration from a
Preconfigured Location.

Using the Preconfigured Location
To maintain and load custom styles from the app_data directory, select this option. The styles will remain intact during server upgrades and align with updated resources. After adding the file to the app_data, restart the on-premises server to load the custom styles.
-
Create a folder named
custom-stylesin below location: {Installed location}\BoldServices\app_data\reporting\configuration.Note: The folder must be named
custom-stylesand the JSON file must be namedcustom_style.json. -
Inside this folder, add your JSON file named
custom_style.json. -
After placing the custom styles file in the app_data directory, any changes to the file can be applied without restarting the server.