Add a group header and footer to a tablix in Bold Reports®
You add a group header and footer to a tablix data region in the Bold Reports® Web Report Designer from the Row Groups pane of the grouping panel. The header adds a static row above each group and the footer adds a static row below it.
How do I add a group header and footer?
You add a header and footer in the Web Report Designer by creating a parent group with the Add Group Header and Add Group Footer options enabled.
-
Drag and drop the
Tablereport item from the item panel into the design area and assign a dataset to the tablix data region.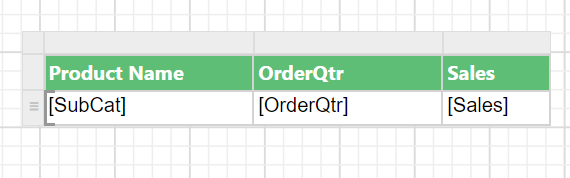
-
Click the table surface to enable the
Grouping Panelin the design view.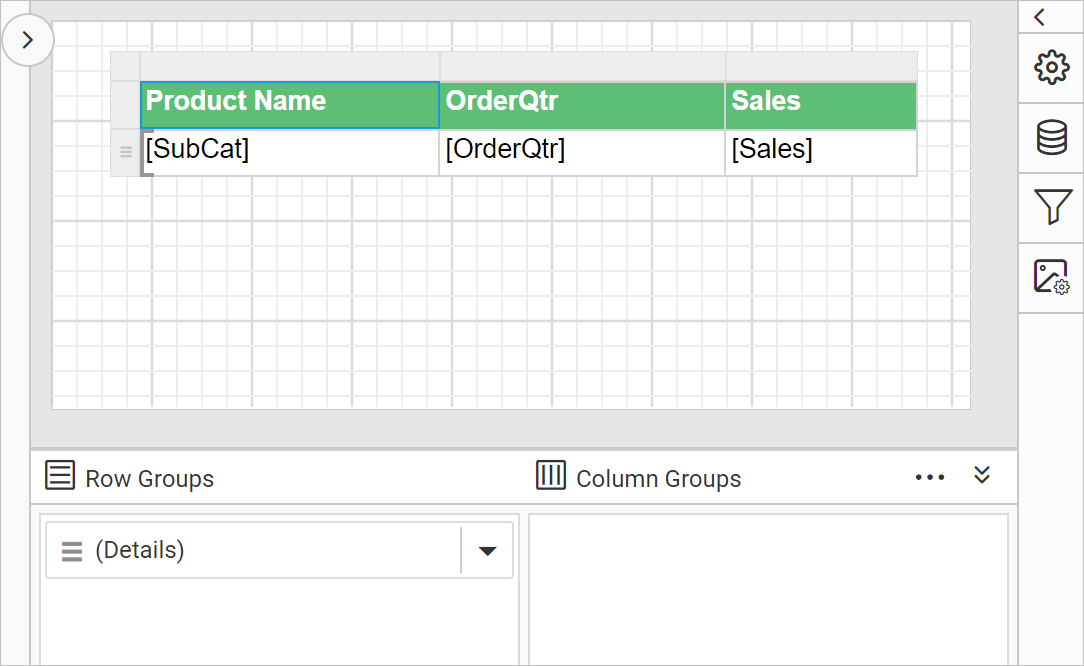
-
Go to the
Row Groupspane in the grouping panel and open the context menu on theDetailsgroup field.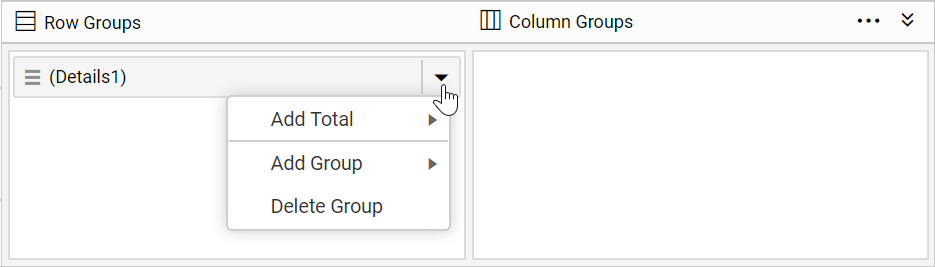
-
From the context menu, click the
Parent Group...option under theAdd Groupcategory.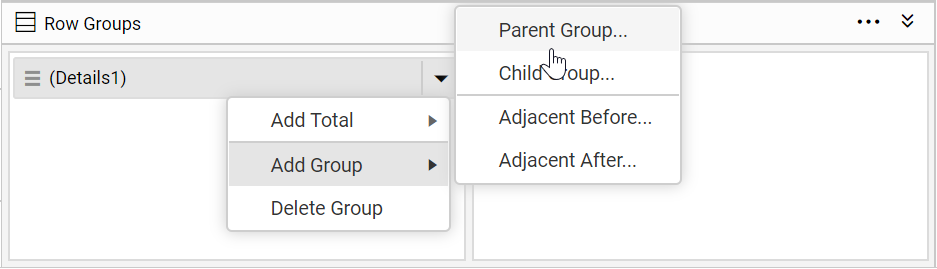
-
Configure the grouping in the
Tablix Groupdialog that opens after you click theParent Groupoption.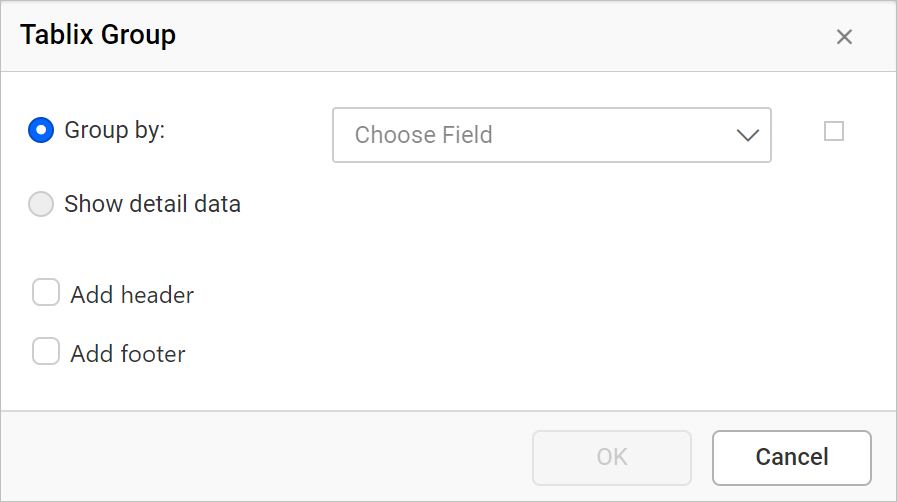
- Group By: Lists the dataset fields based on the dataset assigned to the tablix region. You can also click the square icon to create an expression.
- Add Group Header: Enable this option to add a header to this group.
- Add Group Footer: Enable this option to add a footer to this group.
-
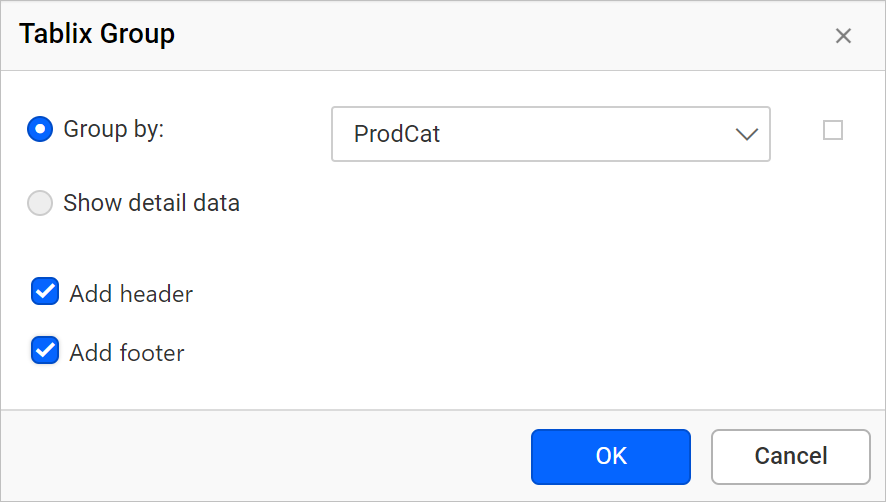
Choose a dataset field in the
Group bydrop-down list. -
Select
Add headerto add a header row to the group and selectAdd footerto add a footer row to the group. Click theOKbutton.- Add header - Adds a static row above the group.
- Add footer - Adds a static row below the group.
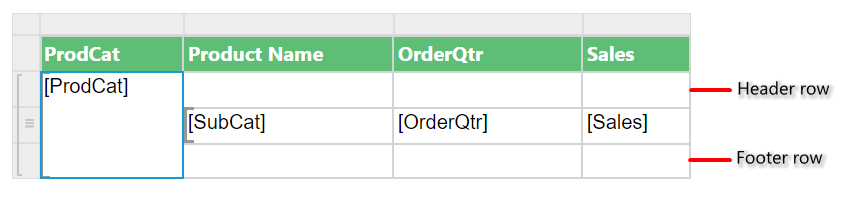
A static row is now added above and below the group in the tablix data region.
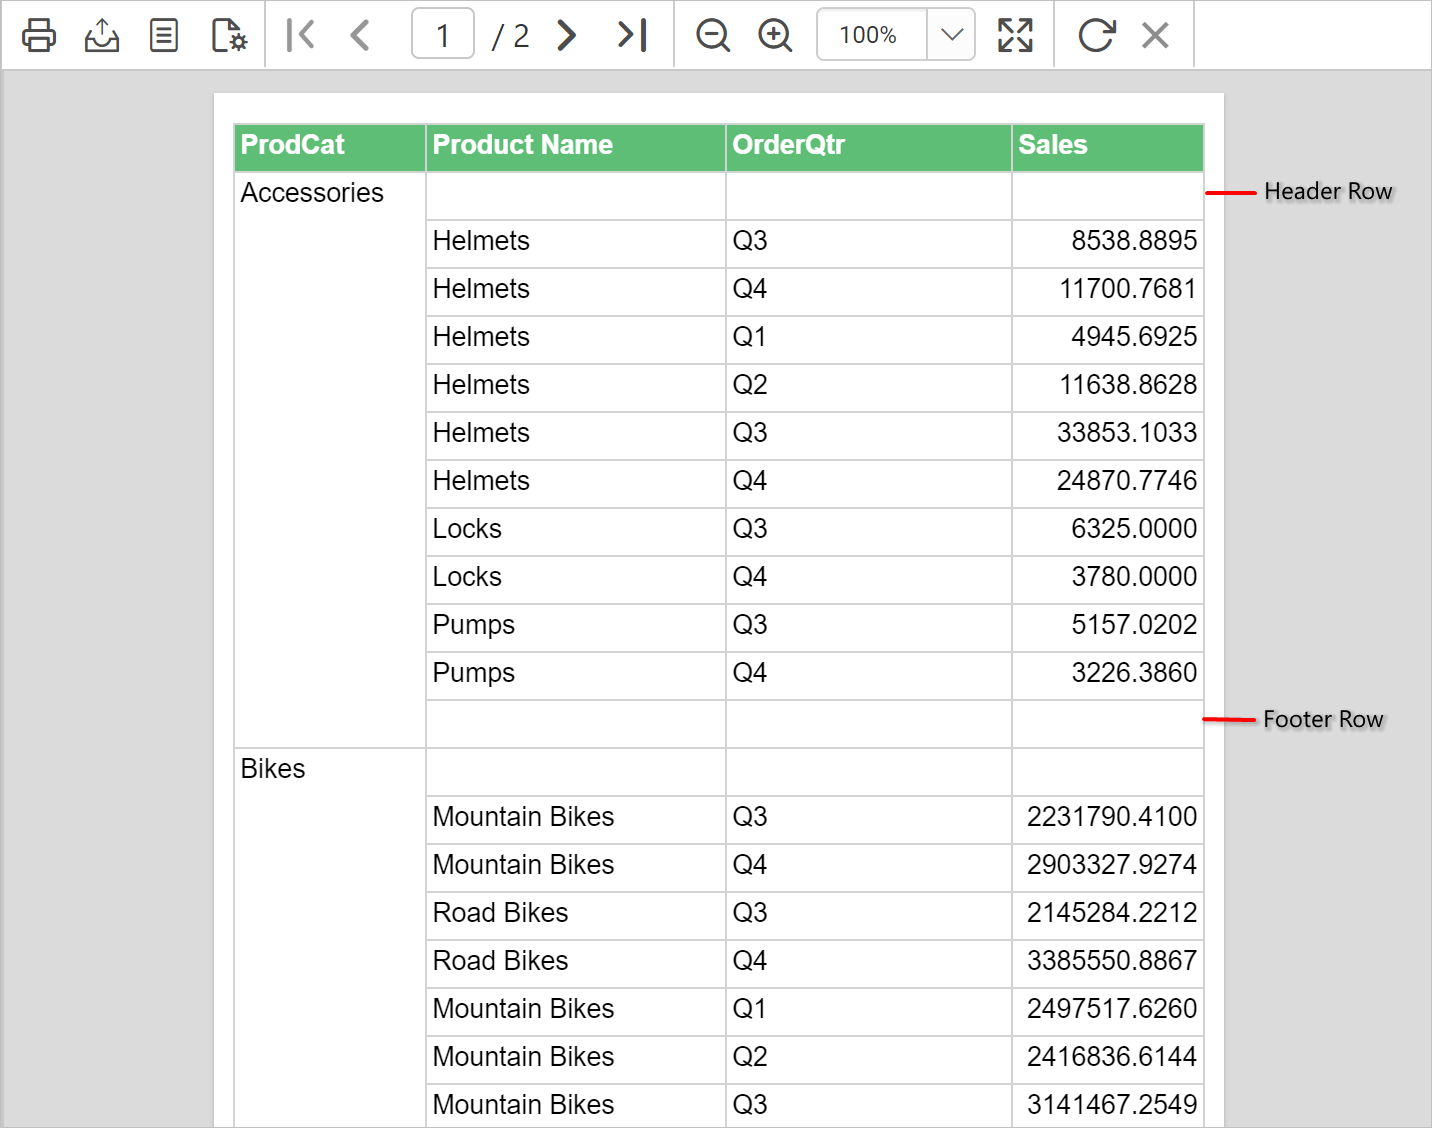
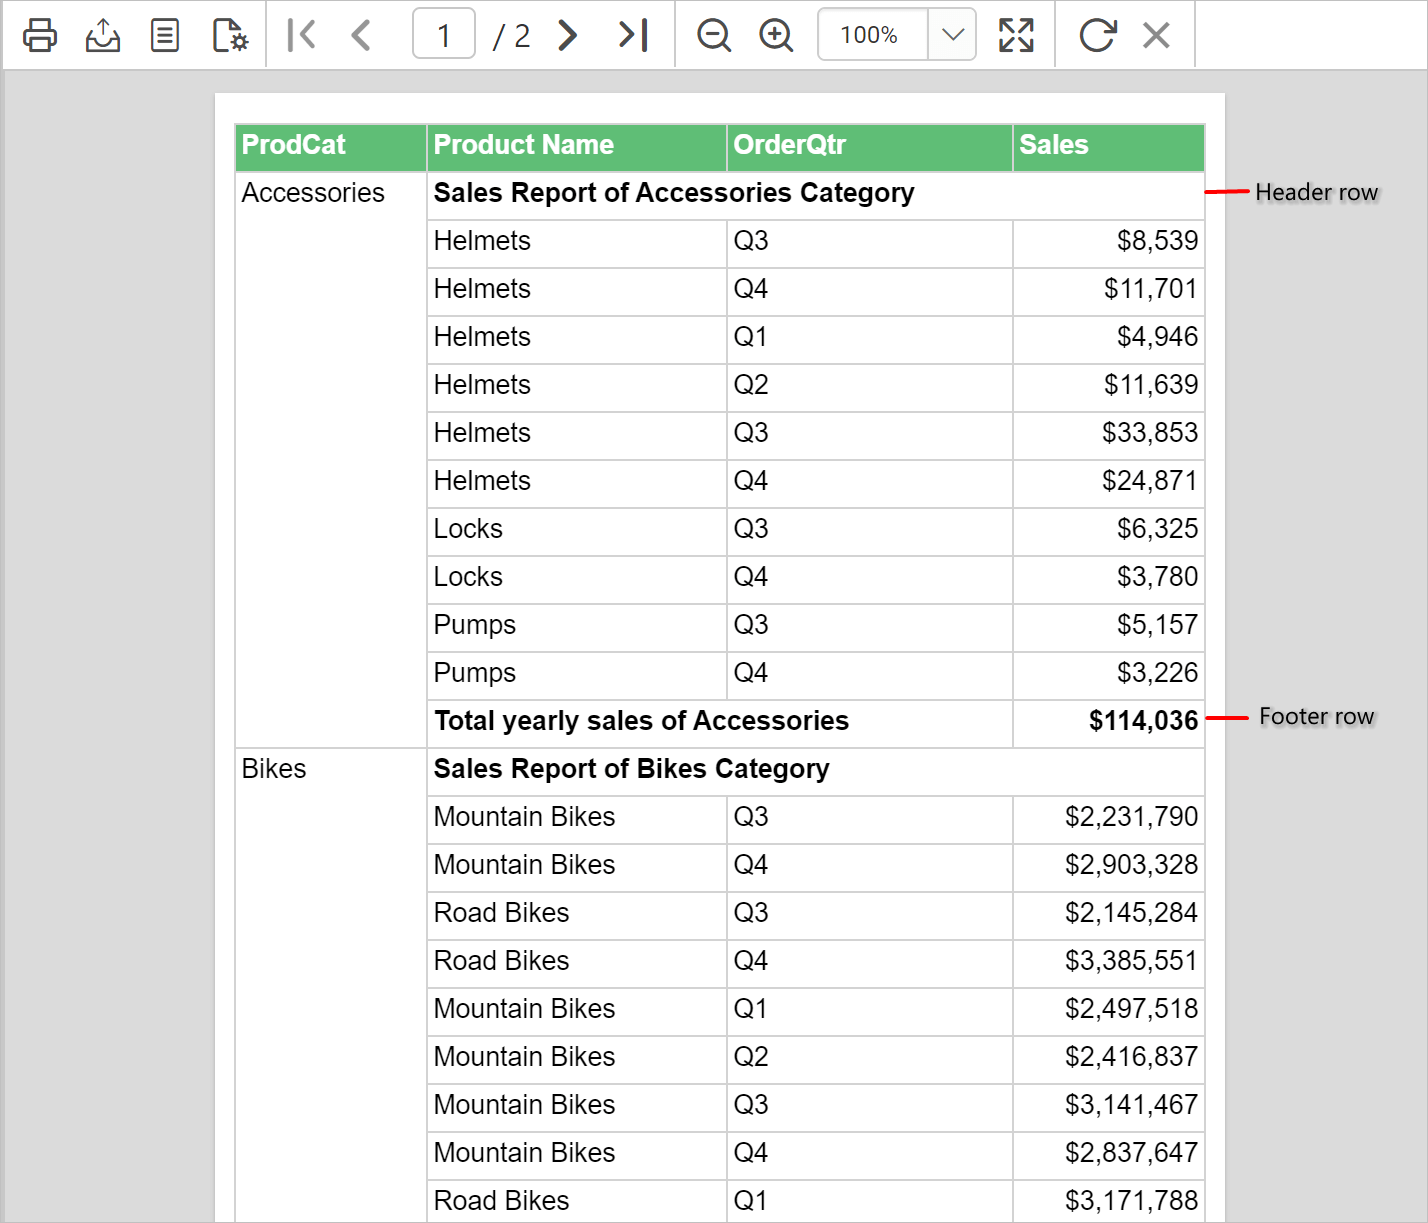
On report preview, the header and footer are added for each group.
How do I format the header and footer?
You can display data, label content or a total in the group header and footer of a tablix data region in the Bold Reports® Web Report Designer. The steps below merge cells and set expressions.
How do I merge header cells?
You merge header cells in the Web Report Designer from the cell context menu.
- Select the header cells and right-click in the cell. Then, click the
Merge Cellsoption.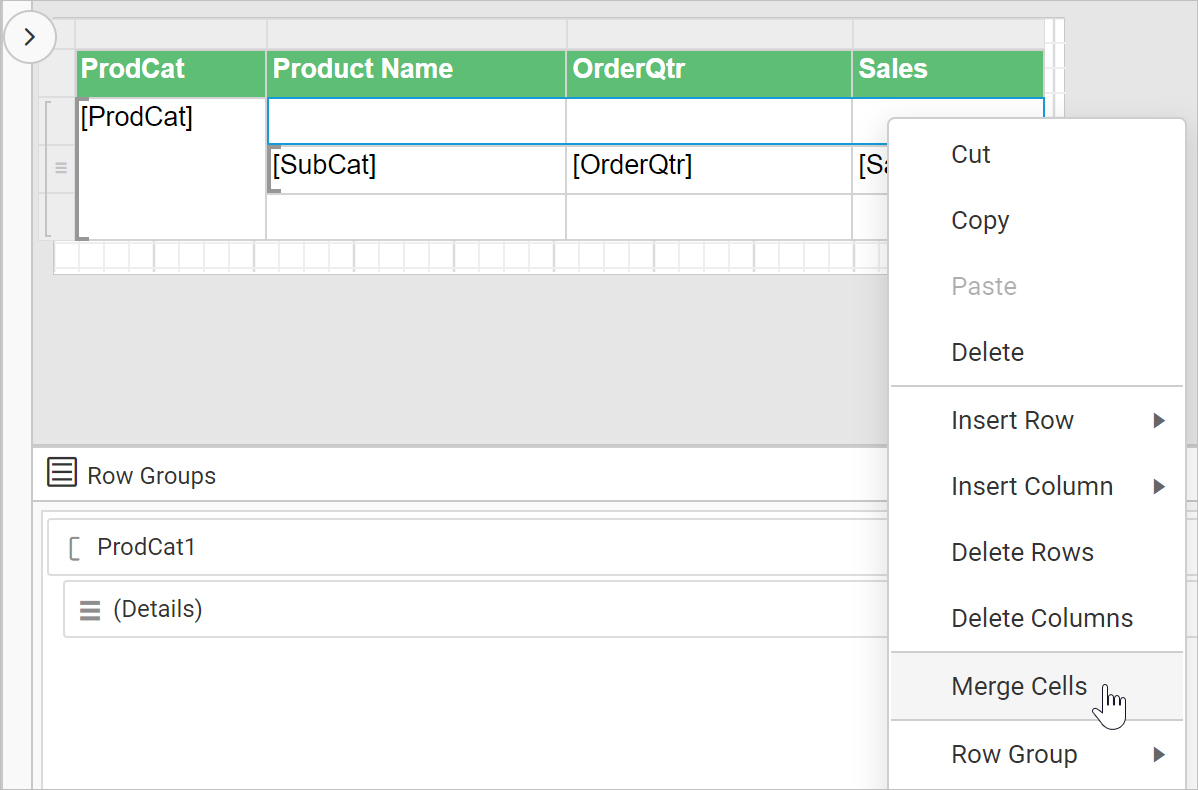
- Set data or label content and format the header cell as required.
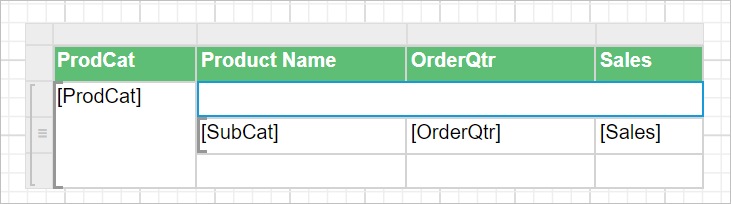
How do I merge footer cells?
You merge footer cells in the Web Report Designer from the cell context menu.
- Select the first two footer cells and right-click in the cell. Then, click the
Merge Cellsoption.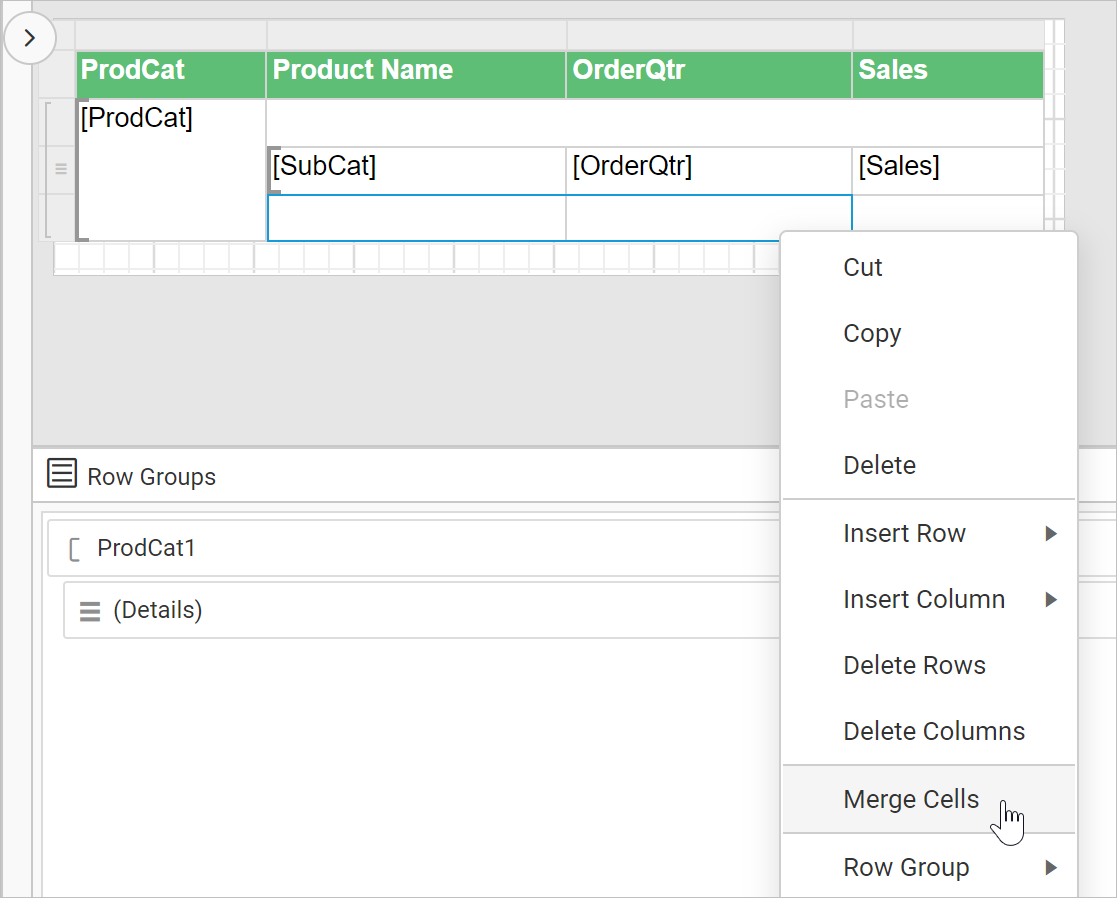
- Set data or label content and format the footer cell as required.
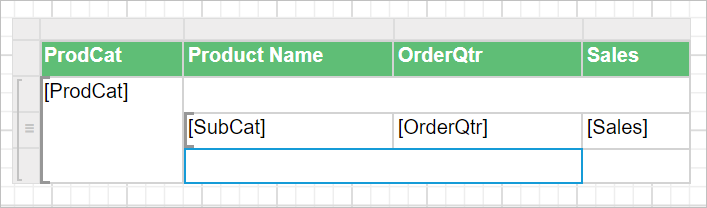
How do I edit the footer cell content?
You edit footer cells in the Web Report Designer by setting expressions in the expression builder.
- Edit the footer cell merged in the previous step and set the expression
= "Total yearly sales of " & Fields!ProdCat.Valueusing the expression builder. Set the font weight property asBoldin the properties panel.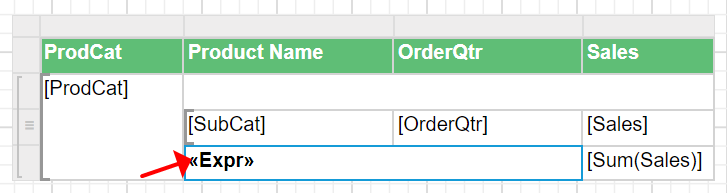
- Set the
=Sum(Fields!Sales.Value)expression in the last cell to calculate the summary of the sales field, and set the font weight property asBoldin the properties panel.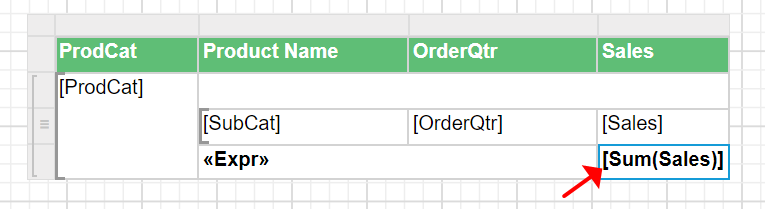
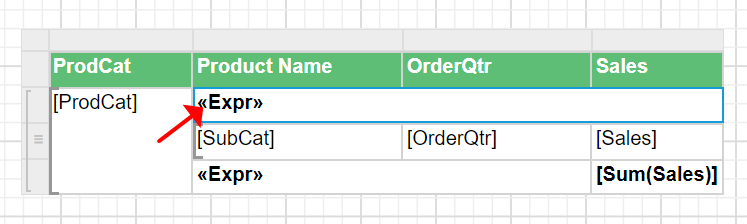
How do I edit the header cell content?
You edit the header cell in the Web Report Designer by setting the = "Sales Report of " & Fields!ProdCat.Value & " Category" expression using the expression builder. Then, set the font weight property as Bold in the properties panel.
What does the report preview show?
The Bold Reports® report preview adds the header and footer for each group.
Download the group header and footer report design (RDL).
Frequently asked questions
Where does the group header row appear?
The Add header option adds a static row above the group, and the Add footer option adds a static row below the group.
What can I show in the group header and footer?
You can display data, label content or a total in the group header and footer of the tablix data region.