Connect to OData data source
Bold Reports® supports connecting OData web services through REST API. You can set the method, headers, data format, and authentication, and pass dynamic values with expressions.
How do I choose the OData data source?
To choose the OData data source in the Bold Reports® Web Report Designer, open the Data configuration panel and select the OData connection type.
- Click the Data icon in the configuration panel.
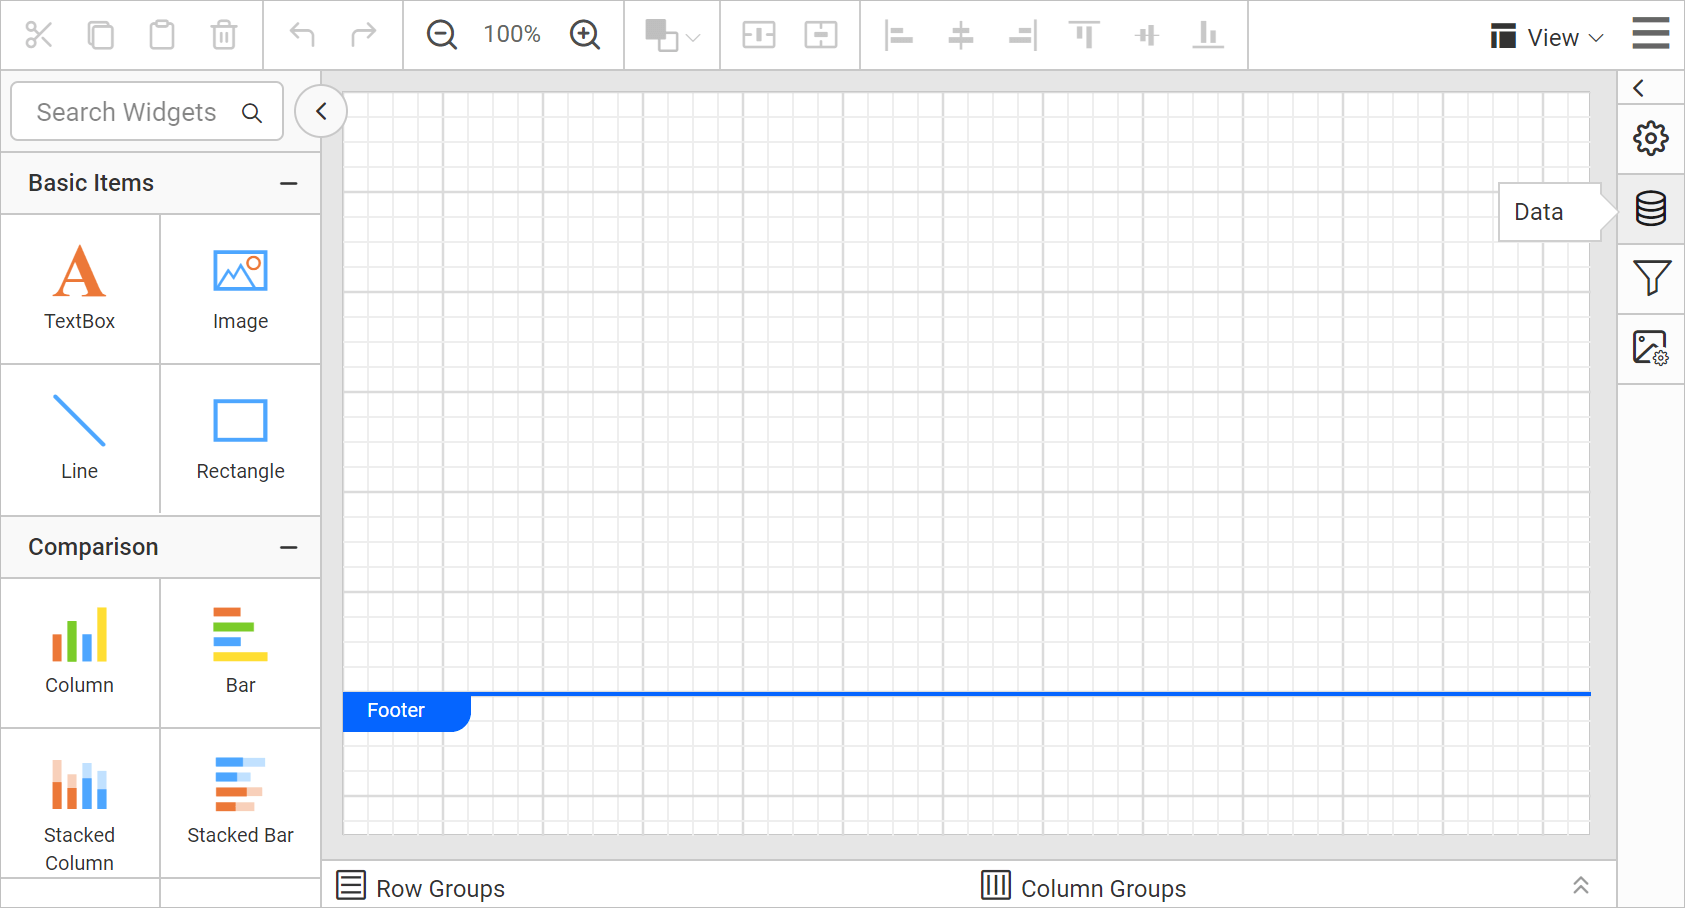
- In the
DATAconfiguration panel, click theNEW DATAbutton.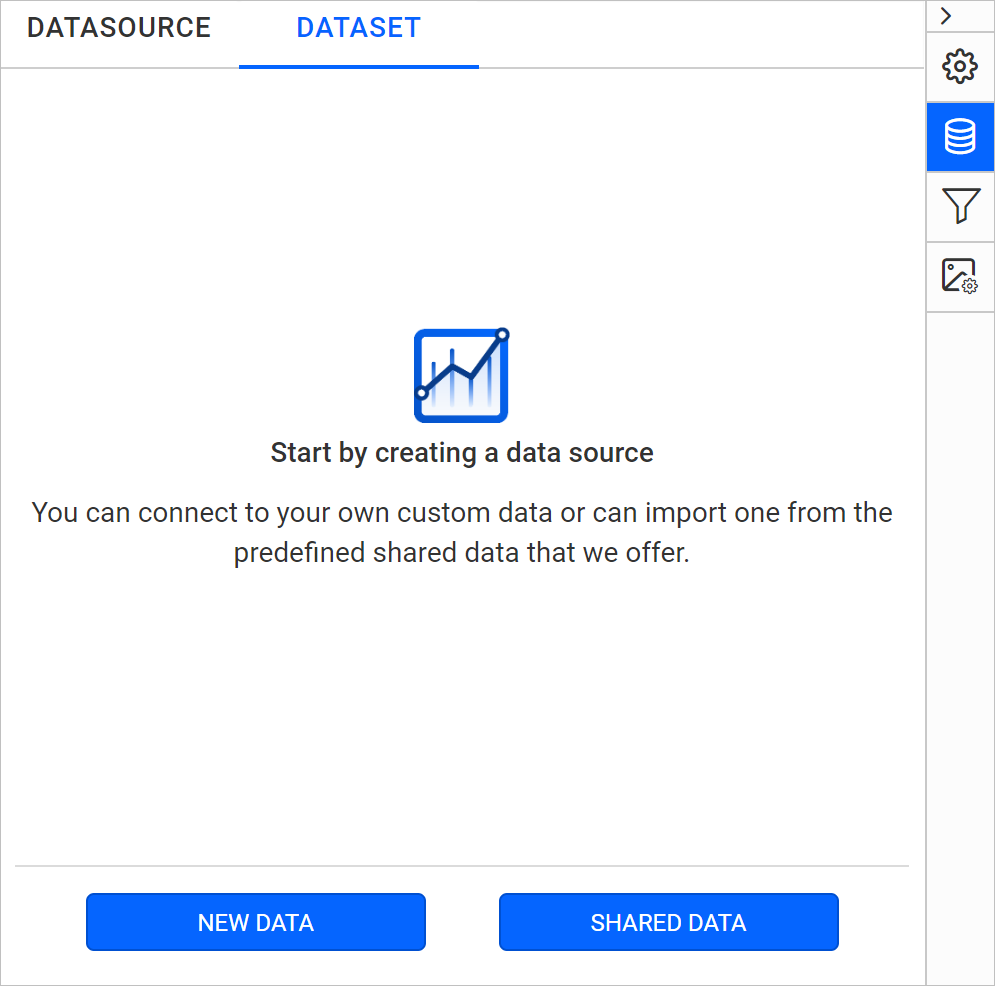
- In the connection type panel, choose the
ODatadata source type.
How do I create an OData data source?
After you click the data source, the Bold Reports® NEW DATASOURCE configuration panel opens. Follow these steps to create an OData data source:
-
Specify the data source name without special characters in the Name field.

-
Enter a valid OData REST API endpoint in the URL textbox. Refer to the OData API documentation for more details.
Example:
https://services.odata.org/V4/Northwind/Northwind.svc/Orders. -
Choose a Method from the drop-down for the provided REST API. Options are GET and POST.
-
If the REST API requires it, provide key value pairs in Headers.
-
Choose a Data Format from the drop-down based on the response of your provided REST API. Options are JSON and XML.
-
Choose an Authentication Type supported by the data source. Options are
Basic http authenticationandNone. Learn more about Authentication Types.If you choose the
GETmethod type, the basic configuration looks similar to the following image.
Based on the REST API service you use, pass the headers, parameters or raw data, data format, and authentication type.
-
Click
Connectto open the query design pane. The left pane shows the key fields of JSON data retrieved from the OData Rest API request.
-
Drag and drop the table from the left pane in the query design view page and execute. The corresponding values appear in a grid for preview.

Note: In schema tree, the nested fields in the specified OData service will be shown as flat structure.
-
Click
Finishto save the data source with a relevant name and continue designing the report.

Which data formats can I use?
The Bold Reports® OData data source lets you choose the data format of the response for the provided Rest API in the Data format drop-down.

CSV data format
When you select the CSV format in Bold Reports®, the Separator options appear, as shown in the following image. Choose the separator from the given options.

Authentication types
The Bold Reports® OData data source supports two authentication types: None and Basic HTTP Authentication.
Use the None type in the following cases:
- To connect OData services without any authentication, choose None under Authentication Type.
- If your data source supports API Key/API Token authentication, pass these values under Header(s) by clicking +Add. Choose None under Authentication Type.
Use Basic Http authentication if your OData service requires a username and password to authenticate. Choose Basic HTTP Authentication under Authentication Type and input the username and password.
How do I pass dynamic values?
Bold Reports® lets you pass dynamic values for the URL, headers, and parameters using Expressions. To set an expression for a required field, click the square icon provided for that field. For example, follow these steps to set an expression for the URL field:
- Click the square icon in the right corner of the URL field to open the expression menu.

- Choose the
Expressionoption from the menu.
- The expression dialog opens.

- Enter the required expression and click OK.

- The square icon turns black and the URL field shows
<<Exp>>.
To reset the expression, choose the Reset option from the menu. Specify other required connection settings and click Connect. When you click connect for the first time, you are prompted for an actual URL to load data in query design.

Enter a direct URL value instead of an expression and click OK.

The query design view opens.

Similarly, you can set and reset expressions for all the fields that support expressions.
Which sample queries can I try?
You can try the following sample OData URLs with the Bold Reports® OData data source:
https://services.odata.org/V4/Northwind/Northwind.svc/Order_Details
https://services.odata.org/V4/Northwind/Northwind.svc/Customers
https://services.odata.org/V4/Northwind/Northwind.svc/Regions
https://services.odata.org/V4/Northwind/Northwind.svc/Orders
https://services.odata.org/TripPinRESTierService
Configure Timeout setting
Bold Reports® lets you configure the timeout setting for the OData data source. The timeout setting offers greater flexibility and ensures that long-running API requests can complete without interruption. For a step-by-step guide to configuring the timeout setting, check the How To section of this guide.
Timeout setting is not applicable in the Bold Reports® cloud version.
Frequently asked questions
Which HTTP methods does the OData data source support?
The OData data source supports the GET and POST methods.
How do I use an API key with an OData service?
Pass the API Key/API Token values under Header(s) by clicking +Add, and choose None under Authentication Type.
Can I configure the OData timeout in the cloud version?
No. The timeout setting is not applicable in the Bold Reports® cloud version.