Connect to Amazon RDS data source
To connect Bold Reports® to an Amazon RDS data source, open the Data configuration panel in the Web Report Designer and create an Amazon RDS data source.
How do I create an Amazon RDS data source?
To create an Amazon RDS data source in the Bold Reports® Web Report Designer, open the Data configuration panel and choose the Amazon RDS connection type.
- Click the Data icon in the configuration panel.
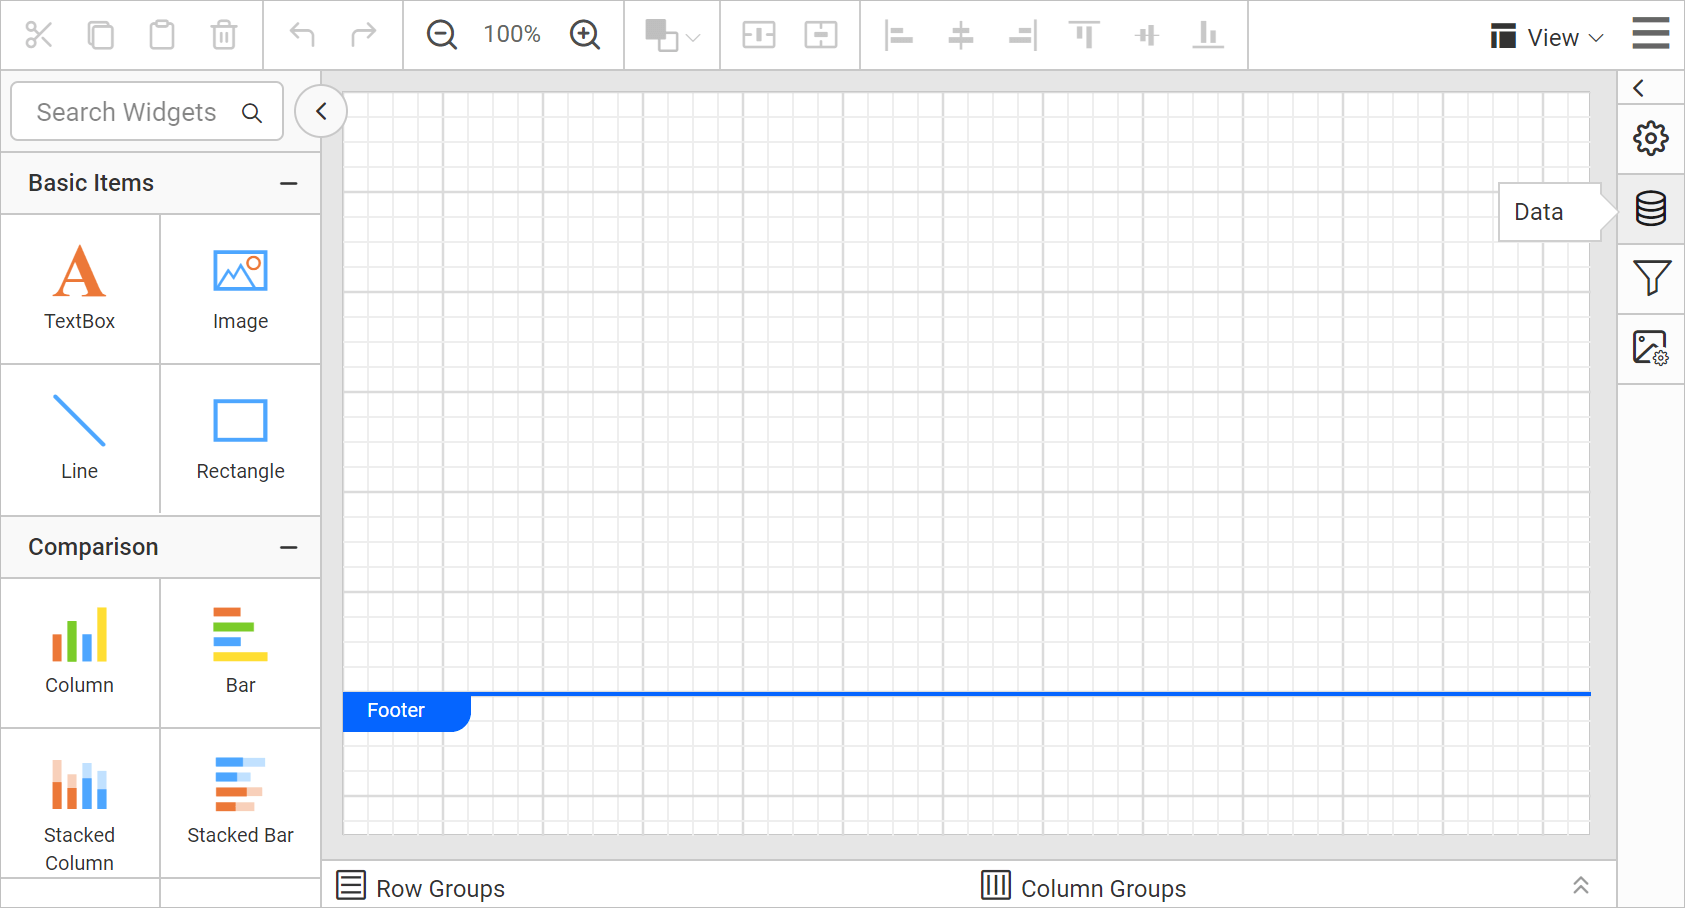
- In the
DATAconfiguration panel, click theNEW DATAbutton.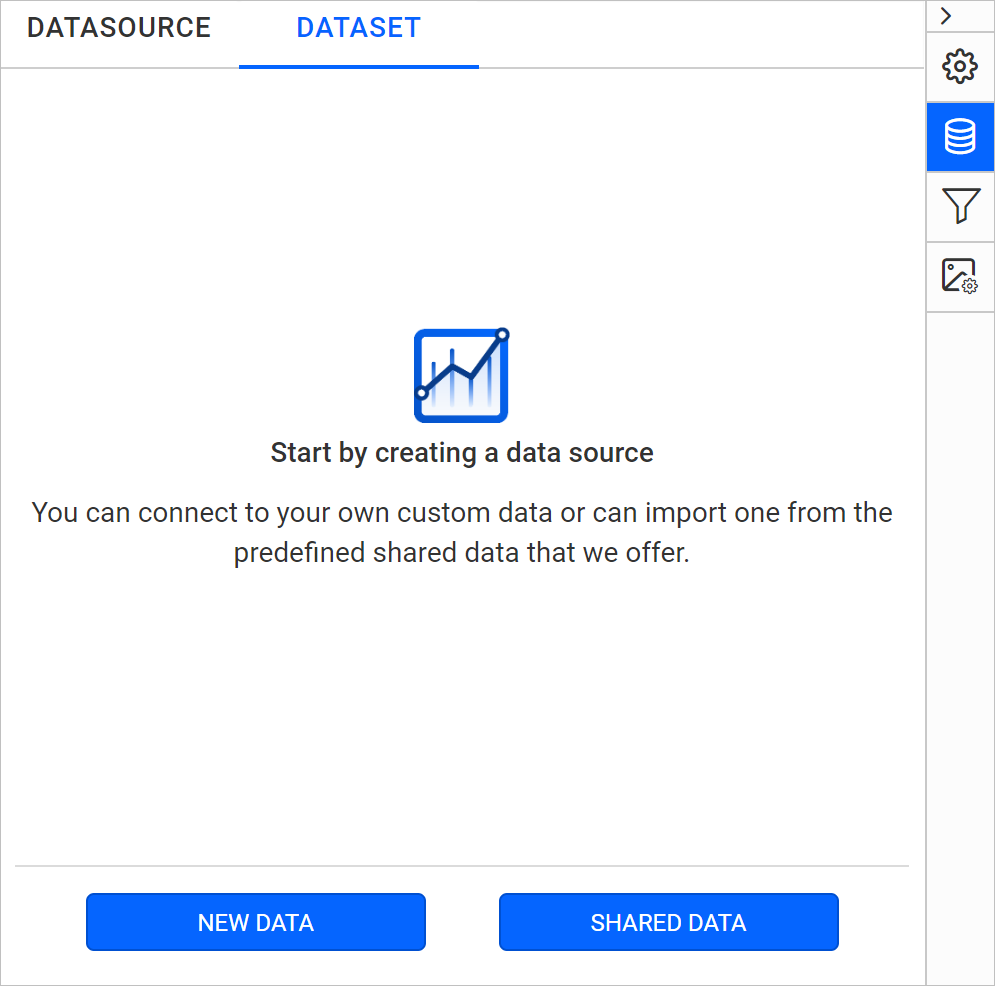
- In the connection type panel, choose the
Amazon RDSdata source type.
How do I configure the basic options?
When you create a new data source in the Web Report Designer, the NEW DATASOURCE panel shows the basic options.
-
Specify the data source name without special characters in the Name field.
-
Select a database engine you want to use with the given Amazon RDS Server from the Database Engine drop-down.
-
Enter a valid Amazon RDS server or host name in the Server Name field.
-
Enter a valid Amazon RDS username in the UserName text box.
-
Enter a valid Amazon RDS password in the Password text box.
-
Select a database that you want to query in the listed database associated with the given Amazon RDS server in the database drop-down.

-
Click
Connectto open the query design pane. -
Enter the required query and execute it. The corresponding values appear in a grid for preview.

-
Click
Finishto save the data source with a relevant name and continue designing the report.

Amazon RDS supported database engine in Bold Reports®
Bold Reports® supports the following Amazon RDS database engines:
- MySQL
- MariaDB
- Amazon Aurora MySQL
- PostgreSQL
- Amazon Aurora PostgreSQL
- SQL Server
- Oracle
The following image shows the Database Engine drop-down.

Frequently asked questions
Which Amazon RDS database engines does Bold Reports® support?
Bold Reports® supports MySQL, MariaDB, Amazon Aurora MySQL, PostgreSQL, Amazon Aurora PostgreSQL, SQL Server, and Oracle for Amazon RDS.
How do I save the Amazon RDS data source?
After you execute the query and preview the values, click Finish to save the data source with a relevant name.