Upgrade Bold Reports Azure App Service version from v1.x to v2.3.x
This section explains how to upgrade Bold Reports Azure app Service from v1.x to v2.3.x .
Create a Bold Reports Azure App Service with latest version
- Create the Bold Reports Report Server Azure App Service by following this link and also configure the application using the database by following this link.
File storage resources for migration
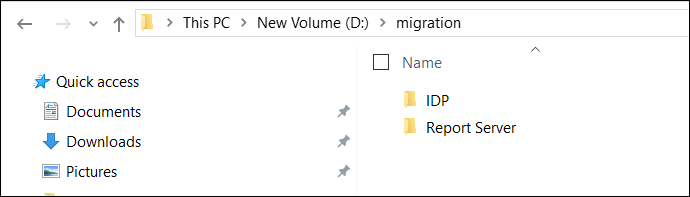
- Create the folder
IDPandReport Serverin your local machine as shown in the following screenshot.
-
Connect your Bold Report Server (single-Tenant) Web App by FileZilla, and then by dragging you can move the App_Data folder to
Report Serverfolder, which you have created.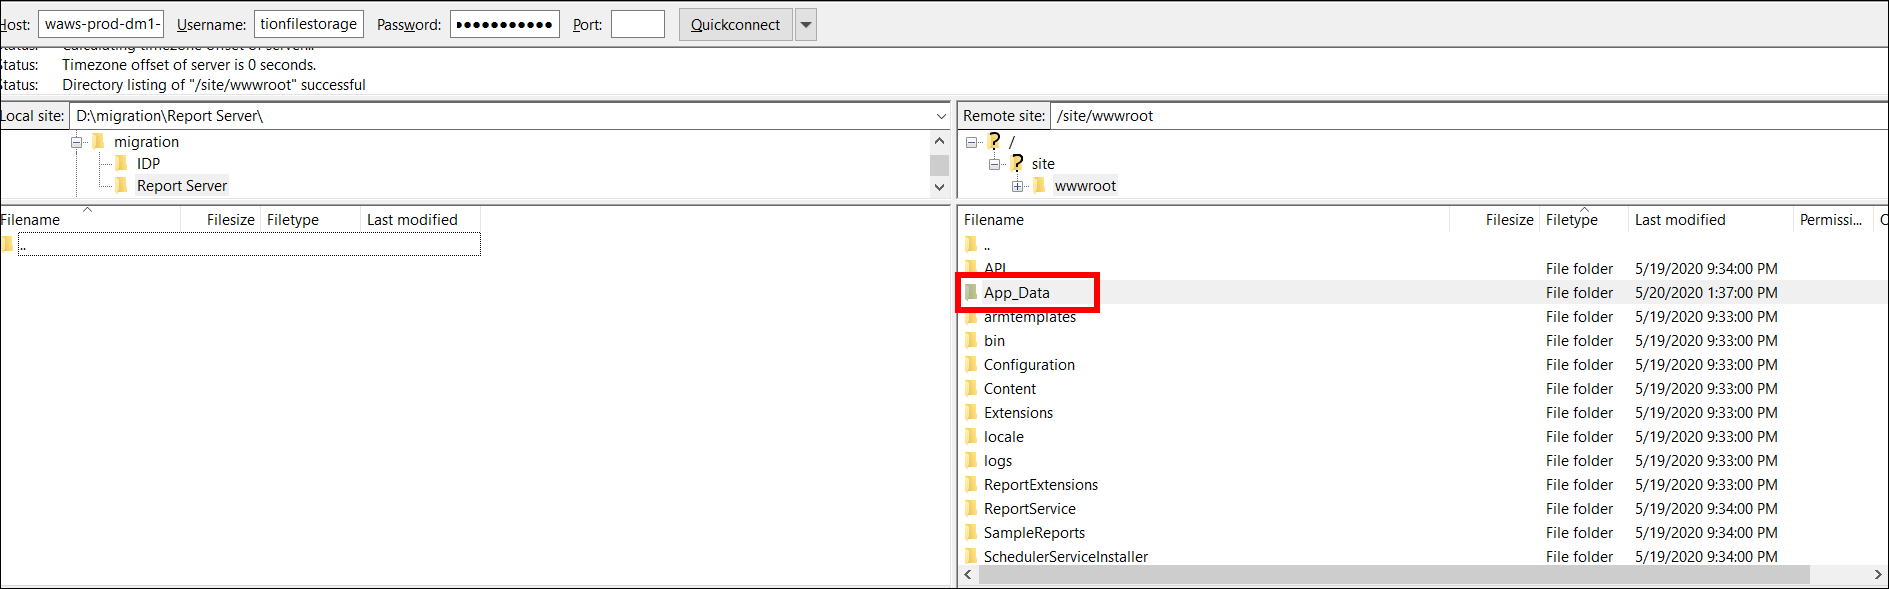
-
Create the following sub-folders structure like
/App_Data/Configuration/underIDPfolder. -
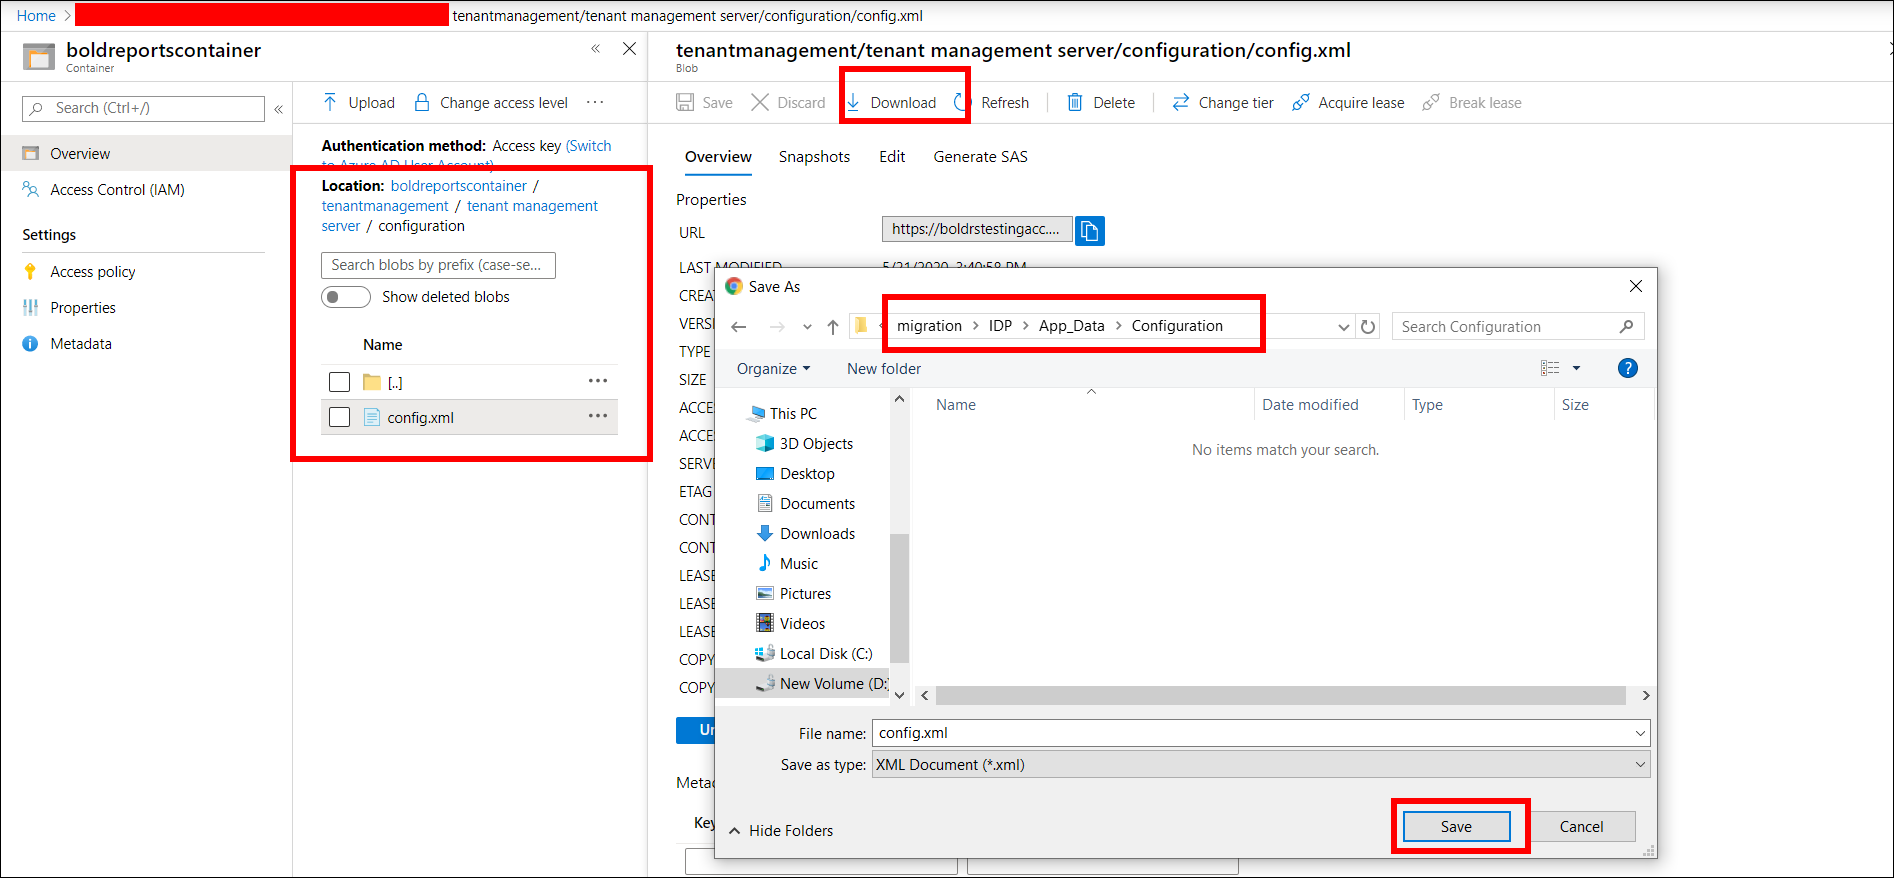
Go to your storage account, which is created at the deployment time of Bold Reports Multi-tenant and in container section navigate to the following location.
boldreportscontainer/tenantmanagement/tenant management server/configuration
- Download the config.xml file to the folder
IDP/App_Data/Configuration.
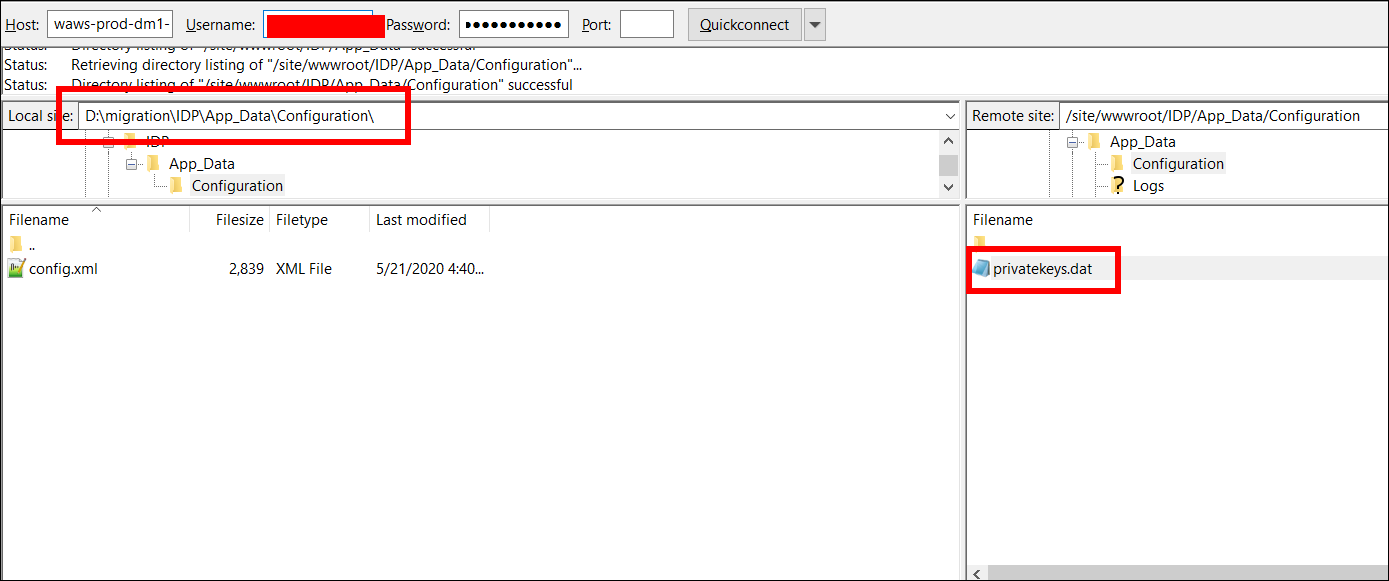
- Connect your
Bold Reports Multi-tenantAzure app by FileZilla, and then drag thePrivatekeys.datfile to the local machine under the folderIDP/App_Data/Configuration/.
- Run the data migration utility.
Azure Blob Storage resources for migration
- Create the folder
IDPandReport Serverin your local machine as shown in the following screenshot.
-
Create the following sub-folders structure like
/App_Data/Configuration/underIDPfolder. -
Go to your storage account, which is created at the deployment time of Bold Reports Multi-tenant and in container section navigate to the following location.
boldreportscontainer/tenantmanagement/tenant management server/configuration
- Download the config.xml file to the folder
IDP/App_Data/Configuration.
- Connect your
Bold Reports Multi-tenantAzure app by FileZilla, and then drag thePrivatekeys.datfile to the local machine under folderIDP/App_Data/Configuration/.
-
Create the following sub-folders structure like
/App_Data/Configuration/underReport Serverfolder in your local machine. -
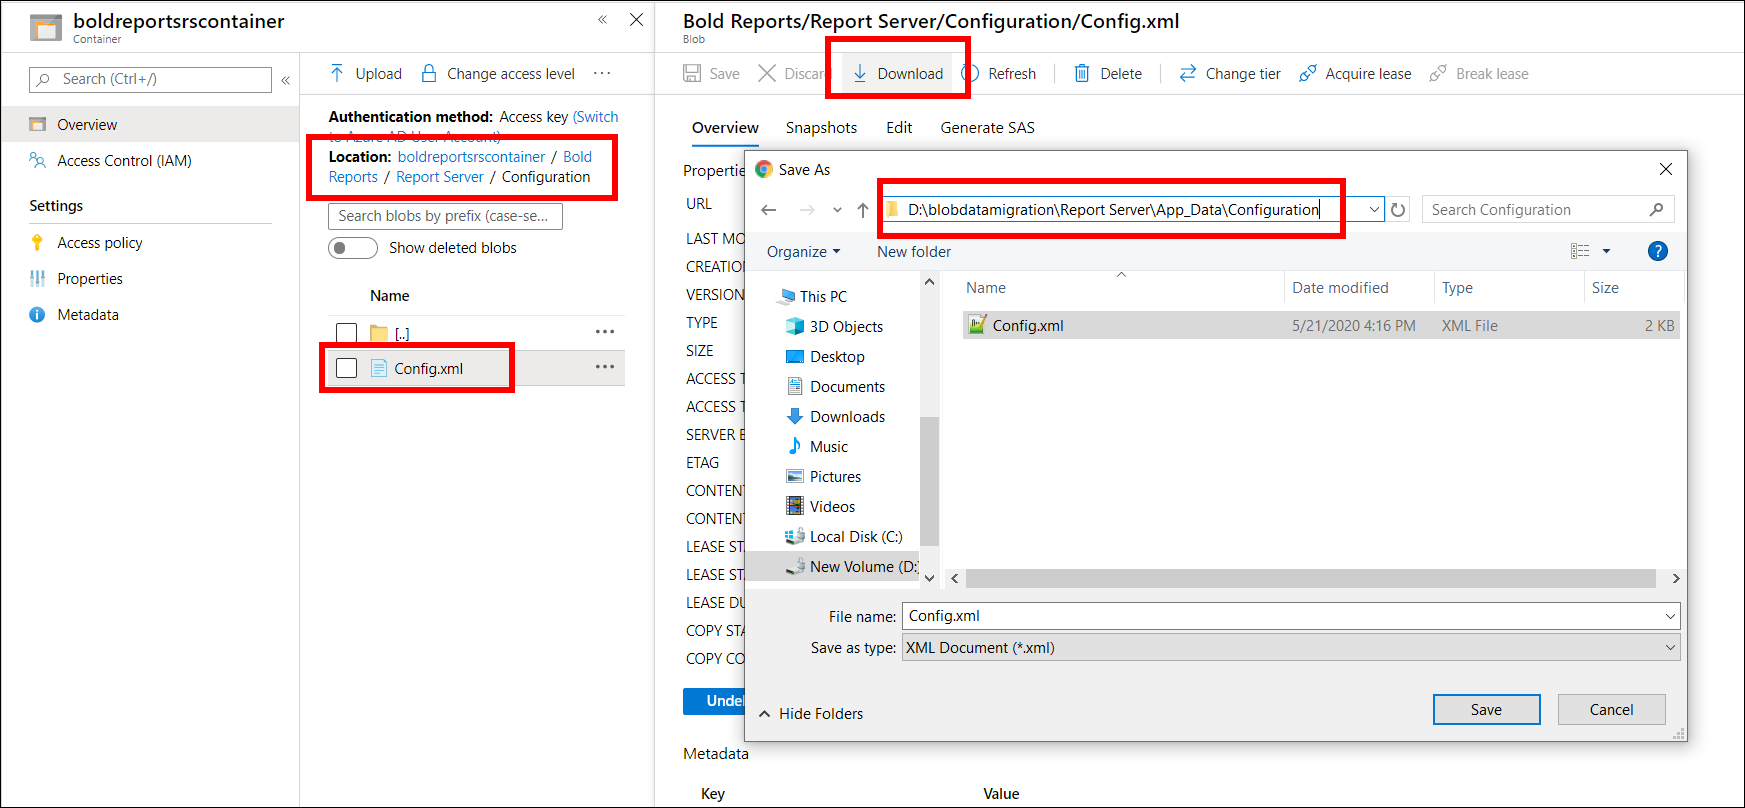
Go to the storage account of previous Report Server (Single-Tenant) and in container section navigate to the following location.
boldreportsrscontainer/Bold Reports/Report Server/Configuration/
- Download the config.xml file to the folder
Report Server/App_Data/Configuration.
- Run the data migration utility.
Data migration with migration utility
-
Download the migration tool from this link.
-
Extract the file and open the
Syncfusion.Server.DataMigration.exe.configfile. You need to update the values to the following listed keys in the config file:<add key="ReportsBackUpConfigPath" value=""/><add key="BoldReportsIDPPath" value=""/> -
Copy the
IDPpath and paste it to the value ofBoldReportsIDPPathkey.
For example, <add key="BoldReportsIDPPath" value="D:\migration\IDP"/>
- Copy the
Configurationpath of the Report Server and paste it to the value ofReportsBackUpConfigPathkey.
For example, <add key="ReportsBackUpConfigPath" value="D:\migration\Report Server\App_Data\Configuration"/>

- Run the tool
Syncfusion.Server.DataMigration.exefrom the extracted location.
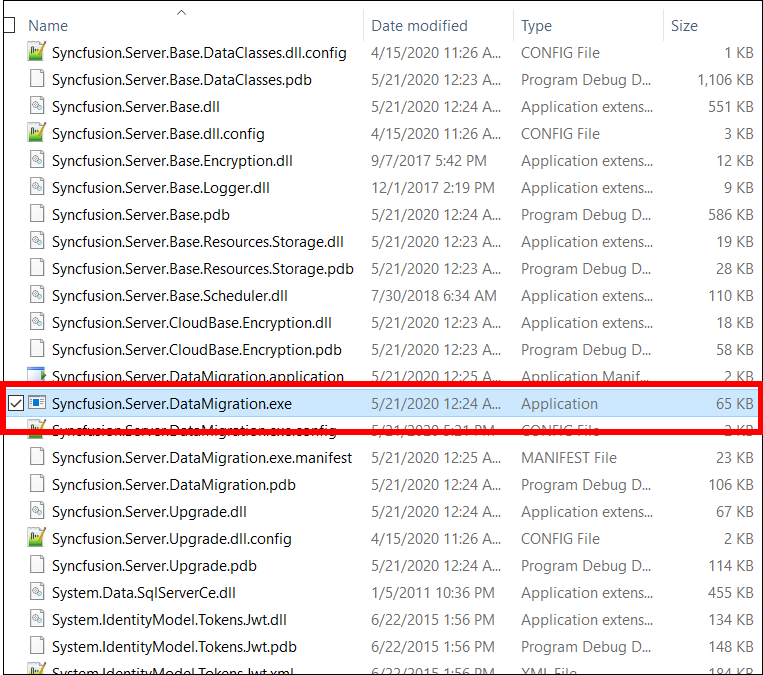
The migration tool will migrate the users, groups, permissions, reports, data sources, datasets, and schedules. The user without email address is skipped, because for the Bold Reports Report Server email is mandatory.