Create a Bold Reports® Azure App Service using the ARM template
To deploy the Bold Reports® Azure web app using the ARM template, follow these steps:
Note: In Bold Reports®, Azure App Service exclusively supports only Blob storage.
-
Log in to the Azure portal.
-
Click Create a resource from the top menu.

-
Search
Template deploymentin the marketplace and select it.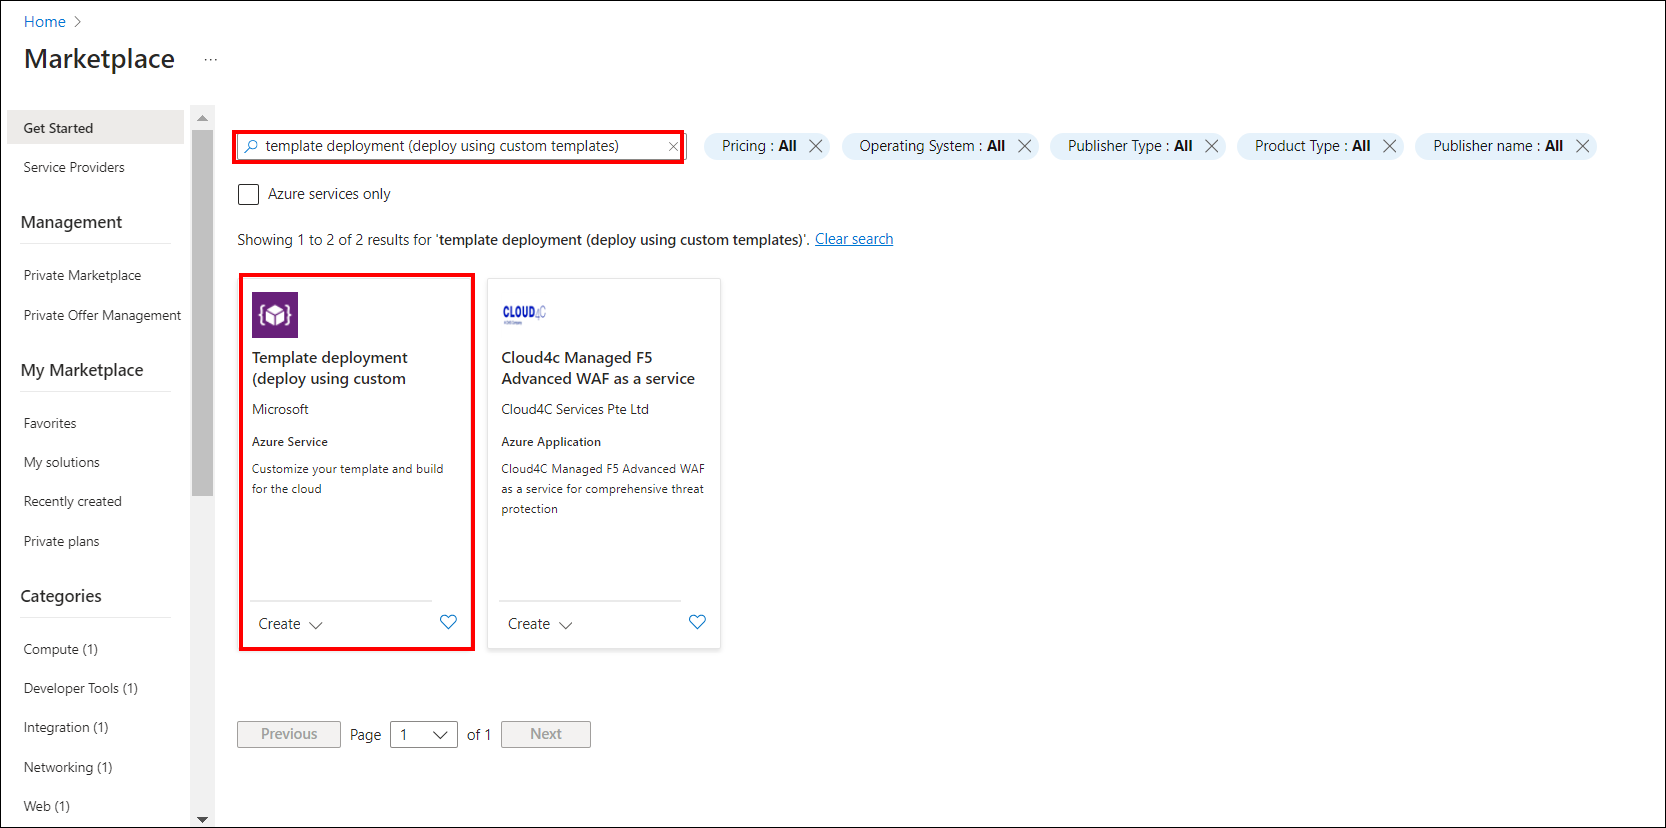
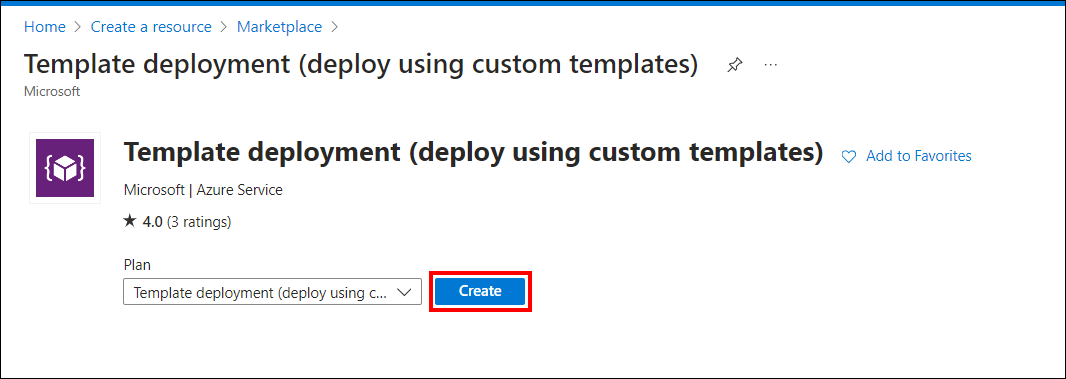
-
Click Create.
-
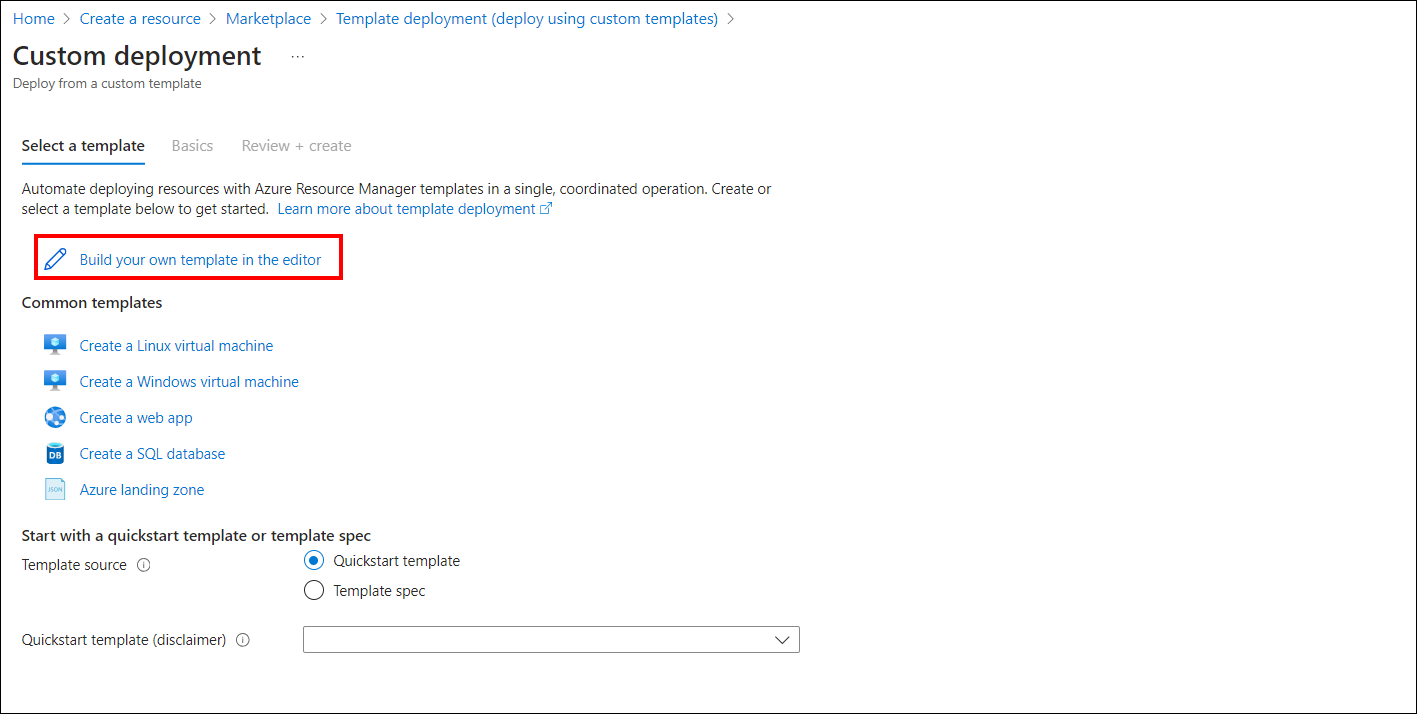
Now, choose Build your own template in the editor within the Custom Deployment window.
-
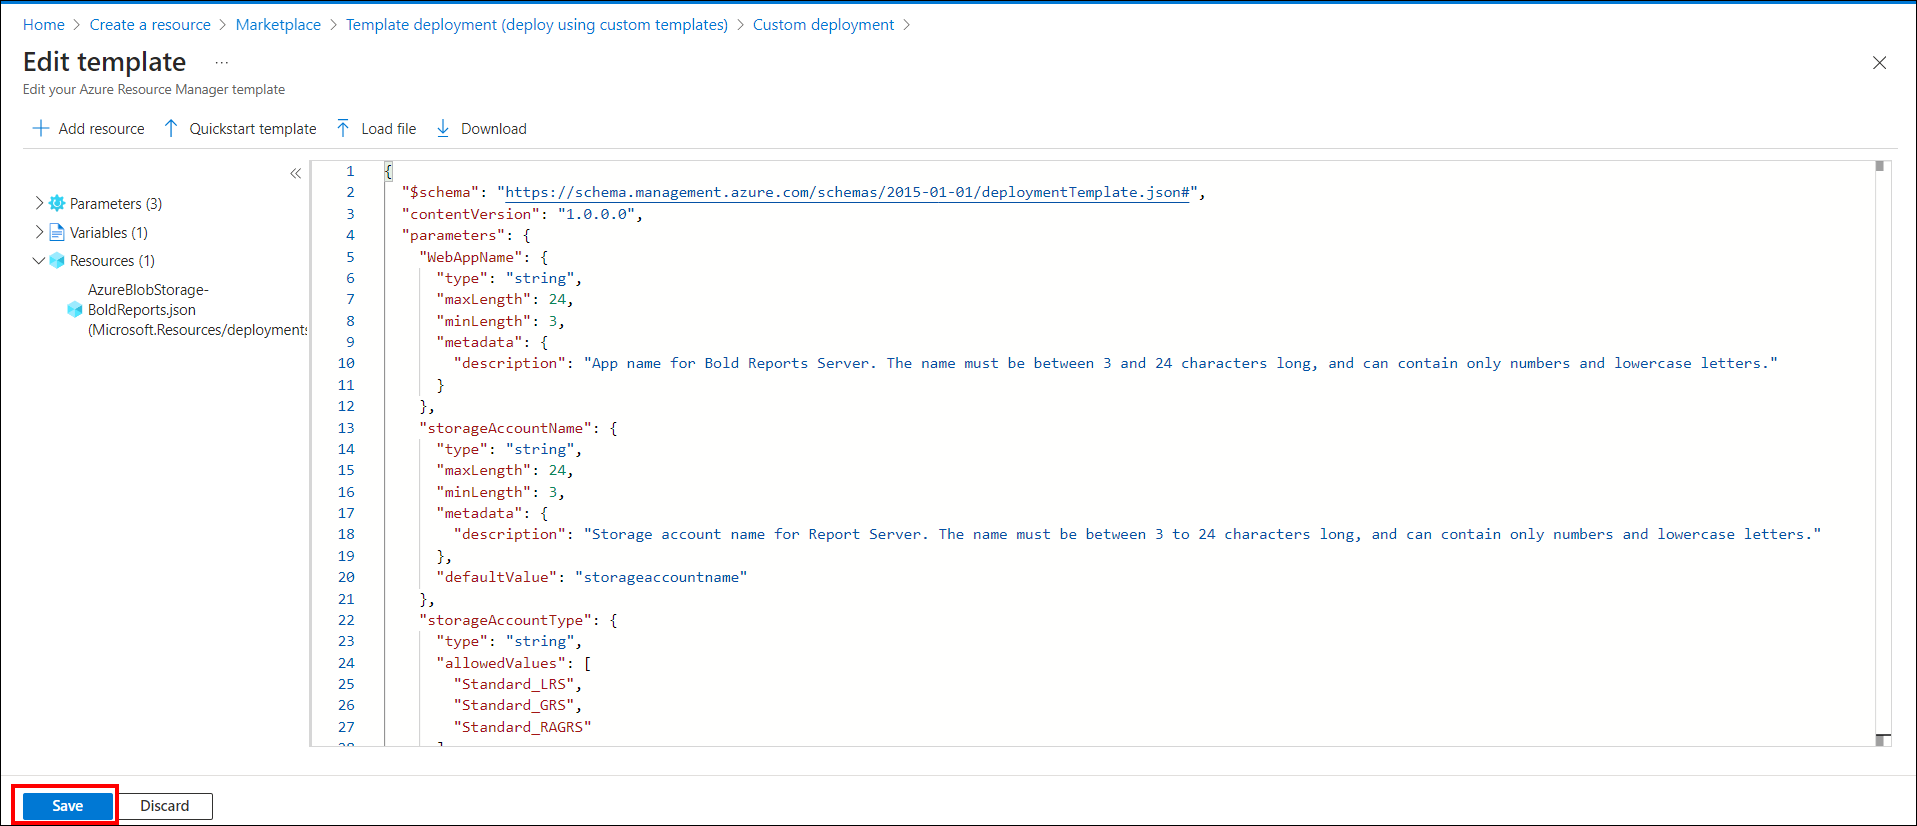
Click here to download the ARM template file.
-
Copy all the contents in the template file and replace them in the Edit template window, and then click Save.
-
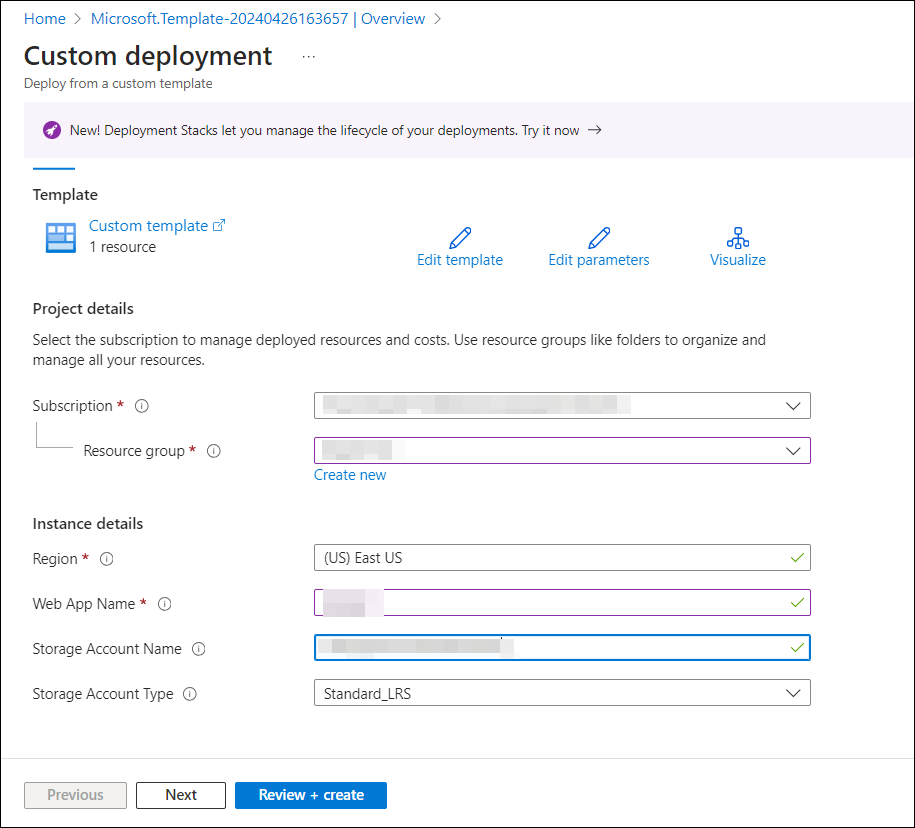
Fill in the details as instructed in the following to complete the deployment steps.
-
Subscription: select the Azure subscription that you have. For more information about subscriptions, visit the Azure Subscription Guide.
-
Resource group: This is a logical group in Azure to group your resources like web apps, storage accounts, networks, etc. Learn more about resource groups from here.
-
Location: Choose the location to deploy the app. The East US is our recommended location.
-
Storage Type: Bold Reports® Web App stores resources in Blob storage.
-
Web App name: This is the name of the Report Server that you want to use in the URL. Since it will be the URL, it must be globally unique. If the chosen name is already in use, the deployment process will fail, and you will need to restart with another unique name.
-
Storage account name: This field is for Blob storage and must be unique, similar to the Web App name. You can learn more about storage accounts in the storage accounts overview.
-
Storage account type: This field is for Blob storage. Learn more about storage account types on the object replication overview page.
Note: The Web App name and Storage account name should be in lowercase only.
-
-
Click
Createto initiate the deployment of the Bold Reports® On-Premise Web App.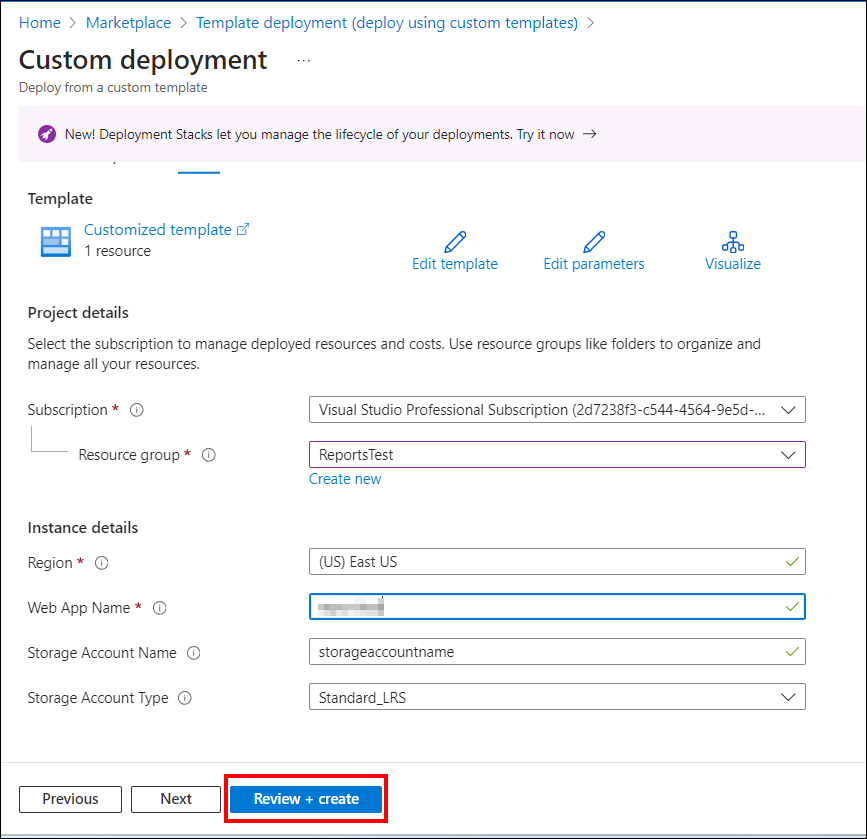
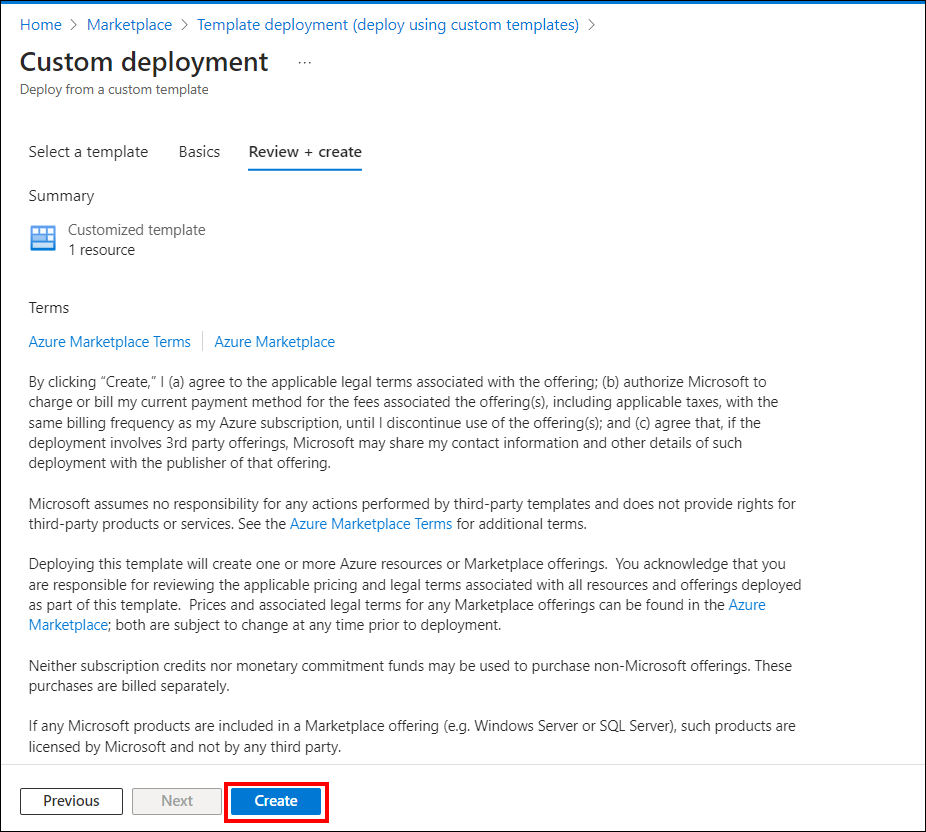
Now, the deployment of the Bold Reports® Multi-tenant App Service (Web App) is getting started.
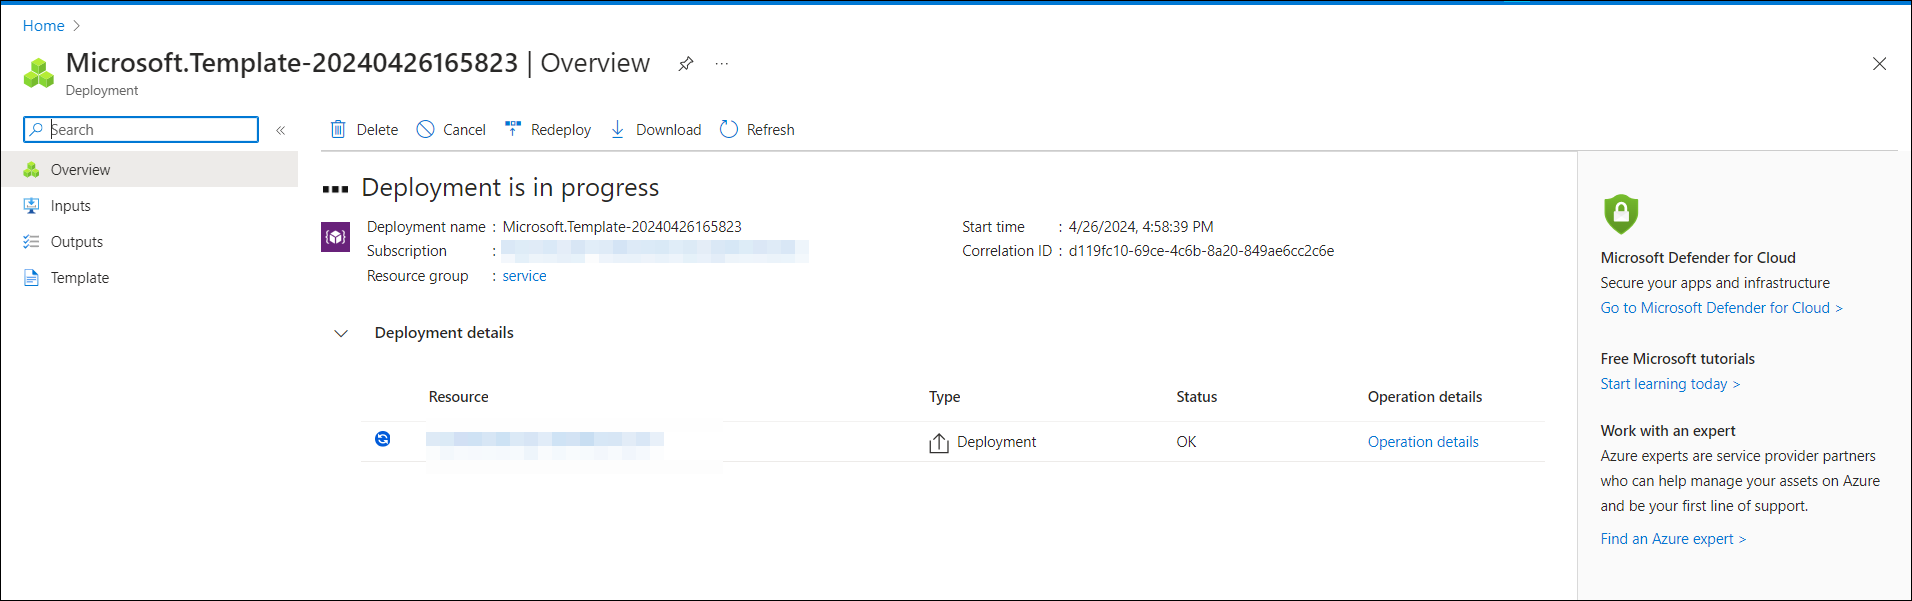
Note: The deployment process is expected to take around 15 minutes to complete.
-
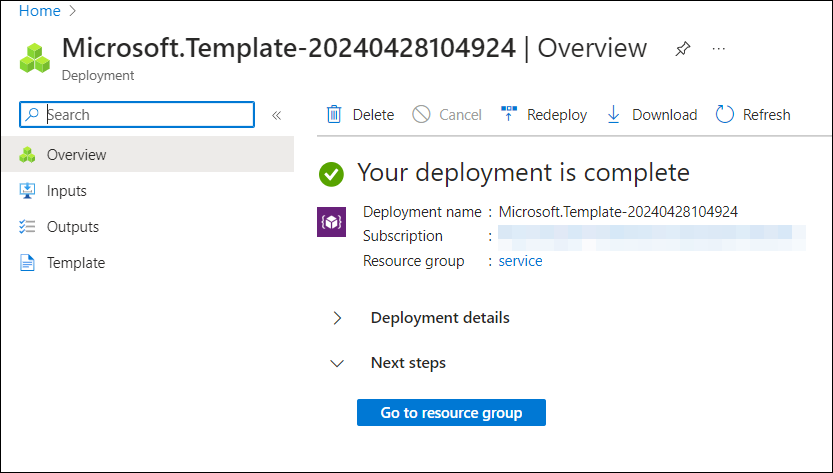
The deployment of the Bold Reports® Azure App Service (web app) will begin, and you can track the progress of the deployment by observing a green check mark at each successful stage.
-
If the deployment of Bold Reports® is successfully completed, proceed to Step 13.
-
If deployment fails, check the error details and select the Redeploy option to deploy Bold Reports® again (refer to Step 8 to fill in the details). Ensure successful deployment with Step 10.
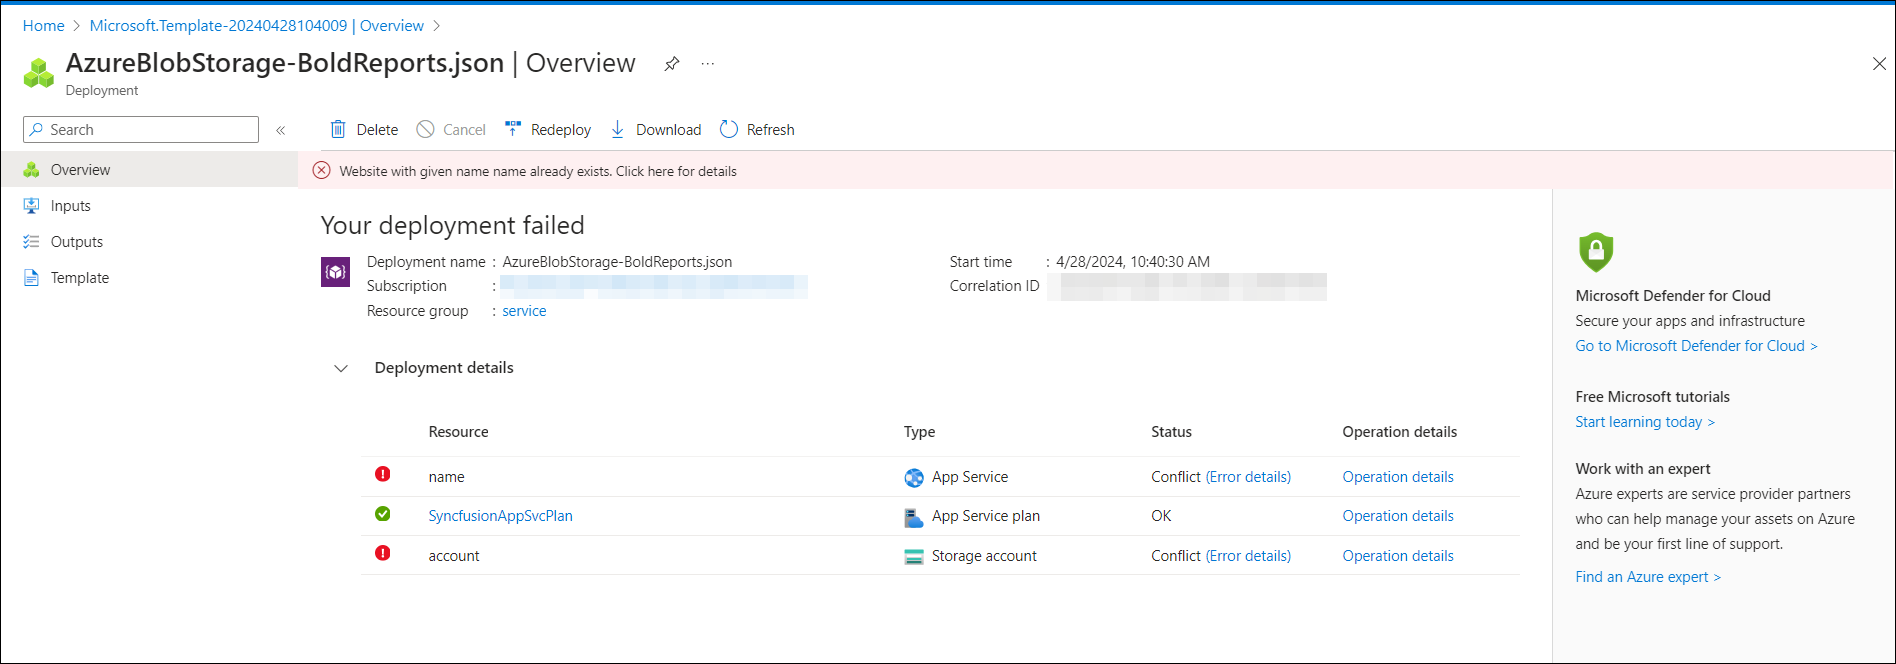
 Note:When redeploying, ensure that you provide a unique Web App name and Storage Account name. If the failed App Service/Storage account/App Service Plan is still present in the resource group, please remove it before proceeding with redeployment.
- After successful deployment, navigate to the
Resource Group. Then, select theApp Service.

- On the overview page, copy the
Default Domainand paste the URL into your browser. Wait for some time for it to load completely before proceeding with the Bold Reports® application startup.
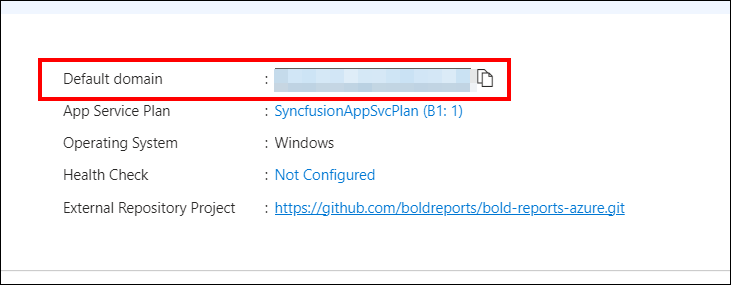
- The App Service plan for the Bold Reports® On-Premise Web App is automatically created, defaulting to
Basic – B1. Learn more about App Service plans in the App Service plans overview. Please note that Bold Reports® On-Premise does not support free or shared App Service plans.
Bold Reports® On-Premise is compatible with basic, standard, and premium App Service plans in Azure. The recommended minimum App Service plan for optimal application performance is the basic plan.
For improved performance, consider scaling up the App Service plan from basic to standard or premium. Refer to the following documentation links to learn how to scale up and scale out the App Service plan.
Scale up an app in Azure App Service
Scale out an app in Azure App Service