Installation and Deployment
This section explains how to install and deploy the Bold Reports® Enterprise.
Unlock the setup
This topic explains the steps required to install Bold Reports® Enterprise.
Run the Bold Reports® Enterprise Installer.
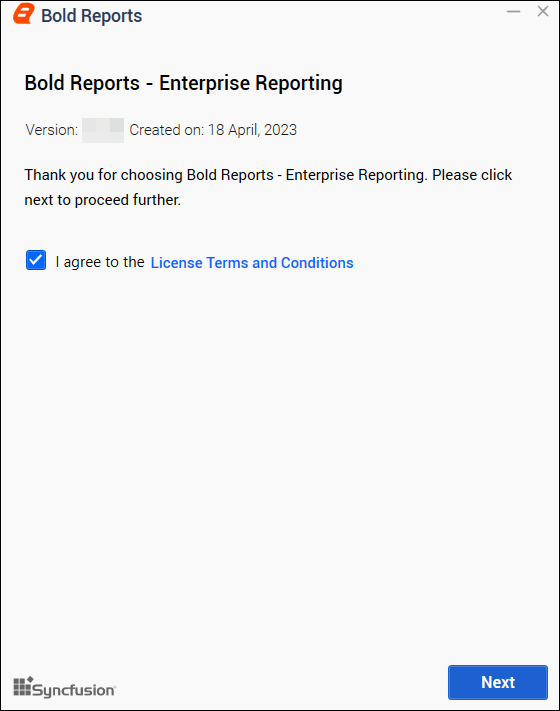
You can check the license agreement for Bold Reports® Enterprise Edition by clicking on the License Terms and Conditions.
Hosting type
You have been provided with the Bold Reports® Enterprise Edition for hosting in the IIS web-server type.
IIS
You need to provide the port number, location, and site name to host Bold Reports® Enterprise in the IIS.
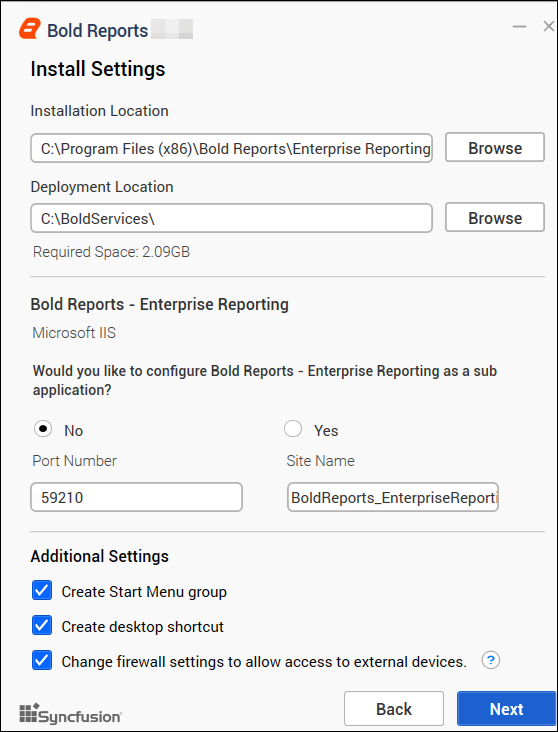
We can deploy the bold reports application as the main application or subapplication.
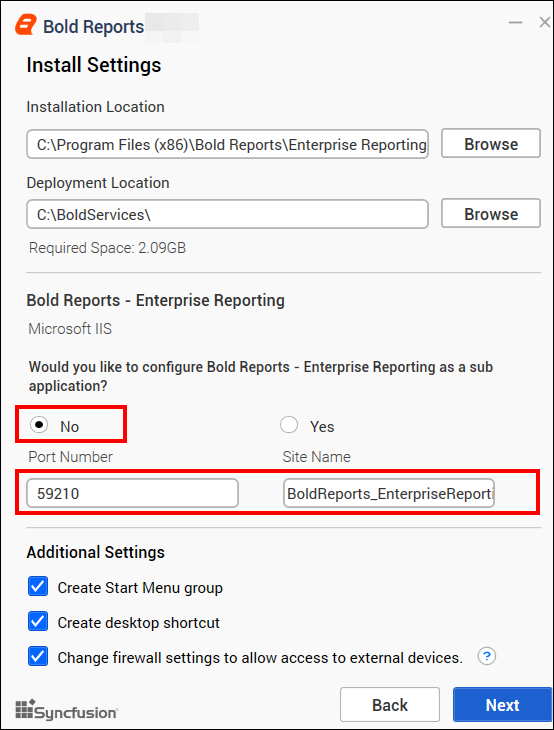
If you want to configure the Bold Reports® application as the main application, please select No in the Would you like to configure Bold Reports<sup>®</sup> - Enterprise Reporting as a sub application block and provide the Port Number and Site Name.
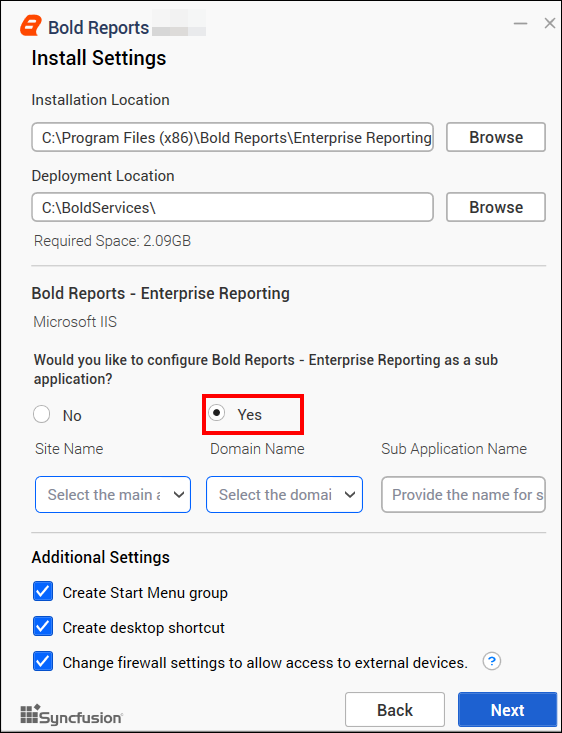
If you want to configure the Bold Reports® application as a sub-application, please select Yes in Would you like to configure Bold Reports<sup>®</sup> - Enterprise Reporting as a sub application block and follow the below steps.
-
Select your desired main\root application name from the
Site Namedrop-down option. -
Select your required domain name from the
Domain Namedrop-down option for your respective main/root application -
Provide a sub-application name in the
Sub Application Namefield to host the Bold Reports® Enterprise Reporting as a sub-application
Once you have provided all the details to host the application in IIS and click Next to proceed further.
Chromium Packages
IMPORTANT: Chromium packages are necessary to enable image and PDF export functionalities in reports and schedules from Bold Reports®. Without these packages, the image and PDF export options will be disabled.
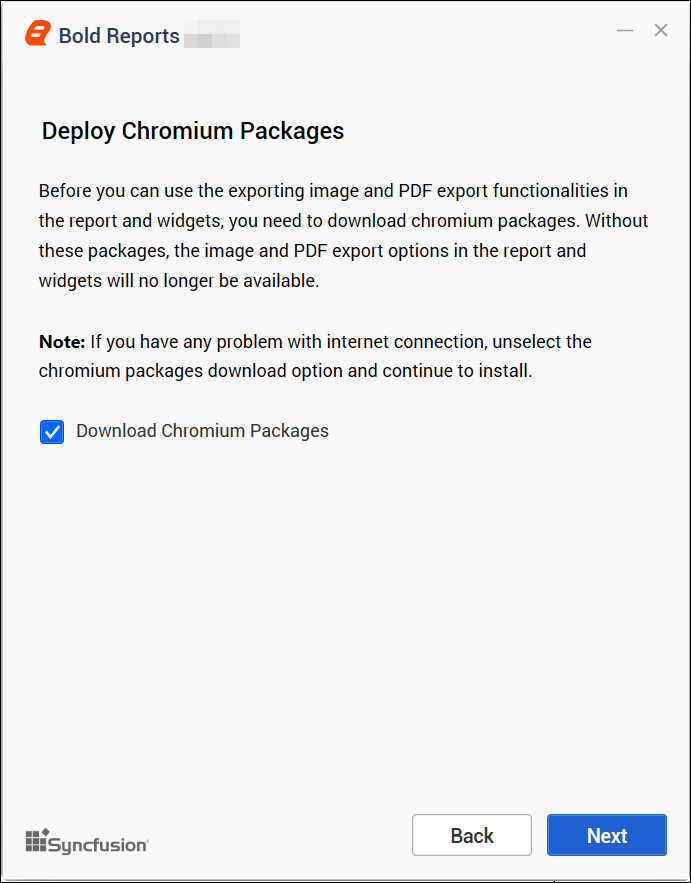
NOTE: If you encounter problems with your internet connection or have no connection, unselect the option to download Chromium Packages and continue with the installation. Refer to the provided guide for instructions on manually installing the Chromium Packages.
Data Hub
The Bold Data Hub application is designed to load data from various data sources into PostgreSQL, MSSQL, MySQL, and Apache Doris. It provides options to schedule the job at regular intervals to pull data from data sources. It supports transformation using SQL scripts. By default, Python 3 will be installed for Bold Data Hub.
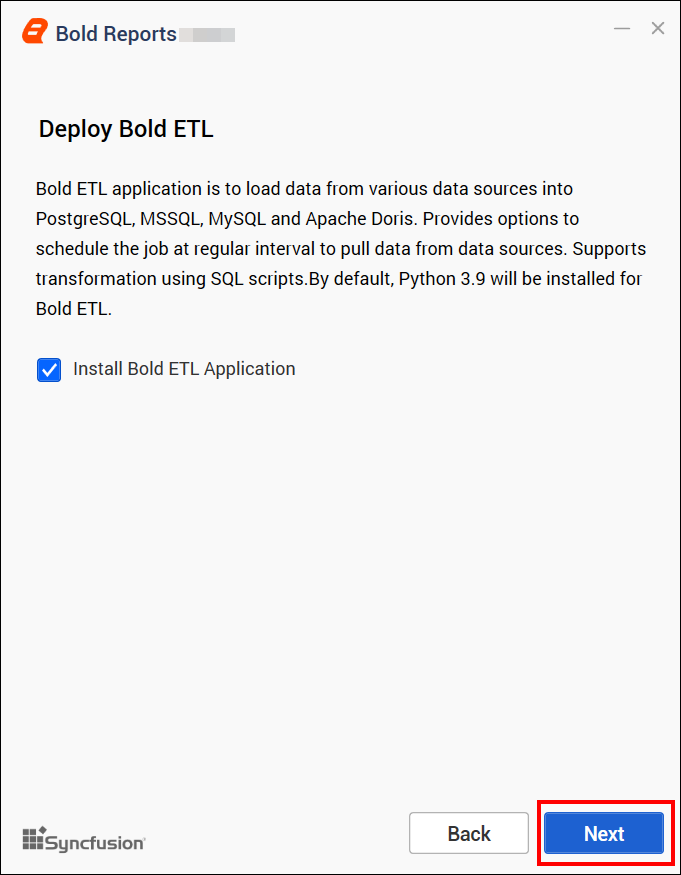
For Windows OS, Python 3.9 version is required along with Bold Reports® Enterprise Edition for Data Hub. If Python 3.9 version is already installed, please specify the Python path in
{Drive}:\BoldServices\etl\etlservice\appsettings.jsonand restart the app on the IIS server.
"PythonPath": "<Drive>:\\BoldServices\\Python39"Client libraries
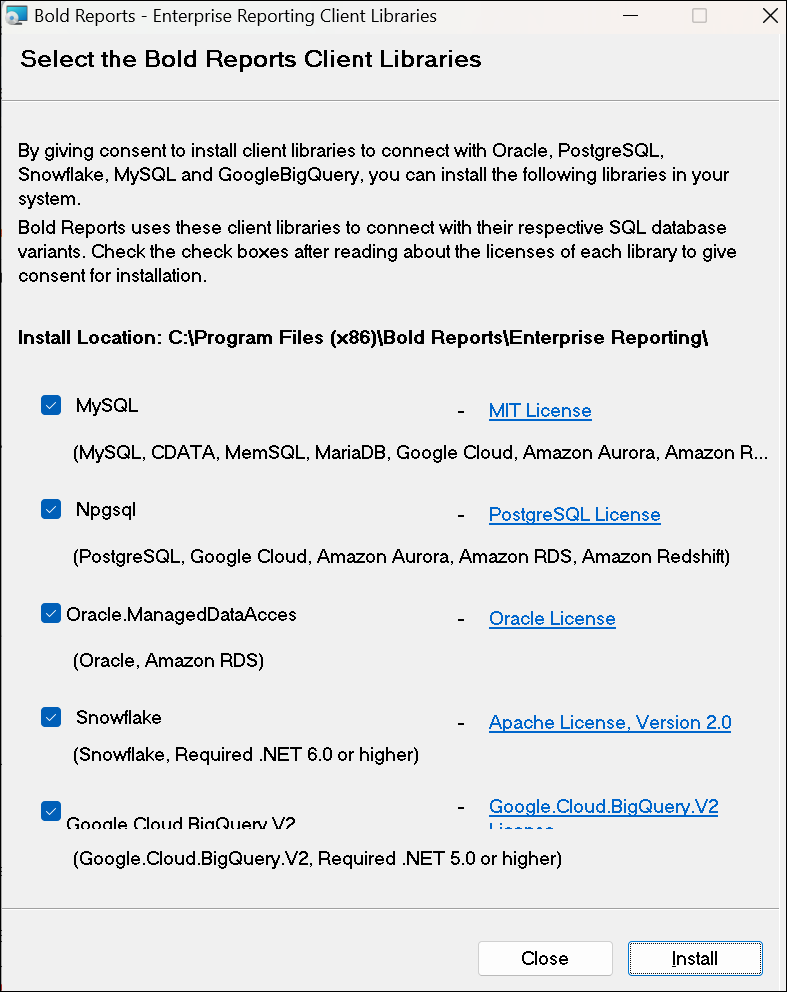
IMPORTANT: Bold Reports® Enterprise Edition uses client libraries, such as Oracle, PostgreSQL, Snowflake, MySQL, and GoogleBigQuery, to connect with their respective SQL database variants. Please check the license of each library to provide consent for installation. Only the selected client libraries will be shipped with the product.
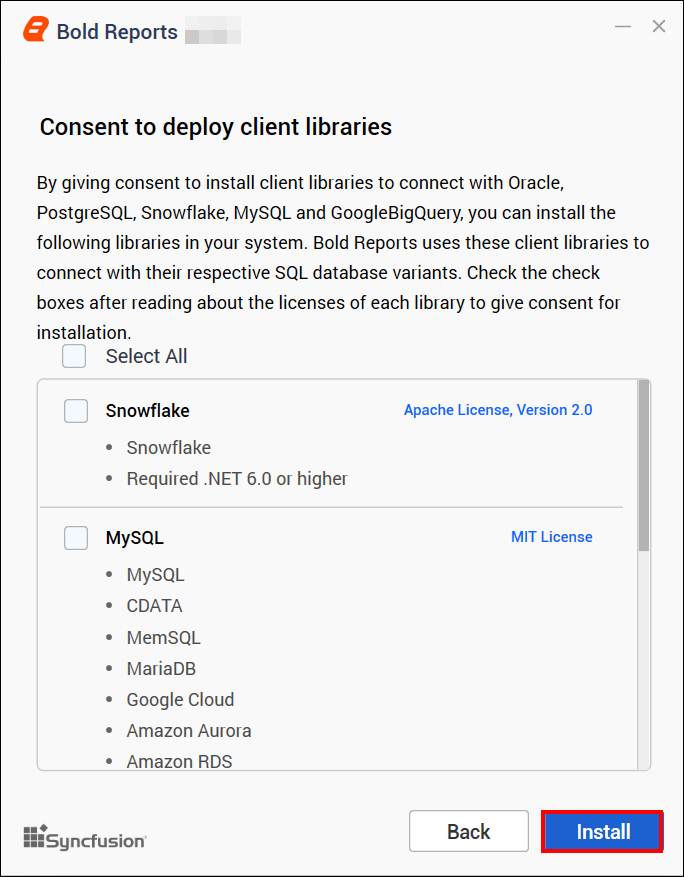
Read and accept the license to ship the selected client libraries, and then click Install.
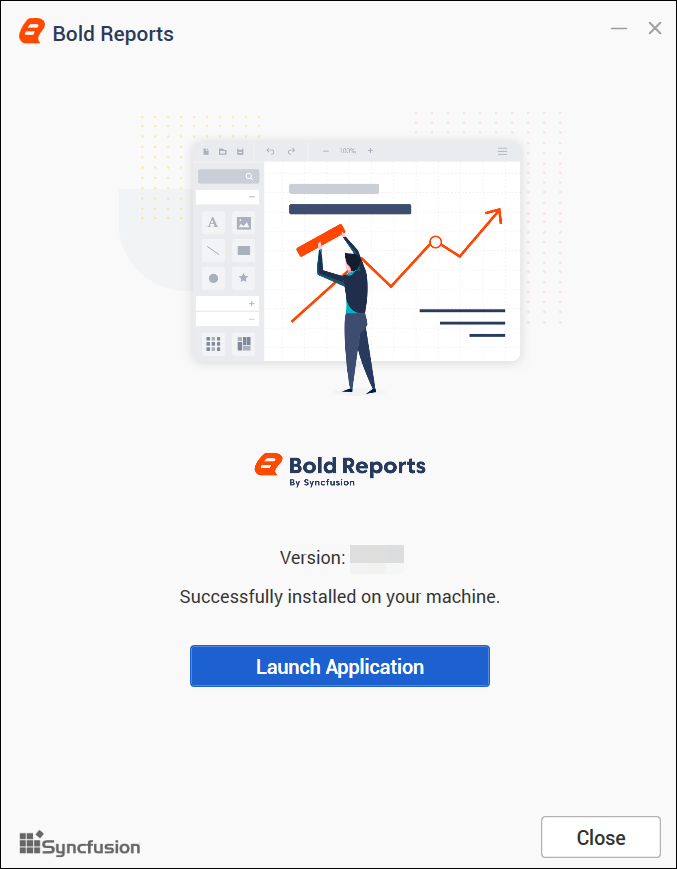
After the installation process is completed, you can launch the application by clicking Launch Application.
If you did not install the client libraries during this installation, then after installing the Bold Reports® setup, you can install them using the ClientLibrary.msi setup. The following steps are needed to install the client libraries.
-
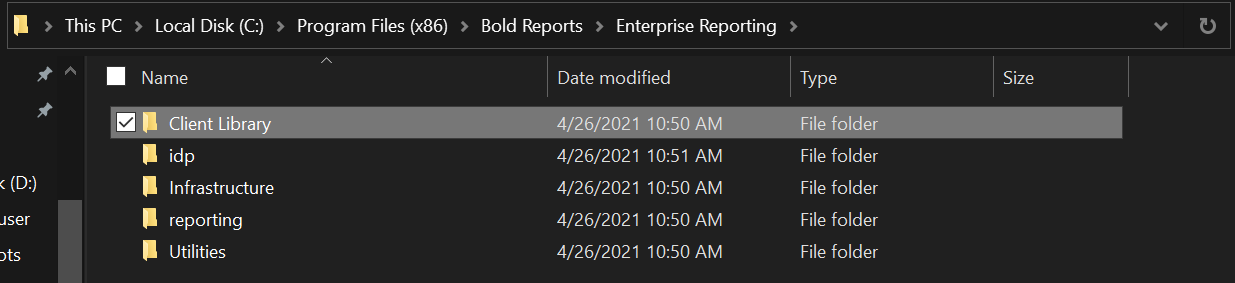
Go to the location C:\Program Files (x86)\Bold Reports\Enterprise Reporting\Client Library. And double-click the setup file named ClientLibrary.msi.
-
Now, the client library dialog will open. Then, you can choose and install the required client libraries.
How to change the binding in the Bold Reports® Enterprise Reporting
Please follow the below steps to change the application binding information
-
Add new bindings to Bold Reports® Enterprise Reporting edition on IIS as shown in the image below.
Example: example.com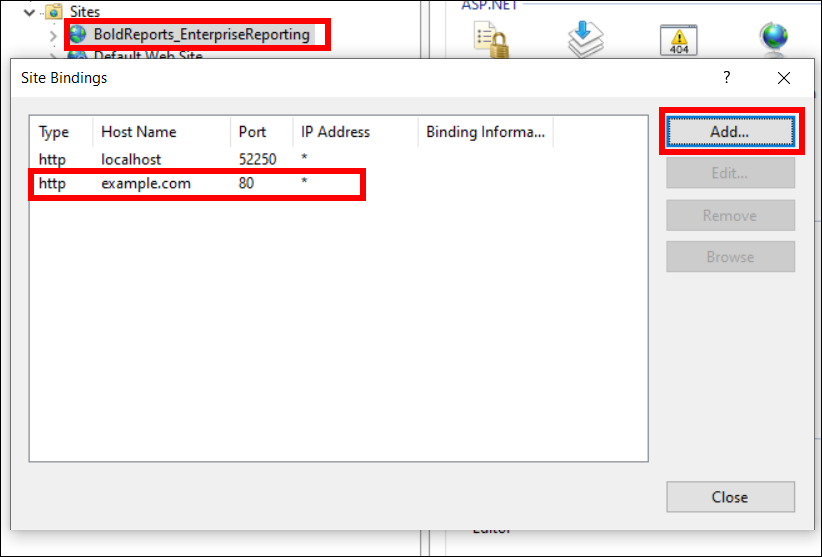
Don’t remove existing bindings. -
Go to the site settings page of the UMS application using the old binding below and update the new binding information as shown in the image below.
http://localhost:{port-no}/ums/administration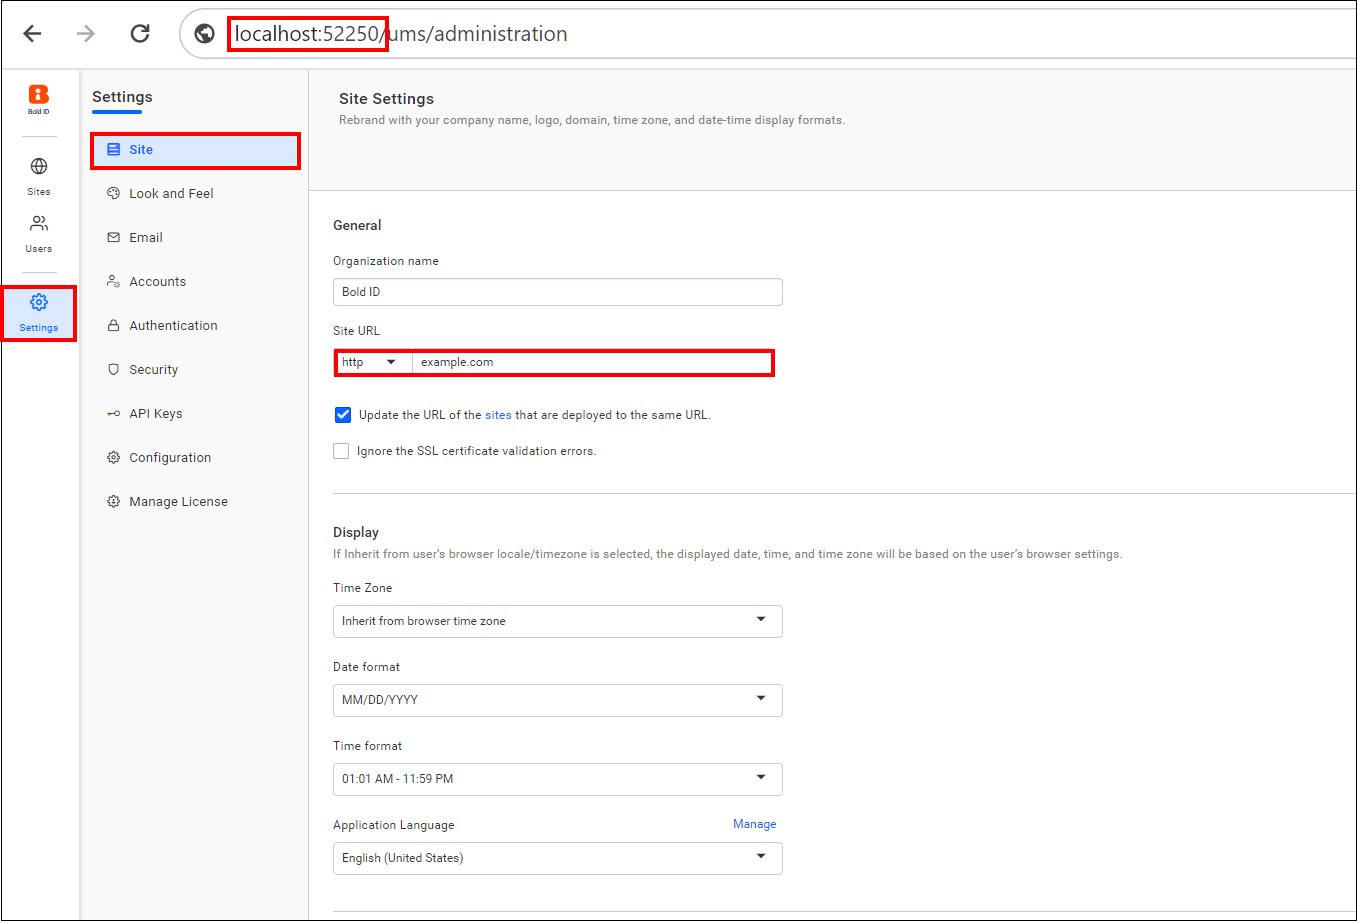
-
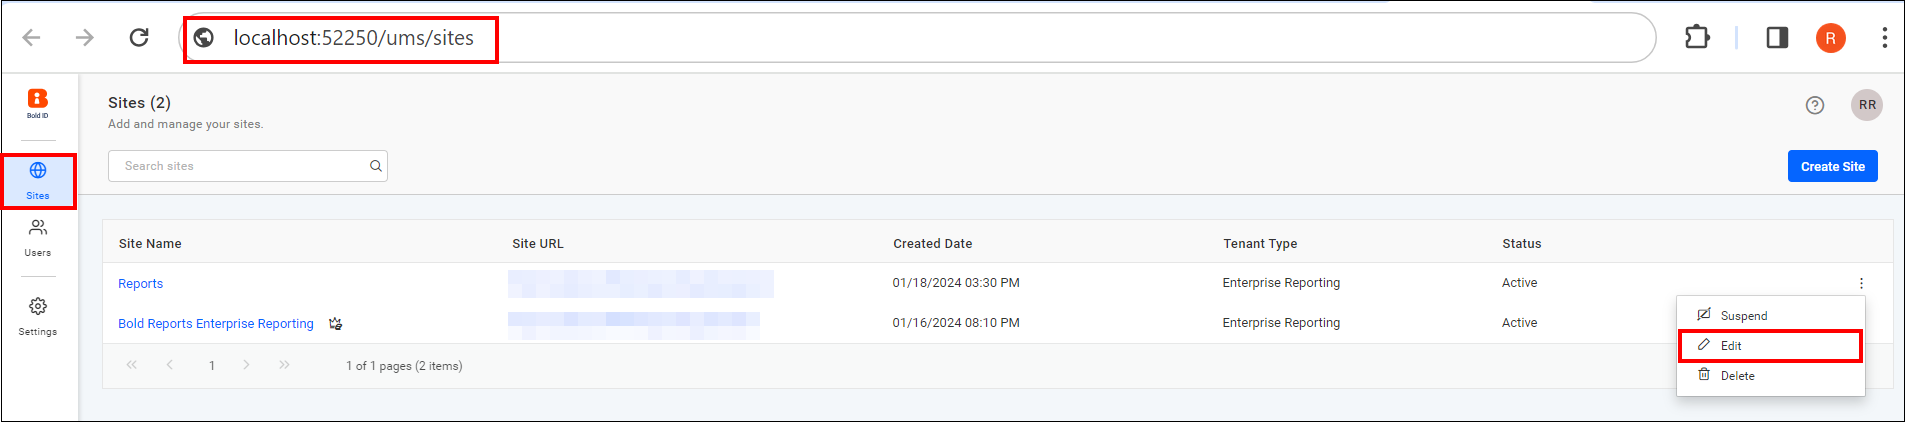
Then navigate to the site listing page of the UMS application and click
Editon the deployed site, as shown in image below.http://localhost:{port-no}/ums/sites
-
Update the new binding information as shown in image below.
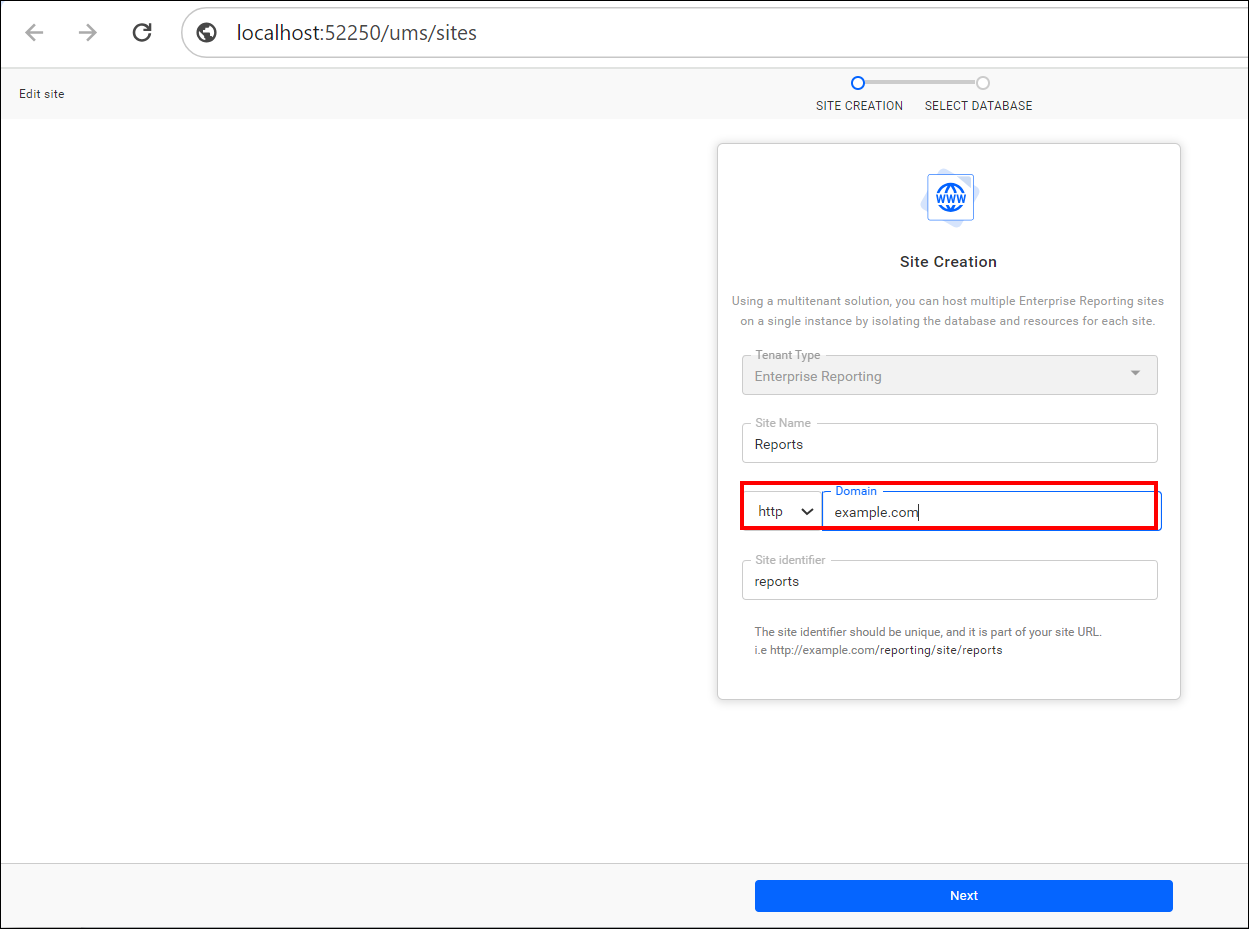
-
Now, you can browse the Bold Reports® site using the new binding.
-
Repeat steps 3 and 4 to change custom domain for deployed sites.
- To configure the Bold Reports® Enterprise Reporting Edition by using newly added bindings in IIS, refer to this guide on mapping a domain name to the Bold Reports® site before startup