Self-deploy a Bold Reports® Server on Microsoft Azure
To install and run the Bold Reports® server on a Microsoft Azure virtual machine, follow these steps in a concise manner.
Set up a Microsoft Azure VM
-
Sign into the Azure Portal.
-
Click on
Create a resource.
-
Select the
Computeoption under theCategoriessection.
-
Search for
Windows Serverand select it.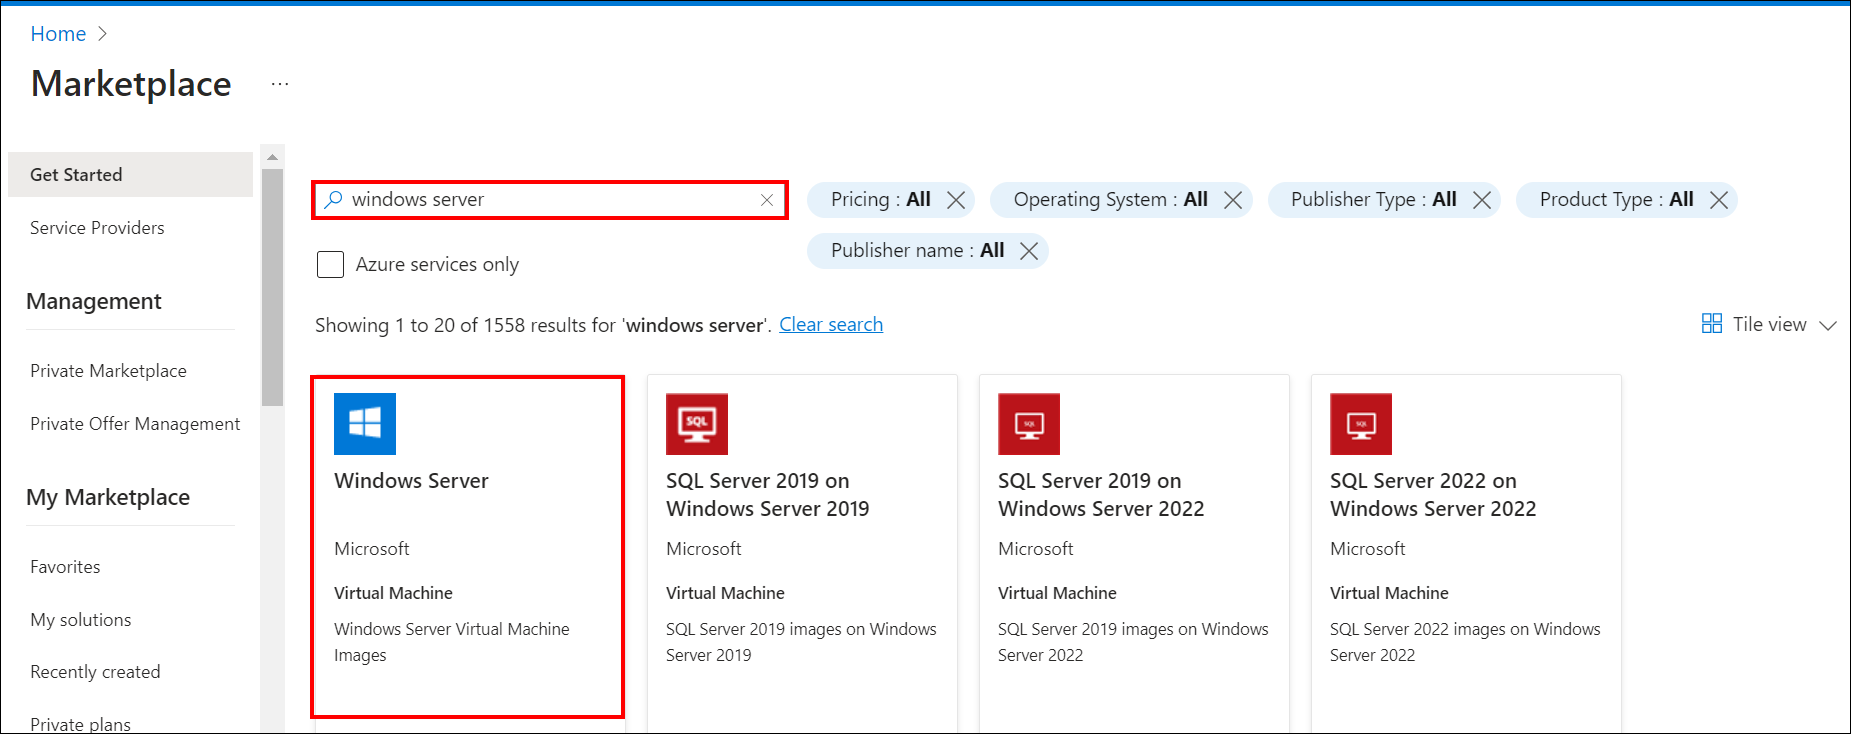
-
Choose the Windows Server software plan that meets our system requirements and click
Create.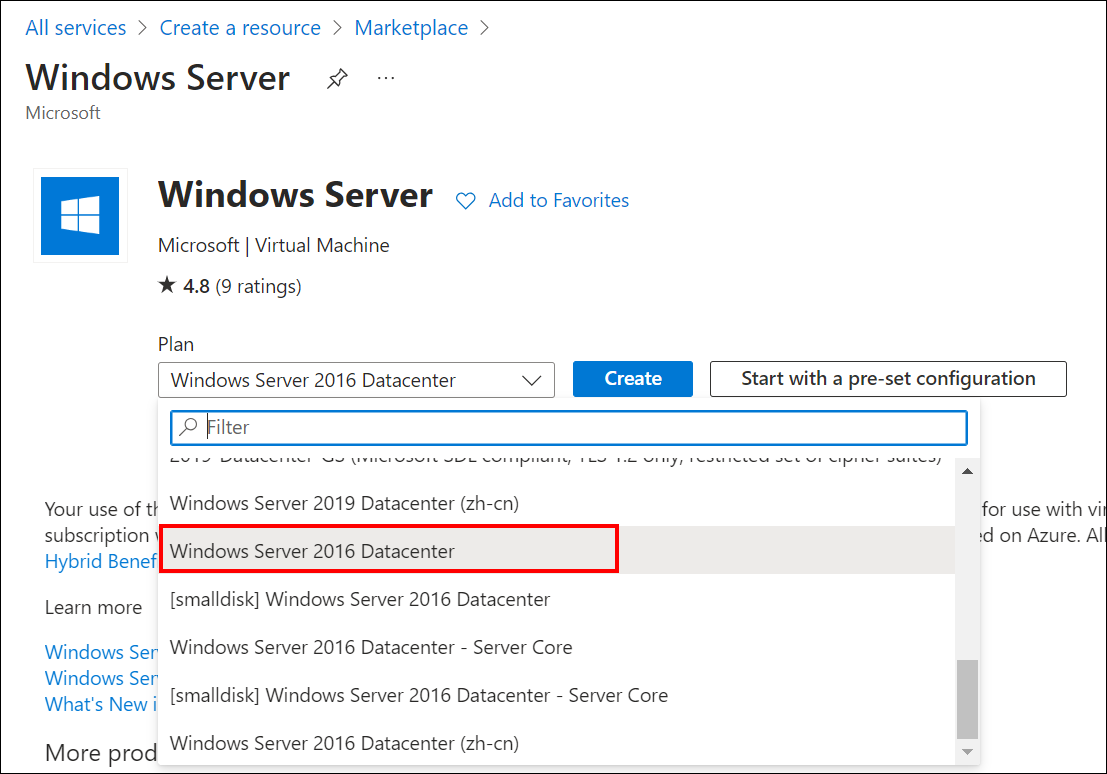
-
Provide the necessary administrative information for the new VM on the
Basicsblade.
Subscription: This VM should be associated with the Azure subscription.
Resource group: Choose
Create newand enter the name of the new resource group to host the VM’s resources.Virtual Machine Name: Enter a name for your VM (maximum of 15 characters).
Region: Choose your preferred region for your VM.
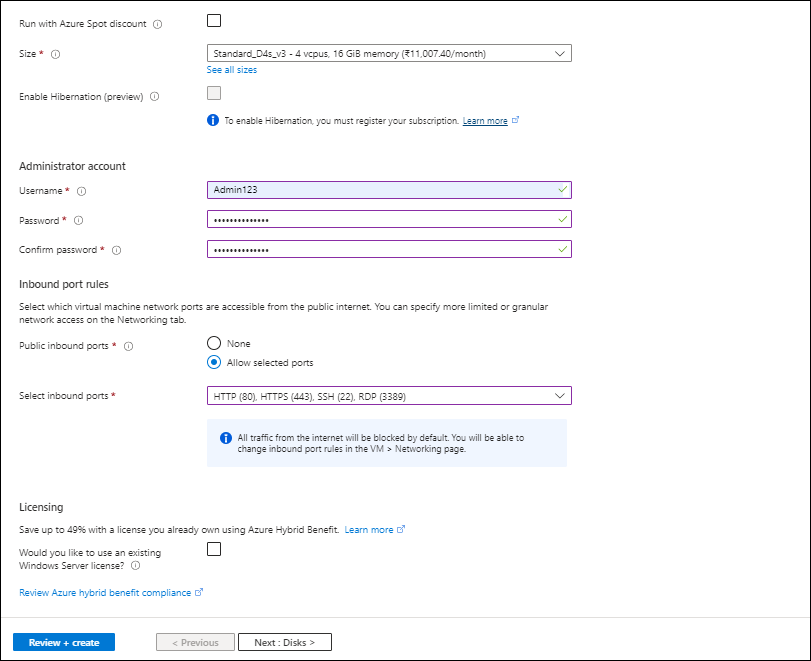
Username: Enter your username, which you will use to log in to the VM using the Remote Desktop Protocol (RDP).
Password: Enter your password, as you will need it to log in to the VM using RDP.
-
Under the
Disksblade, choose the VM OS disk type (SSD is recommended).
VM disk type: Choose SSD or HDD as your convenience (SSD is recommended for better performance).
Size: Choose the VM size that meets our system requirements. For example, choose the D2s_V3 size, and then click Select.
-
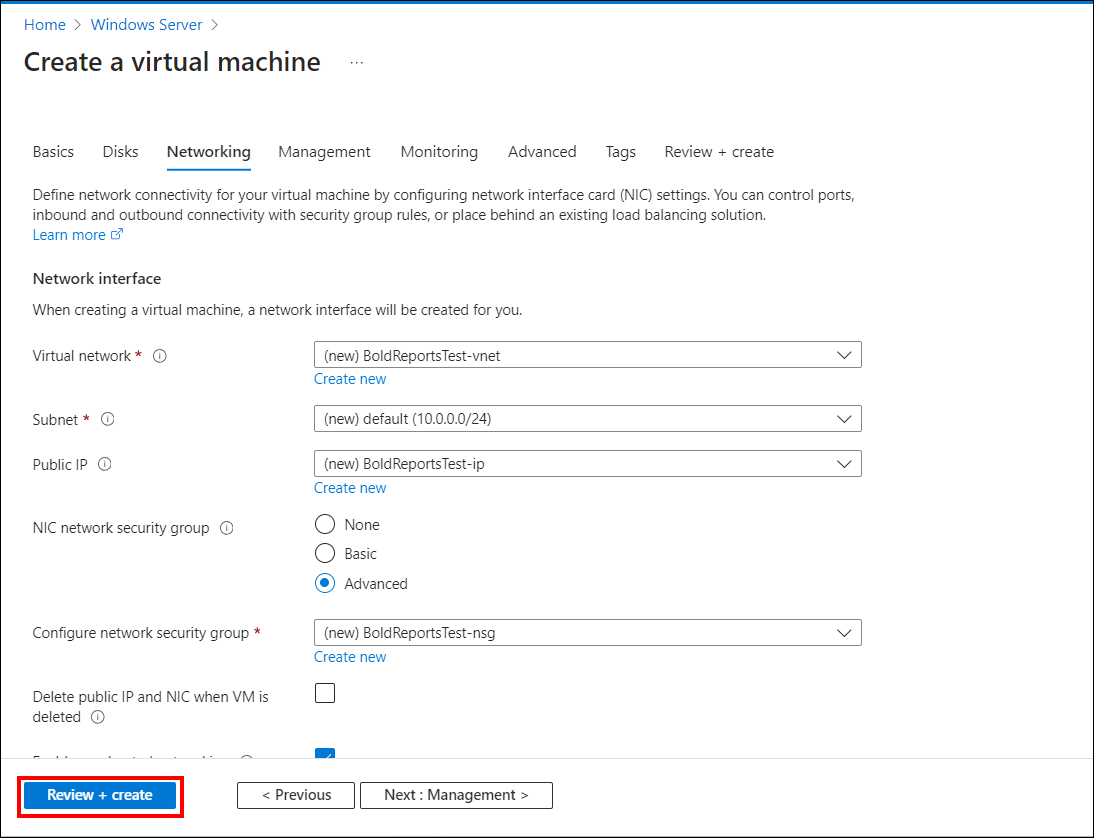
Under the
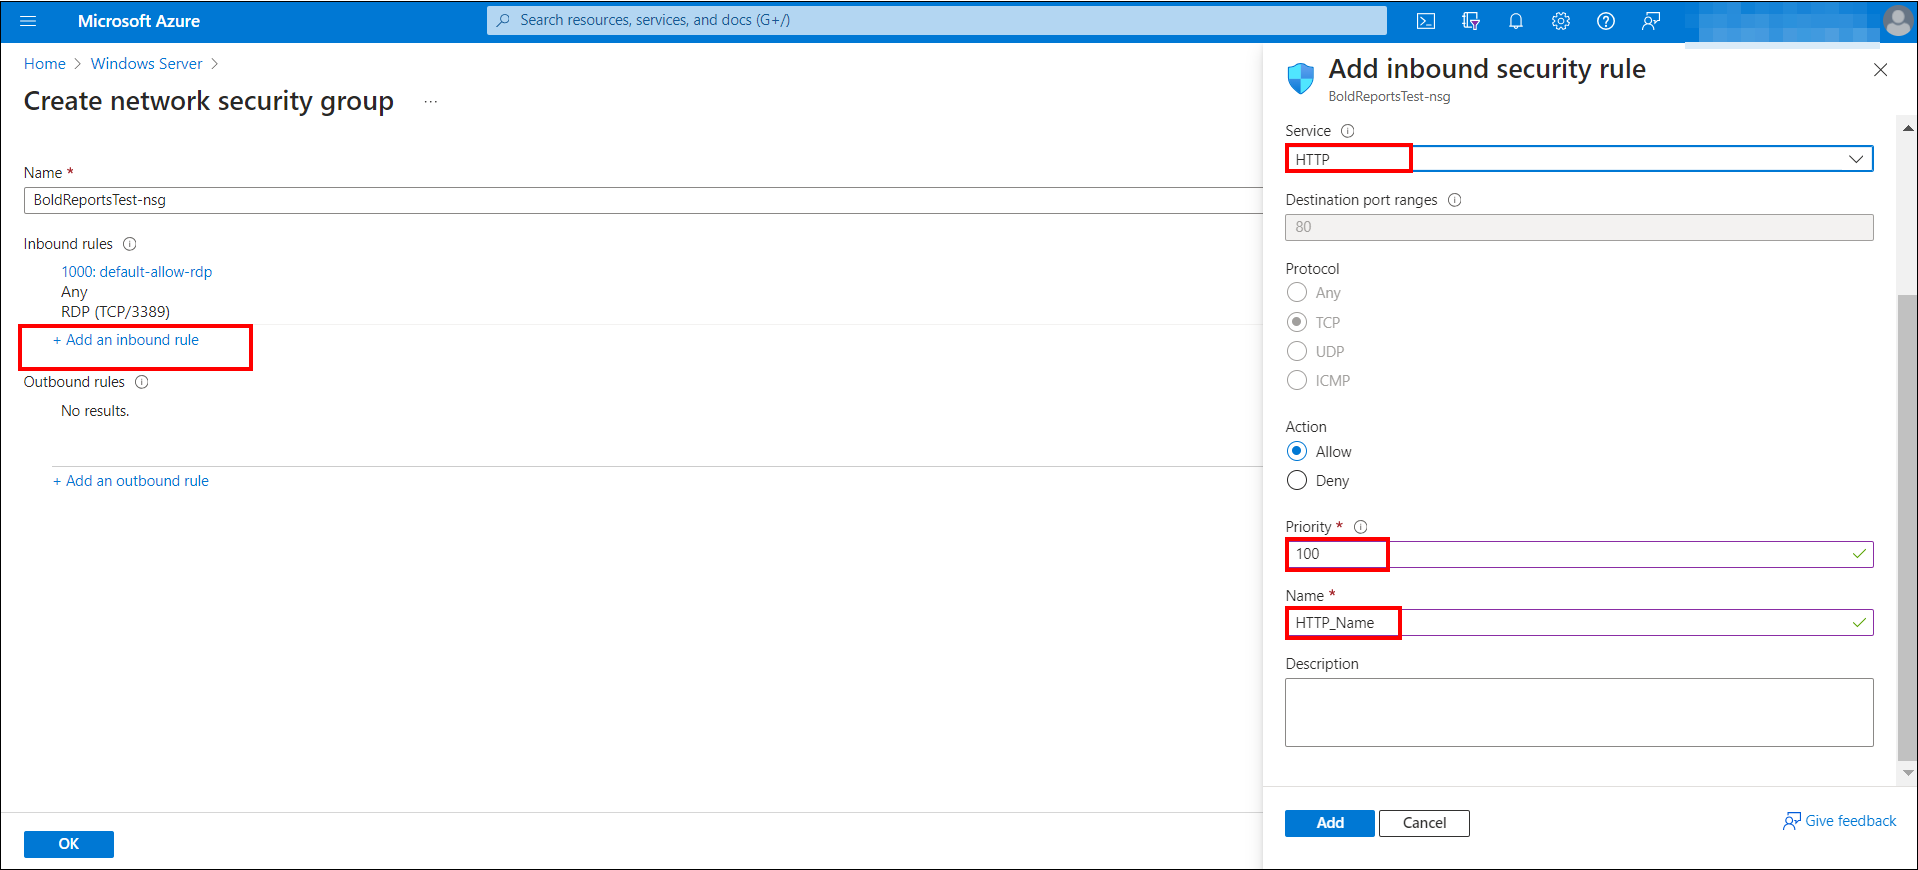
Networkingblade, selectAdvancedinNIC network security groupand click onCreate newin the Configure network security group option to add an inbound security rule. This rule will allow specific types of internet traffic to reach your VM.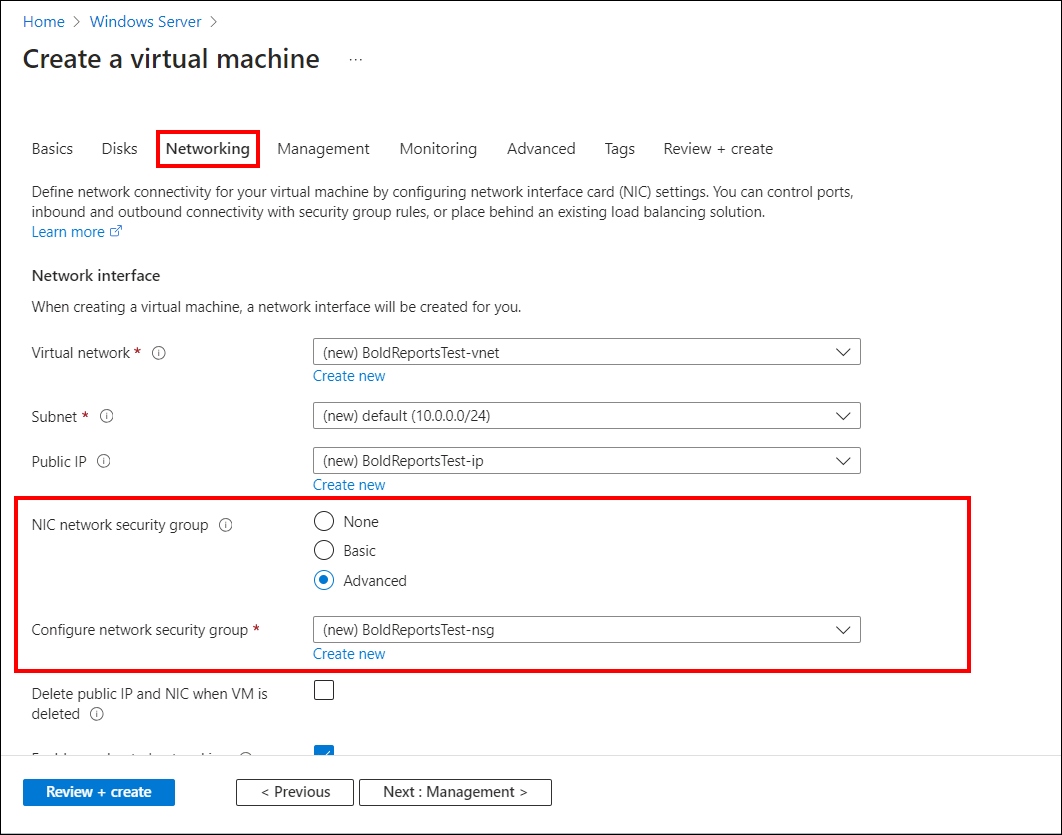
-
Choose
HTTPfrom theServicedrop-down list on theAdd inbound security ruleblade. -
In the
Prioritybox, assign a numerical priority to the rule, such as 100. Rules with lower numbers are processed first. For instance, a rule with a priority of 100 will be processed before a rule with a priority of 110. -
In the Name box, type a name for the inbound rule, and then click OK.
-
Repeat the steps to create an inbound security rule for the HTTPS service with a priority of 101.
-
When finished, the Create network security group dialog should have three rules allowing RDP, HTTP, and HTTPS access. Click OK.
-
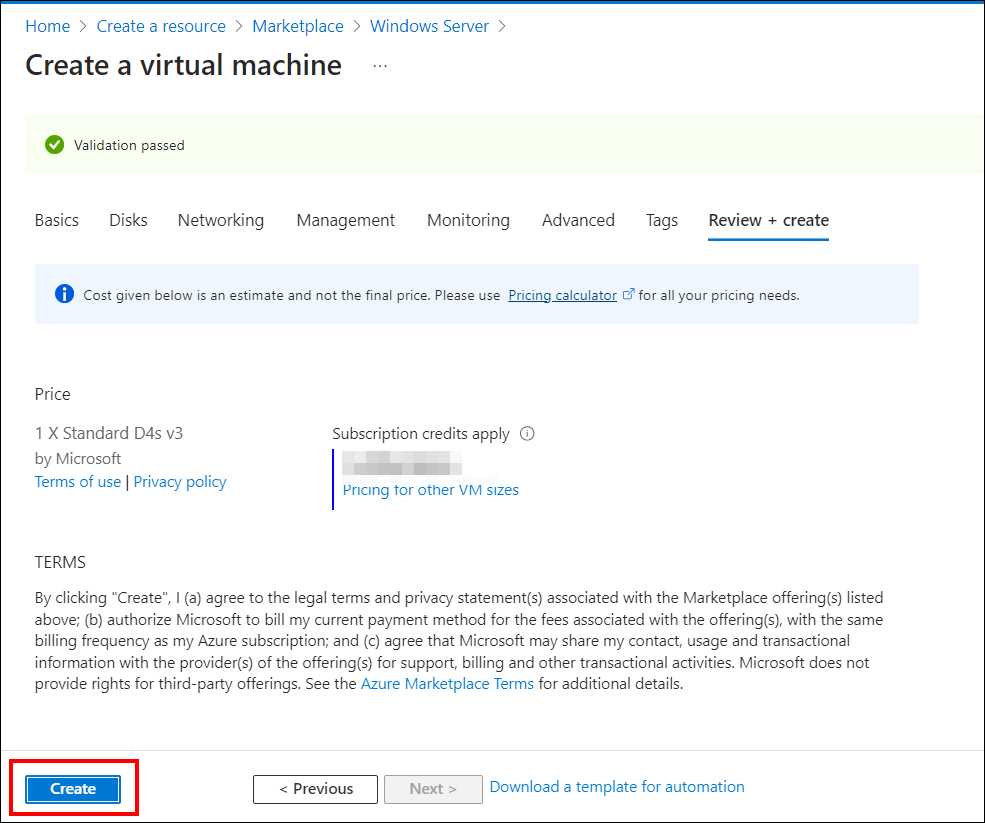
Review your settings and click Create.

How to Connect the VM Through the Remote Desktop Connection
Follow the below steps to connect to the virtual machine.
-
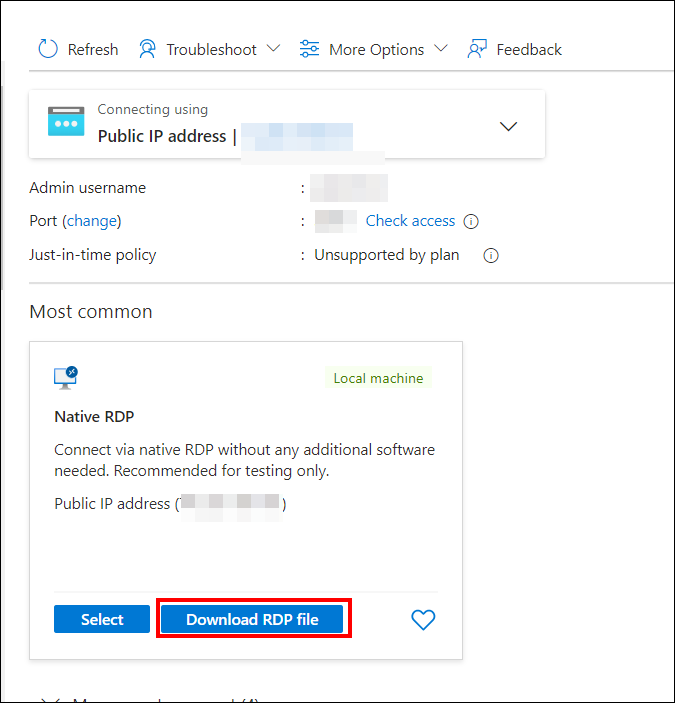
Click
Connecton the virtual machine overview window to download a Remote Desktop Protocol (.rdp) file from the Azure portal.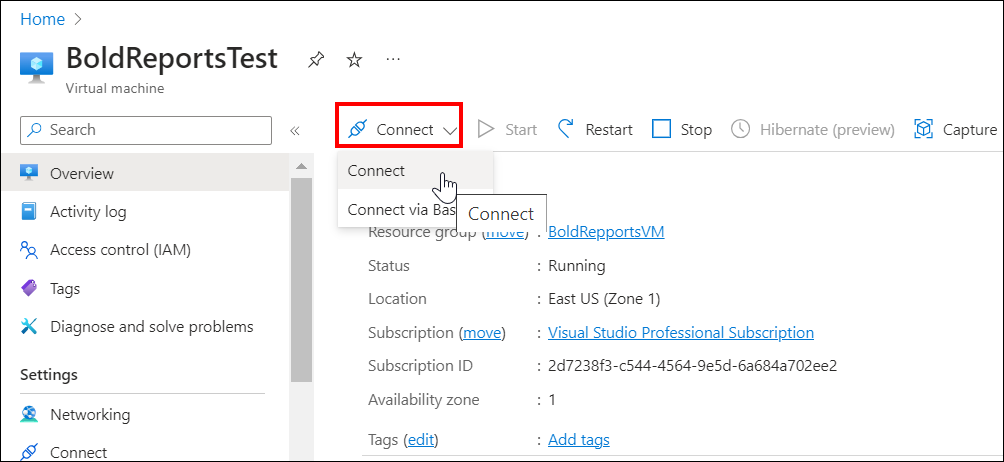
-
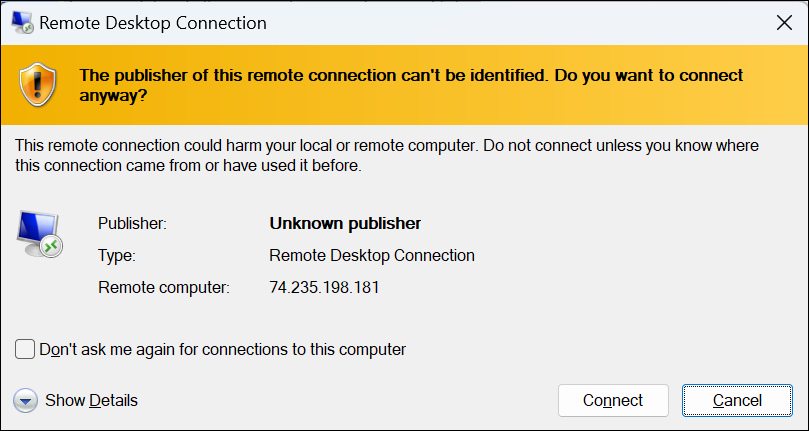
Open the .rdp file and click Connect to proceed, despite the warning from an unknown publisher.
-
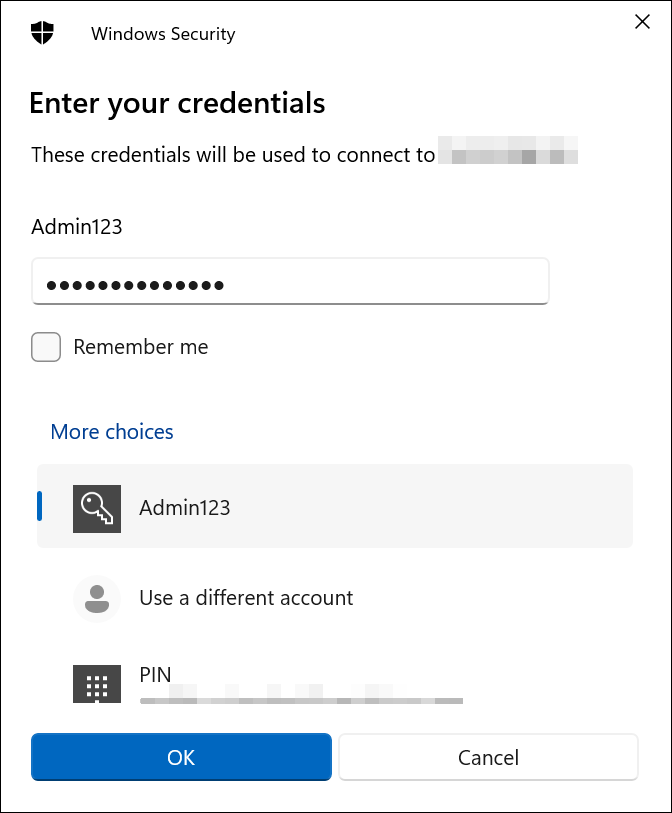
Enter the credentials that you provided when creating the VM, as shown below, and click OK.
-
After a successful connection, the identity verification window will be displayed, as shown below. Click
Yesto accept the certificate problems and connect to the virtual machine.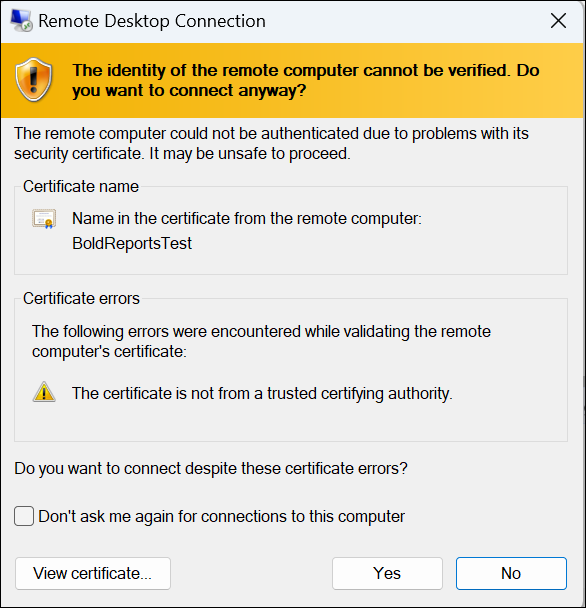
Installation and running of the Bold Reports® Server
This section provides instructions on how to install and run the Bold Reports® server on a virtual machine (VM).
-
Install the Bold Reports® server on the created virtual machine (VM) in the Azure portal using the help link.
-
Launch your application either by default or through your desktop shortcut menu item. For example, start Bold Reports® in IIS. Then, provide the application startup details and complete your setup by selecting the appropriate license.
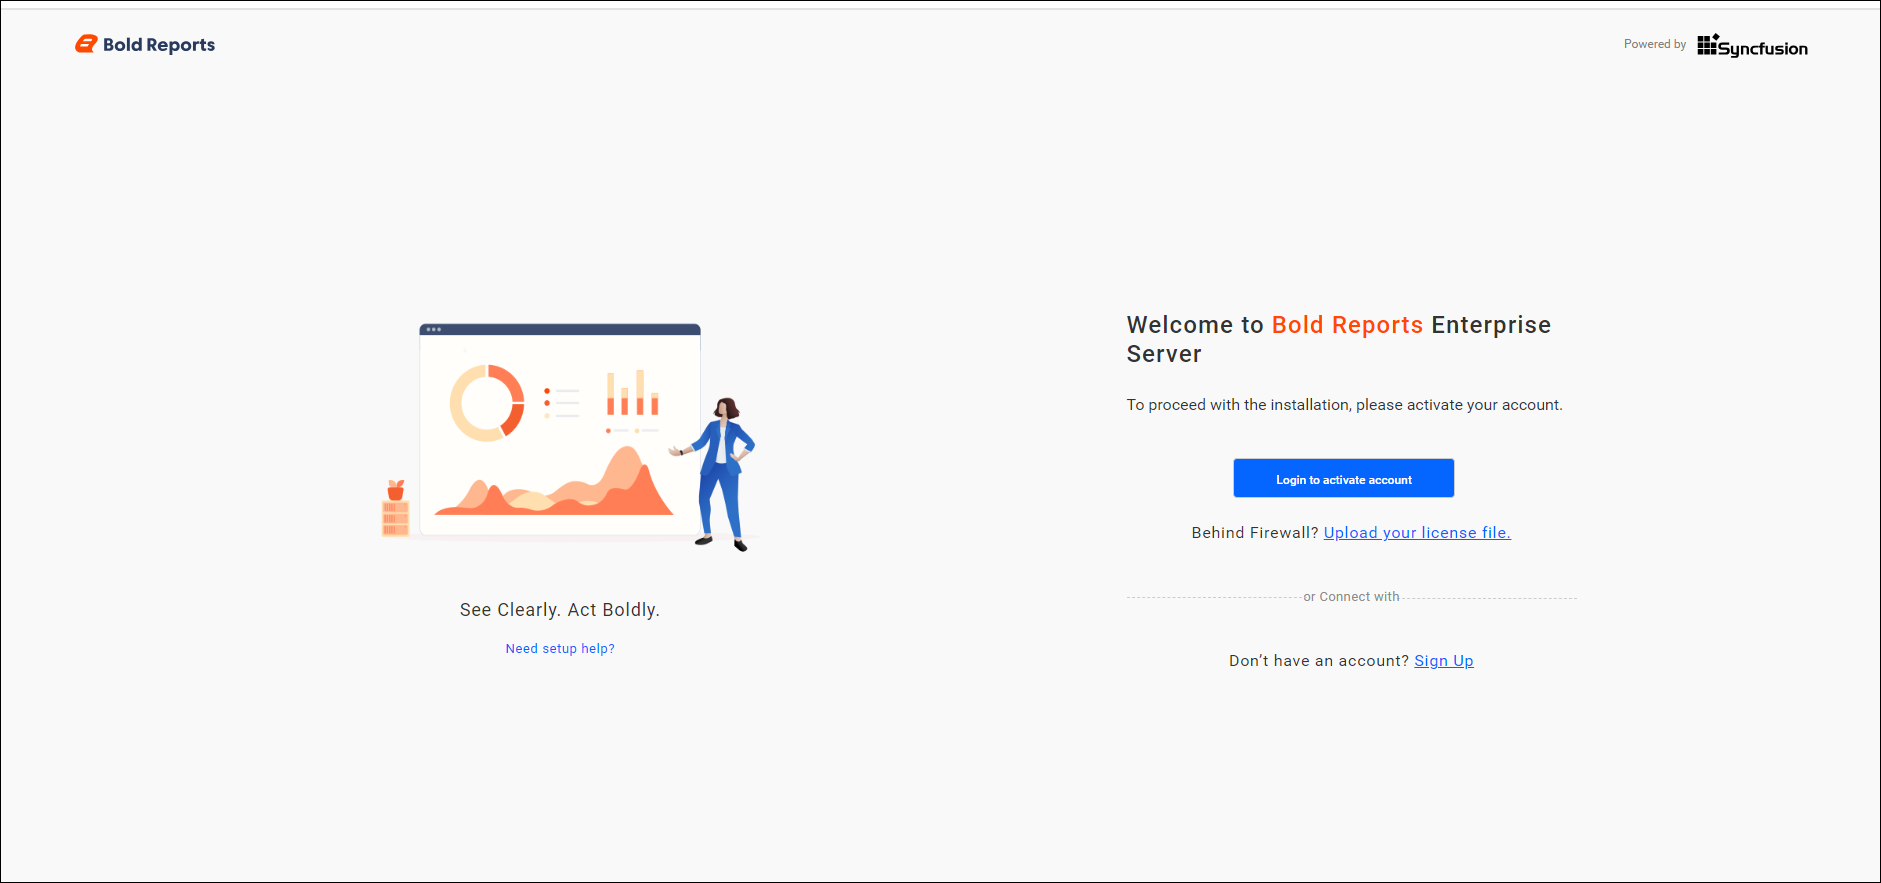
-
Follow the steps in the link to do the application startup.