How to register custom styles
In Cloud Reporting, you can create a custom styles file and register it in a single step by directly uploading it to the server using the File Upload feature.
Create a custom styles JSON File
Create a JSON file with a user-defined name represented as {name of file}.json, to define the required CSS styles. The file should follow the specified format:
"table header": {
     "font-family": "arial",
     "font-size": "13.333333333333334px",
     "font-weight": "bold",
     "background-color": "#6495ED",
     "border-bottom-color": "navy",
     "border-right-color": "gray",
     "border-left-color": "gray",
     "border-right-width": "1.333px",
     "border-left-width": "1.333px",
     "border-top-width": "2px",
     "border-bottom-width": "2px",
     "border-bottom-style": "double",
     "border-top-color": "navy"
 },
 "header": {
     "background-color": "#6495ED",
     "font-family": "arial",
     "font-size": "0.16666979166666665in",
     "font-style": "normal",
     "font-weight": "bold",
     "color": "white"
 }
Using a File Upload
To register external custom styles in Cloud Reporting, admins or the uploading user can create and manage a custom styles file in a straightforward way. The uploaded custom styles file serves as a common styling reference for all users within the site, allowing them to apply their own formatting preferences. To configure the custom styles via file upload, follow these steps:
-
Refer to the File Upload section in Report Server and upload your custom styles JSON file.
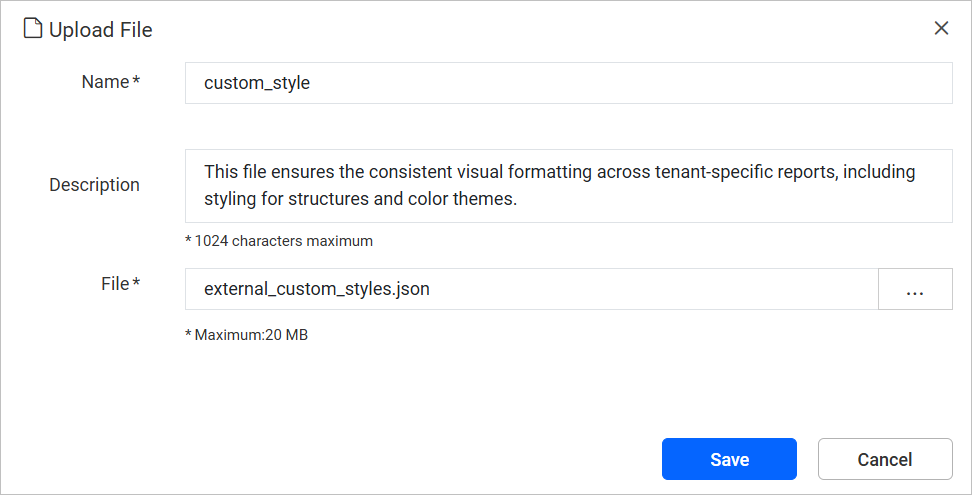
Note: In the Upload File dialog, the Name field must be set to
custom_style -
Once the file is uploaded, another file with the same name [custom_style] cannot be uploaded again.
-
To modify the styles in an existing uploaded file, you must re-upload it. This action can only be performed by the original uploaded or an administrator.
Note: If a report is open in the Designer tab, reload it after uploading the file.