Manage sites
This section briefly explains how to manage the sites and provides information about a site.
Suspend Site
You can suspend the site by clicking the Suspend option in Action Menu.
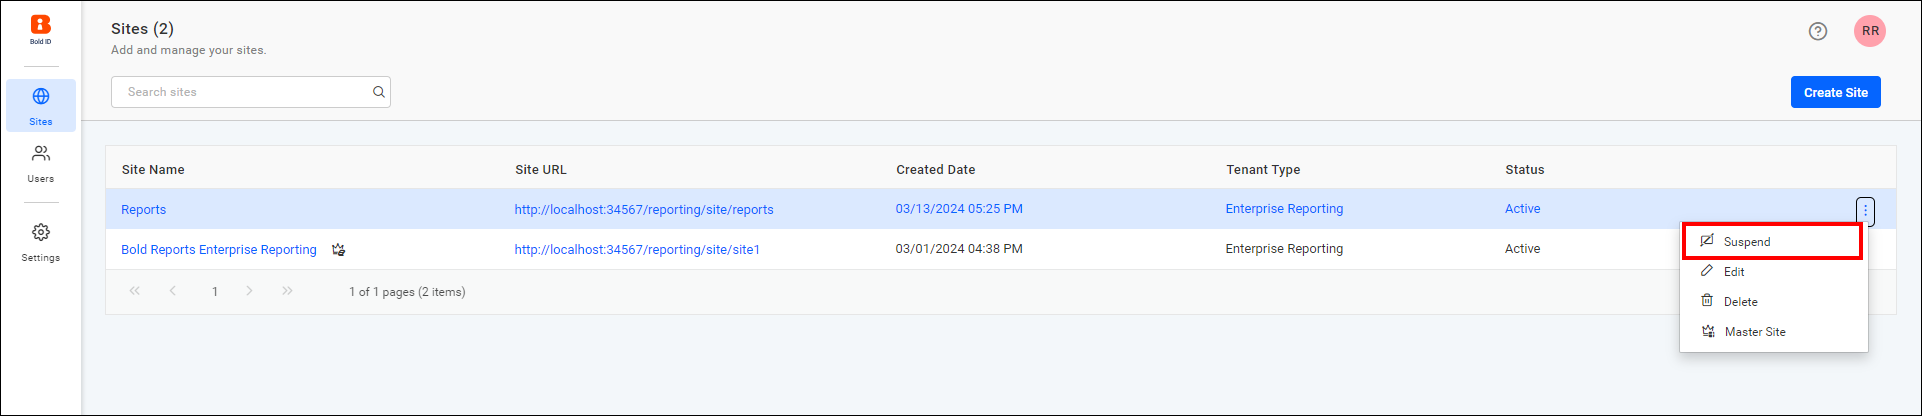
Warning : If the site is suspended, users will not be able to access it.
Activate Site
You can activate the suspended site by clicking on the Activate option.

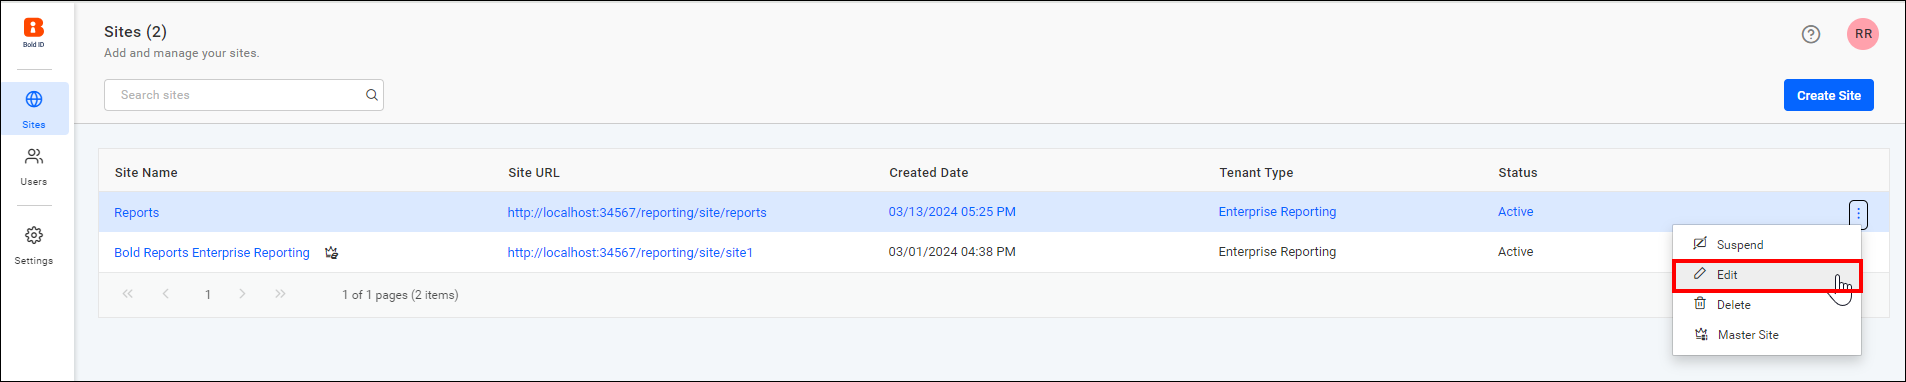
Edit Site
You can update the following information for the site using the Edit Site option.
- Site Name
- Site Domain
- Site Identifier
- Database User Credential
You can edit the site by clicking the Edit option in the menu.
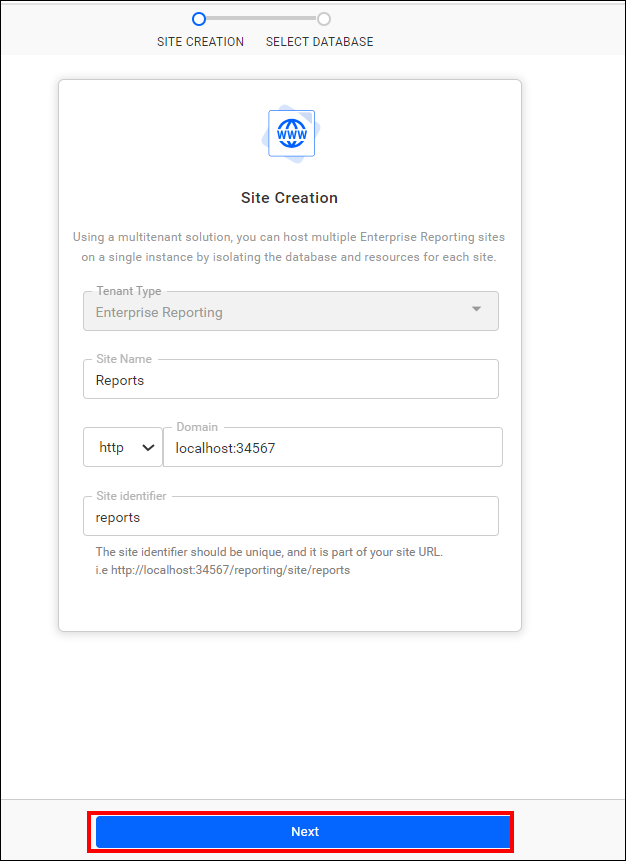
After clicking the Edit option, the Edit Site dialog will open. Enter the site name, site domain, and site identifier, and then click the Next button to update the database user credentials.
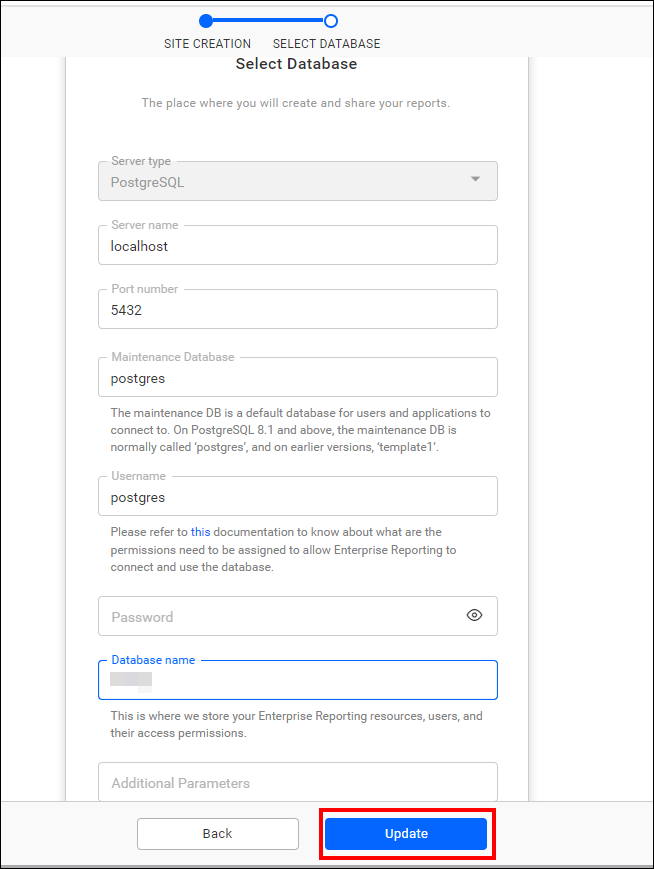
After entering your database credentials, click the update button to update the site details.
Delete Site
You can delete the site and its database by clicking the Delete option.
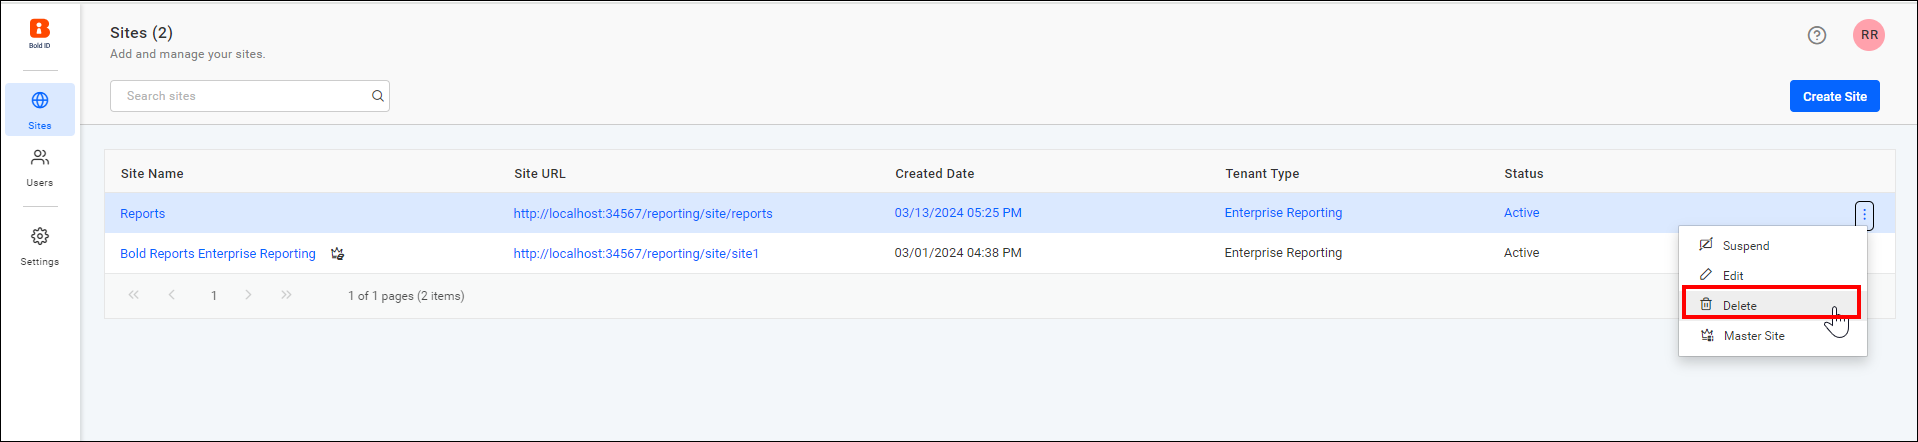
NOTE: The database will not be deleted if there are any other tables present other than the Bold Reports tables.
Site Information
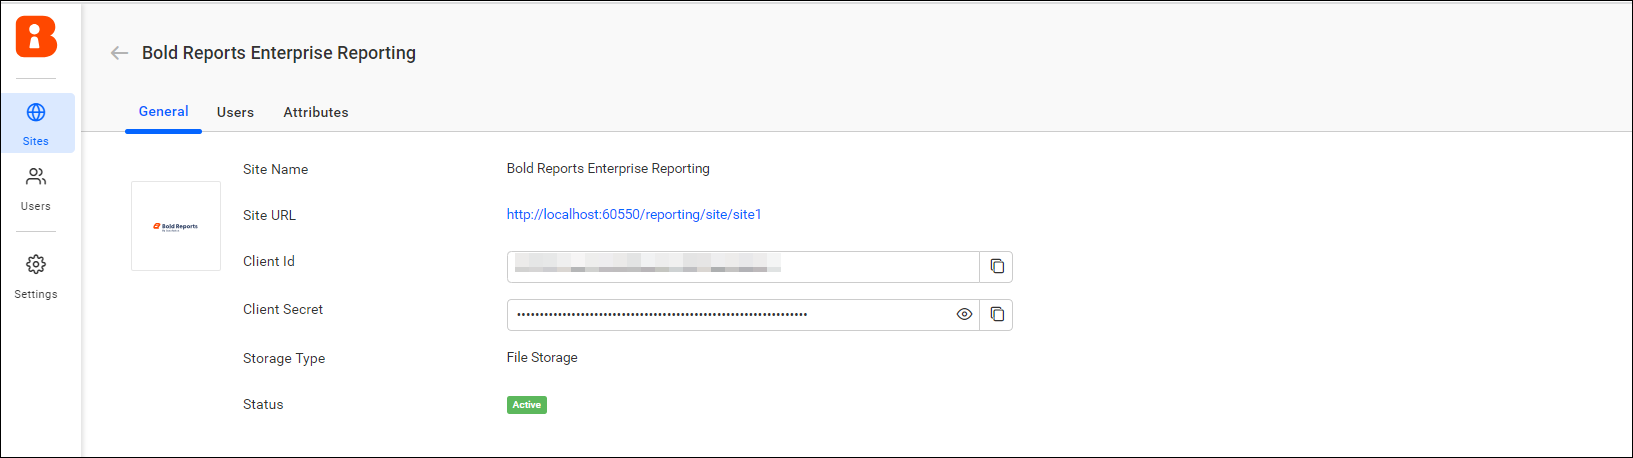
By clicking the site name, you can see the site information.

General
This section displays the basic information about the site, including:
- Site Name
- Site URL
- Client Id
- Client Secret
Site Users
This section shows the list of users who have access to the site.

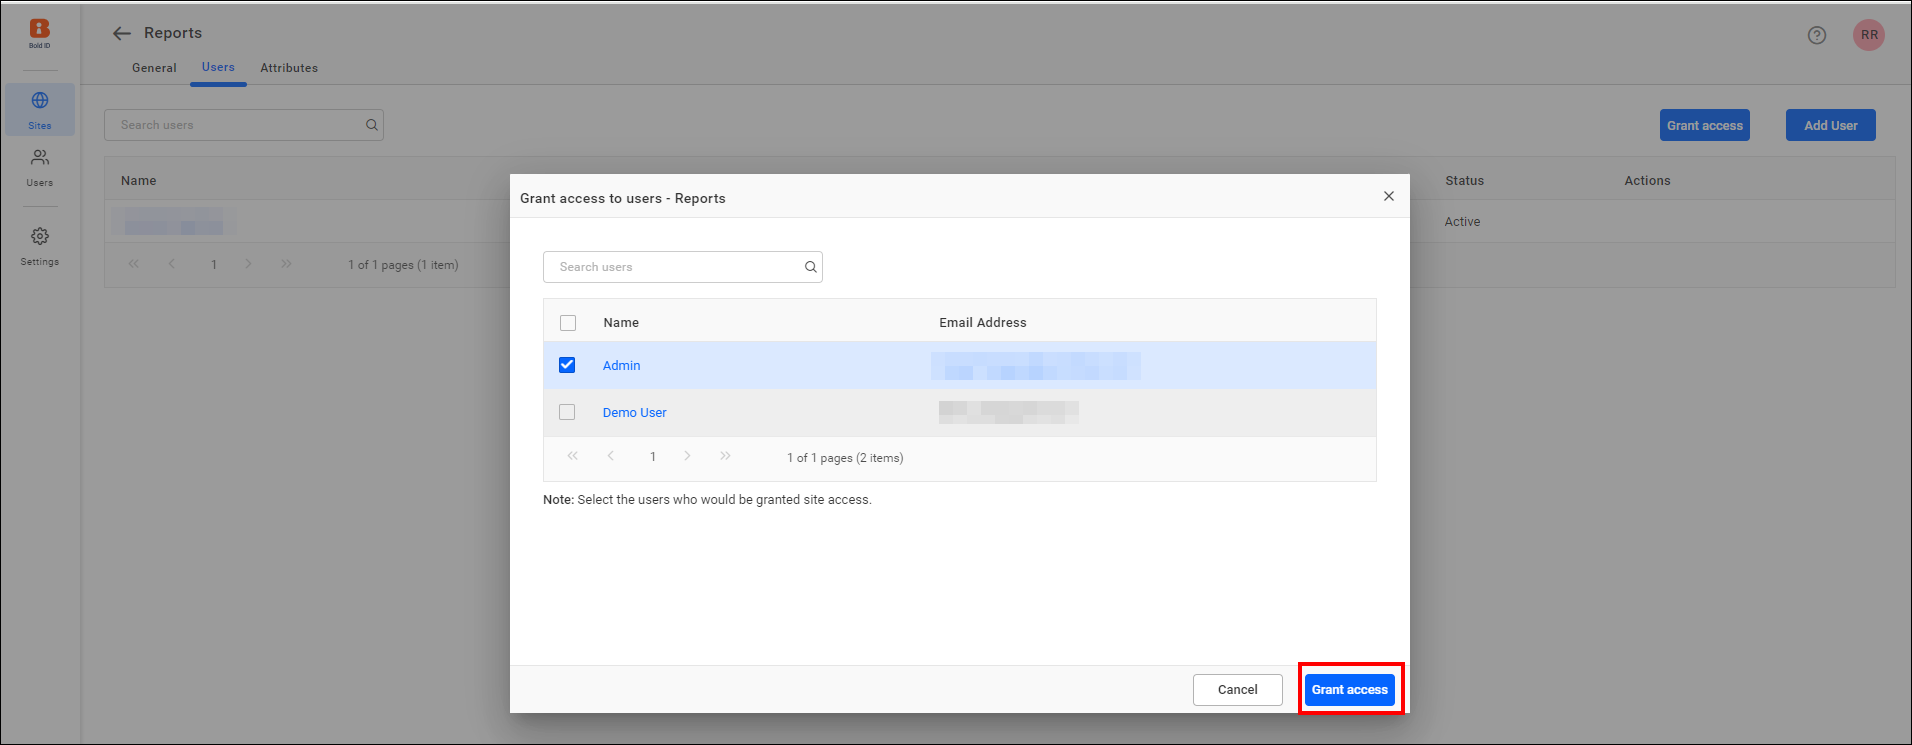
Grant Access
You can grant access to users by clicking the Grant Access button for this site.

After clicking the button, select the users from the list and grant access to the site.
Revoke Access
You can remove access for a single user by clicking Revoke Access.

You can remove access for multiple users by clicking the Revoke Access button.

Add User
To grant access to new user, click the Add User button.
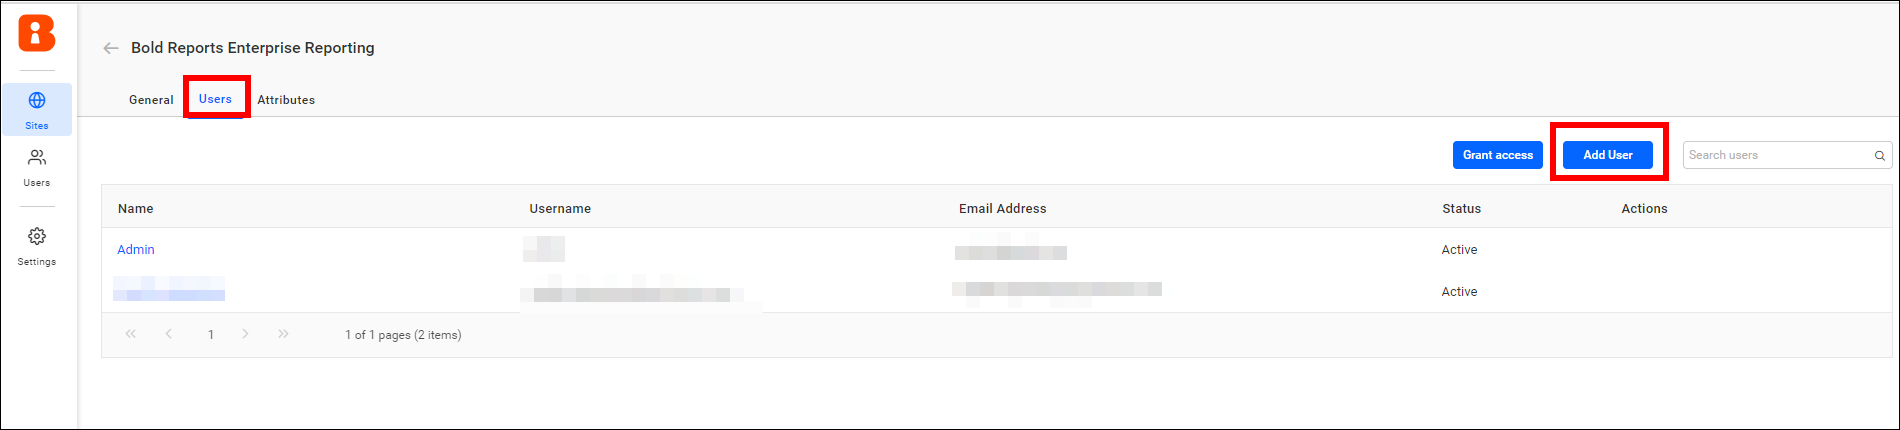
You can add the user by referring to the Add User.
The user will be added and granted access to the site.
Custom Attribute
You can learn how to configure Custom Attributes by clicking here.
Switch Master Site
The site created during the initial deployment is designated as the master site but you have the option to switch it. Please refer below for guidance.
-
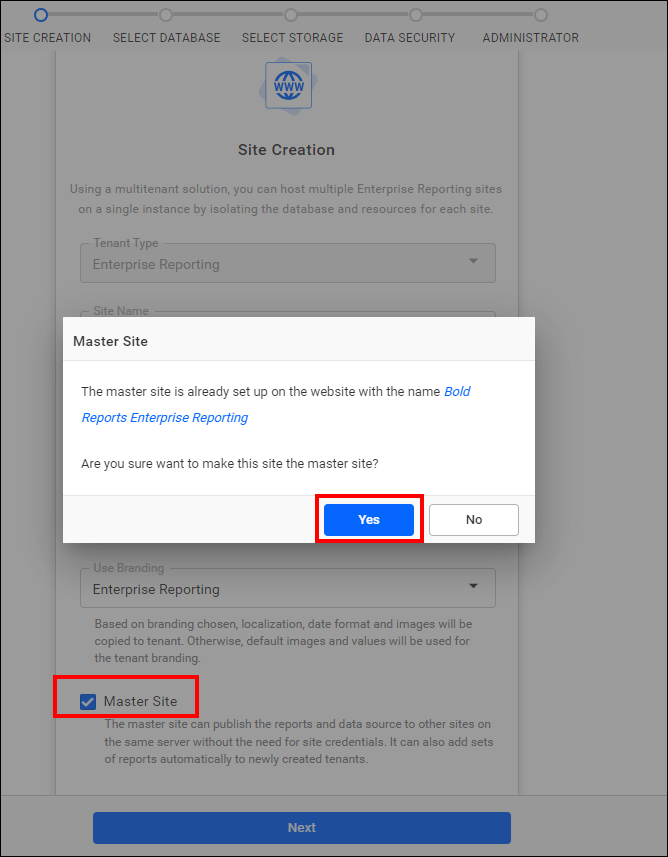
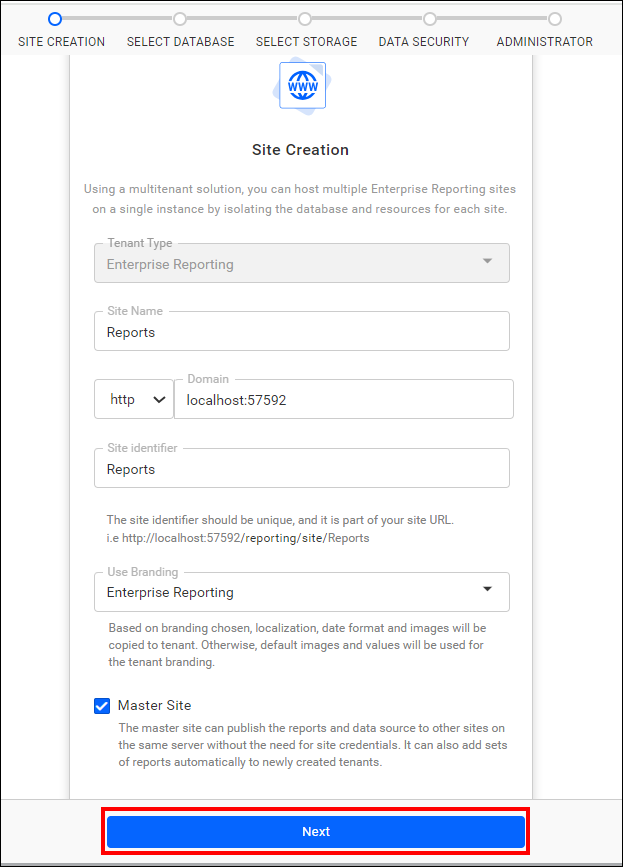
Click the create site button, then enable the Master Site option during site creation and proceed by selecting Yes to designate the site as the master site.

-
Click Next to proceed further.
-
Next, please select the Database, Storage type, and Administrator. For more information, please refer to the documentation provided here.
-
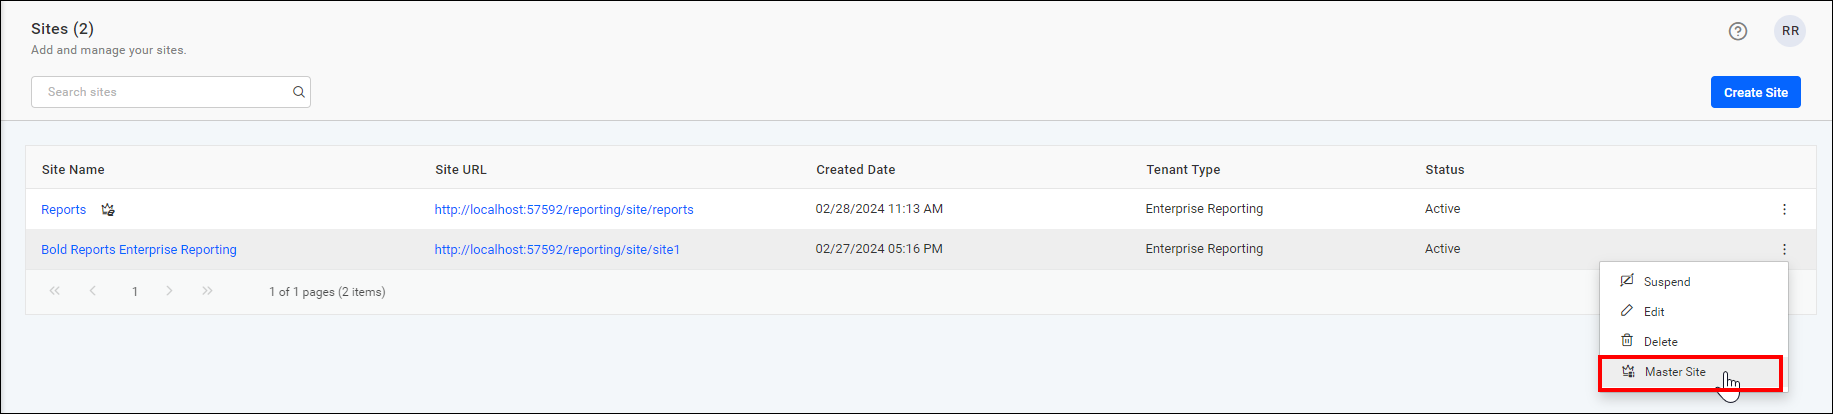
After the site’s creation, the newly established site took on the role of the master, while the existing site transitioned into the role of the slave.

Note: Clicking on the master site in the context menu allows you to designate it as the master.
- Suspend Site
- Activate Site
- Edit Site
- Delete Site
- Site Information
- General
- Site Users
- Grant Access
- Revoke Access
- Add User
- Custom Attribute
- Switch Master Site
- Suspend Site
- Activate Site
- Edit Site
- Delete Site
- Site Information
- General
- Site Users
- Grant Access
- Revoke Access
- Add User
- Custom Attribute
- Switch Master Site