Add Web Report Designer to a React Boilerplate application
This section explains the steps required to add web Bold Report Designer version higher than v5.2.xx to React Boilerplate application.
Prerequisites
Before getting started with the report designer, make sure that you have the following requirements.
To quick start with React Boilerplate application, we have already configured our Bold Reports® with React Boilerplate application. Those who are wish to directly getting started with Bold Reports® React Boilerplate application execute the below commands.
Note: If your using above our
Bold Reports v5.2.Xmeans you have to update the below 3 packages version in thepackages.jsonfile before executing thenpm installcommand. “react”: “17.0.1”,“react-dom”: “17.0.1”,“react-test-renderer”: “17.0.1”
> git clone https://github.com/boldreports/react-boilerplate.git
> cd react-boilerplate
> npm install
> npm start
React Boilerplate Application
-
Download React Boilerplate application from this link and extract it.
-
From the extracted folder, execute the following command to install project dependencies.
npm install
Install the Bold Reports® React package
Run the following commands to install the Bold Reports® React library.
| React version | NPM package installation |
|---|---|
| greater than 16 | npm install @boldreports/react-reporting-components@latest —save-dev |
| 16 or less than 16 (Warning: This version may have compatibility limitations with newer React features.) | npm install @boldreports/[email protected] —save-dev |
Note: Using the latest package with React 16 may cause compilation issues. Make sure to install the correct version to avoid problems.
Also, install create-react-class package, which is required by Bold Reports® React package.
npm install create-react-class --save-devAdding global scripts reference
-
Since, Bold Reports® requires global
jquery,React,createReactClassandReactDOMobjects to render the Report components, we need to import and assign those towindowobject in a newly createdapp/globals.jsfile.import jquery from 'jquery'; import React from 'react'; import createReactClass from 'create-react-class'; import ReactDOM from 'react-dom'; window.React = React; window.createReactClass = createReactClass; window.ReactDOM = ReactDOM; window.$ = window.jQuery = jquery; -
Import the
globals.jsfile inapp/app.jsfile as like below code snippet./** * app.js * * This is the entry file for the application, only setup and boilerplate * code. */ import './globals'; // Needed for redux-saga es6 generator support import '@babel/polyfill'; // Import all the third party stuff .... ....
Configuring webpack
Since, Bold Reports® uses cur type files, we need to provide support to load such type of file in webpack url-loader plugin by configuring internals/webpack/webpack.base.babel.js file.
....
....
        test: /\.(jpg|png|gif|cur)$/,
        use: [
          {
            loader: 'url-loader',
            options: {
              // Inline files smaller than 10 kB
              limit: 10 * 1024,
            },
          }
....
....
Adding Report Designer component
The Bold Report Designer script and style files are needs to be imported in order to run the web designer. So, import the following scripts and css in app/app.js file. Now, use the tag BoldReportDesignerComponent to render our designer in the application.
....
....

import history from 'utils/history';
import 'sanitize.css/sanitize.css';

//Report Designer component styles
import '@boldreports/javascript-reporting-controls/Content/v2.0/tailwind-light/bold.report-designer.min.css';
//Report Designer component dependent scripts
import '@boldreports/javascript-reporting-controls/Scripts/v2.0/common/bold.reports.common.min';
import '@boldreports/javascript-reporting-controls/Scripts/v2.0/common/bold.reports.widgets.min';
//Report Viewer and Designer component scripts
import '@boldreports/javascript-reporting-controls/Scripts/v2.0/bold.report-viewer.min';
import '@boldreports/javascript-reporting-controls/Scripts/v2.0/bold.report-designer.min';
//Reports react base
import '@boldreports/react-reporting-components/Scripts/bold.reports.react.min';

....
....

const MOUNT_NODE = document.getElementById('app');

const bounds = { height: '800px', width: '100%'};
const render = messages => {
  ReactDOM.render(
    <div style={bounds}>
      <BoldReportDesignerComponent id="reportdesigner_container"  >
      </BoldReportDesignerComponent>
    </div>,
    MOUNT_NODE,
  );
};

....
....
Create a Web API service
The web Report Designer requires a Web API service to process the data and file actions. You can skip this step and use our online Web API service at https://demos.boldreports.com/services/api/ReportingAPI to create, edit, and browse reports or you must create any one of the following Web API services.
Set a Web API service URL
Bind an online serviceUrl to Bold Report designer component in app/app.js file like the below snippet.
....
....

import history from 'utils/history';
import 'sanitize.css/sanitize.css';

//Report Designer component styles
import '@boldreports/javascript-reporting-controls/Content/v2.0/tailwind-light/bold.report-designer.min.css';
//Report Designer component dependent scripts
import '@boldreports/javascript-reporting-controls/Scripts/v2.0/common/bold.reports.common.min';
import '@boldreports/javascript-reporting-controls/Scripts/v2.0/common/bold.reports.widgets.min';
//Report Viewer and Designer component scripts
import '@boldreports/javascript-reporting-controls/Scripts/v2.0/bold.report-viewer.min';
import '@boldreports/javascript-reporting-controls/Scripts/v2.0/bold.report-designer.min';
//Reports react base
import '@boldreports/react-reporting-components/Scripts/bold.reports.react.min';

....
....

const MOUNT_NODE = document.getElementById('app');

const bounds = { height: '800px', width: '100%'};
const render = messages => {
  ReactDOM.render(
    <div style={bounds}>
       <BoldReportDesignerComponent
            id="reportdesigner_container"
            serviceUrl={'https://demos.boldreports.com/services/api/ReportingAPI'}>
        </BoldReportDesignerComponent>
    </div>,
    MOUNT_NODE,
  );
};

....
....
Run the Application
To run the app, execute the following command and browse to http://localhost:3000 to see the application.
npm start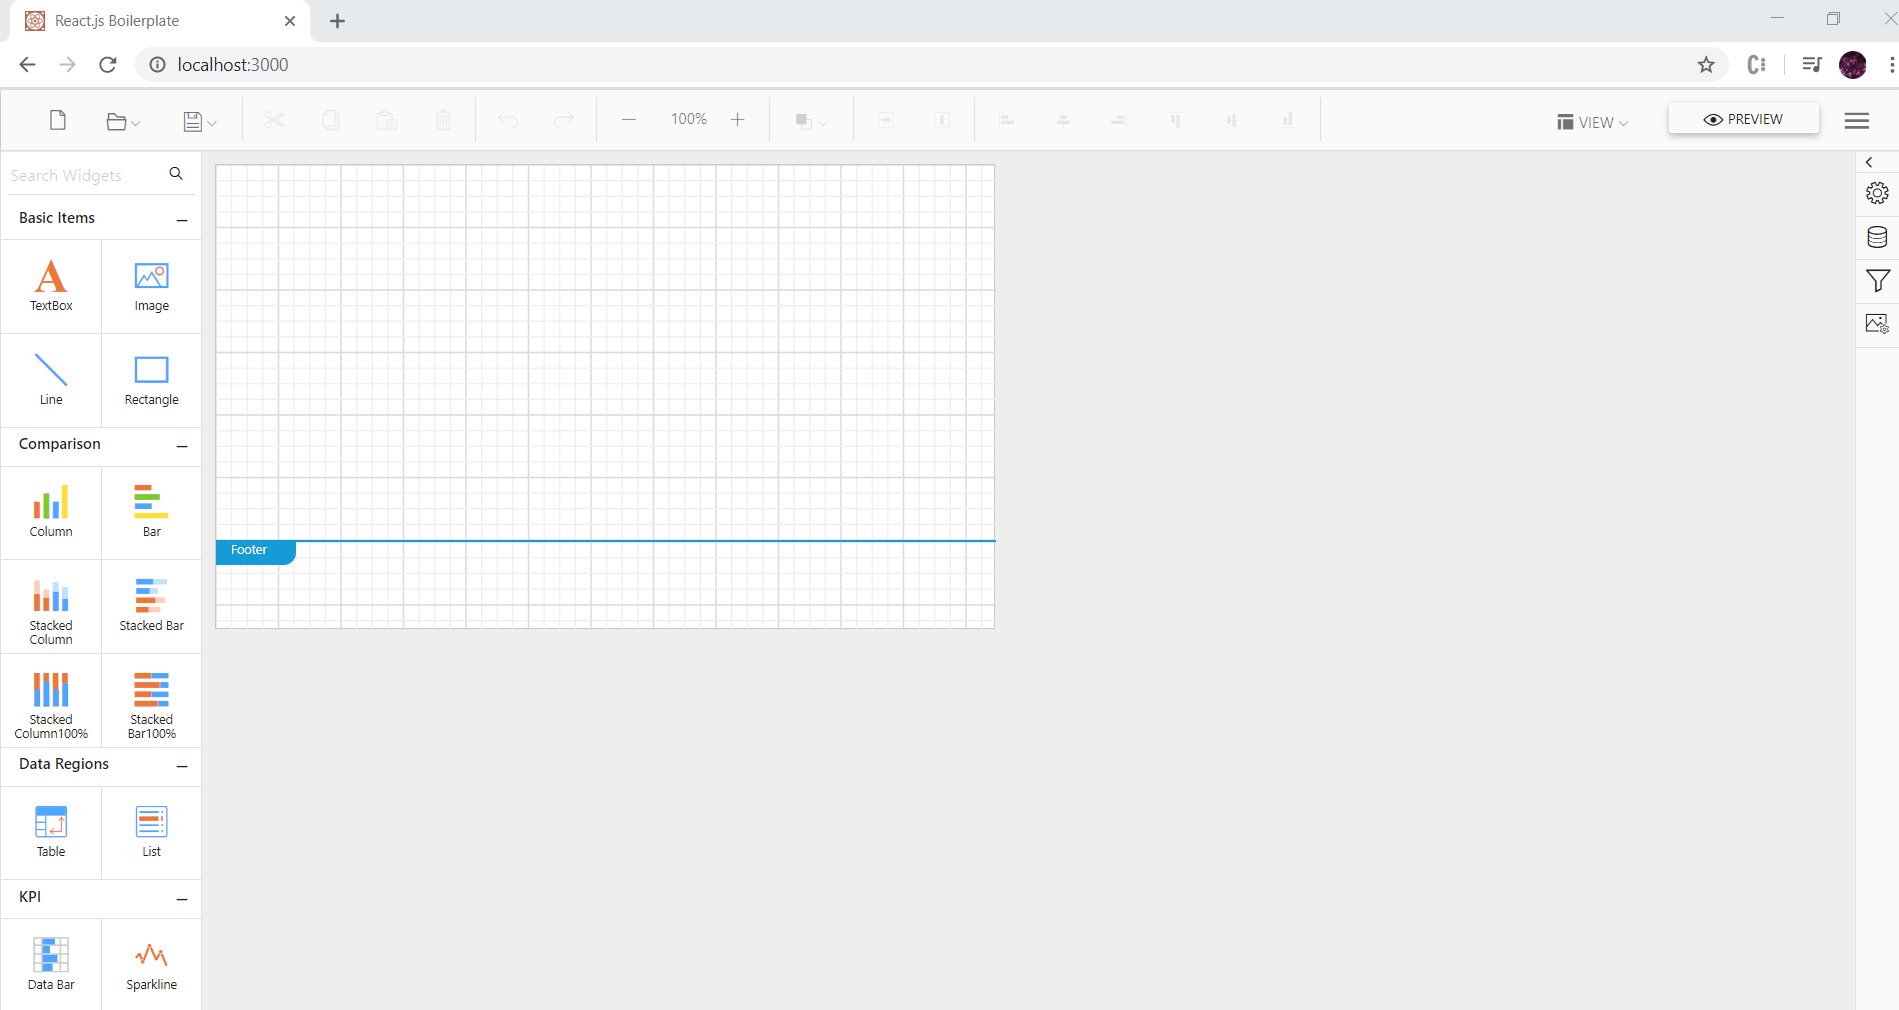
Deploying the application in production
To deploy the application in production, run the following command in command prompt which will create a folder named buildto generate the build files.
npm run build