Design ssrs rdl report using list
This section describes the steps to design Mail Merge Report using SSRS list report item.
Create dataset
To present data in the list format, create a dataset and bind data to the list data region. In this designing section, the following dataset query is used for dataset creation.
SELECT Emp.Photo as Photo, Emp.FirstName, Emp.LastName,
(DATENAME(WEEKDAY,Emp.BirthDate)+', '+ DATENAME(DAY,Emp.BirthDate)+'+DATENAME(MONTH,Emp.BirthDate)+'+DATENAME(YEAR,Emp.BirthDate)) as BirthDate,
Emp.Address, Emp.Title, Emp.Region, Emp.City, Emp.Country, Emp.TitleOfCourtesy, Rep.FirstName as ReportingFirstName, Rep.LastName as ReportingLastName,
(DATENAME(WEEKDAY,Emp.HireDate)+', '+DATENAME(DAY,Emp.HireDate)+'+DATENAME(MONTH,Emp.HireDate)+'+DATENAME(YEAR,Emp.HireDate))as HireDate,
Emp.Notes, Emp.HomePhone    FROM  Employees Emp INNER JOIN Employees Rep ON Rep.EmployeeID=emp.ReportsTo
Refer Create Data section and create dataset using the above query. Northwind database is used here.
Configure a list
- The list report item is listed in the item panel under the
Data Regionscategory.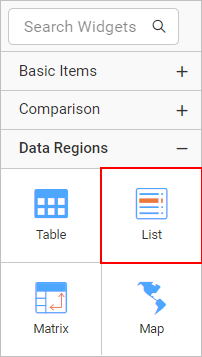
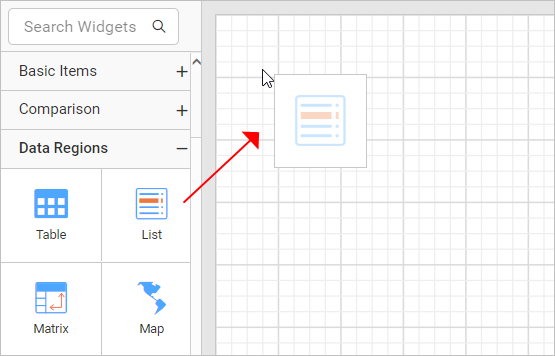
- Drag and drop the list report item into the design area from the item panel.
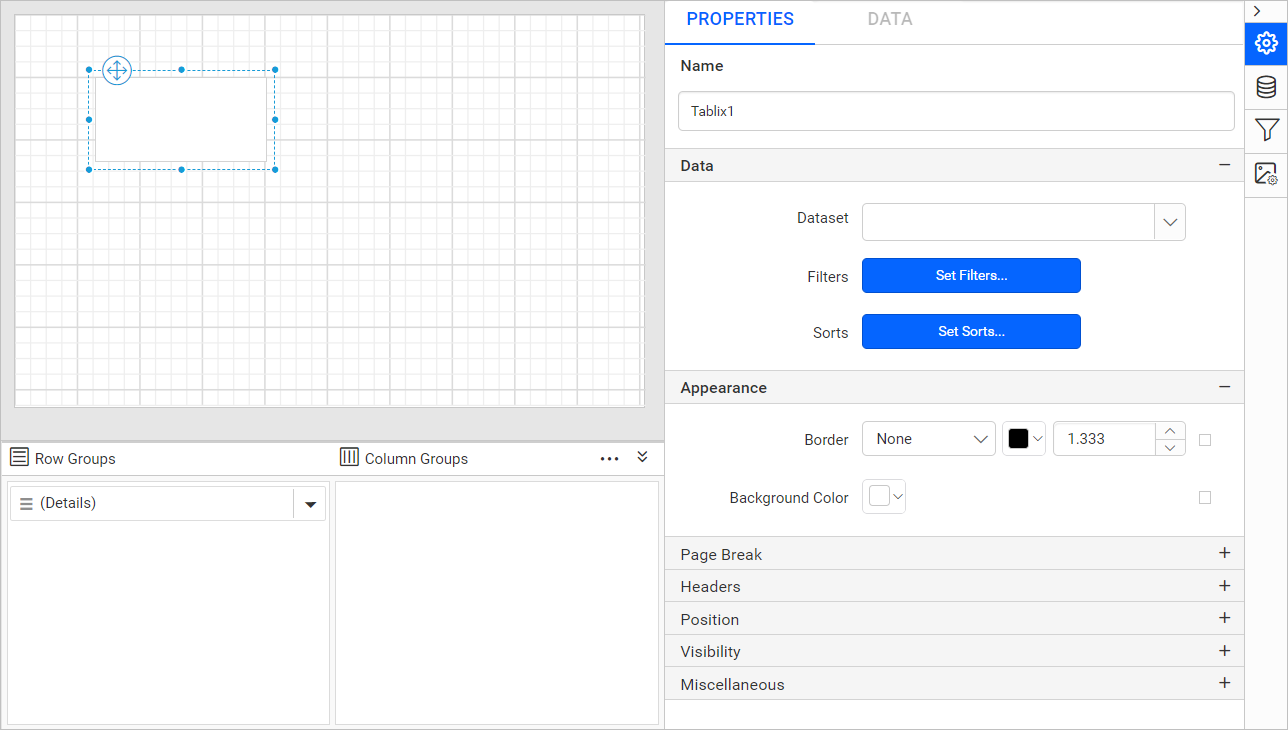
- Respective list properties will be listed in the properties panel.
- In the
DataSetdrop-down list choose the required dataset.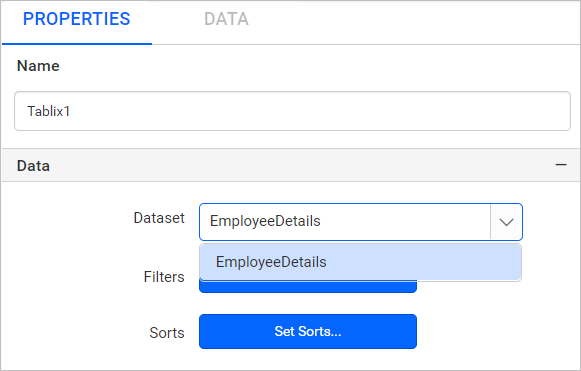
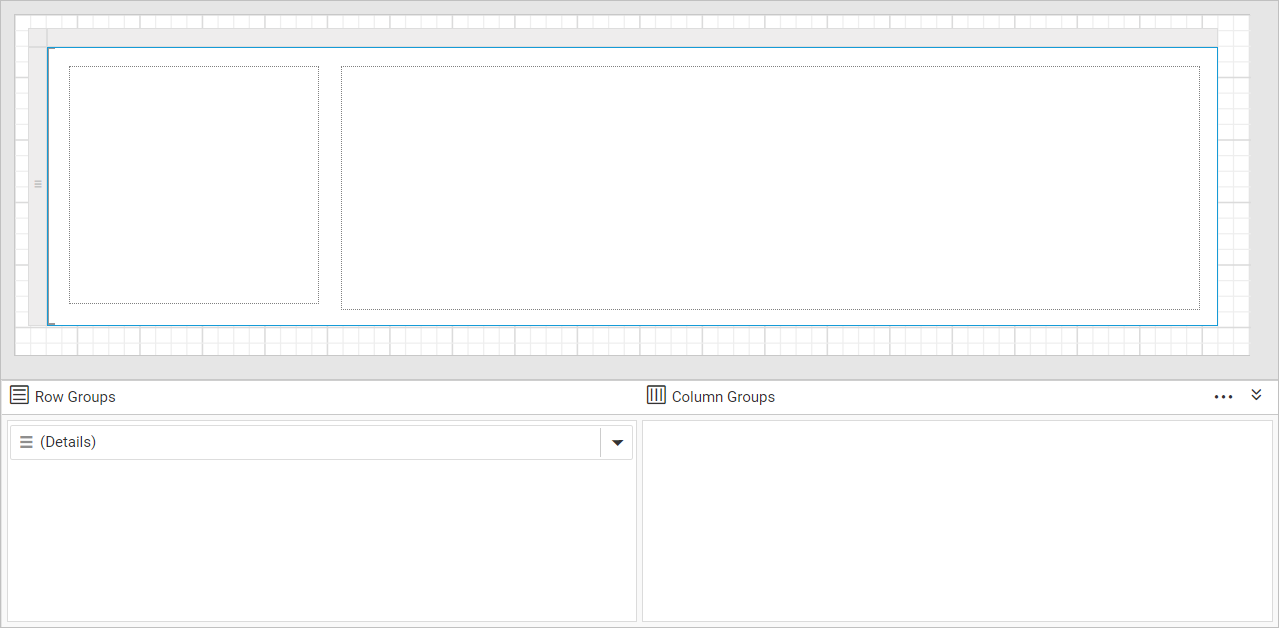
Initial design
Once you drop the list item, the Table renders with a single cell in a row associated with the detail group in the design area. By default, the cell contains a rectangle that acts as a container.
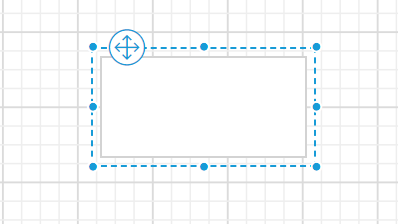
The cell in a list contains a rectangle. You can replace a default report item in a cell with any other report item.
Add report items
In list data regions, you can place the report items anywhere instead of being limited to a table layout. To create a mail merge template place the images, rectangles and textboxes inside of the list report item in a free-form manner.
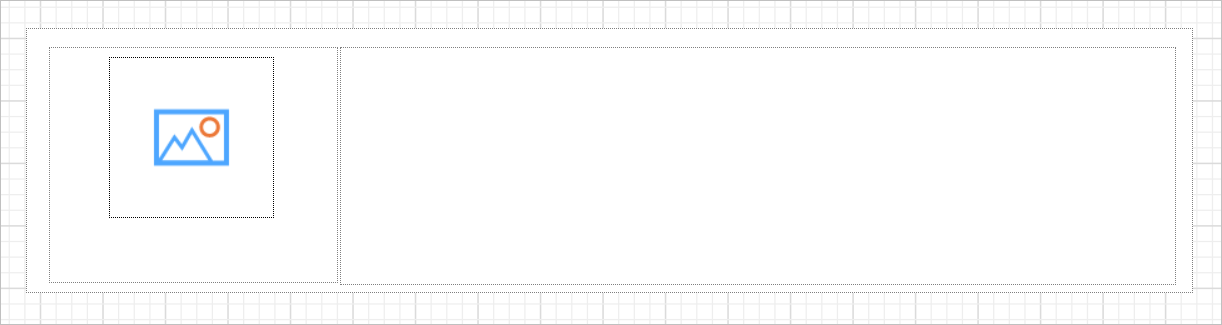
- Drag and drop two rectangle report items inside the list, to display the employee image and personal details side-by-side. Resize the list report item width and height to the required size.
- Then, drag and drop the image item in the left rectangle to display the employee image in the report.
- Bind the
Photofield from the database to the image item.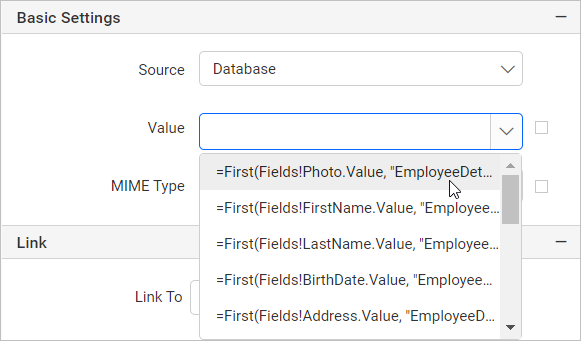
- To display the employee name, add textbox in the bottom position of image report item.

- Now, right click in the textbox and click on
Expressionoption.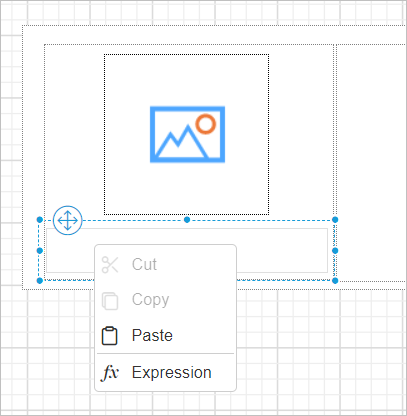
- In the expression editor, choose
FirstNamefield from the dataset.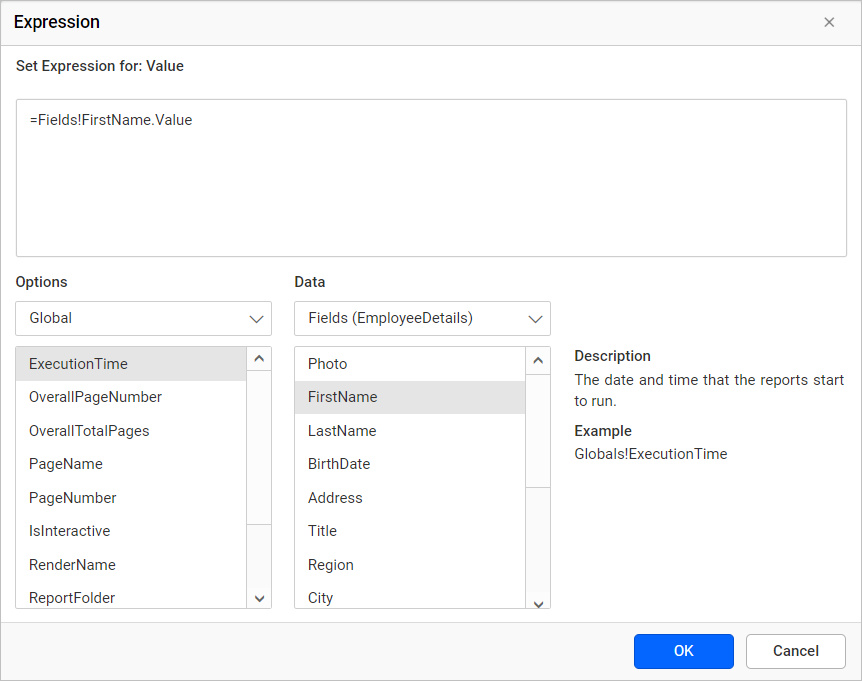
- Similarly, assign
LastNamefield and create another expression. Then, customize the text appearance using the textbox properties in properties panel.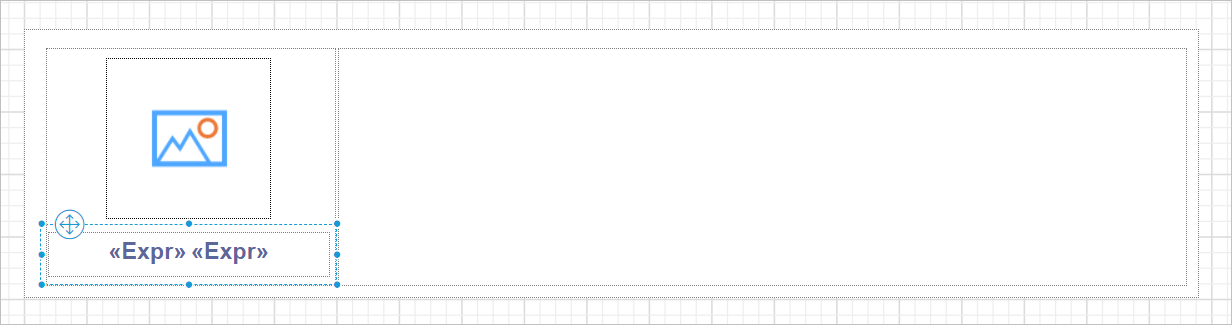
Refer Display dynamic text using expression section to assign expression in textbox report item.
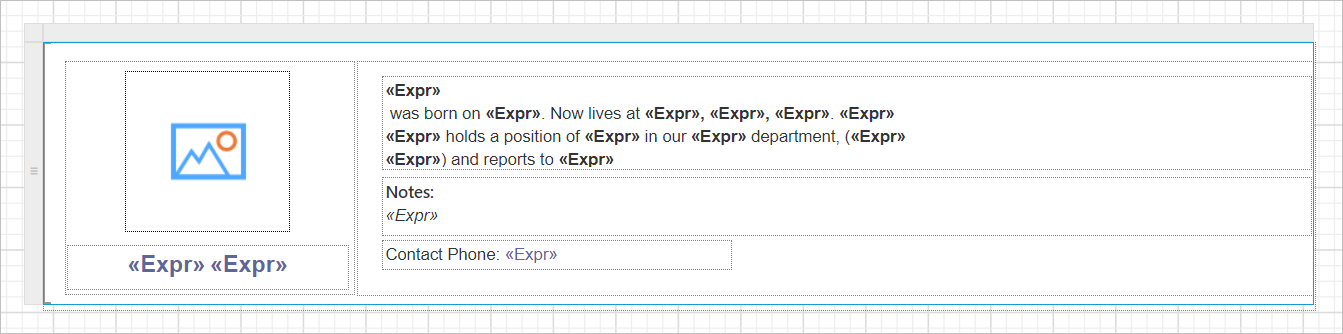
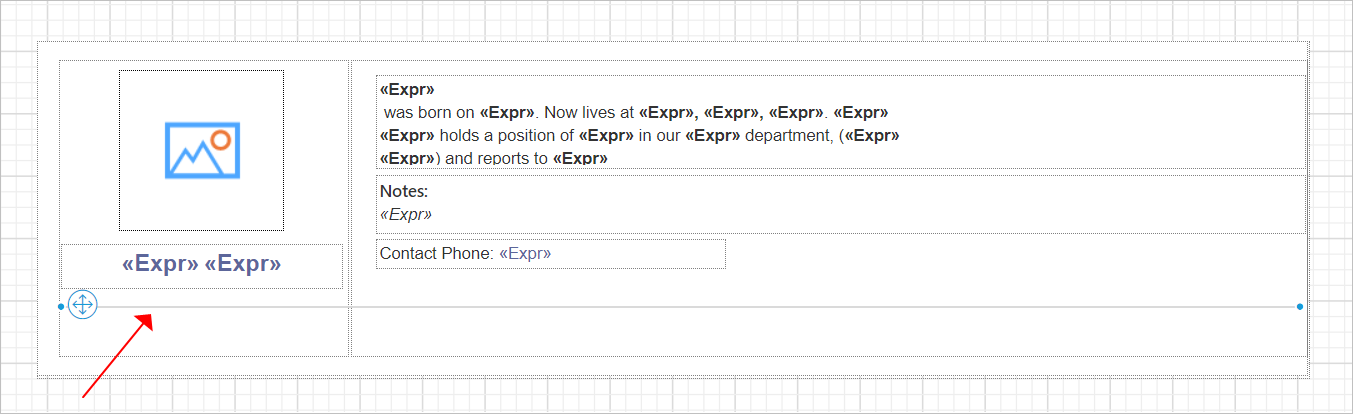
- To display other employee details place other report items in the list item. In the below snap, the employee information are placed in the textboxes and the values are bound as expression to fetch dynamic data from the database.
- On report preview, each employee details will be displayed as list. To separate the each employee information you can drag and drop a line report item in the inside bottom position of the list cell.
Report header
- Enable the report
Headerto add a title to the report.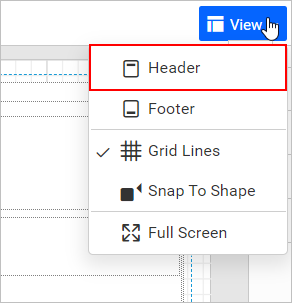
Refer Show or hide header and footer section to add or remove header/footer in the report
- Now, add a rectangle report item in the report header area and a textbox within the rectangle.
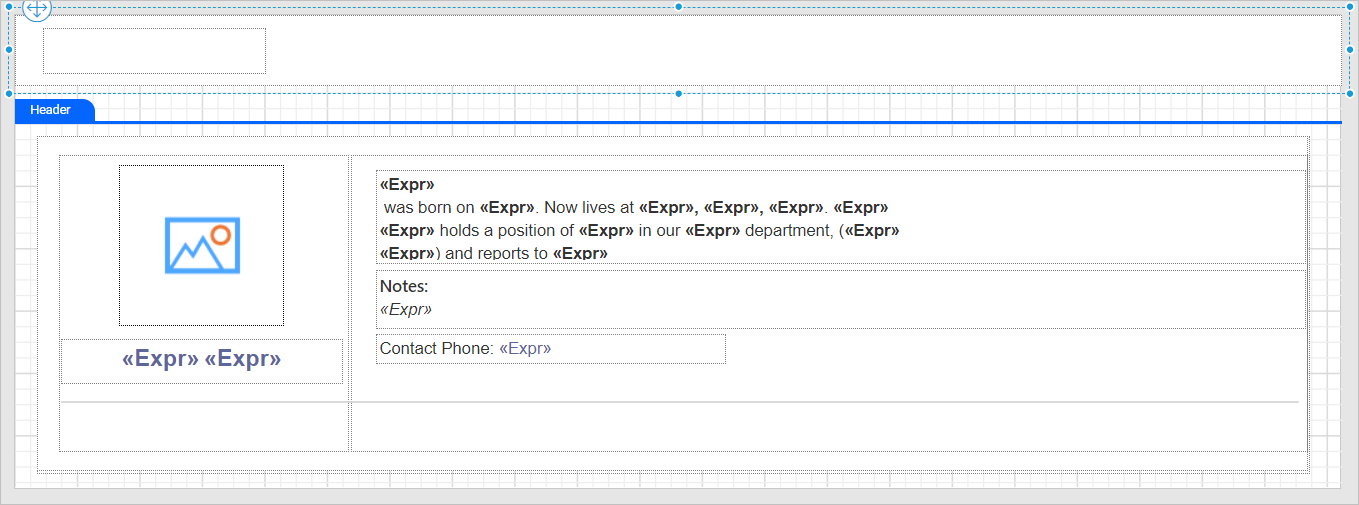
- Set the report title text in the textbox and customize the appearance of the title using the textbox and rectangle properties in properties panel as required.
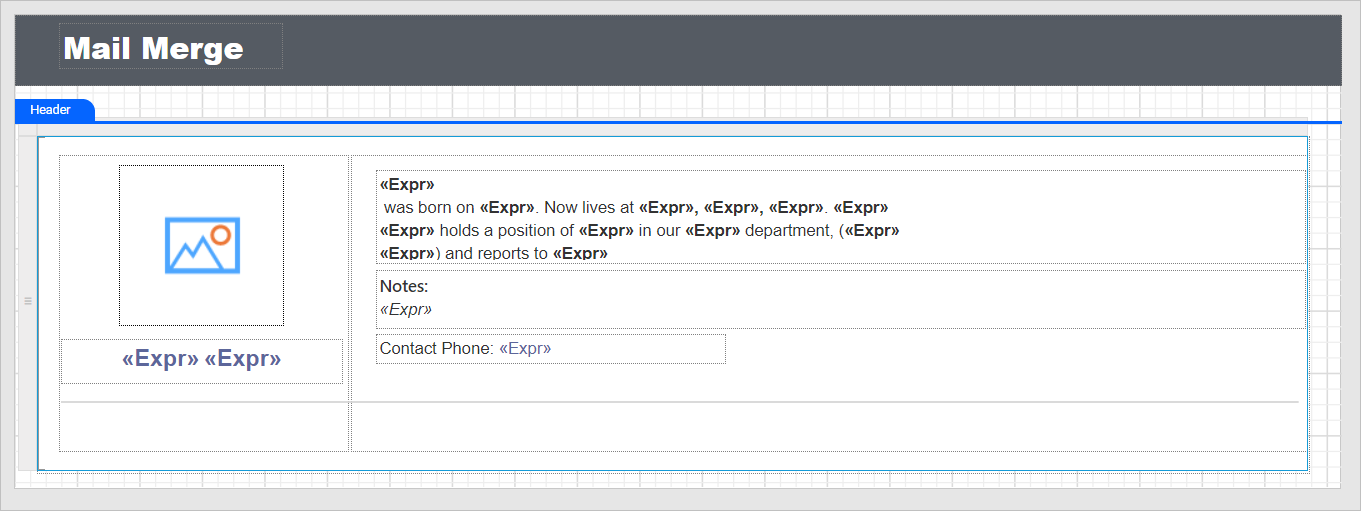
Final design
A final design of Mail Merge Report will look like below.
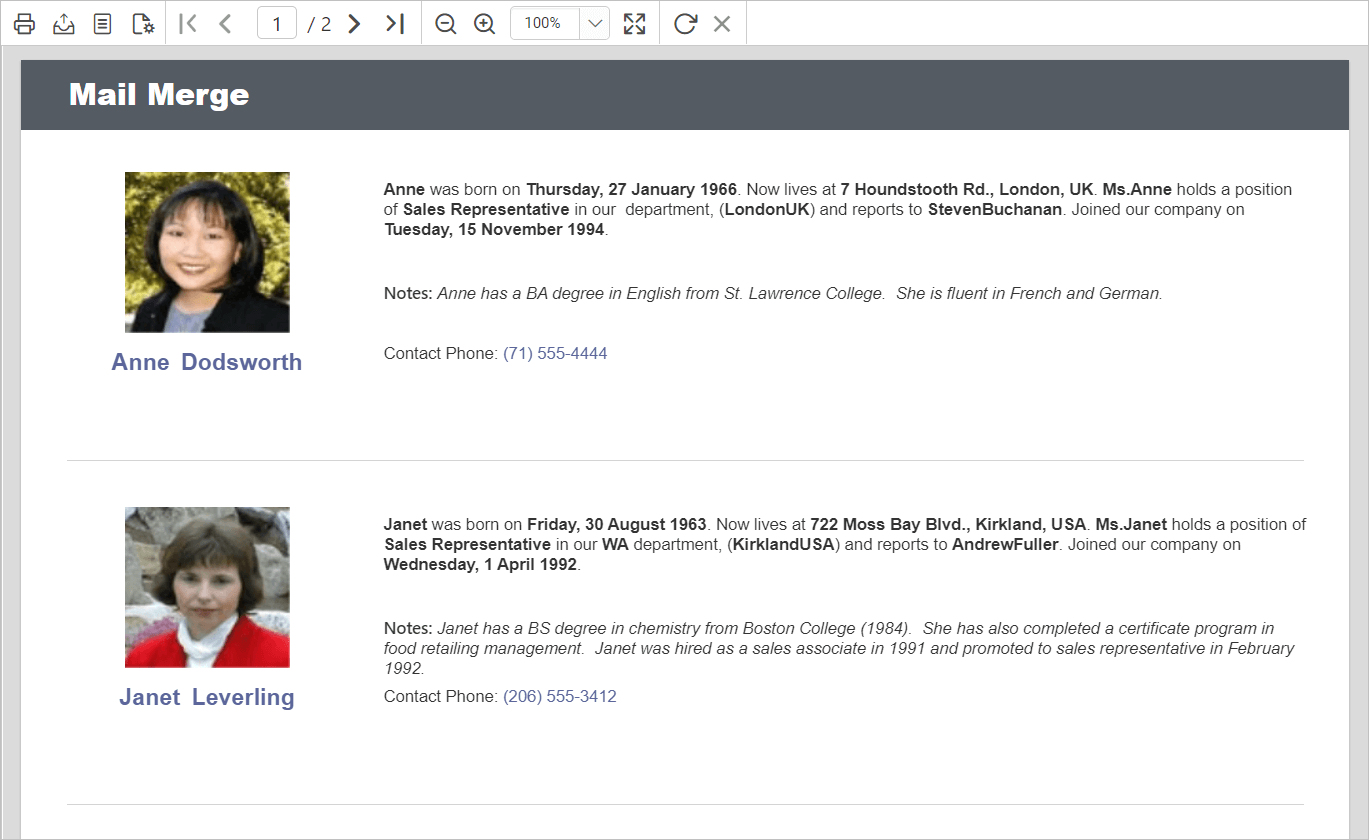
Report preview
On report preview, the mail merge report will be displayed like below,
Download the above report design from the link