Download and installation
This section briefly describes the steps involved in downloading and installing the Standalone Report Designer setup.
Register and download Standalone Report Designer
-
Go to the Standalone Report Designer Home page and click
Try it now.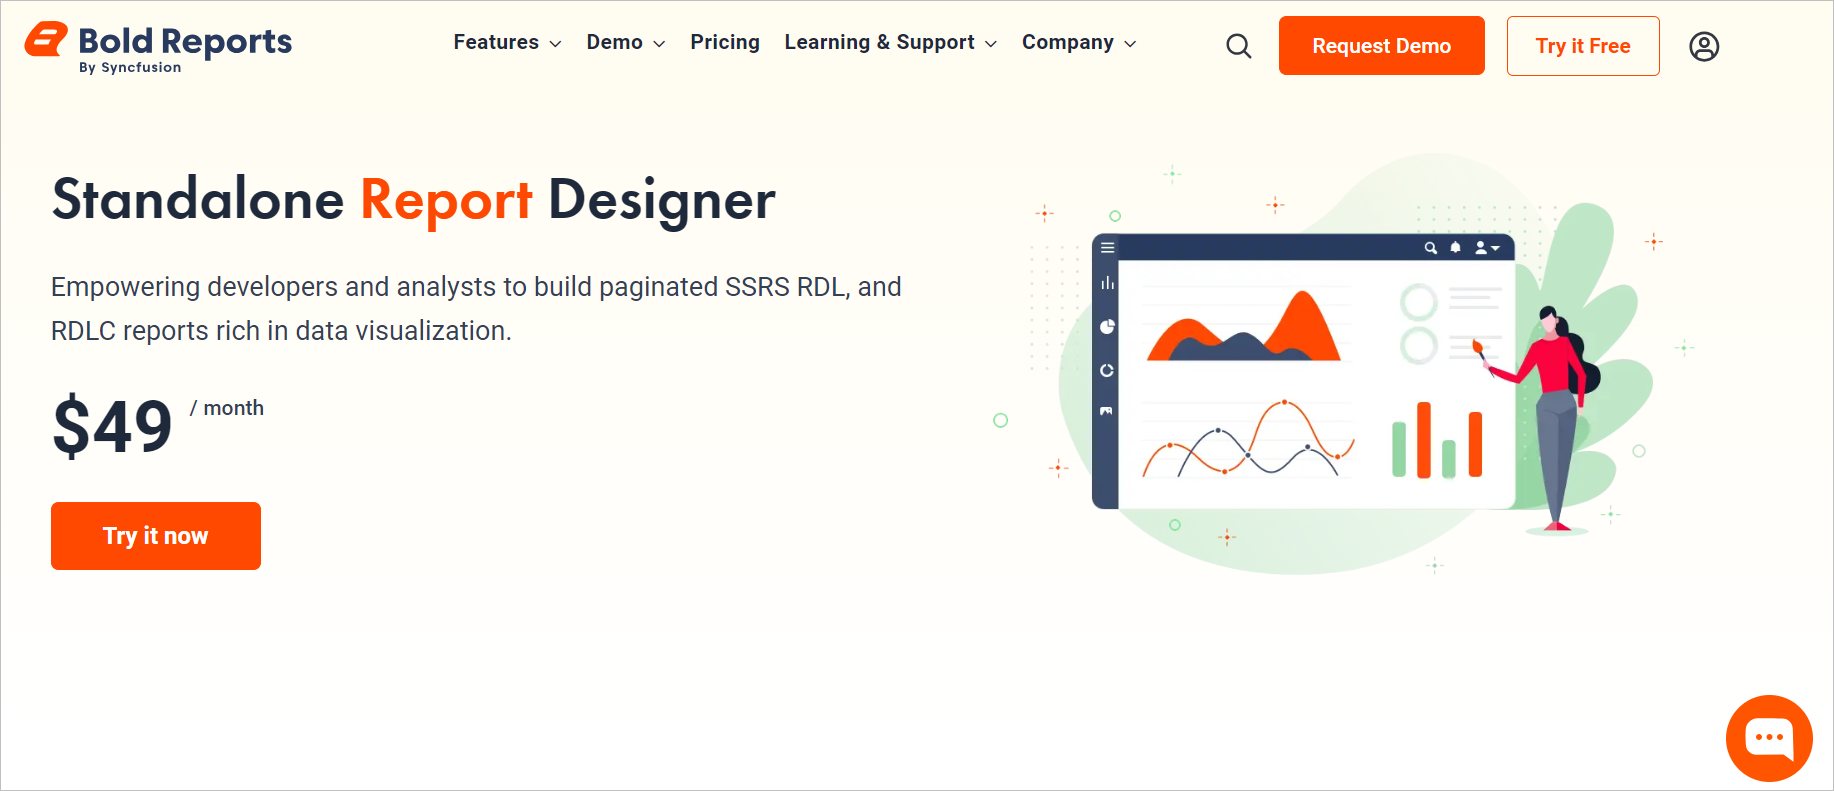
-
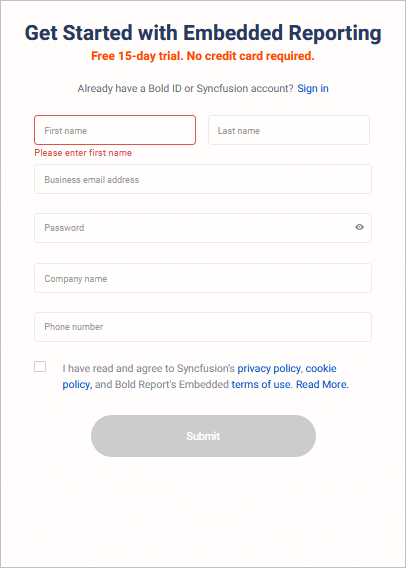
Register with a new account or sign in with an existing account.
-
After you sign in, you will be redirected to the Bold Reports® Cloud site. Click the profile icon in the top-right corner and select
View account.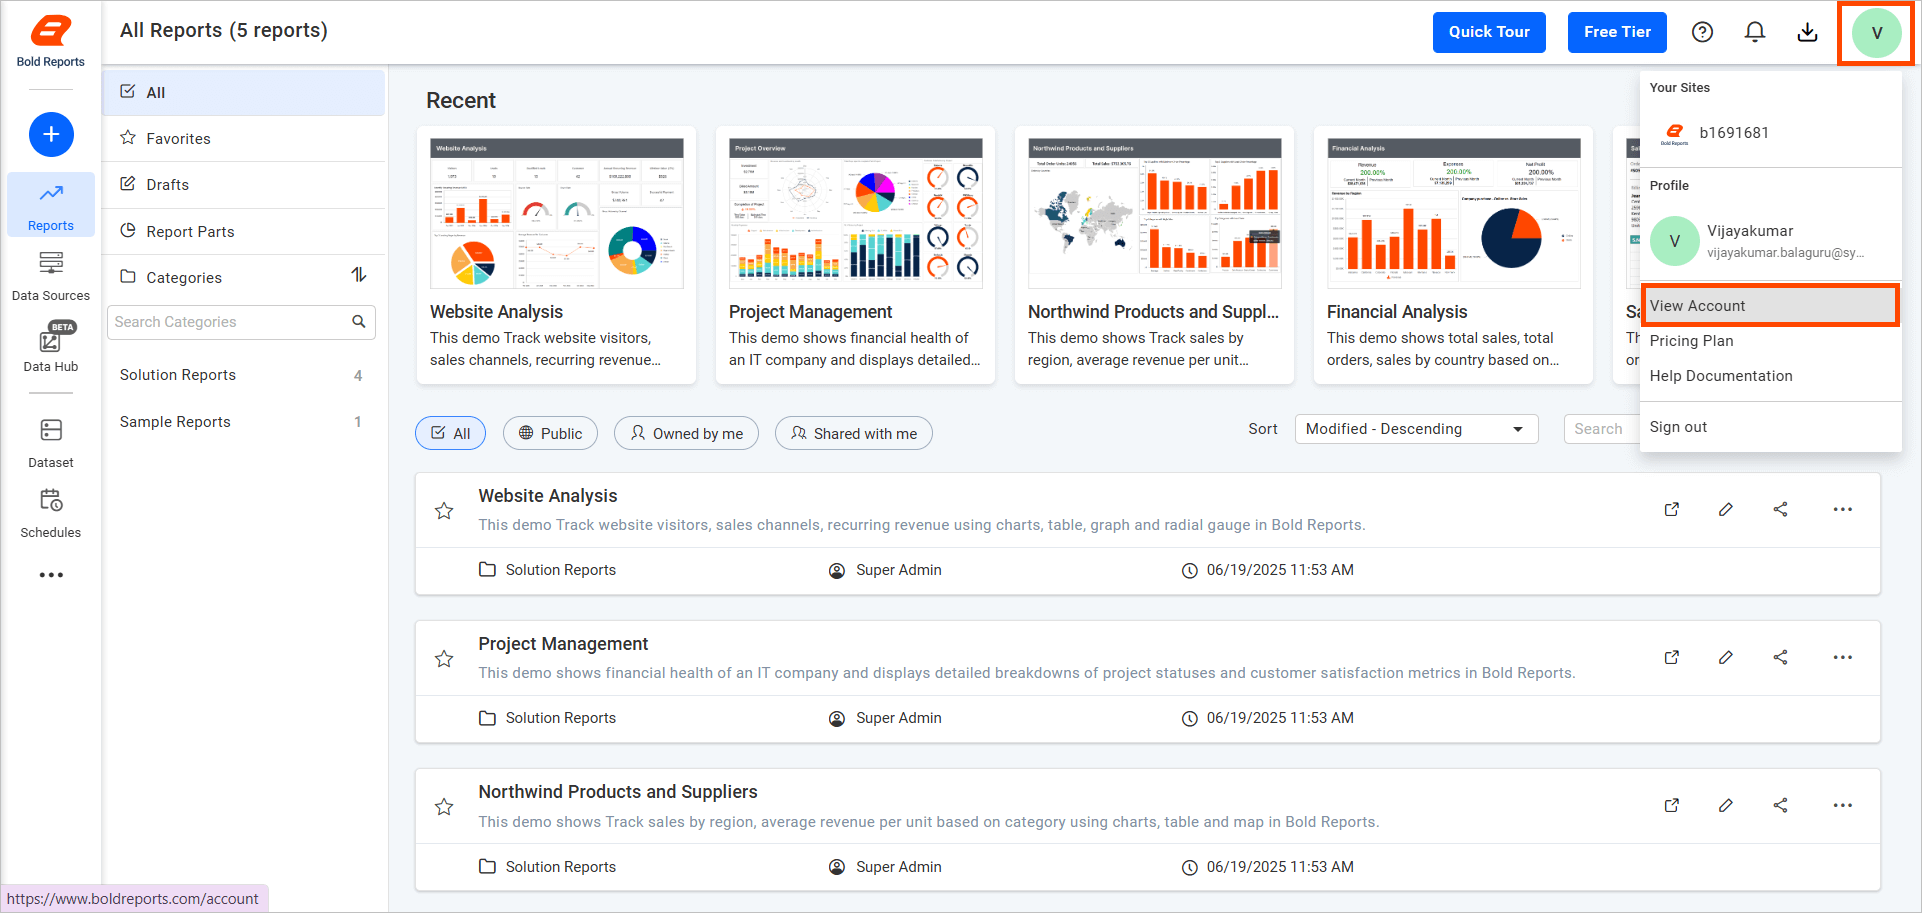
-
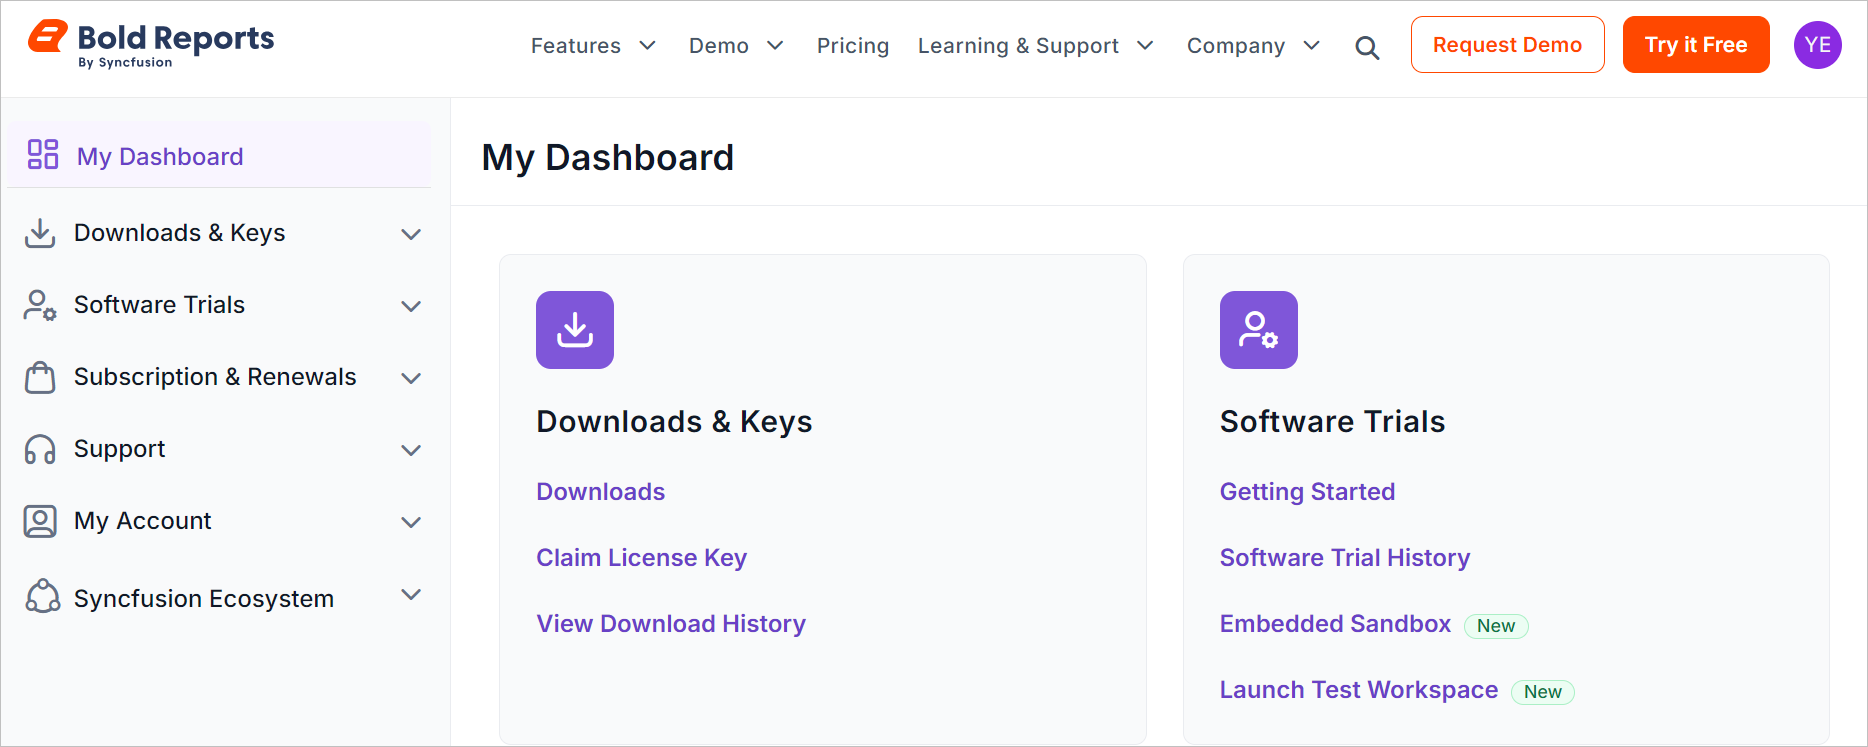
You will be redirected to the accounts page.
-
Expand the
Downloads & Keyssection and selectDownloads.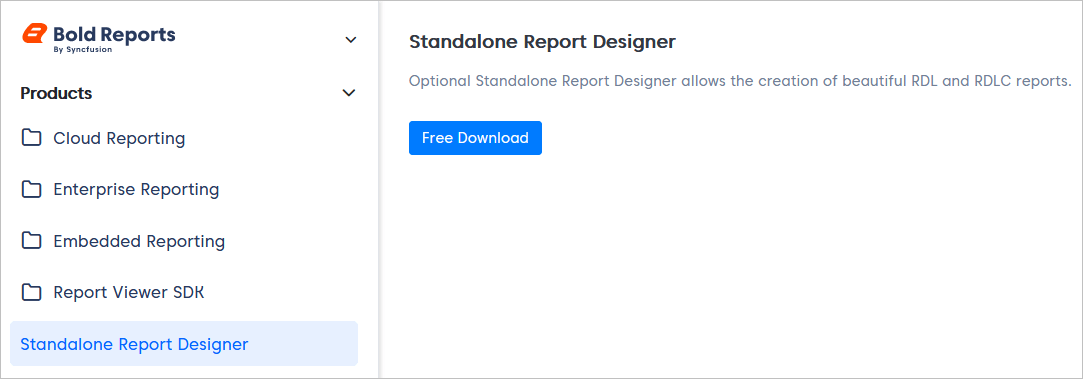
-
Under Standalone Report Designer, select the file type and click
Download.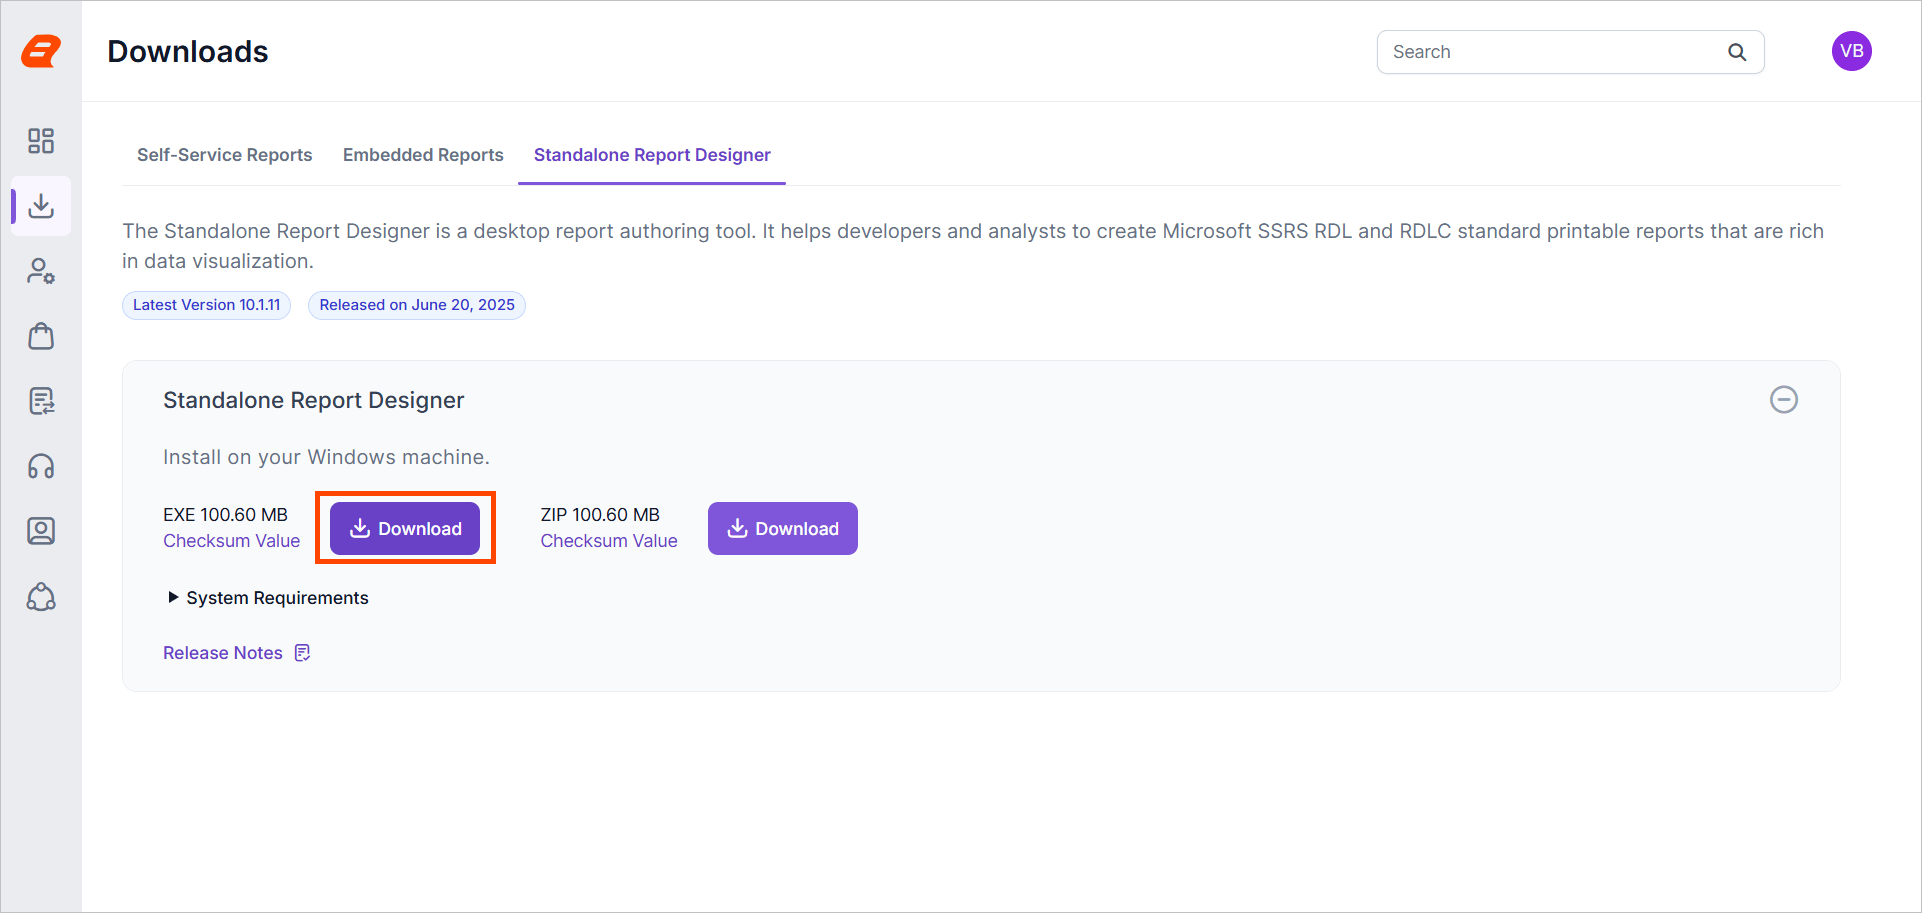
Installing Standalone Report Designer
-
After downloading the setup file, double-click the EXE in its saved location to start the installation.
-
Sign in with your registered email address to unlock the setup.
-
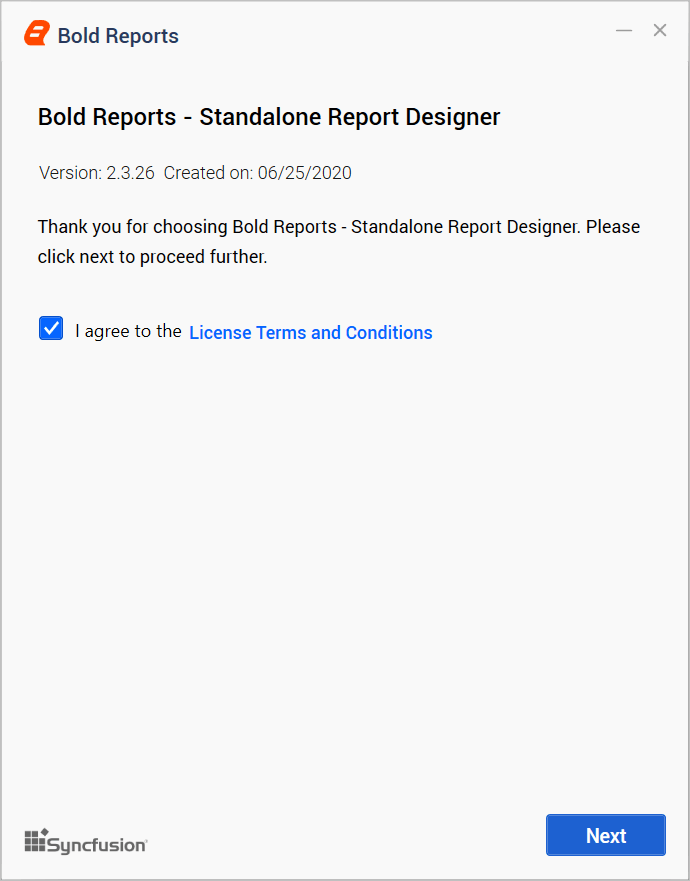
Accept the license agreement for Standalone Report Designer by clicking
License Terms and Conditions.Note:
- For versions below 10.x.x: You will encounter a consent window titled
Consent to install CefSharp binaries and dependencies. Carefully read and accept the terms presented. Then, clickNextto proceed with the installation. - For versions 10.x.x and above: The CefSharp dependency is no longer required due to the WebView2-based implementation.
- For versions below 10.x.x: You will encounter a consent window titled
-
Choose the location where you would like to install the Standalone Report Designer setup and click
Install.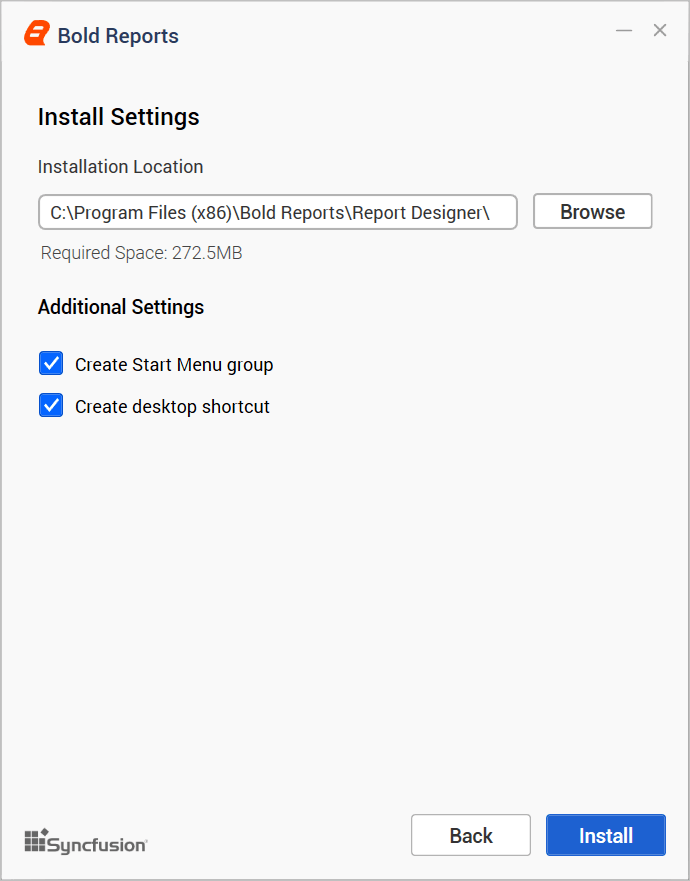
-
Read and accept the license to ship the selected client libraries, then click
Install.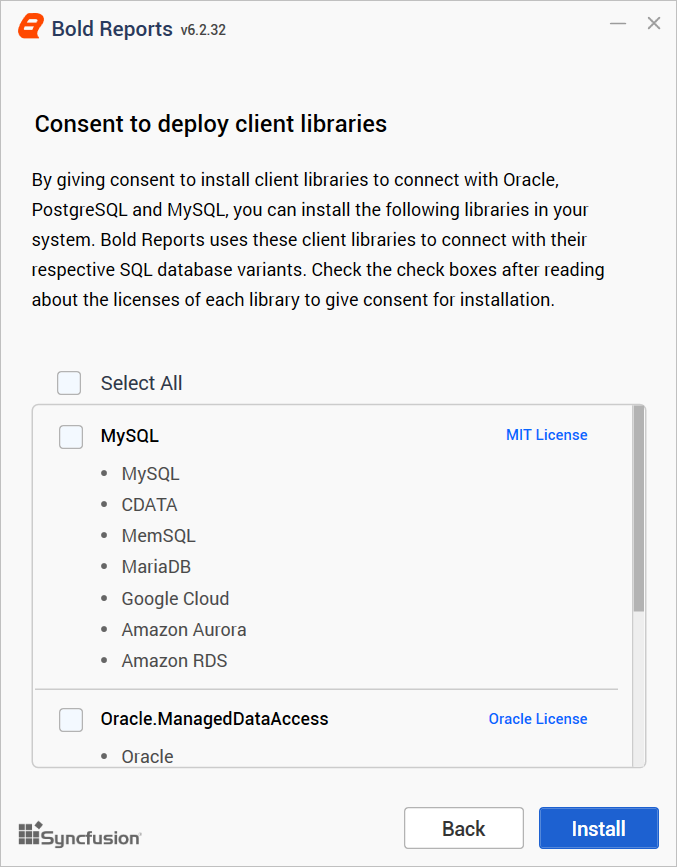
-
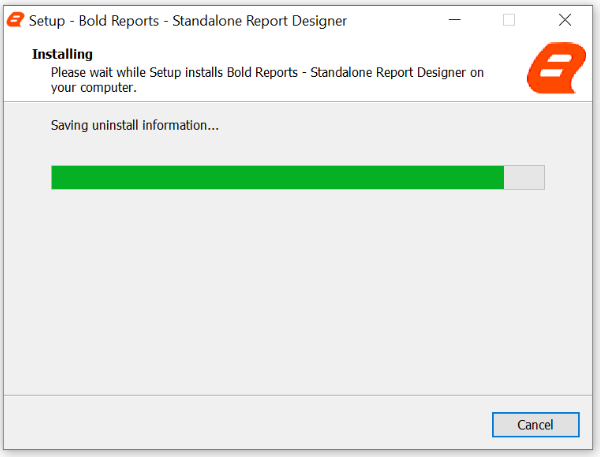
The installation will now begin. You can cancel the installation at any time by clicking
Cancel, if you prefer.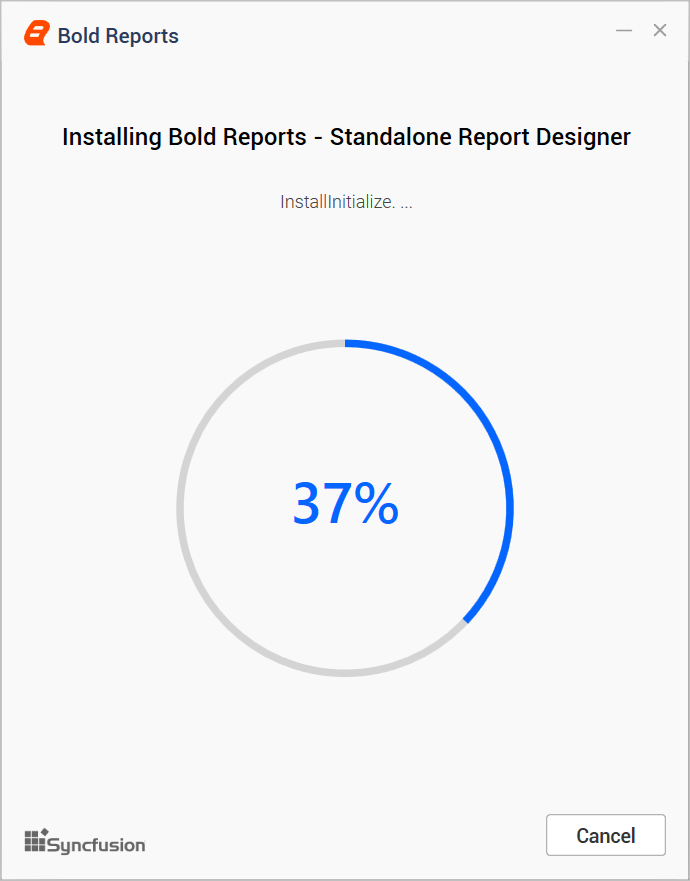
-
Upon successful installation, the following screen will appear. Click
Launch Applicationto start the program.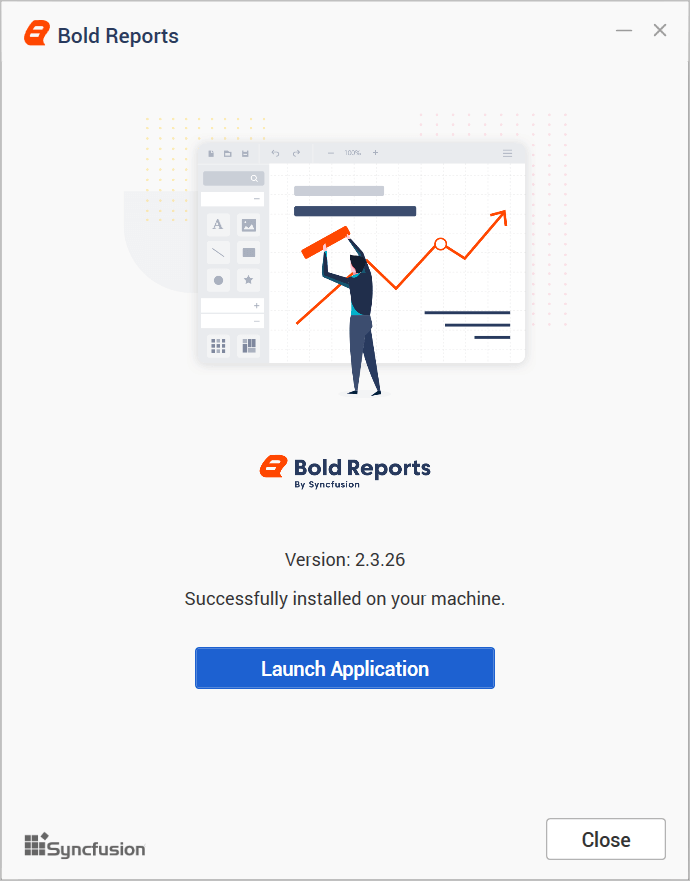
-
After installing the setup, two separate launchers will be added to your desktop:
Bold Reports DesignerandBold Reports RDLC Designer. These are used for creating and editing RDL and RDLC reports, respectively.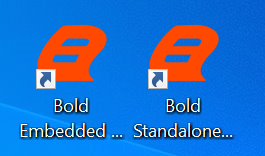
Offline installation
-
After downloading the setup file, double-click the EXE in its saved location to start the installation.
-
For offline installation, unlock the setup using an offline key. If you don’t have the setup unlock key, click
hereas shown in the image below to download it.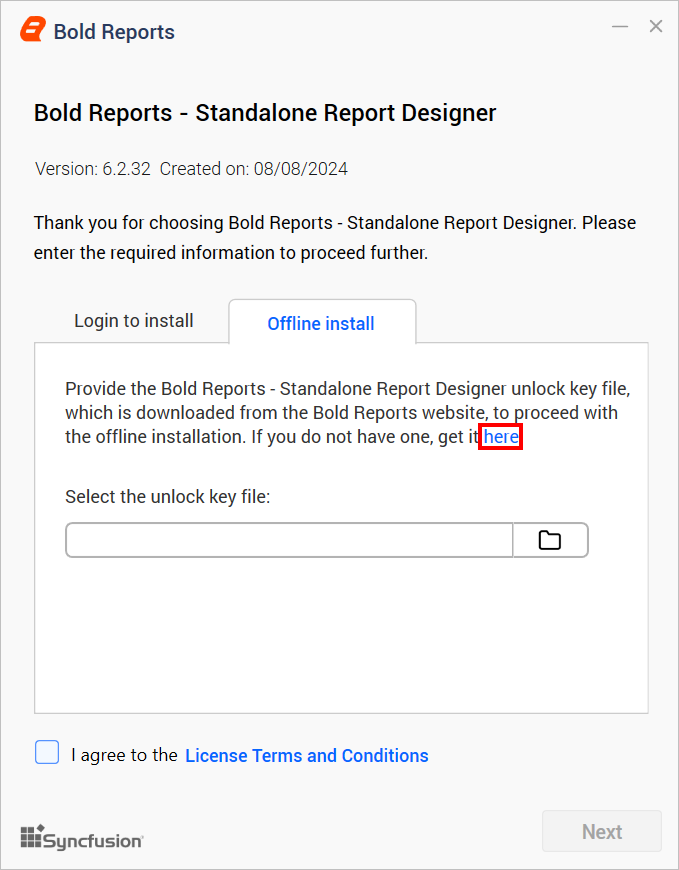
-
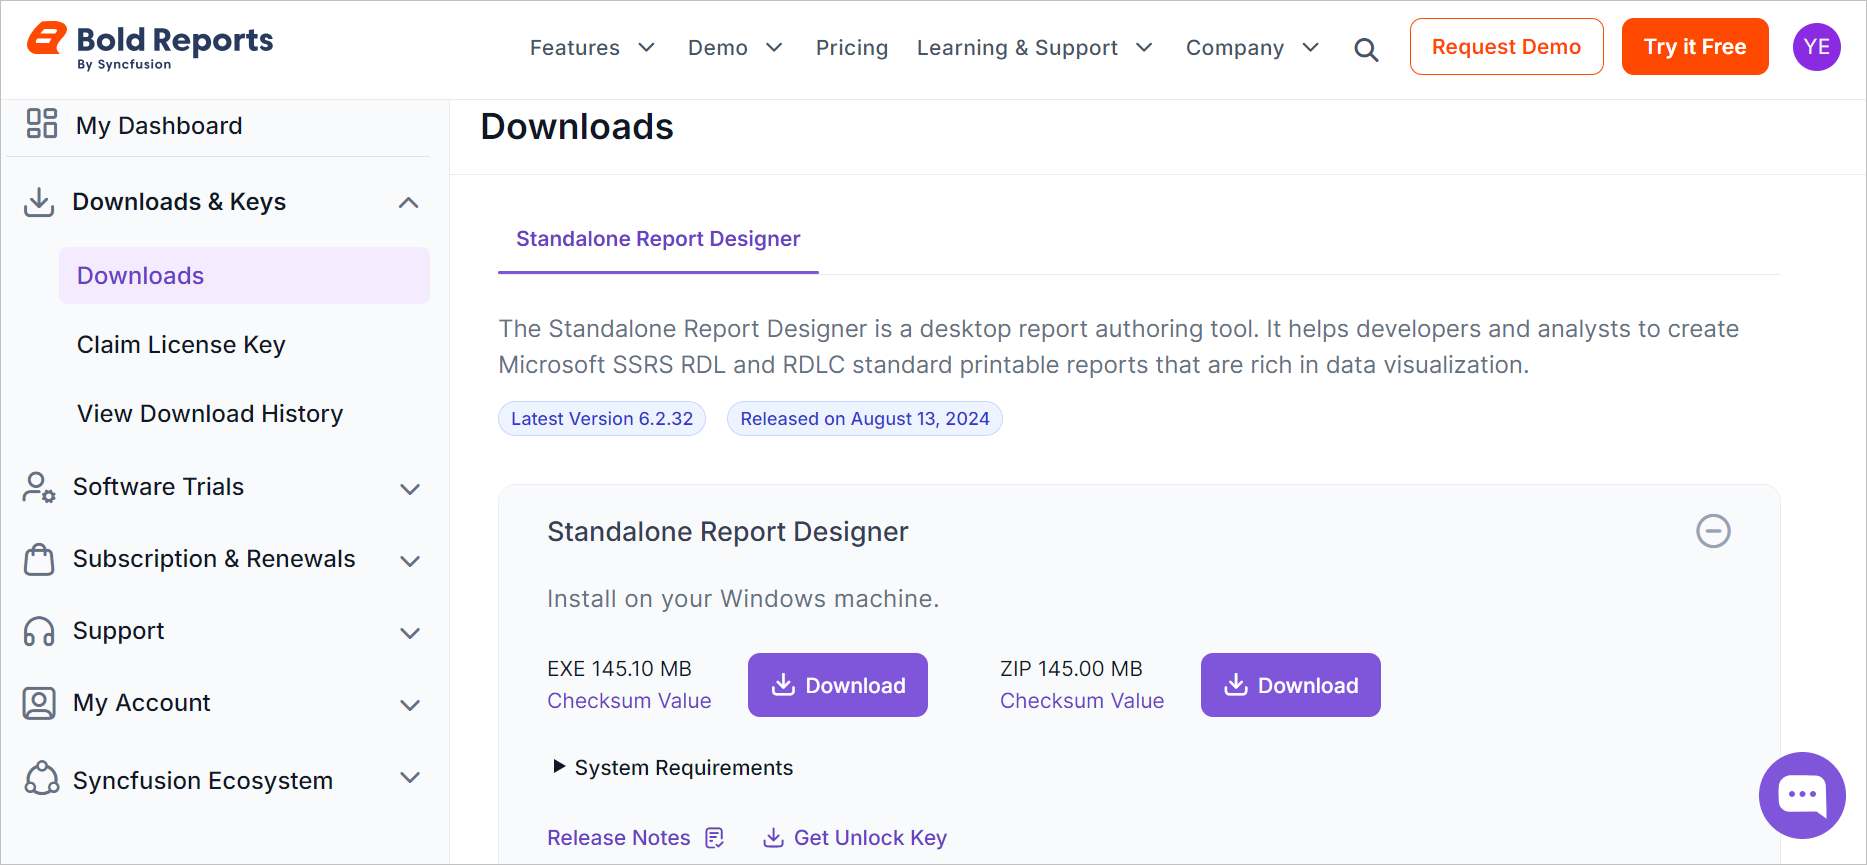
This will redirect you to the Bold Reports® downloads page.
-
Expand the
Downloads & Keyssection and selectClaim License Key.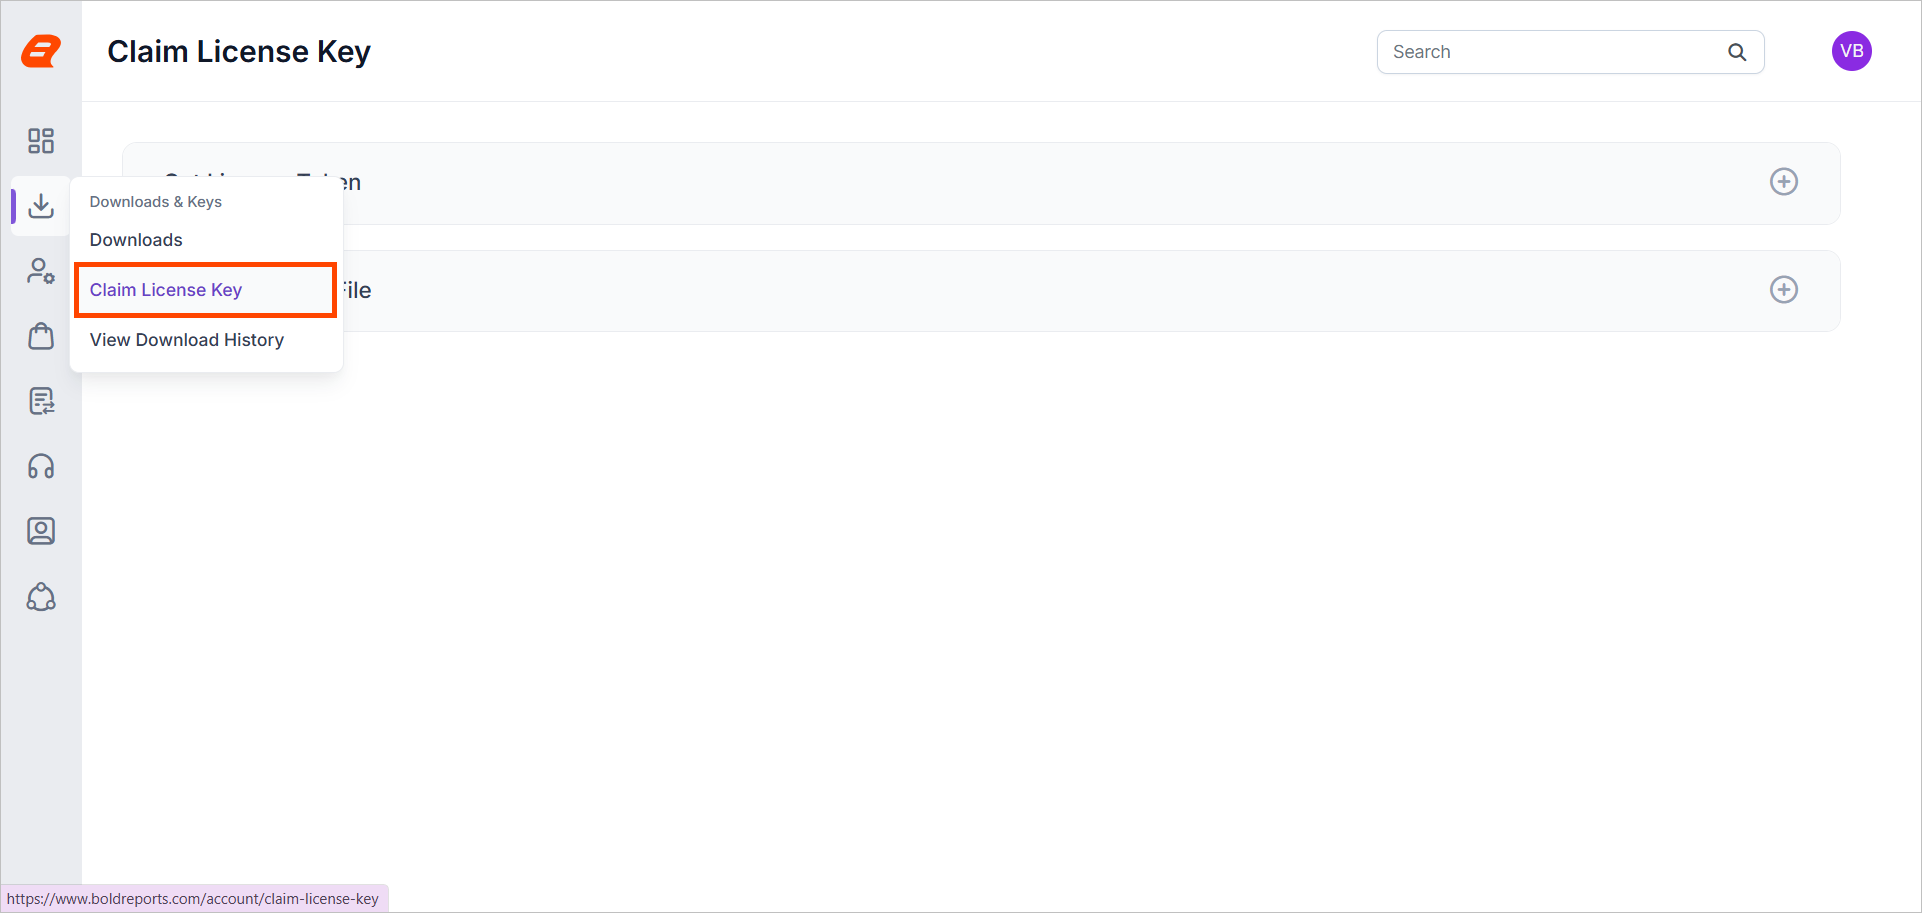
-
To download the unlock key file, expand the
Get Unlock Key Fileaccordion, select theStandalone Report Designertab, and click theDownload Unlock Key Filebutton to download a file with the.licextension.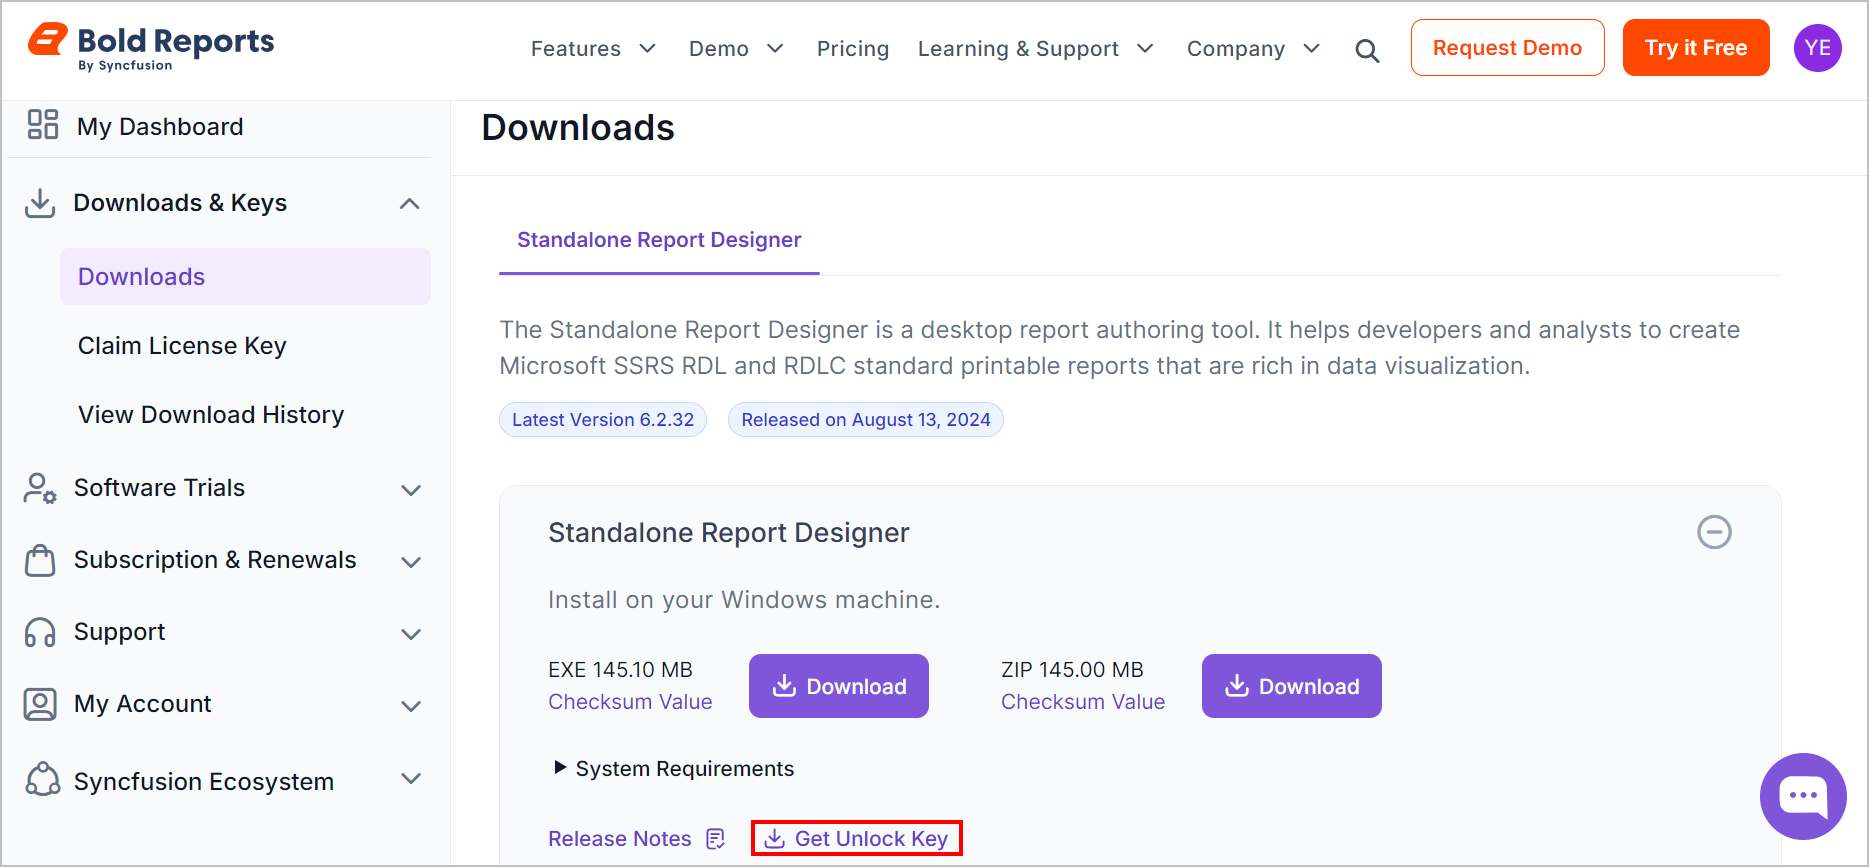
-
To unlock the setup, upload the downloaded
.licfile. Then, select the check box to accept the license terms and conditions and click Next.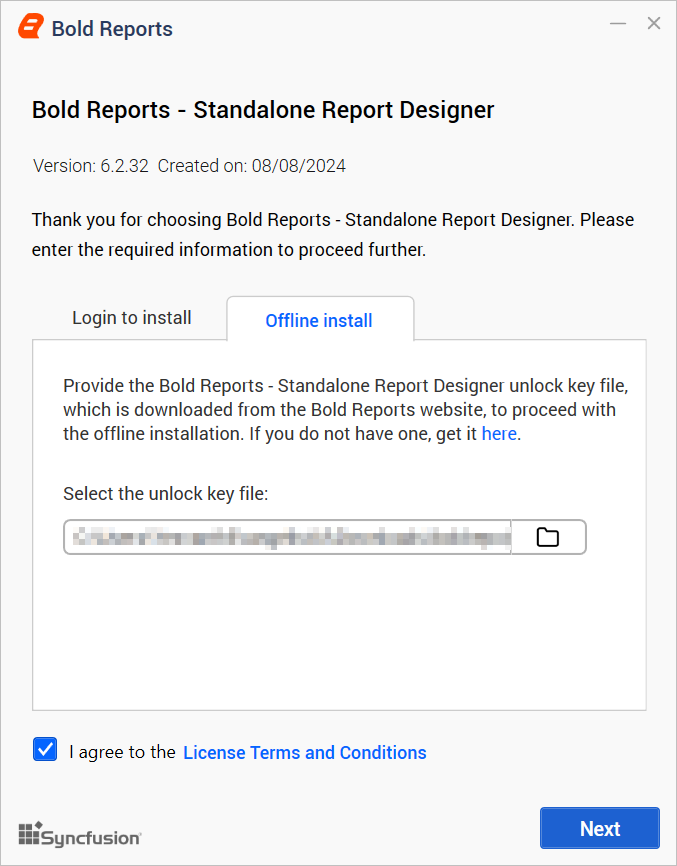
-
Follow steps 4 to 7 as described in the Installing Standalone Report Designer section.
Difference between RDL and RDLC designer
Using the Bold Reports RDL Designer, you can design RDL standard reports (.rdl). On the other hand, Bold Reports RDLC Designer can be used to design RDLC standard reports (.rdlc). Both RDL and RDLC reports follow the same XML schema format. Detailed differences between the RDL and RDLC designers are tabulated as follows.
| RDL Designer | RDLC Designer |
|---|---|
| It supports designing the 2008, 2010, and 2016 schema versions of Report Definition Language (RDL) reports. The connection string and query details are stored within the report in the form of a data source and data set. | It supports designing the 2008, 2010, and 2016 schema versions of Report Definition Language Client-side (RDLC) reports. This format contains only meta-information of data set fields. |
| It provides built-in data connectors such as SQL, Oracle, OLEDB, ODBC, XML, and REST API data sources. Report data is processed by the built-in connectors using the connection string and query details stored in the respective RDL report. | It does not have built-in data connectors. Instead, it requires you to manually build the data set fields and pass the data information to process the report. |
| The RDL reports are ready to be published and uploaded to a SQL Reporting Server or Bold Report Server. | The RDLC reports are not suitable for server-side publishing and processing. |
| The RDL designer is recommended for users who want to publish reports to a server and access them from multiple applications using a single point (server). | The RDLC designer is recommended for users who want to maintain a copy of the report definition in an application and pass data from the application level to process the report. |
You can use both RDL and RDLC designers for different purposes. The RDL designer is recommended for users who want to publish reports to a server and access them from multiple applications using a single point (server). The RDLC designer is recommended for users who want to maintain a copy of the report in an application and pass data from the application level to process the report.