Query expression
An expression column is used to create an expression which is a combination of data columns, operators and built-in functions. This expression column will act as a calculated measure that can be configured to report item like other normal numeric columns as a quantitative measure.
Open query expression dialog
Click on the Expression icon in the query designer toolbar to open Query Expressions dialog.
![]()
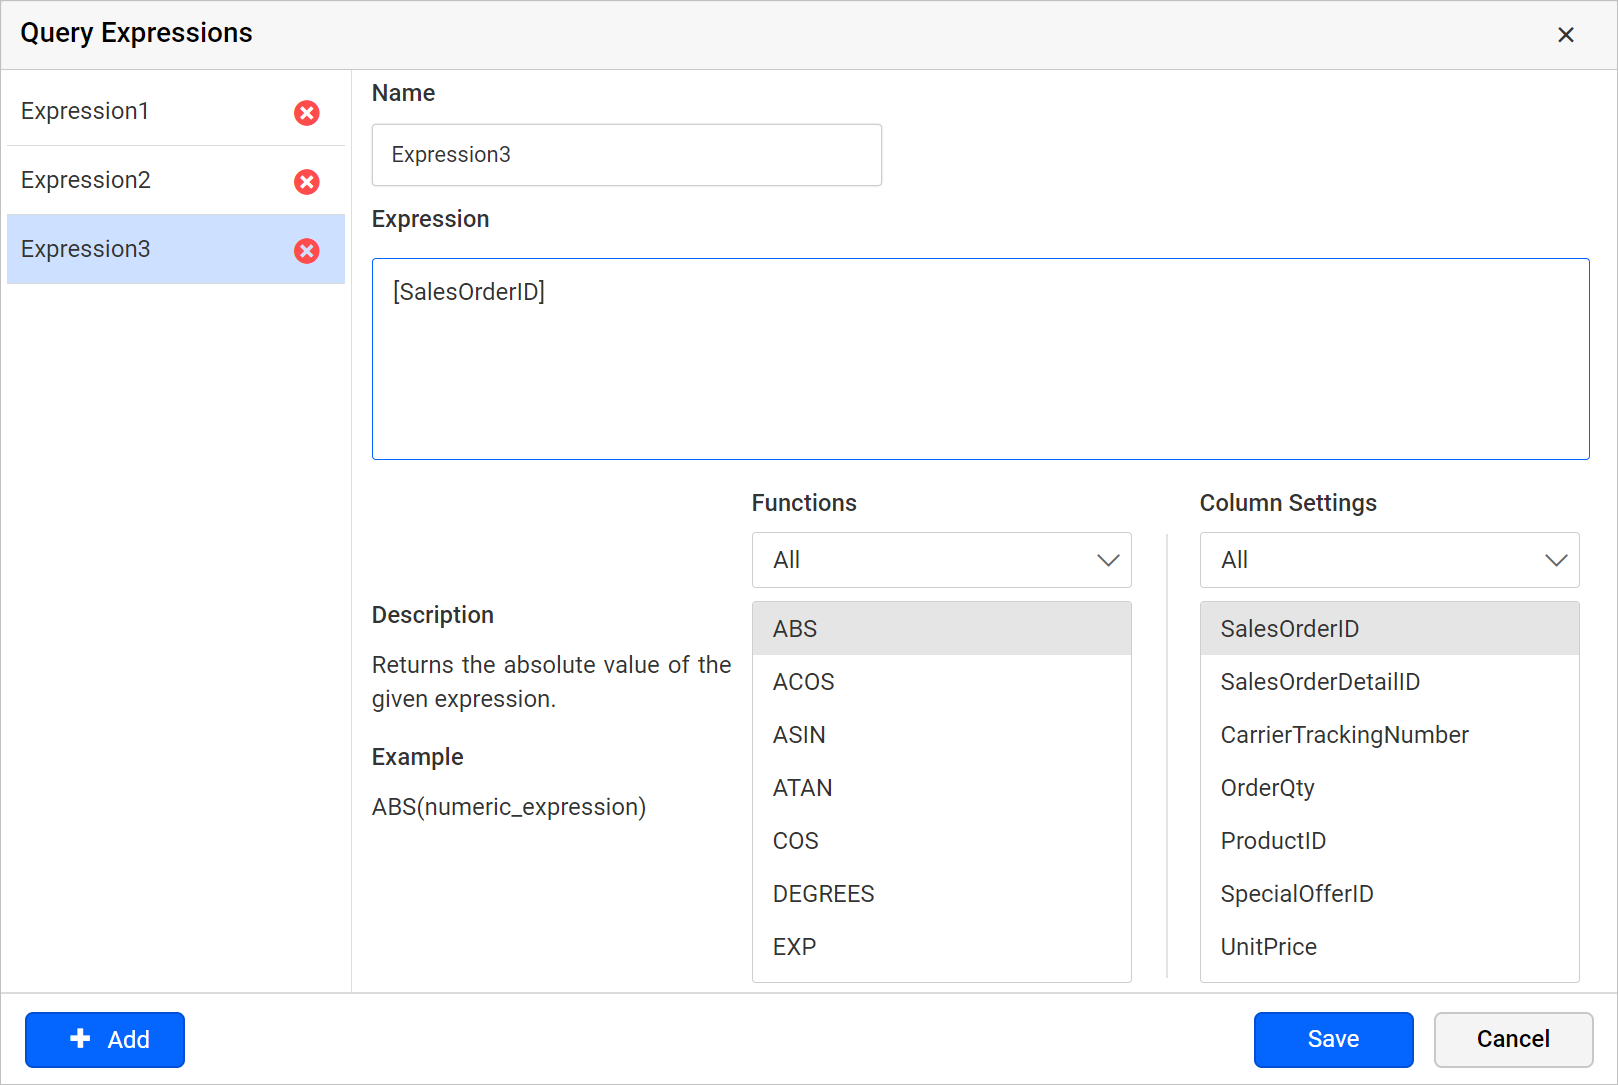
Now the Query Expressions dialog will be launched like below.
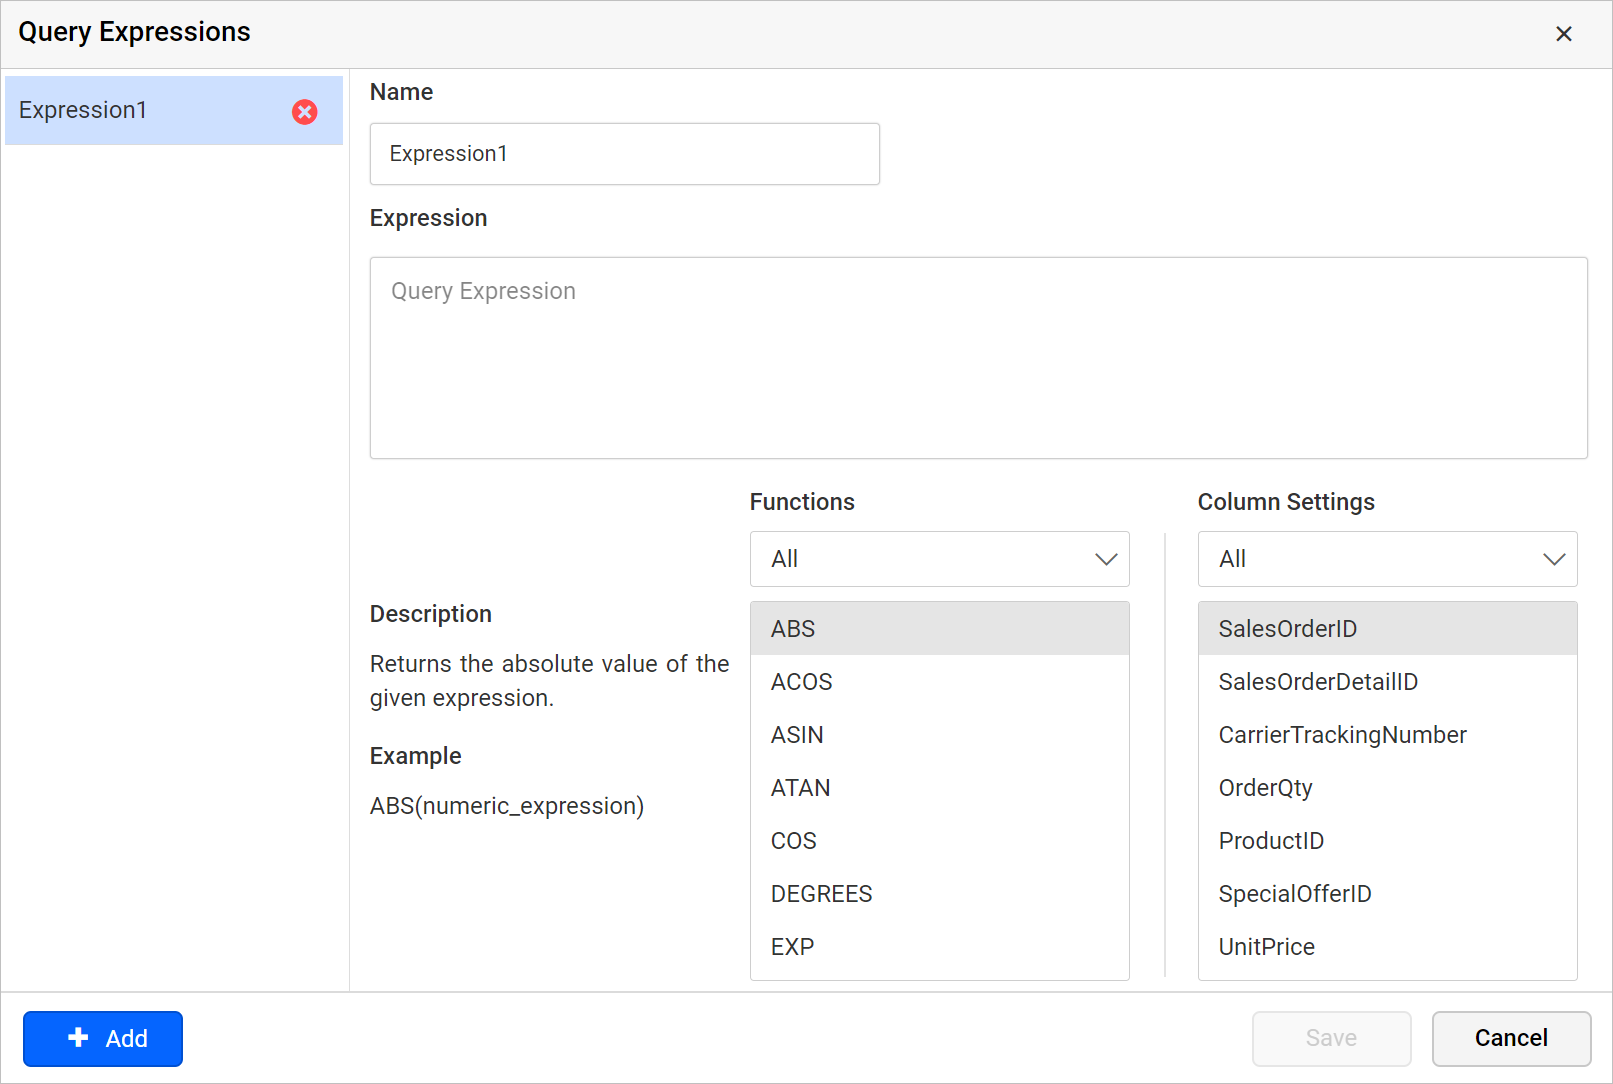
Note: The expression icon in the tools pane will be in disabled state, if there is no table found dropped in table design view.
Create an expression column
-
To create a new expression column, click on the
Addbutton in theQuery Expressionsdialog . -
In Name field, type the name for the expression column or use the default name. By default, manually-created expression columns name are similar to
Expression1.
-
Define an expression in an Expression text area. The syntax for defining a simple expression is,
{function name(}[columnname]{operator[columnname])…}where, content within curly braces is optional.
Some expressions for reference:
-
YEAR([Order Date]) – To compute year of order date.
-
[Freight]+100 – To compute the total with 100 added to Freight.
-
-
To include the function names and the column names in the
Expressiontext area, double click on the respective function or column name in the Functions or Column Settings list view.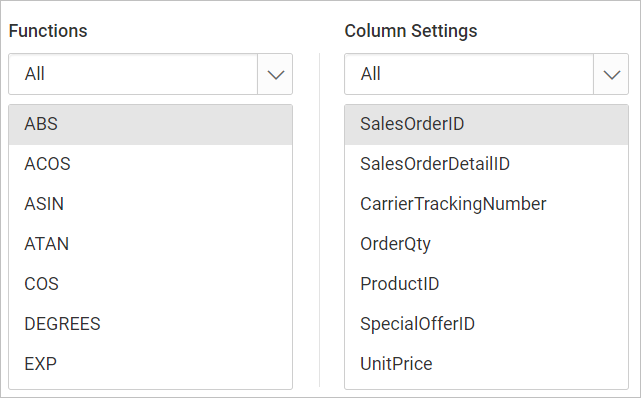
-
After, designing the expression value in text area, click on the
Savebutton.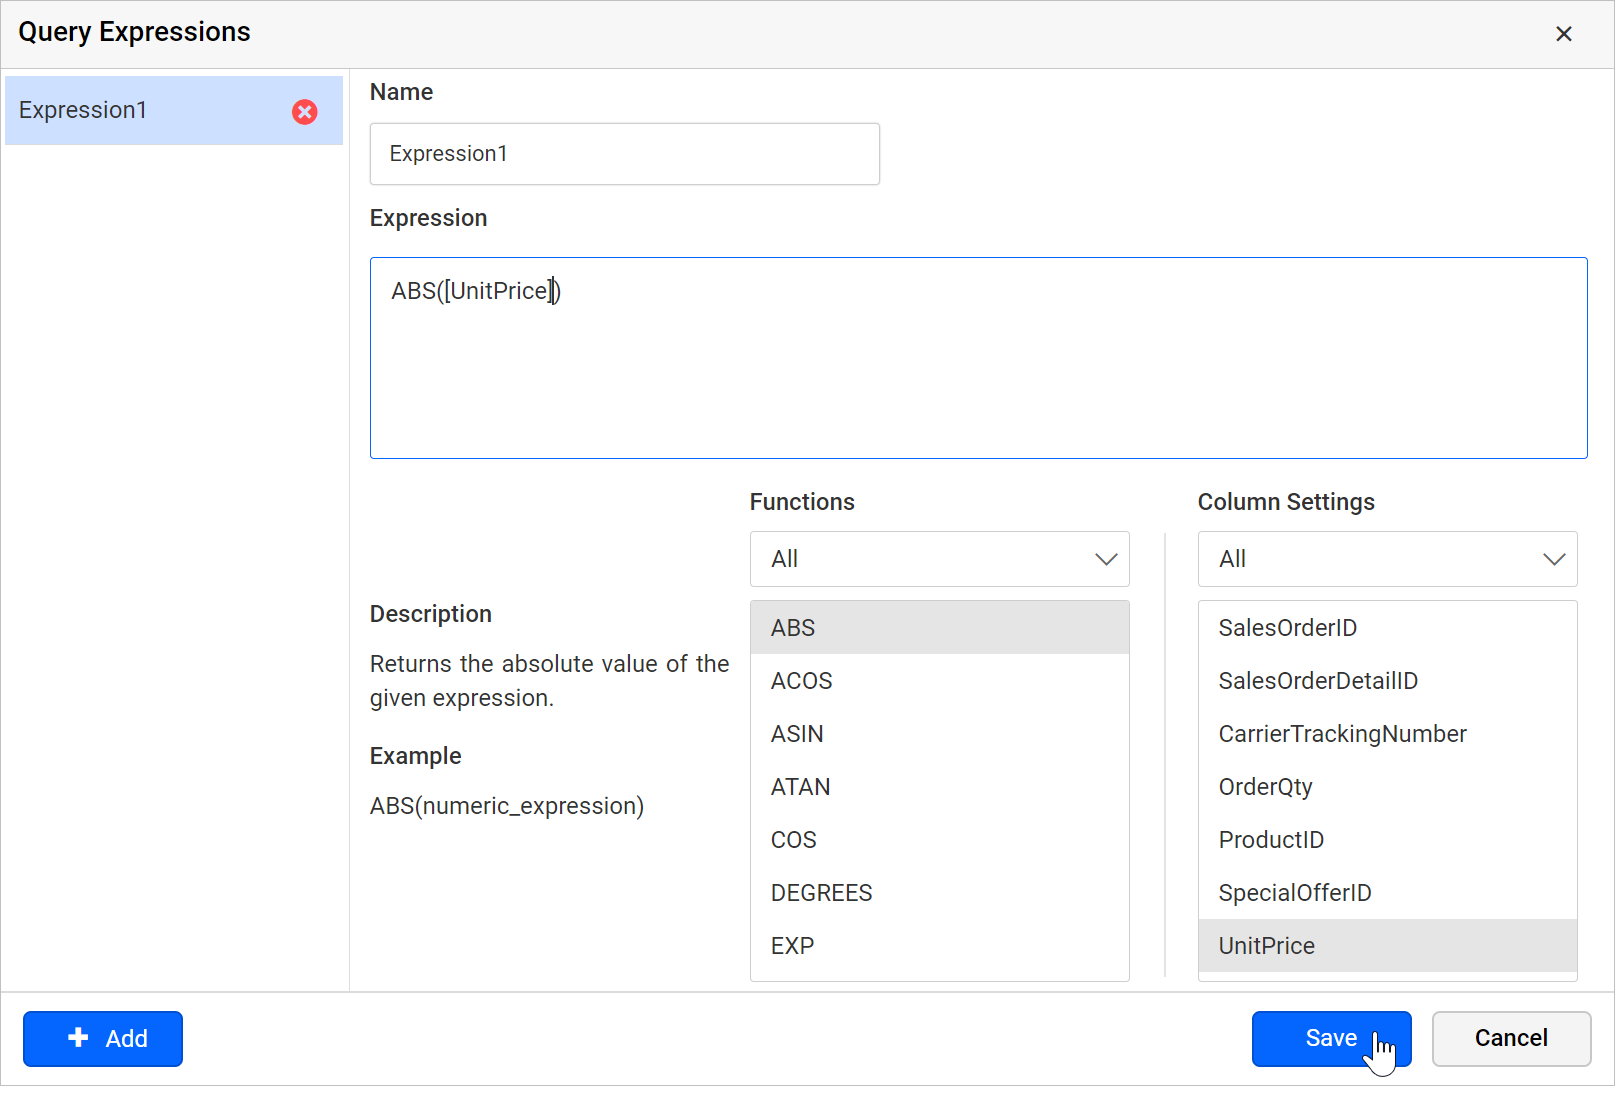
-
To create multiple expression columns, repeat the above steps.
-
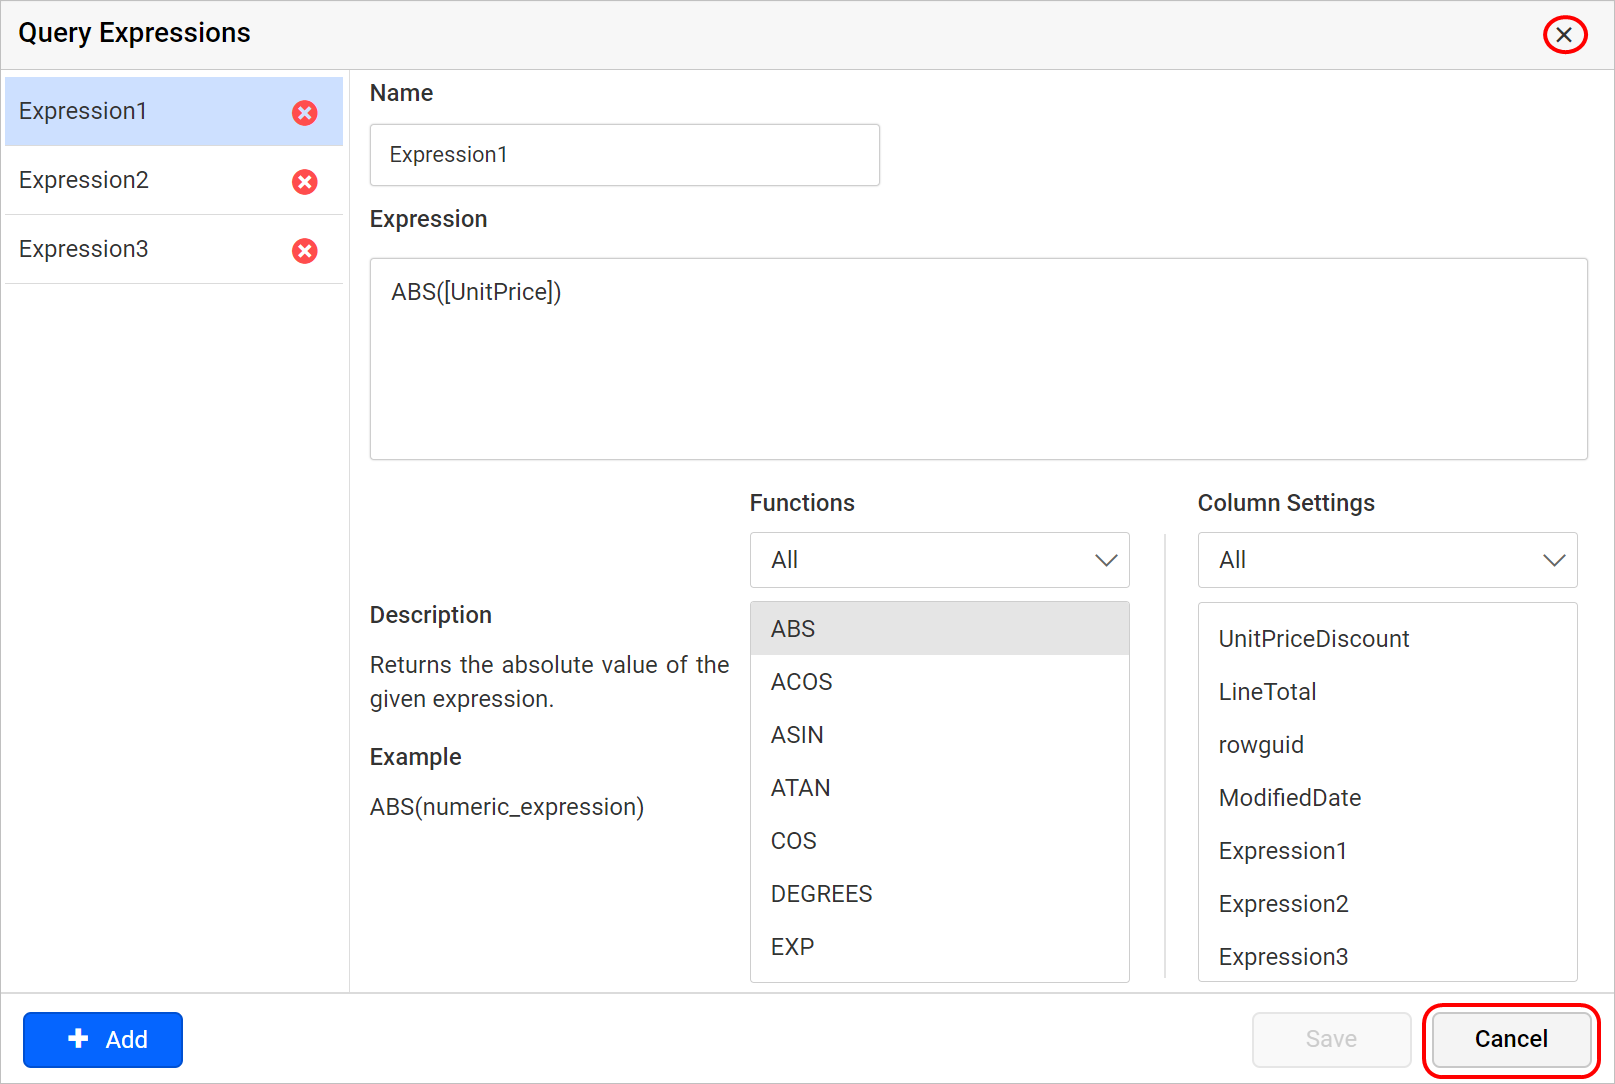
The newly added expressions will be listed under the
Column Settingslist view like below.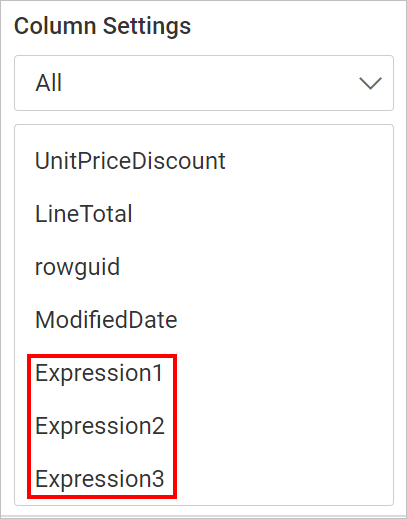
Refer Supported Built-in functions section to know more about supported built-in functions.
Edit an expression column
- Select an expression column in left pane, which you want to update.
- Edit the
NameandExpressionfields as required. - Click on the
Savebutton to save the changes.
Delete an expression column
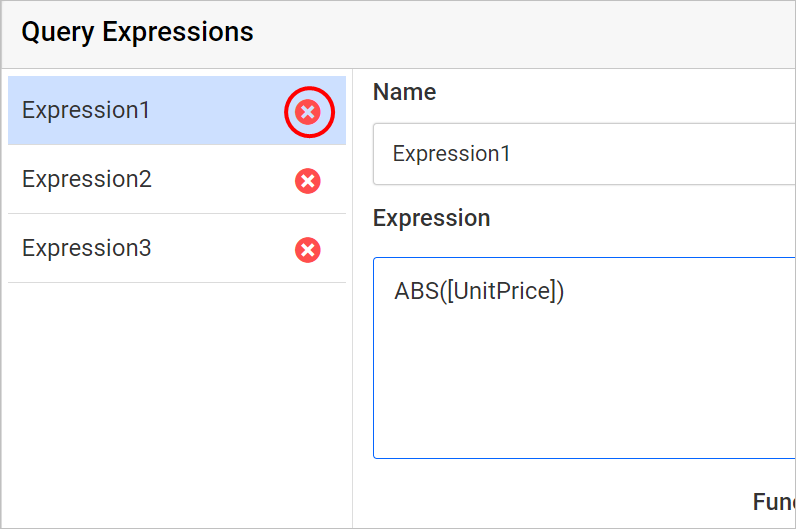
Click on the delete icon in the expression field to delete an expression column.
Close query expression dialog
To close the dialog click on the Cancel button in dialog footer or Close icon in the dialog header.
