Design ssrs rdl report using barcode
This section describes the steps to design Product Details report using barcode and SSRS table report item.
Create dataset
To present data in the table format, create a dataset and bind data to the table data region. In this designing section, the following dataset query is used for dataset creation.
SELECT TOP 100 [Order Details].ProductID, Products.ProductName, [Order Details].Quantity, [Order Details].UnitPrice, [Order Details].Discount
FROM [Order Details] INNER JOIN
Products ON [Order Details].ProductID = Products.ProductID
Refer Create Data section and create dataset using the above query. Northwind database is used here.
Add a table to the report
- Drag and drop the table report item into the design area from the item panel.
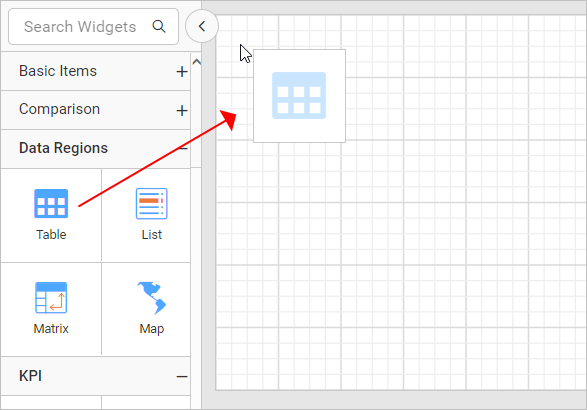
- Assign data to the table using
Datasetproperty in the table properties.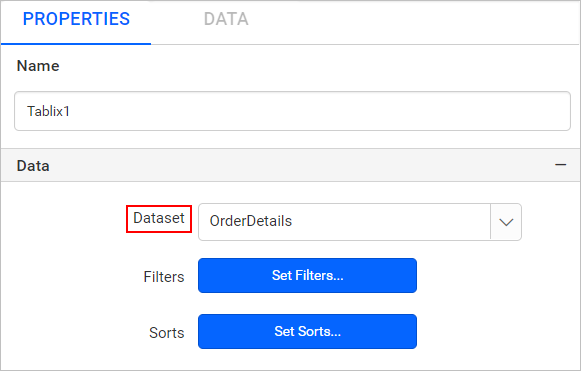
Configure table
-
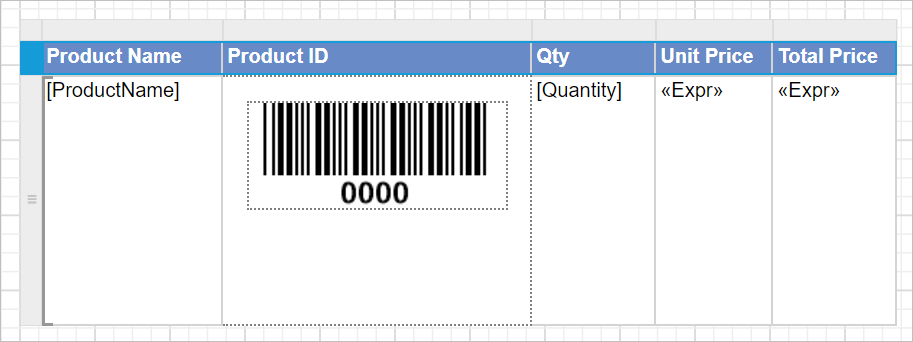
Add the required table column headers in the table as shown in the below snap.

-
Now, assign the required product details data fields in the
Detailsgroup row of the table cell.
Following expressions are used in the
UnitPriceandTotal Pricecells of the table.=FormatCurrency(FormatNumber(Fields!UnitPrice.Value,2))=FormatCurrency(FormatNumber(Fields!Quantity.Value * Fields!UnitPrice.Value,2))
Add barcode report item
In the above table design, Product ID cell is left empty, it would be better if we present the product ID using the barcode.
- Drag a rectangle item and drop into the
Product IDcolumn cell.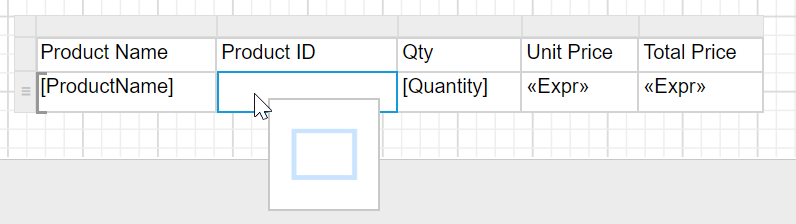
- Now, drag and drop it into the
Product IDcolumn cell.
- The barcode report item will be placed inside the rectangle as shown below,
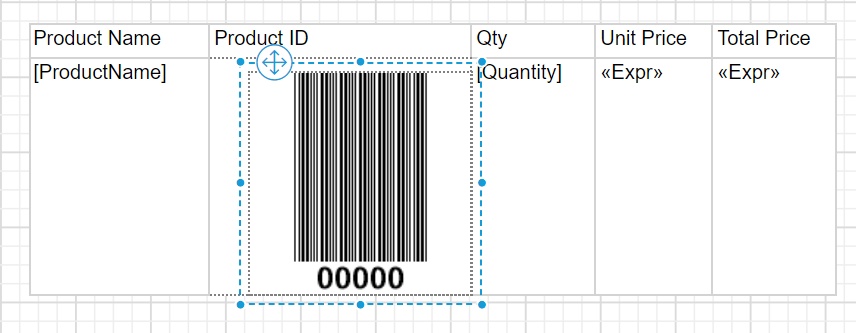
If we directly add barcode into table cell, the report item fill the whole cell. So, rectangle report item is used as container.
Encode value in barcode
- Select the barcode report item and open properties panel,
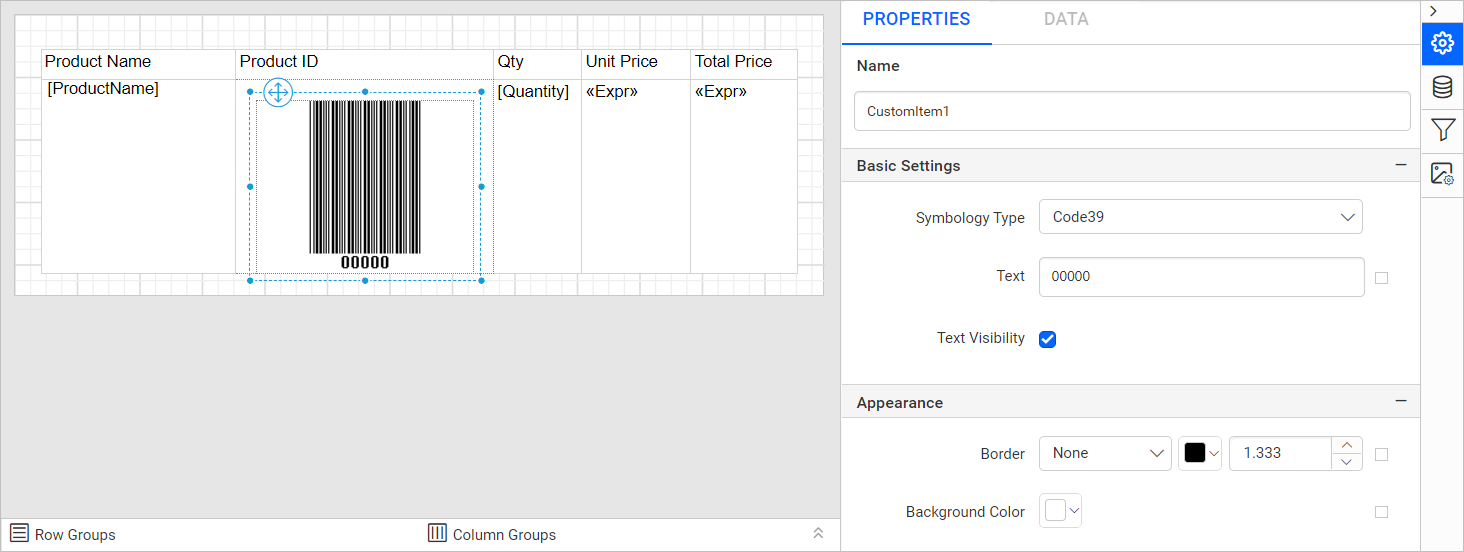
- Open the expression menu in the
Textproperty underBasic Settingscategory.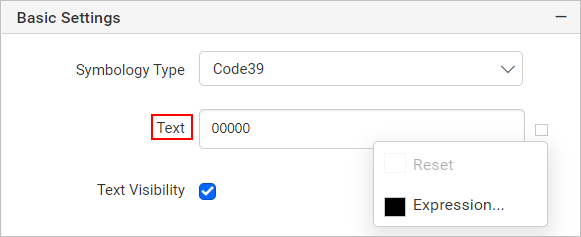
- In the
Expression Builderassign the=Fields!ProductID.Valuefield value and clickOk.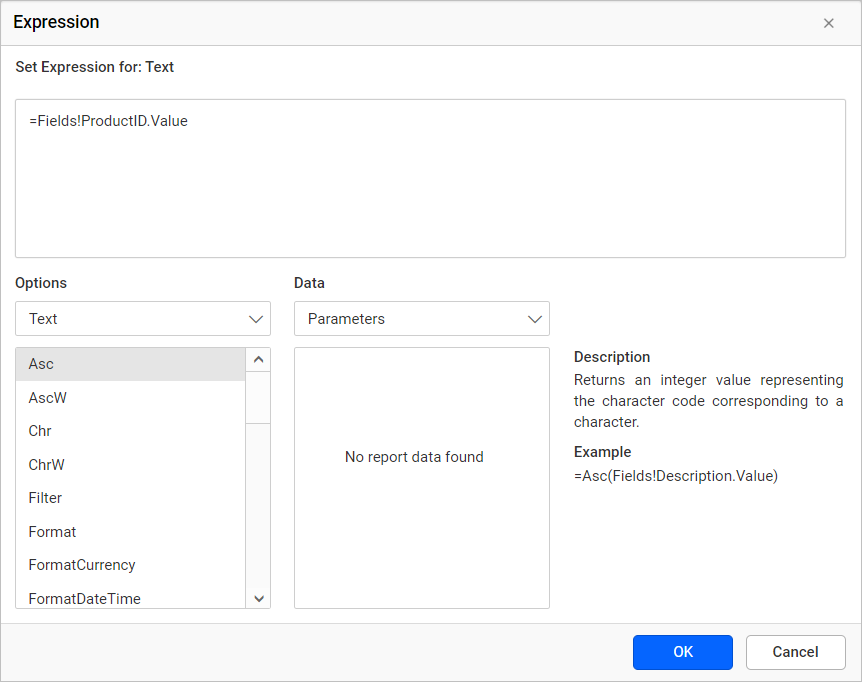
Now, the Product ID of each product will encoded in the barcode report item on report export action.
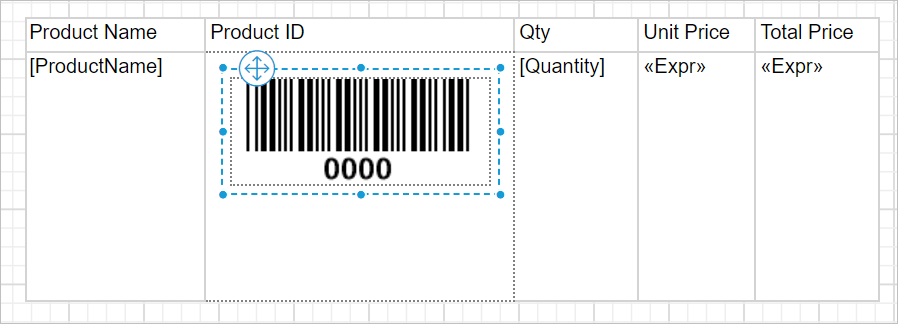
Customize appearance
Using the position and appearance properties, you can customize the barcode report item as shown below,
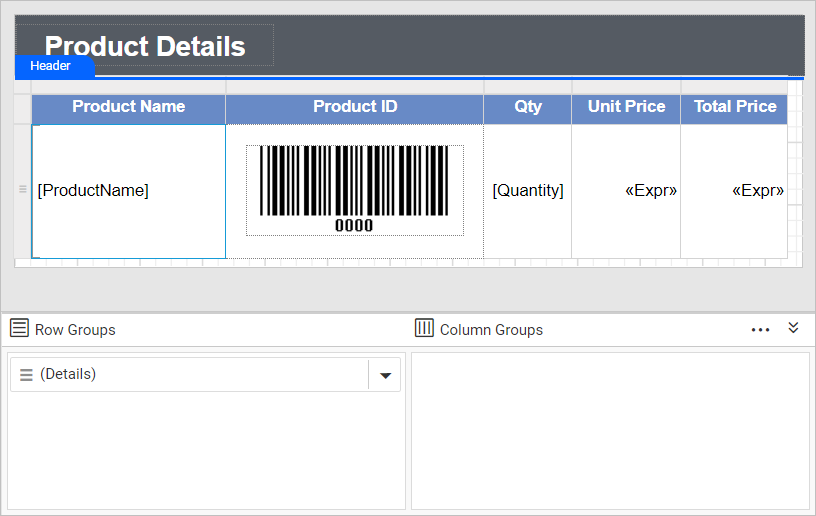
Format table
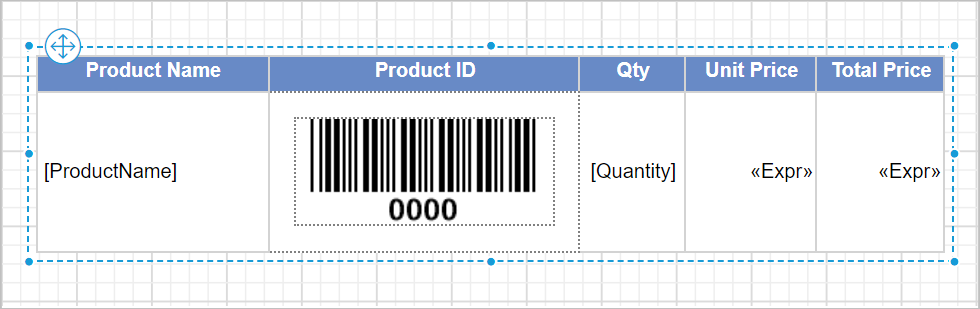
- Select the first row, set the background and font properties in the properties panel.
- Resize the table to the required size for better report design.
Report header
- Enable the report
Headerto add a title to the report.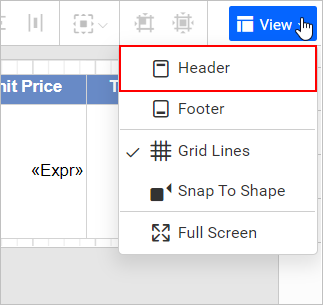
Refer Show or hide header and footer section to add or remove header/footer in the report.
- Now, add a rectangle report item in the report header area and a textbox within the rectangle.
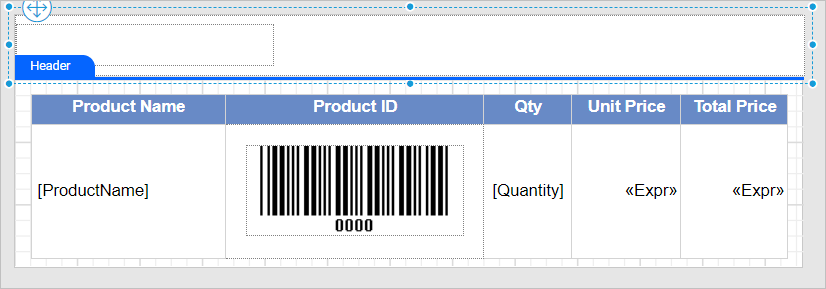
- Set the report title text in the textbox and customize the appearance of the title using the textbox and rectangle properties in properties panel as required.
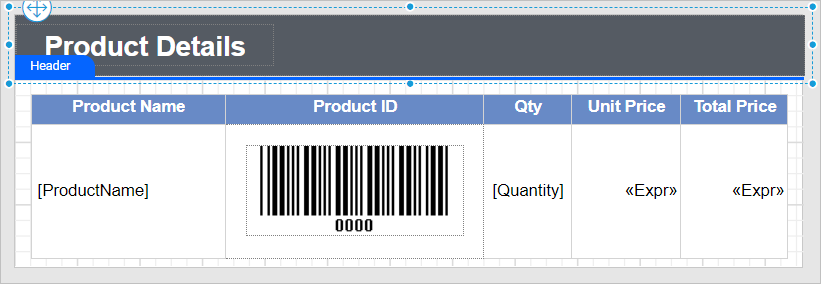
Final design
A final design of Product Details report will look like below.
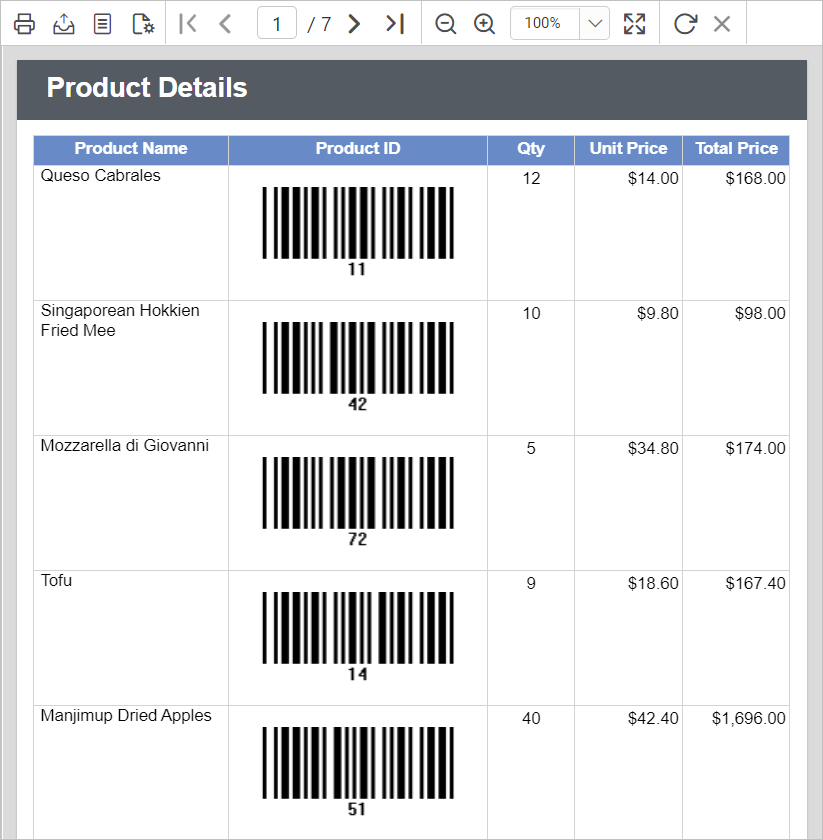
Report preview
On report preview, the product details report will be displayed like below,
Download the above report design from the link