Publish Report
This section explains the steps to publish a report into on-premise server from Report Designer and to download that report.
Publish a report into enterprise server
- Click on the Publish option in the top-right corner of the report designer page, or click on the Publish dropdown.

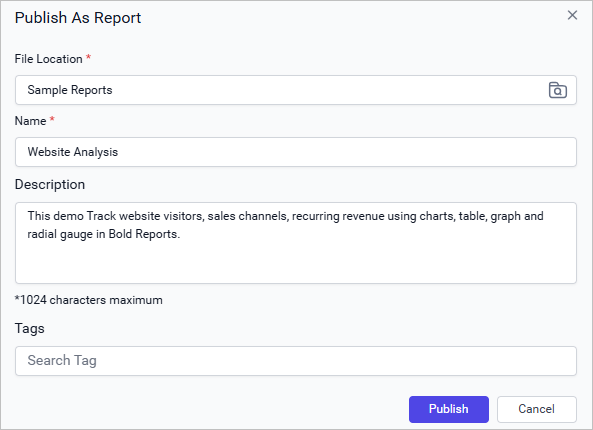
- Now the Publish dialog will appear.
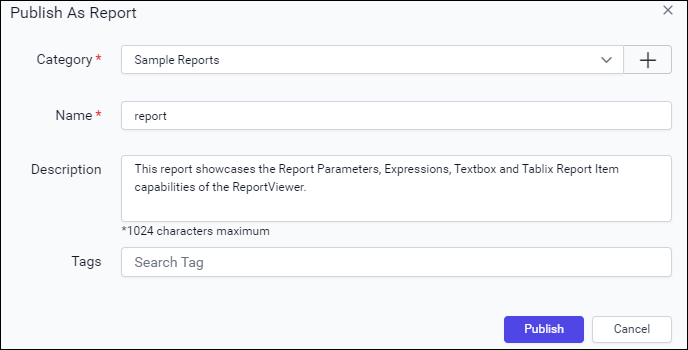
- In the Publish dialog, select an existing folder on the server or create a new nested category to organize the report.
- Click the File Picker icon in the File Location text box to choose the destination folder.
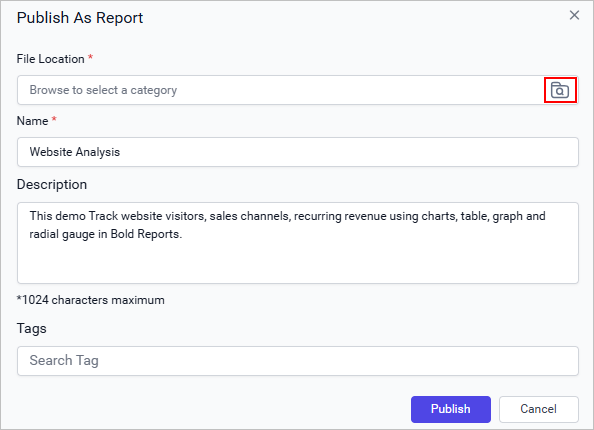
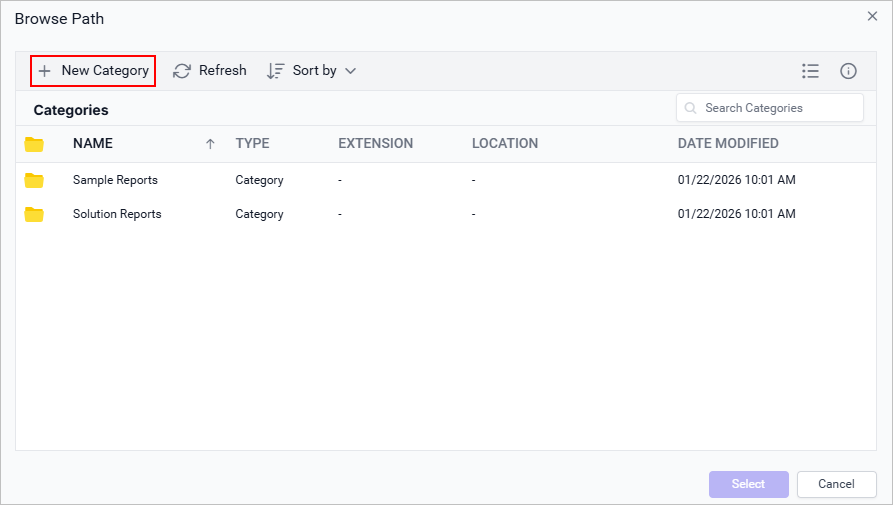
- The File Manager dialog opens, allowing you to browse and select the folder where the report will be published.
Publish a report to a category
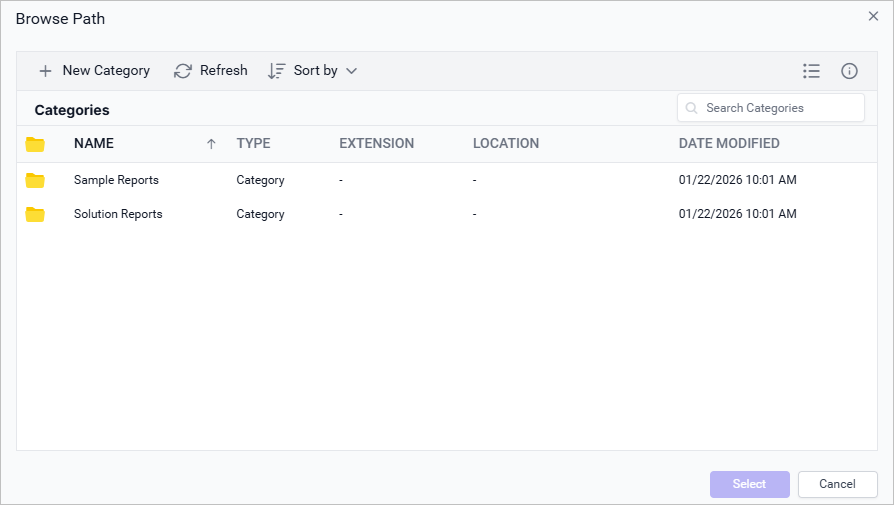
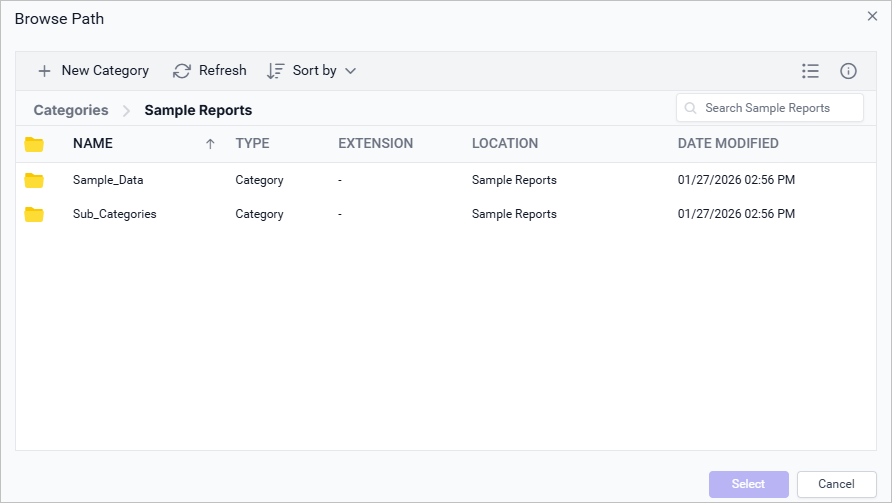
- In the File Manager, single-click the category you want to publish to, and click Select to choose it as the publish location.

- The selected path appears in the File Location text box in the Publish dialog.
- Click Publish to save the report to the selected parent category.
Publish a report to a subcategory
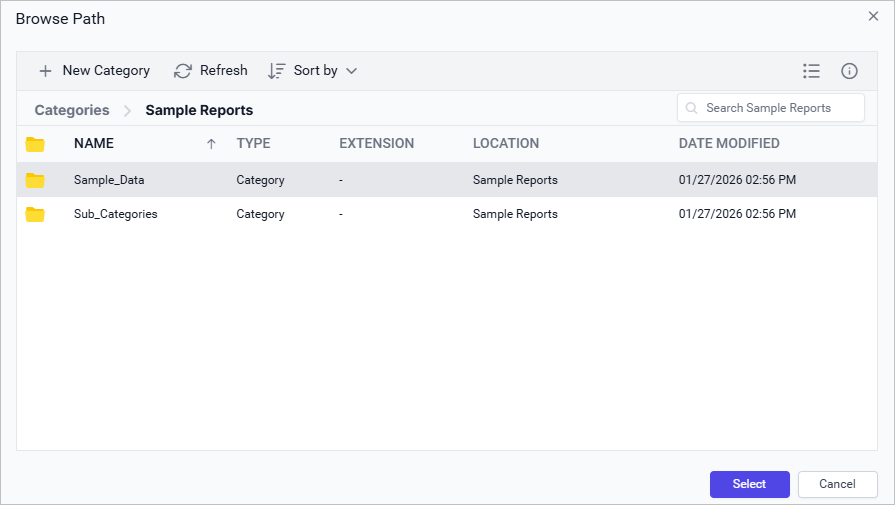
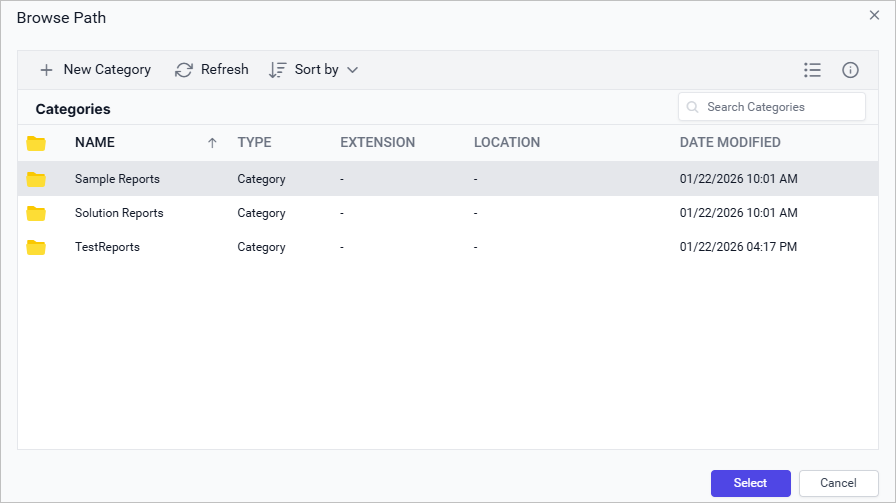
- In the File Manager, double-click a category to expand it and view its nested subcategories.
- The subcategories in the opened category are loaded and displayed.
- Select the desired subcategory and click Select.
- The selected subcategory path appears in the Publish dialog.
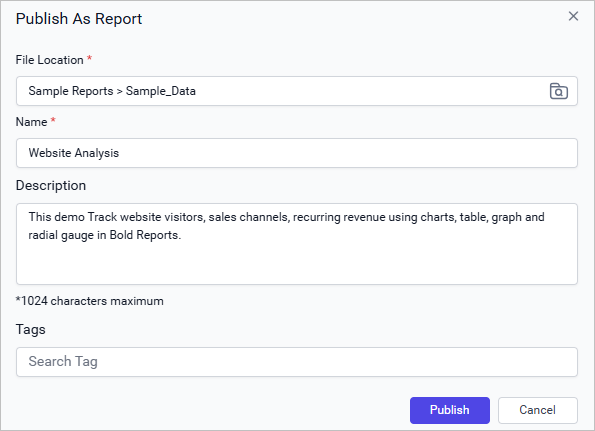
- Click Publish to save the report to the selected subcategory.
If a report with the same name already exists at the target location, you are prompted to confirm whether to replace it.
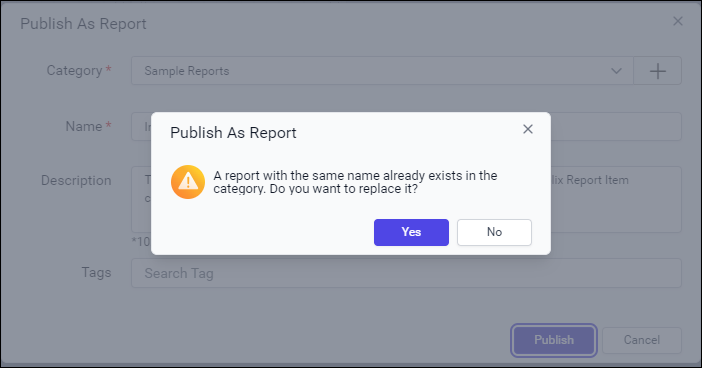
Click Yes to replace the existing report, or No to edit the report name in the Name field.
If you are editing a report from the server, the
Publishoption will directly replace the report intoserver.
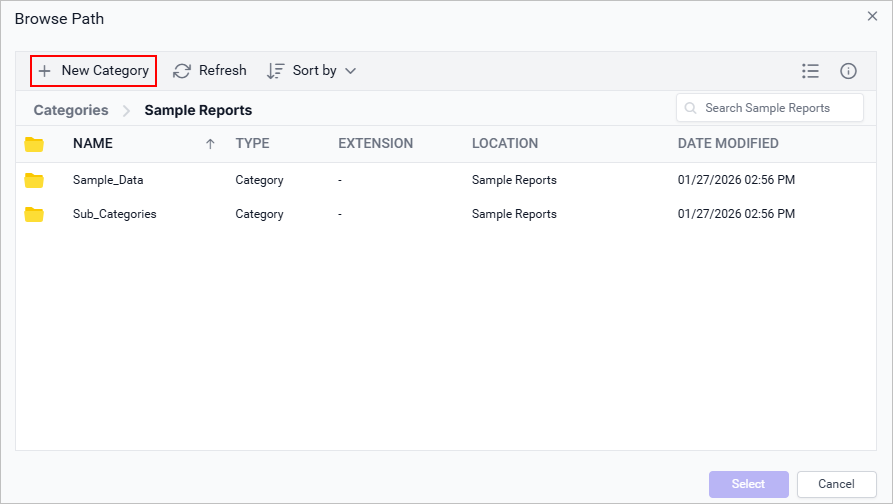
Create categories from the publish dialog
You can create categories or nested subcategories directly from the File Manager while publishing a report.
Create a new category
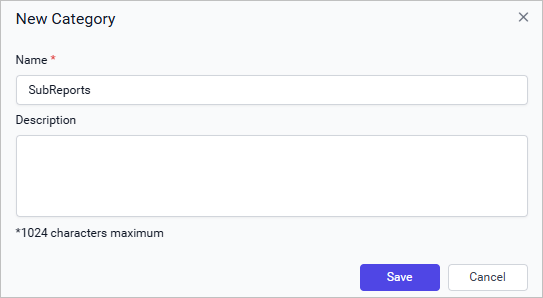
- In the File Manager, click New Category to open the New Category dialog.
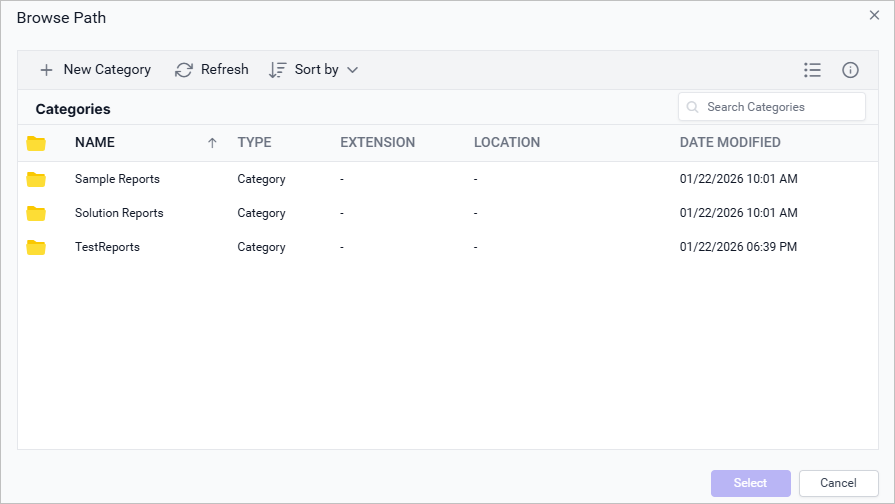
- Enter the required details and click Save.

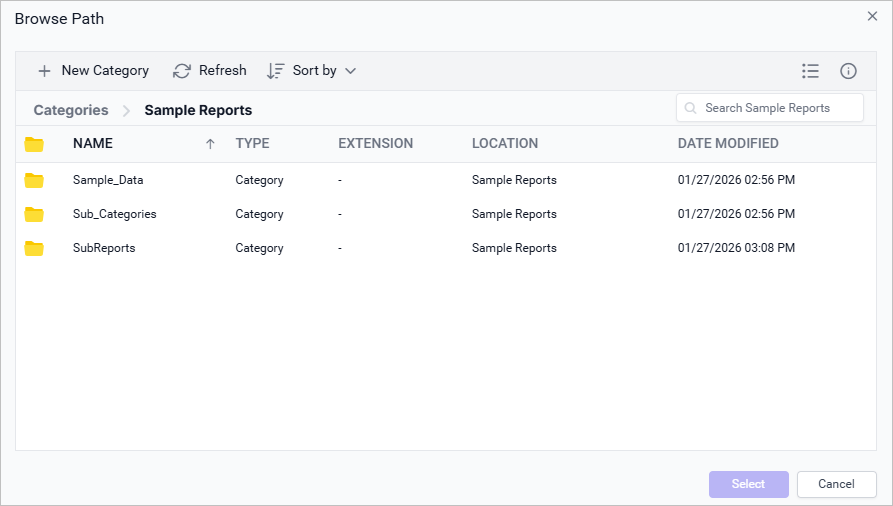
- The parent category list refreshes automatically and displays the newly created category.
Create a new subcategory
- In the File Manager, double-click the parent category to expand it and view its nested subcategories.
- With the subcategories loaded, click New Category to open the New Category dialog.
- Enter the required details and click Save.
- The subcategory list refreshes automatically and shows the newly added subcategory under the selected parent.
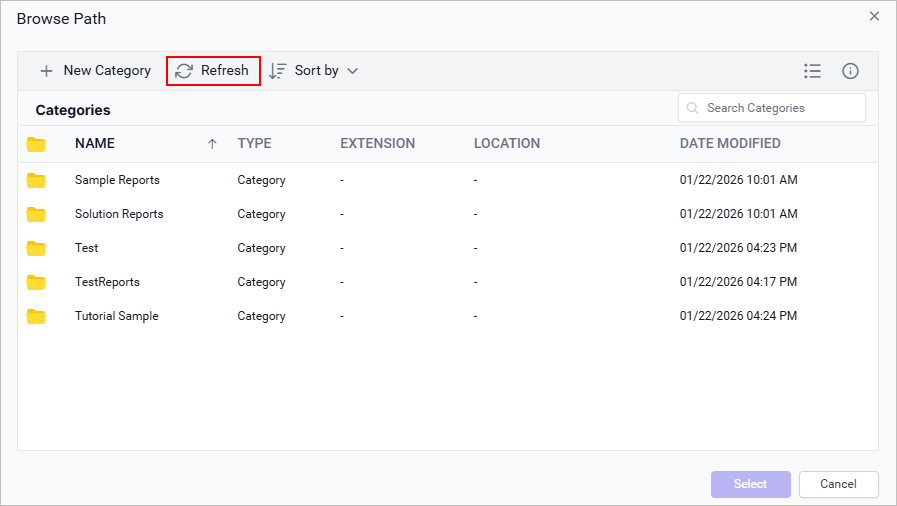
Refresh option
Use the Refresh button to retrieve the latest category list from the server.
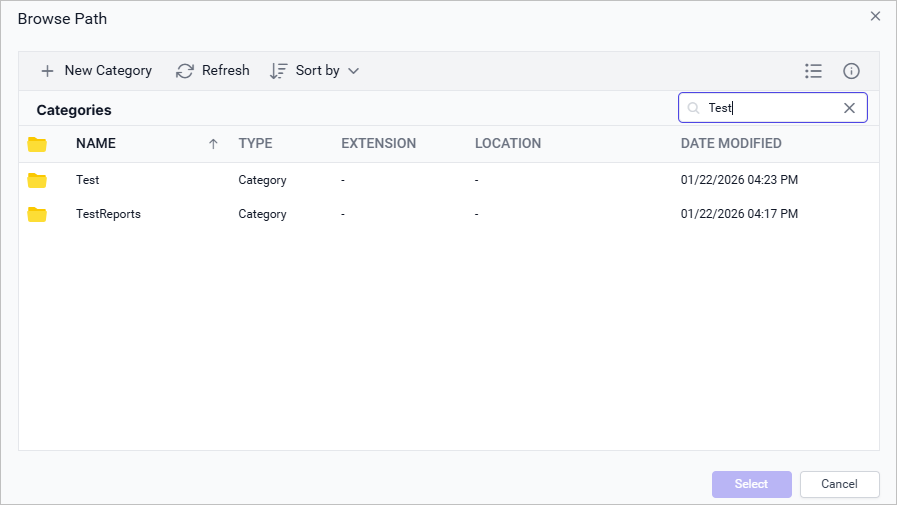
Search option
Use the Search box to find a specific category by typing a keyword. The list is filtered instantly to help you locate the category.
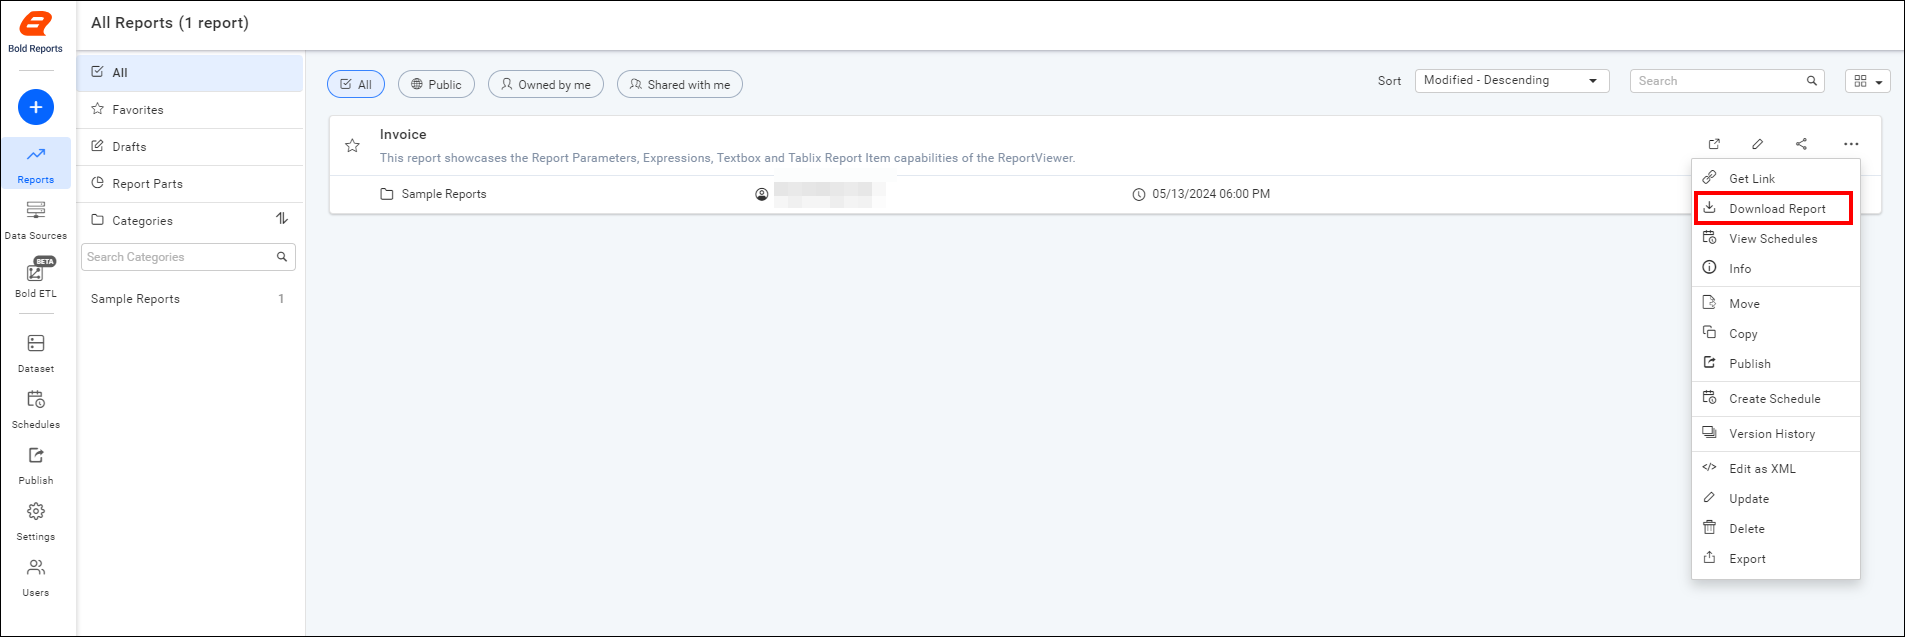
Download the report
On the on-premise server home page, click the Actions button in the reports grid context menu. Then click on Download Report option from the menu to download the report in .rdl format.