Connect to Rest API data source
The Bold Reports® supports connecting almost all web services that has a REST API interface.
Choose web data source
To configure the web data source, follow the below steps:
- Click on the Data icon in the configuration panel.
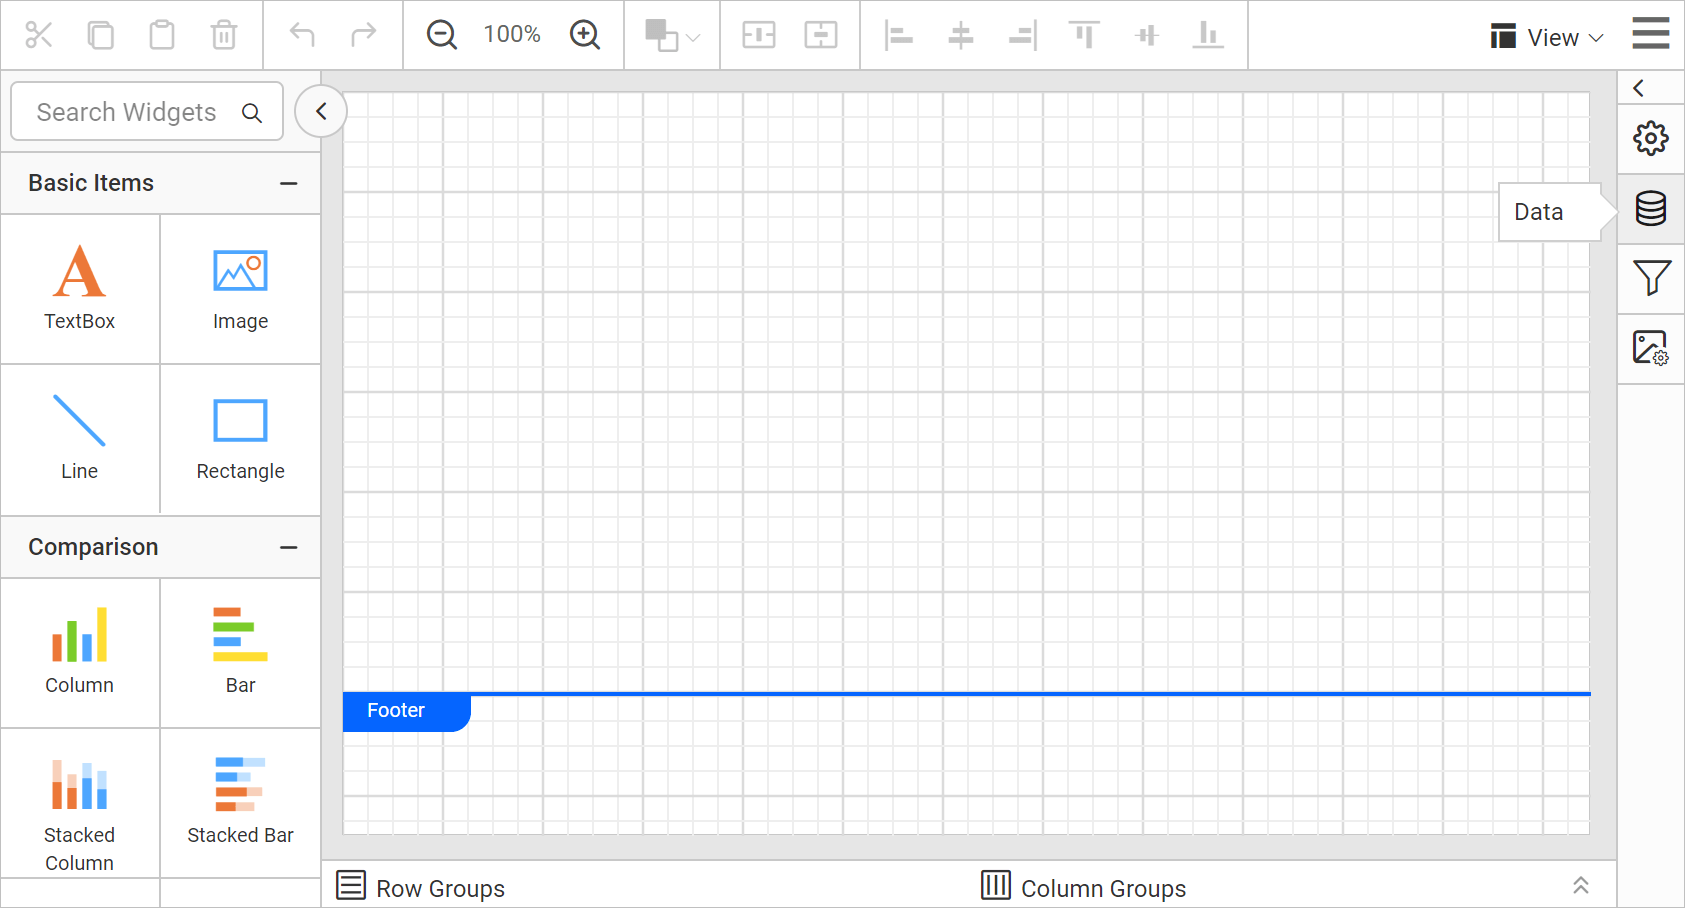
- In the
DATAconfiguration panel, click on theNEW DATAbutton.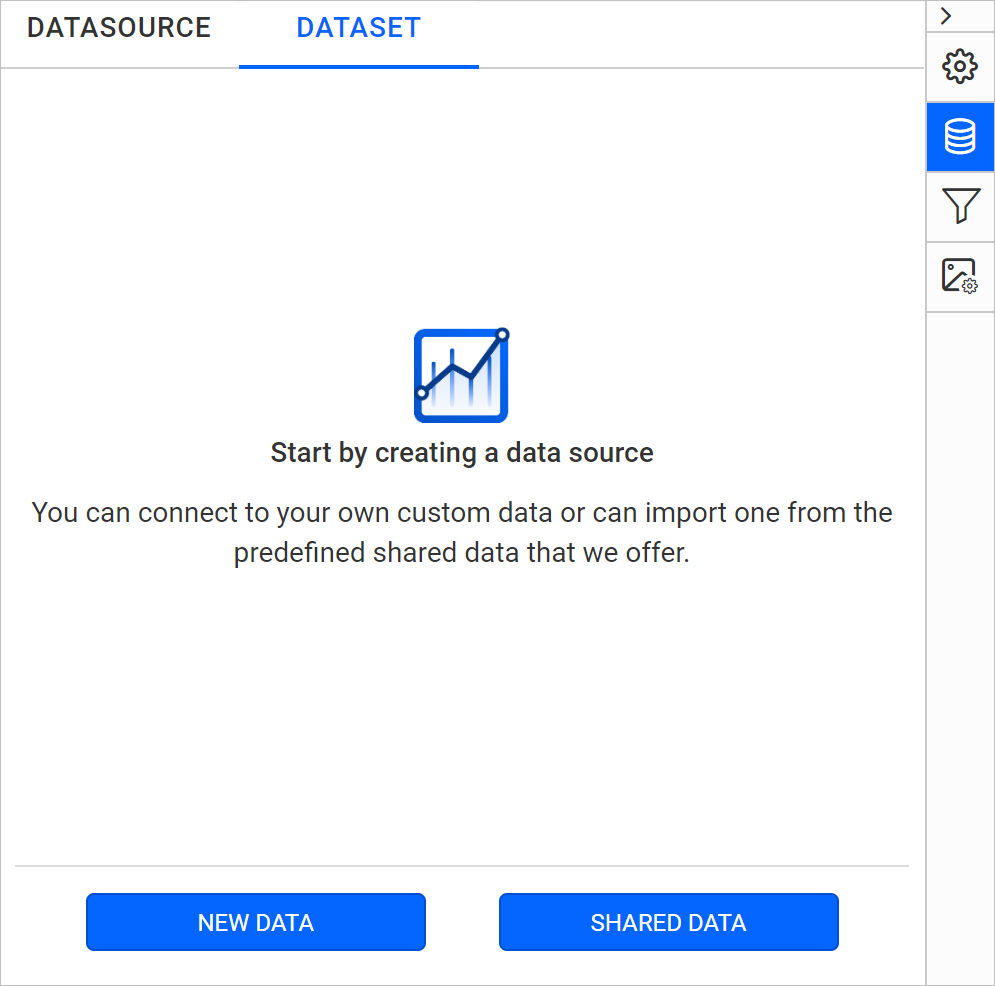
- In the connection type panel, choose the
Web APIdata source type.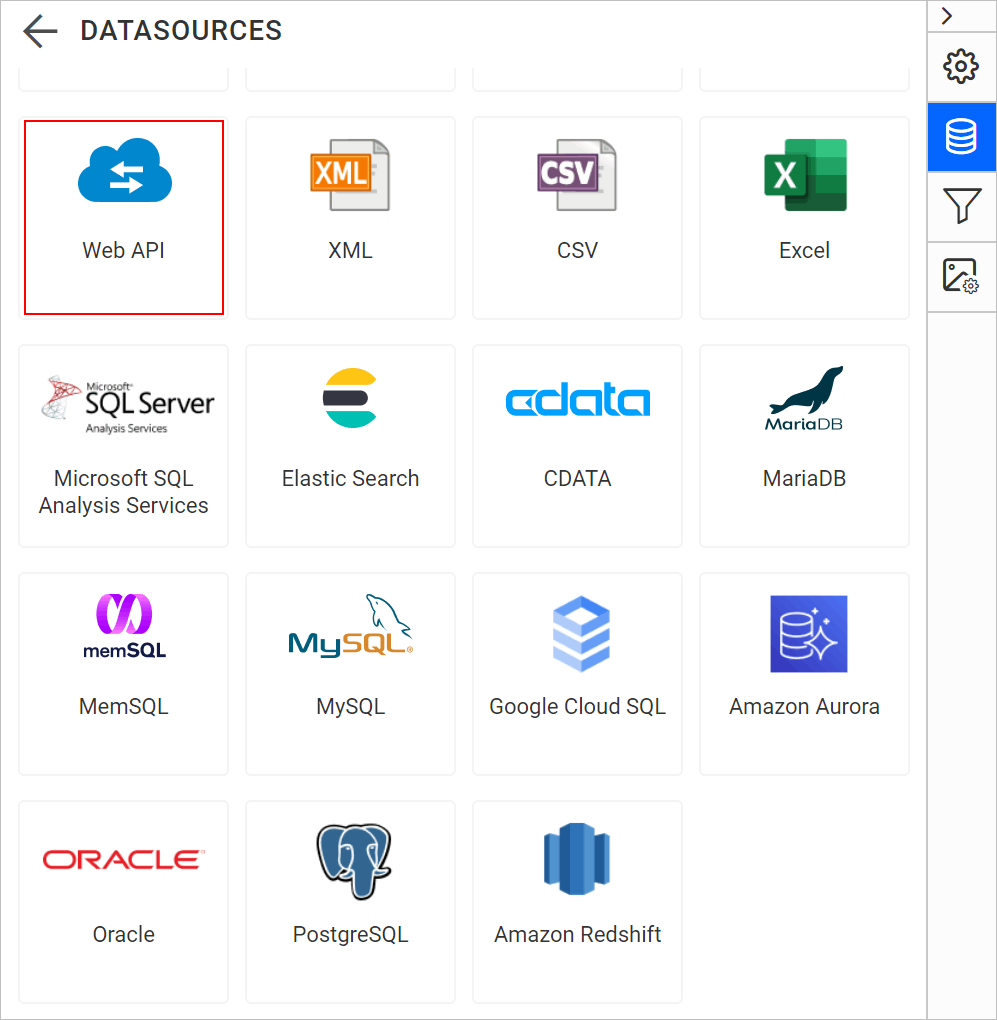
- After clicking the data source, the
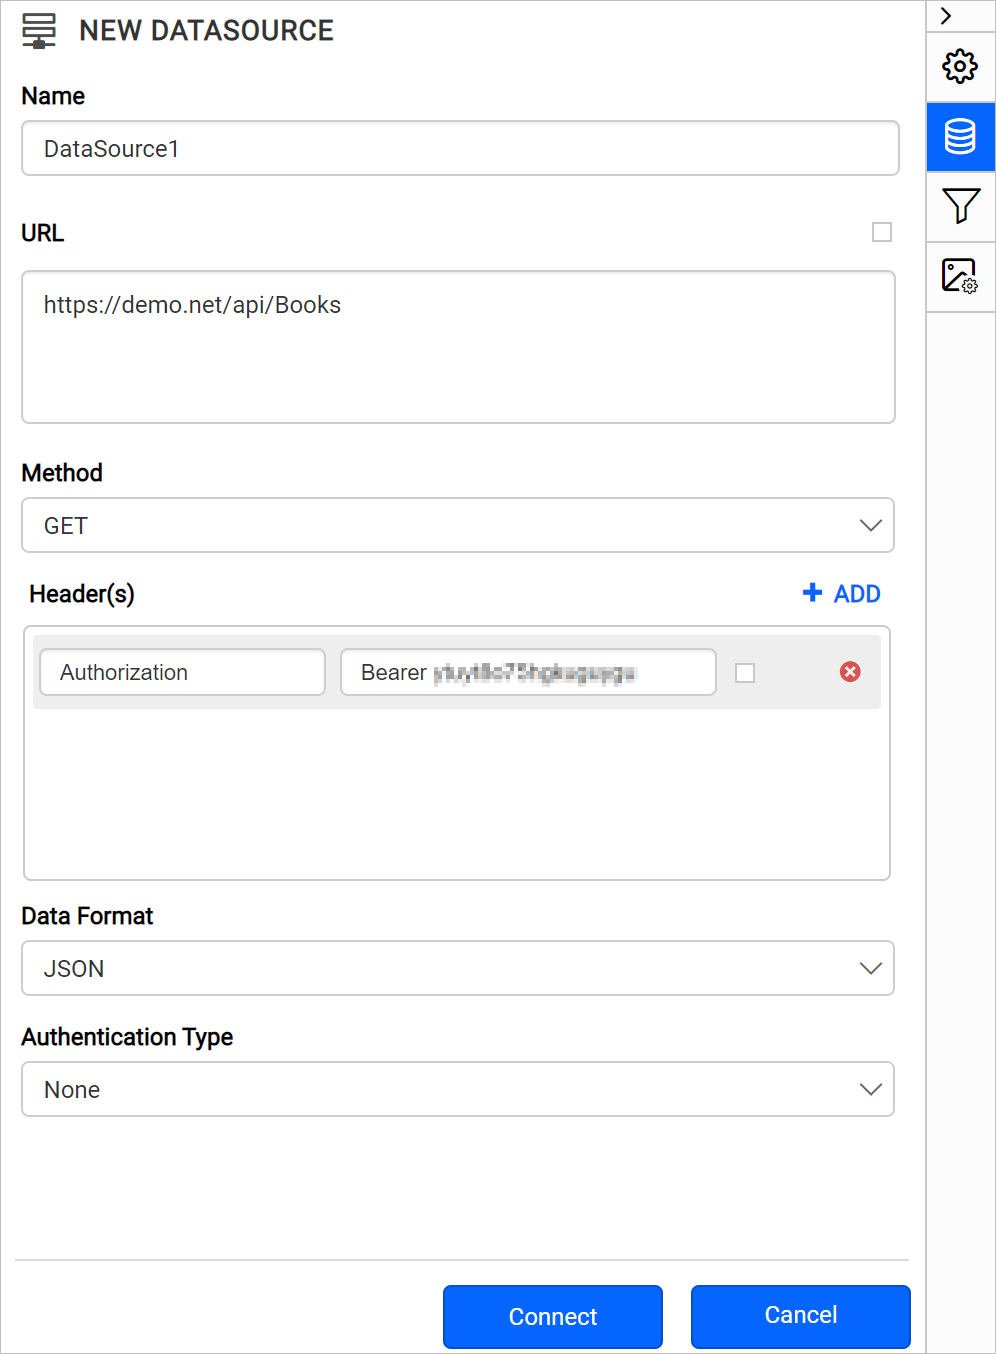
NEW DATASOURCEconfiguration panel opens. Specify the data source name without special characters, in Name field.
Connect to web data source with GET action
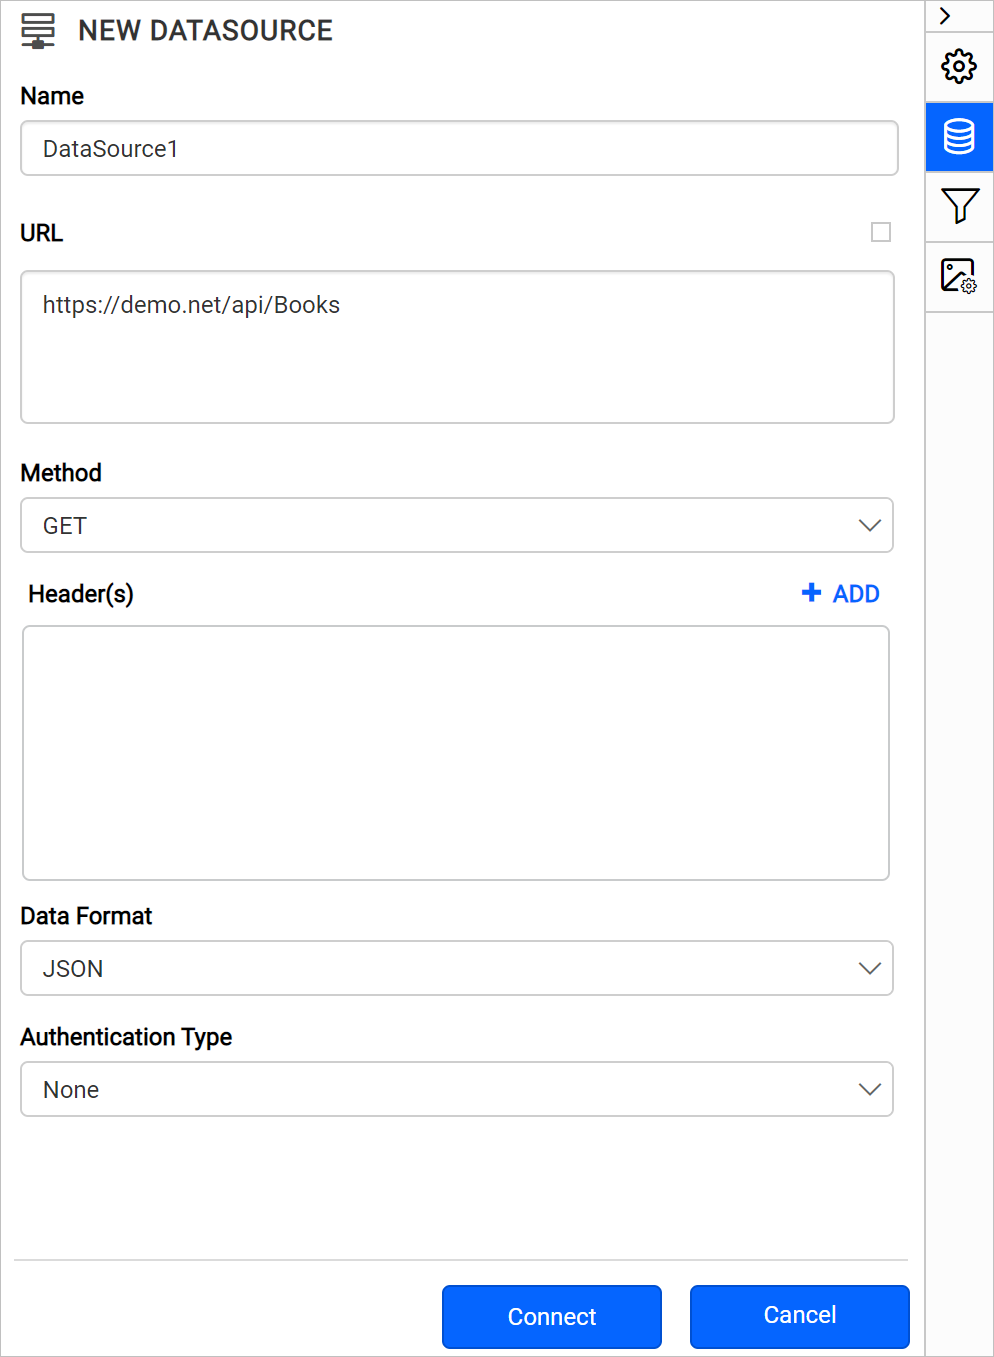
- Enter a valid REST API endpoint in the URL text box to perform GET action.
- Choose GET in Method drop-down.
- Choose a Data Format from the drop-down based on the response of your provided REST API. Options are JSON, XML, and CSV.
- Choose an Authentication Type supported by the data source. Options are
Basic http authenticationandNone. Learn more about Authentication Types.
Now, the basic connection details looks something similar to below image,
If required by the REST API, provide key value pairs in Headers.
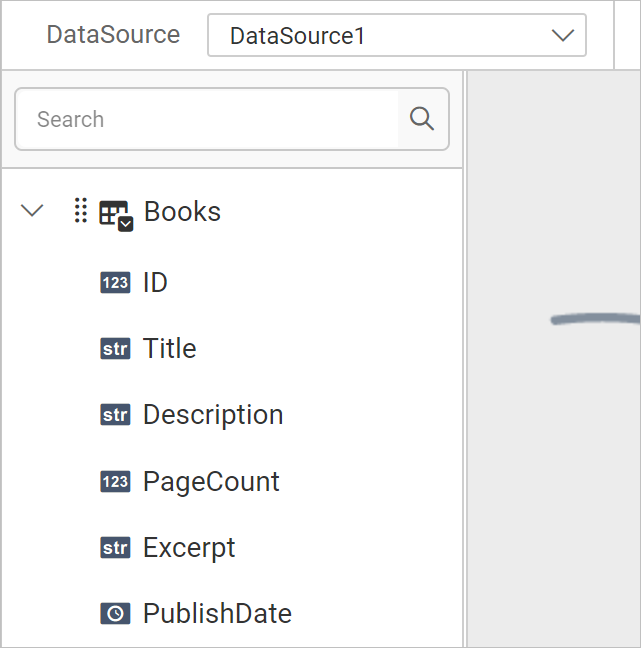
Click on the Connect to proceed with query design pane. The query design pane will show a list of schema in left pane.
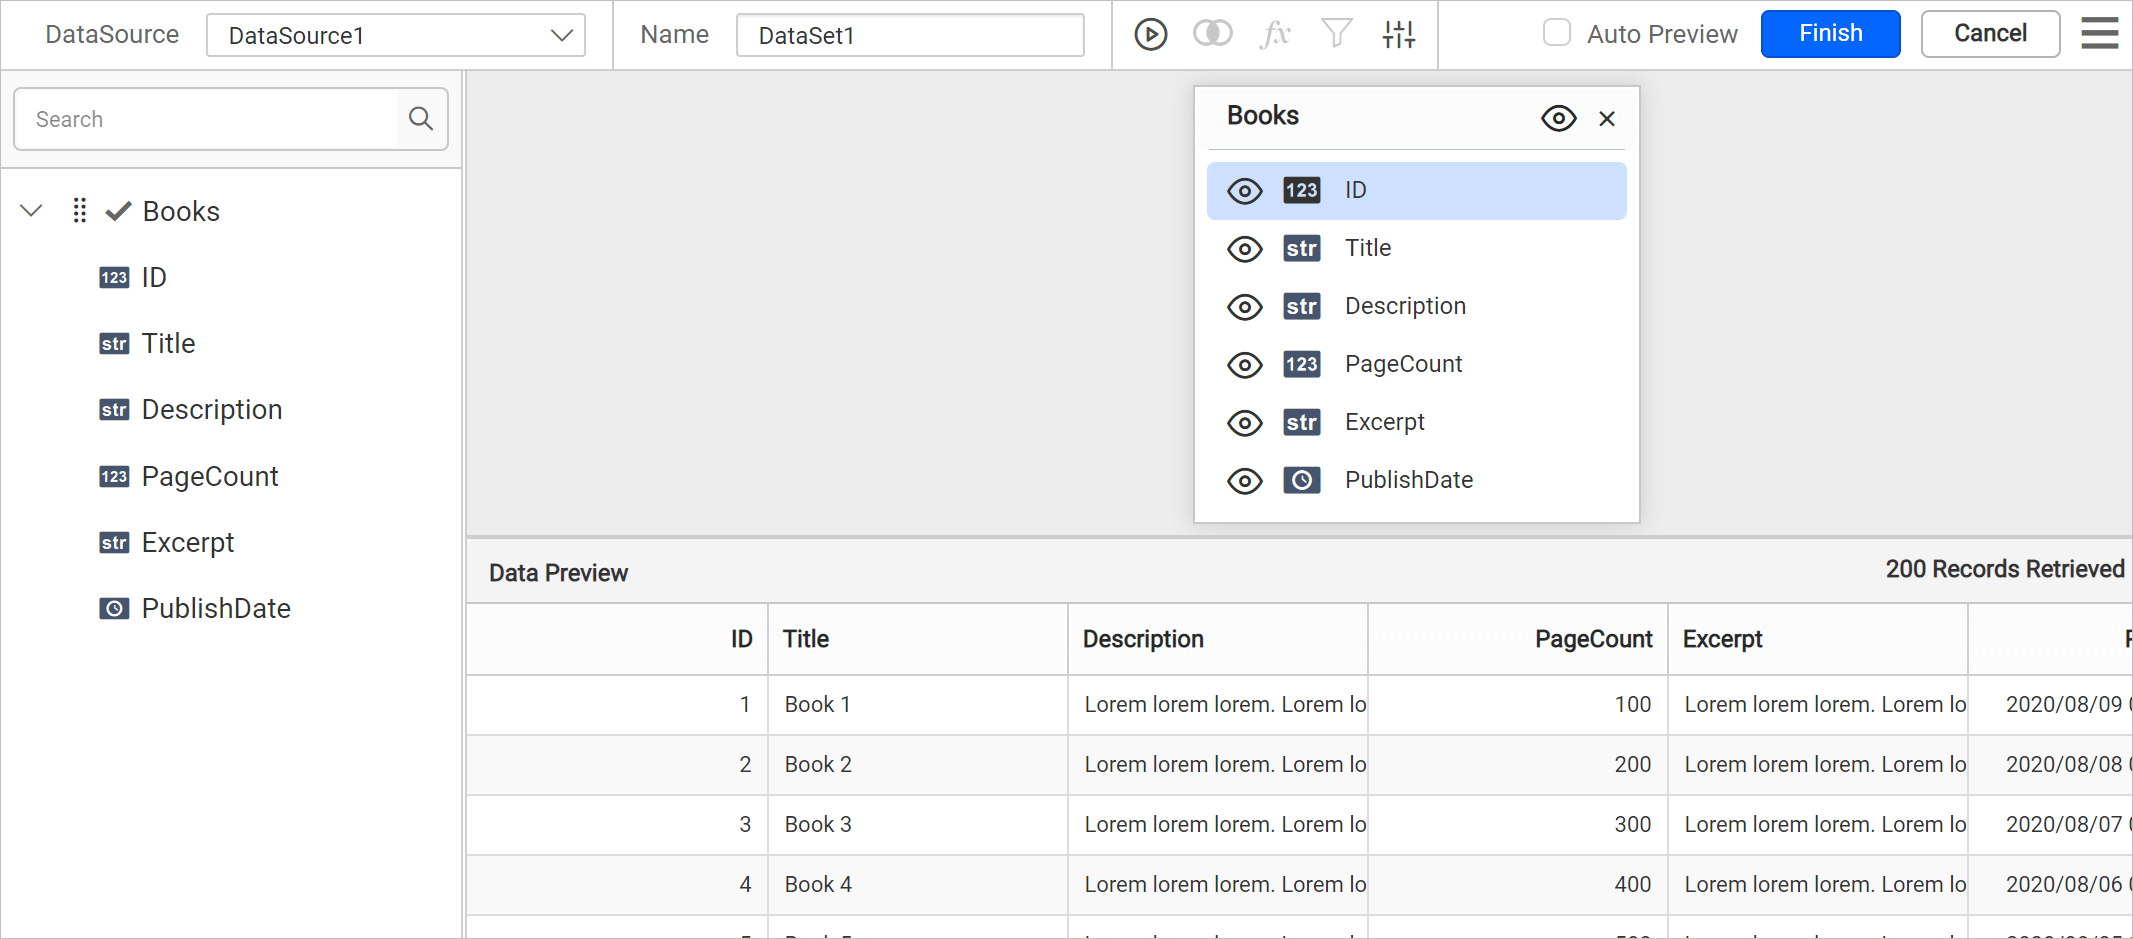
Drag and drop the table from the left pane in the query design view page and execute. Its corresponding values will be shown in grid for preview.
Note:
- In schema tree, the nested fields in the specified REST API will be shown as flat structure.
- When the JSON or XML data contains duplicate key names at different levels, Bold Reports® ensures uniqueness and avoids conflicts by appending the parent keys to each field name using the following format:
<fieldName>__<topLevelParentKey>_<nextParentKey>_..._<immediateParentKey>_.
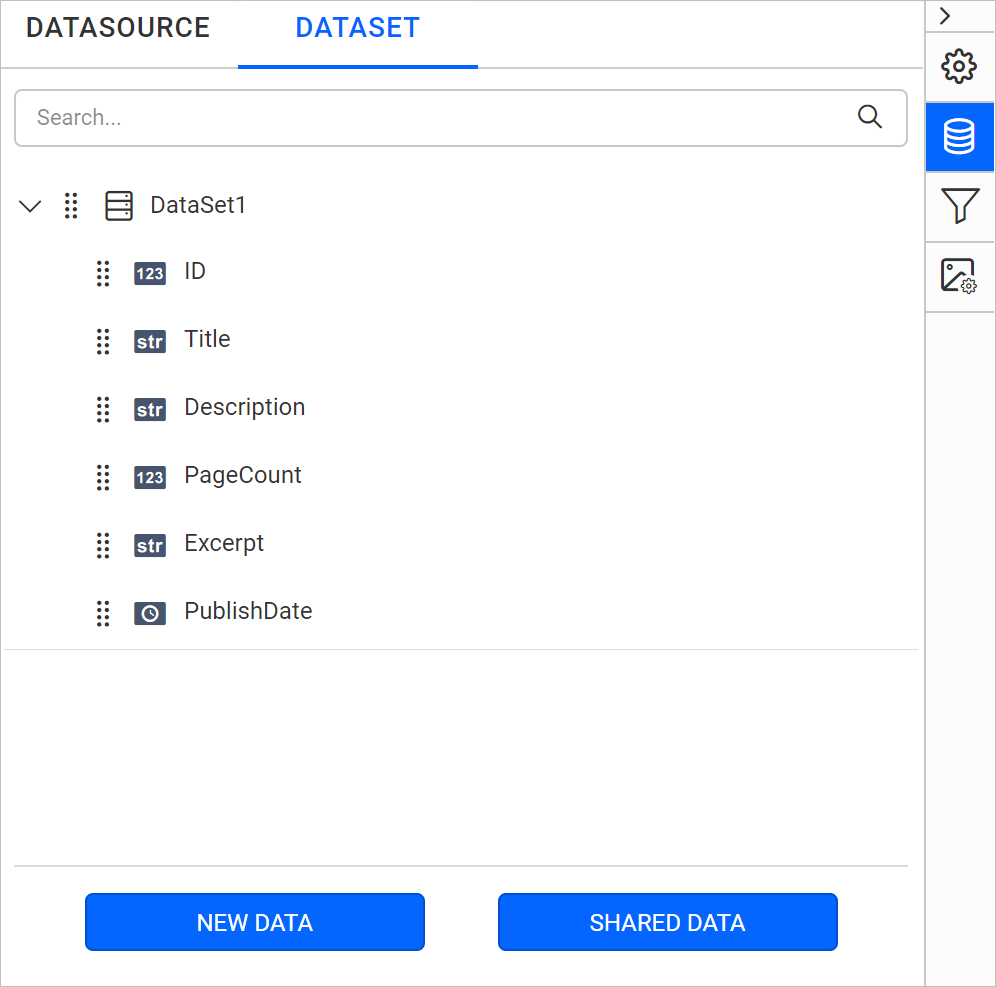
Click Finish to save the data source with a relevant name to proceed with designing report.
Connect to web data source with POST action
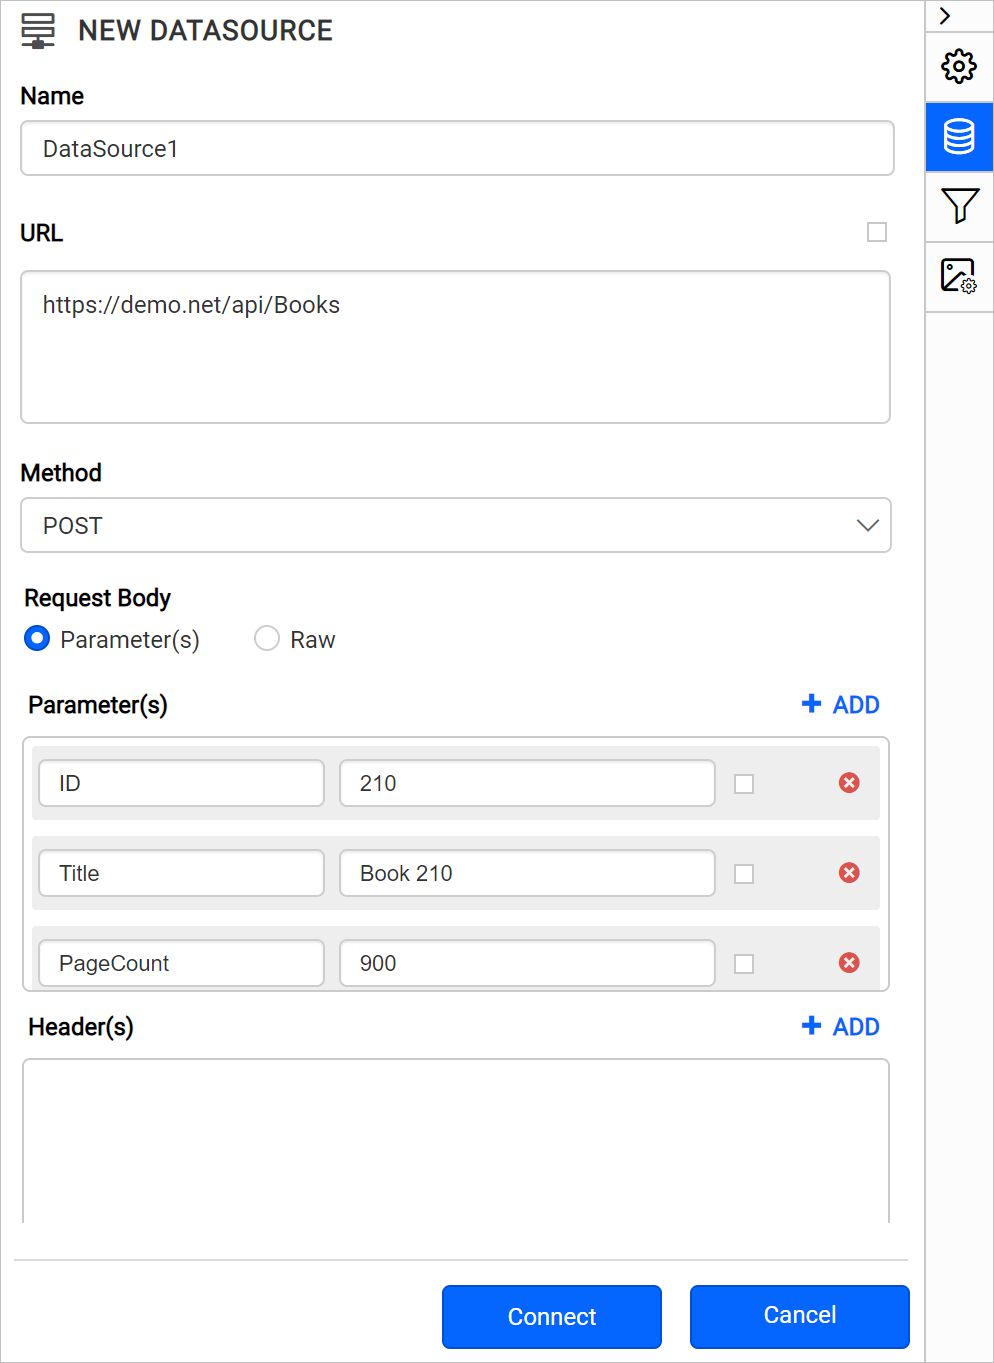
- Enter a valid REST API endpoint in the URL text box to perform POST action.
- Choose POST in Method drop-down.
- Choose a Data Format from the drop-down based on the response of your provided REST API. Options are JSON and XML.
- Choose an Authentication Type supported by the data source. Options are
Basic http authenticationandNone. Learn more about Authentication Types.
Now, the connection details looks something similar to below image,
Click on the Connect to proceed with query design pane.
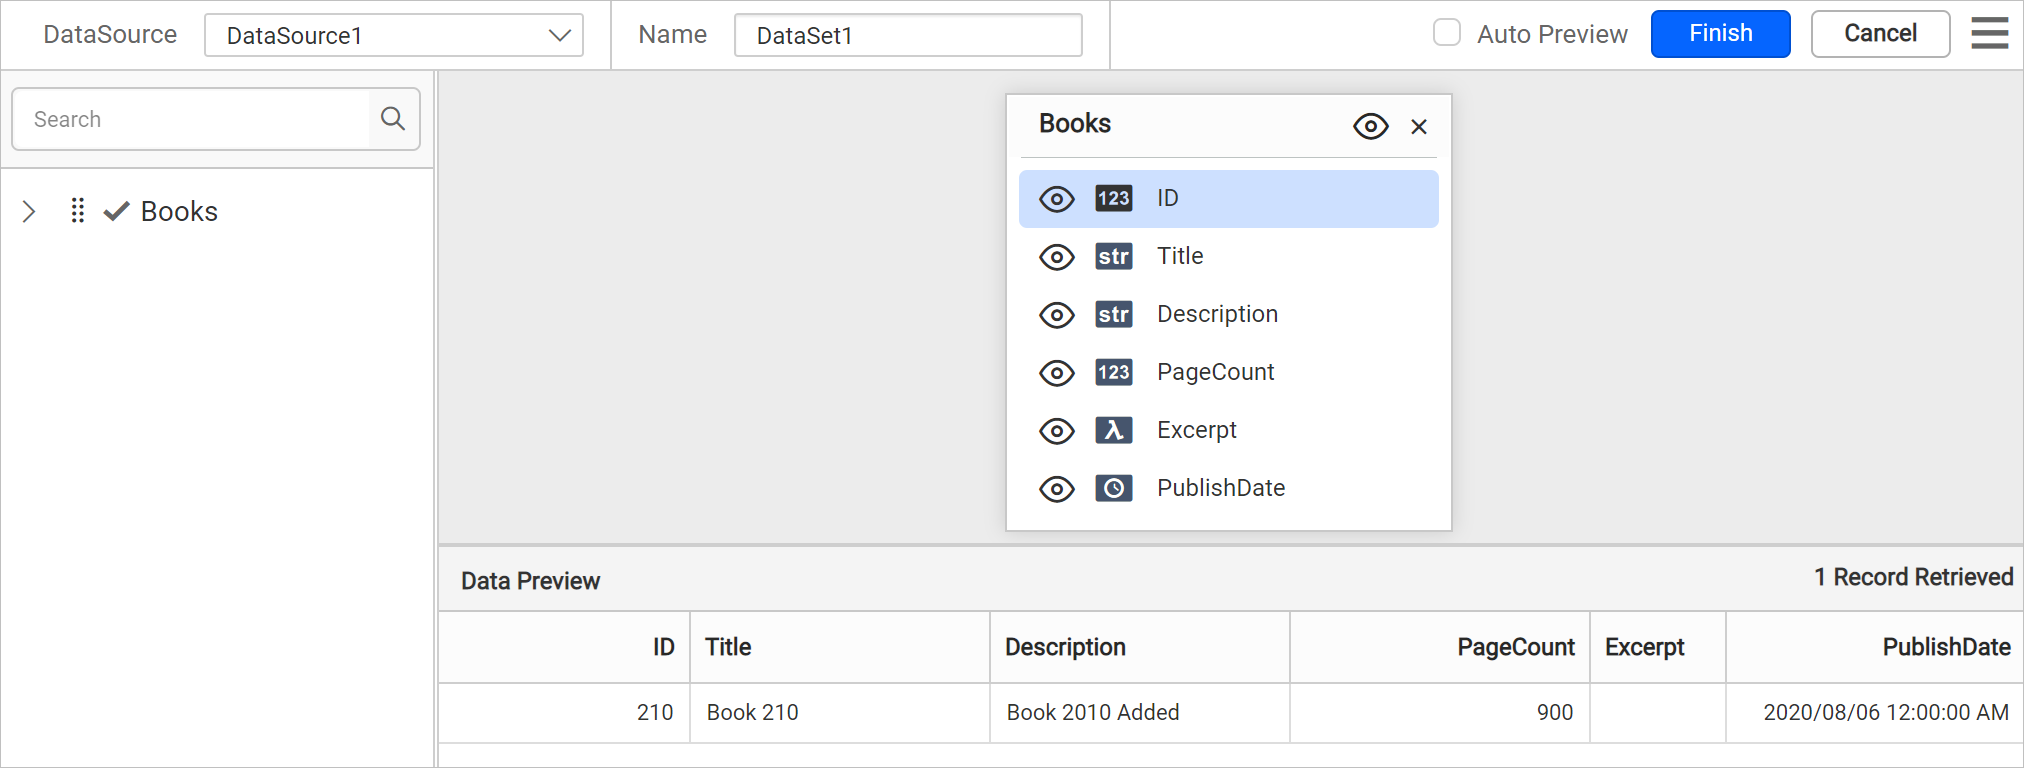
Drag and drop the table from the left pane in the query design view page and execute. The results for posted data will be shown in grid for preview.
Note:
- In schema tree, the nested fields in the specified REST API will be shown as flat structure.
- When the JSON or XML data contains duplicate key names at different levels, Bold Reports® ensures uniqueness and avoids conflicts by appending the parent keys to each field name using the following format:
<fieldName>__<topLevelParentKey>_<nextParentKey>_..._<immediateParentKey>_.
Click Finish to save the data source with a relevant name to proceed with designing report.

Pass dynamic value for URL
You can pass dynamic values for URL, Follow the below steps to set expression for URL field.
- Click on the square icon in right corner of URL field to open expression menu,

- Choose
Expressionoption from the menu,
- Now, this will launch the expression dialog,
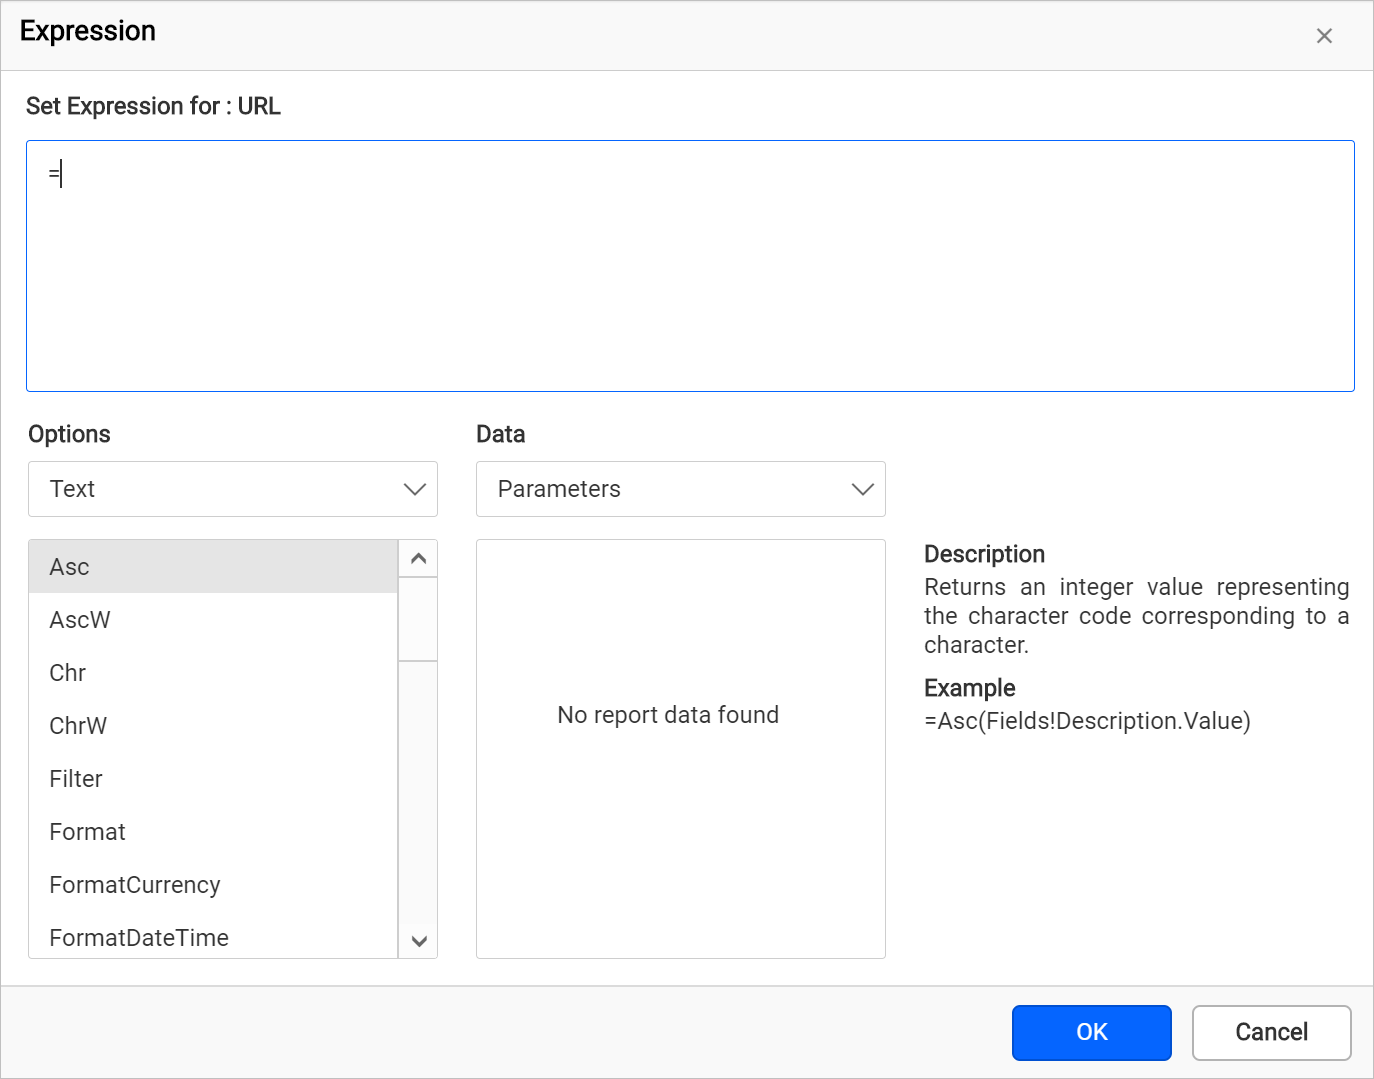
- Enter the required expression and click OK.
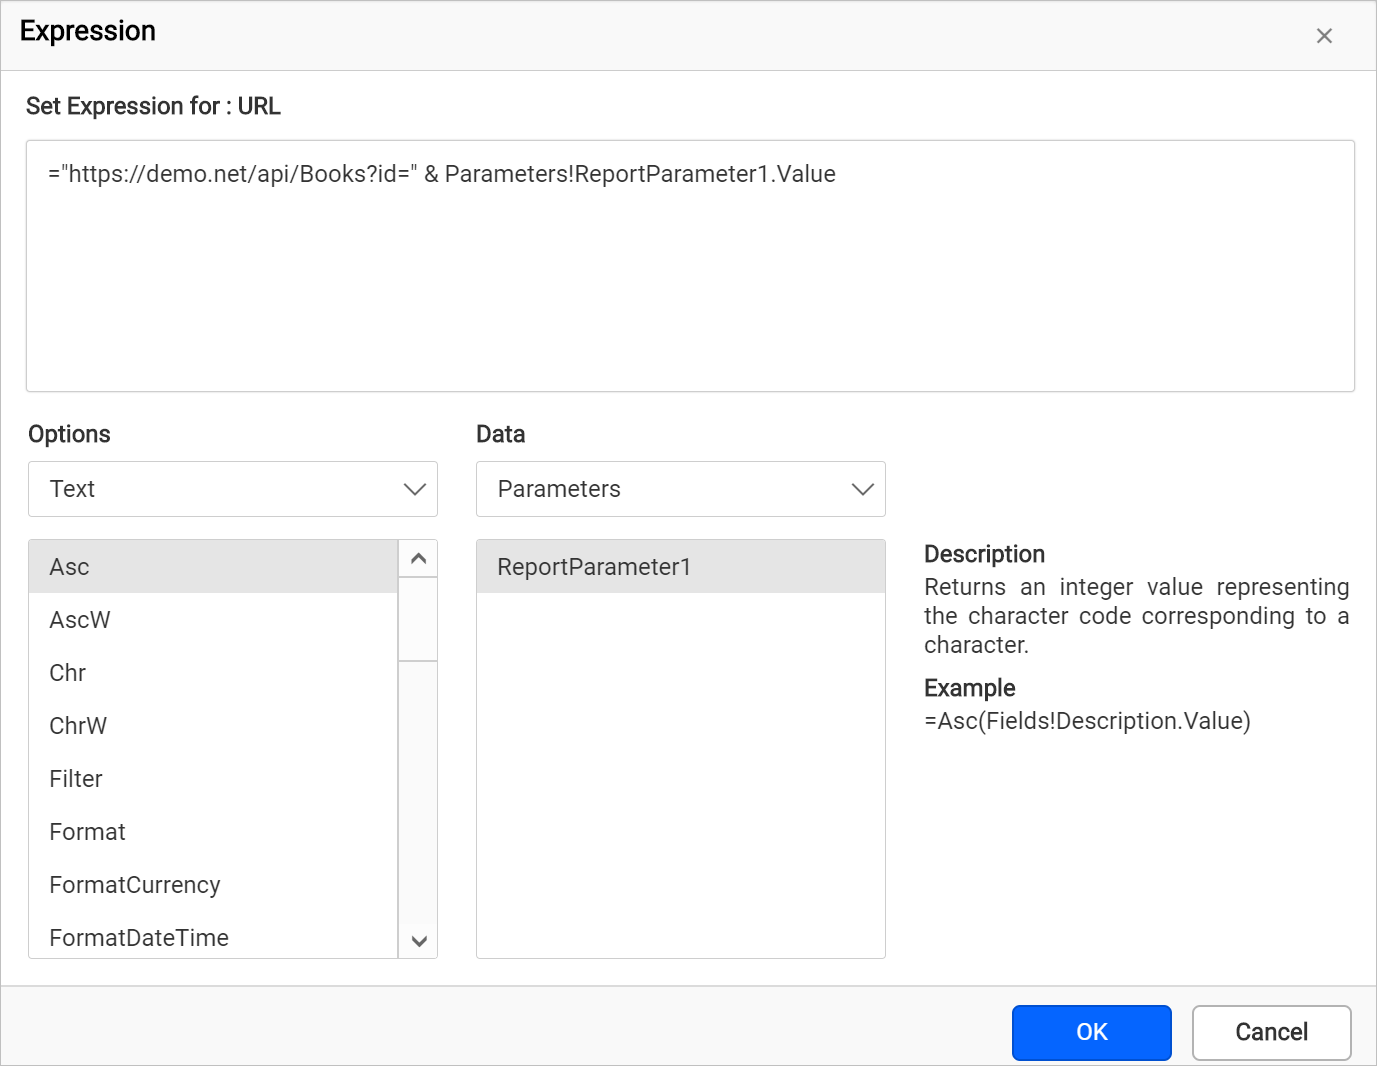
- Now, the square icon will be indicated with black color and URL field denoted with
<<Exp>>,
To reset the expression, choose Reset option from the menu. Specify other required connection settings and click Connect. Once you click on connect for the first time, it will prompt for a actual URL to load data in query design.
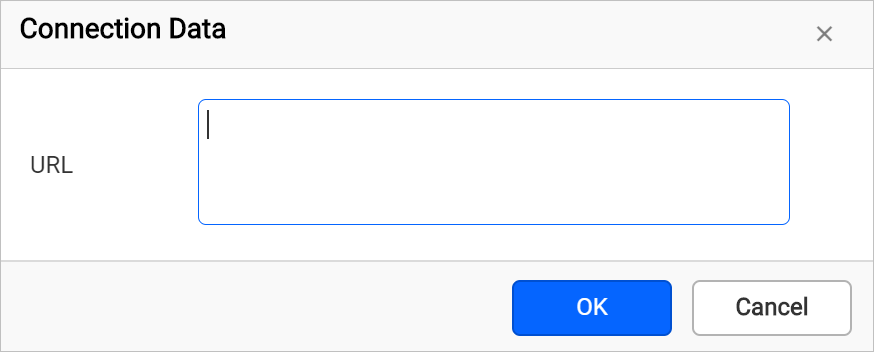
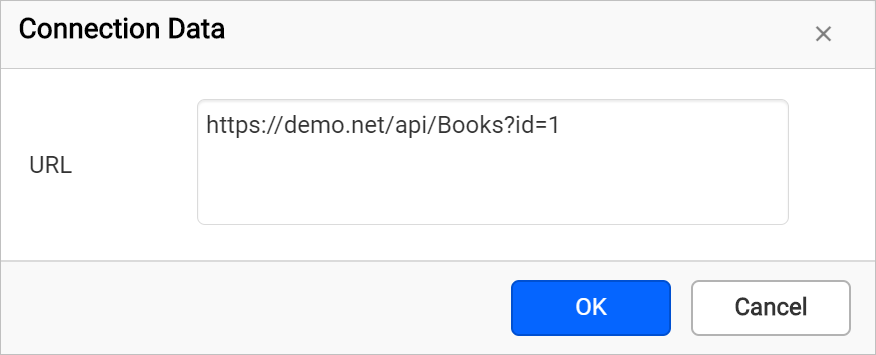
Enter a direct URL value instead of expression and click OK.
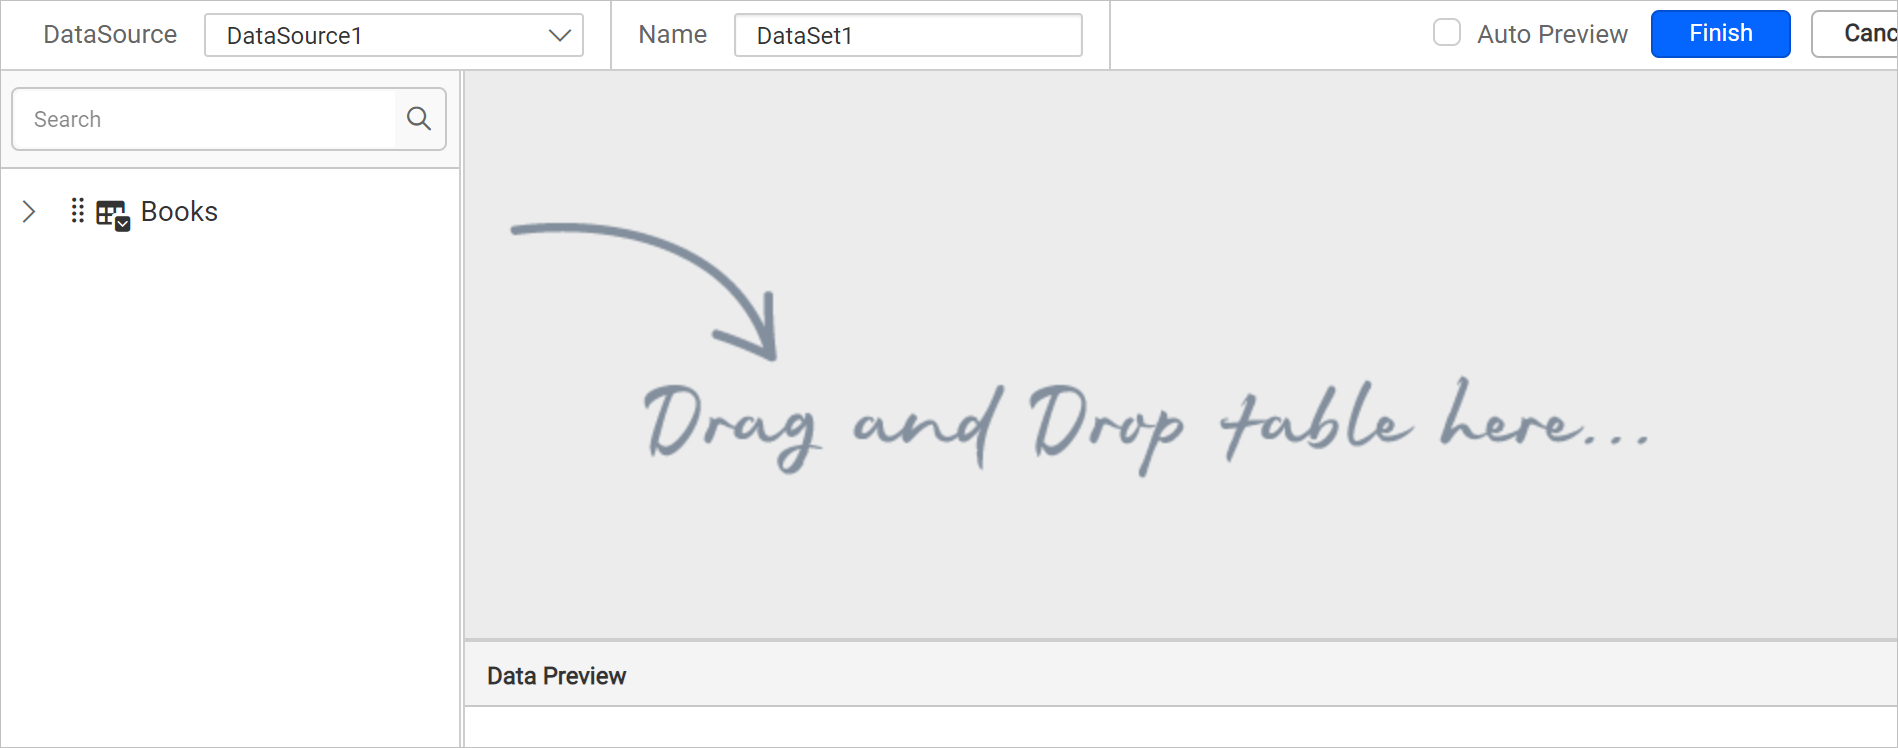
The above action will take you to query design view.
How to pass headers
Based on the REST API URL, pass the required headers in Headers property. To add headers, follow these steps:
Click on the + ADD to add new header.
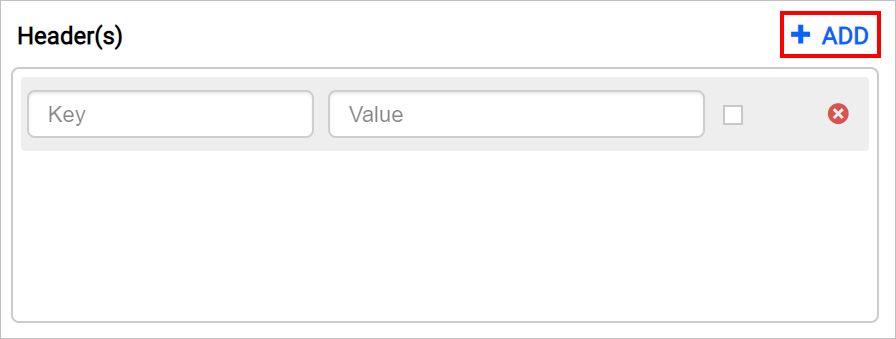
Enter the valid key and its value required to connect with REST API.
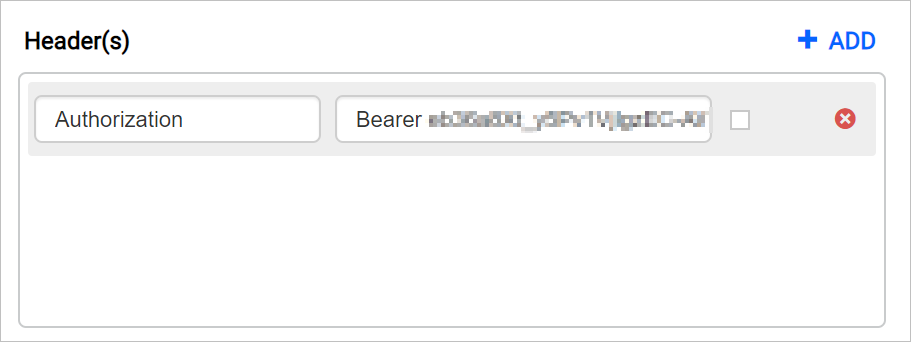
Similarly, you can add multiple headers and pass value for it.
How to pass dynamic value for headers
During report processing, you can pass dynamic values for each key in headers using expressions. To set expression for headers, follow these steps:
- Click on the square icon in right corner of Value field to open expression menu,
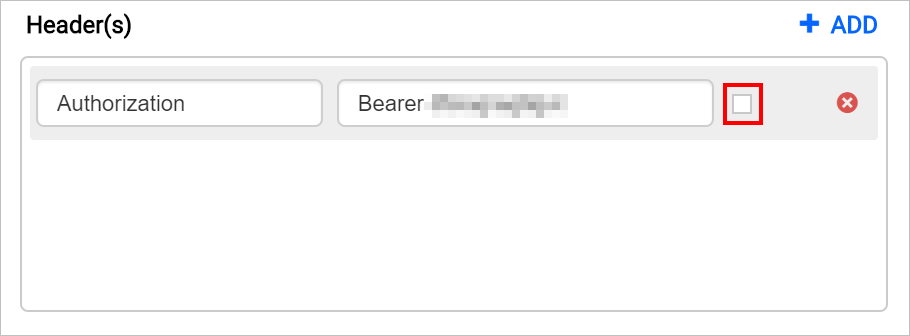
- Choose
Expressionoption from the menu,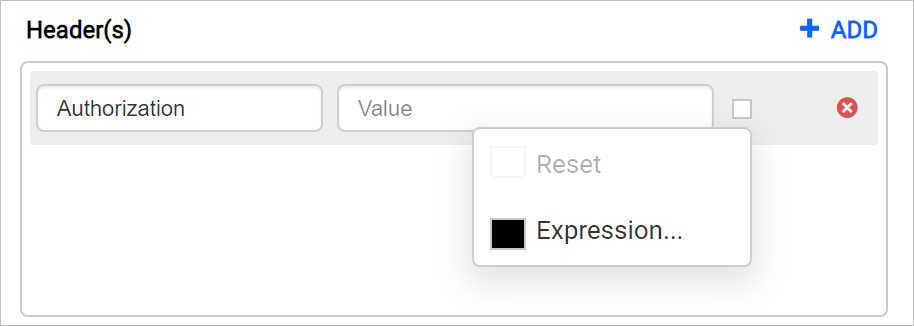
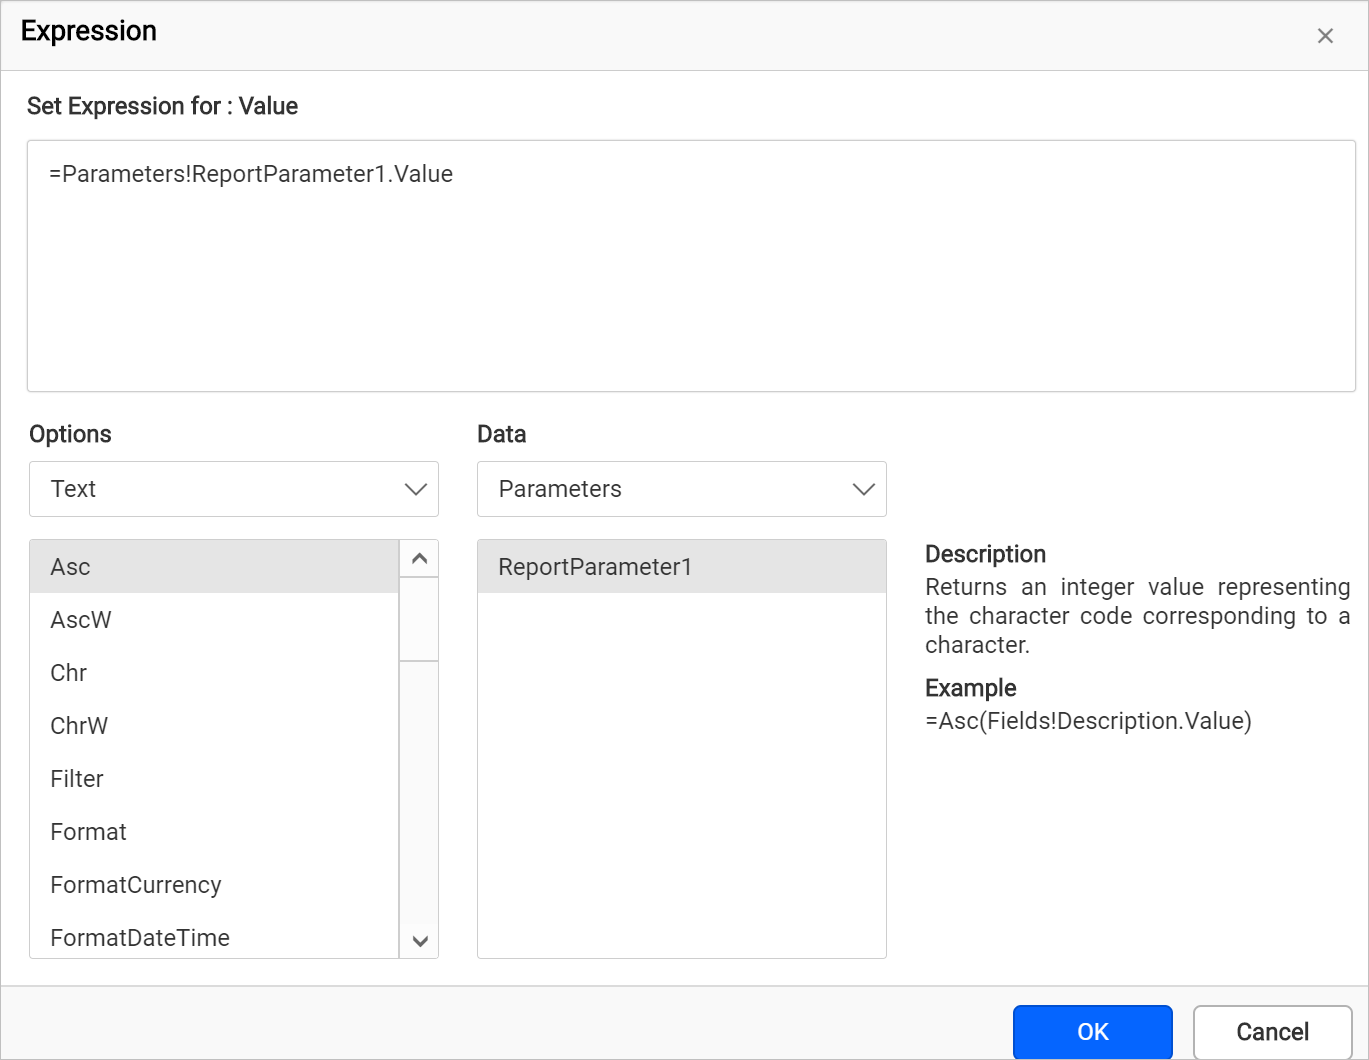
- Now, this will launch the expression dialog,
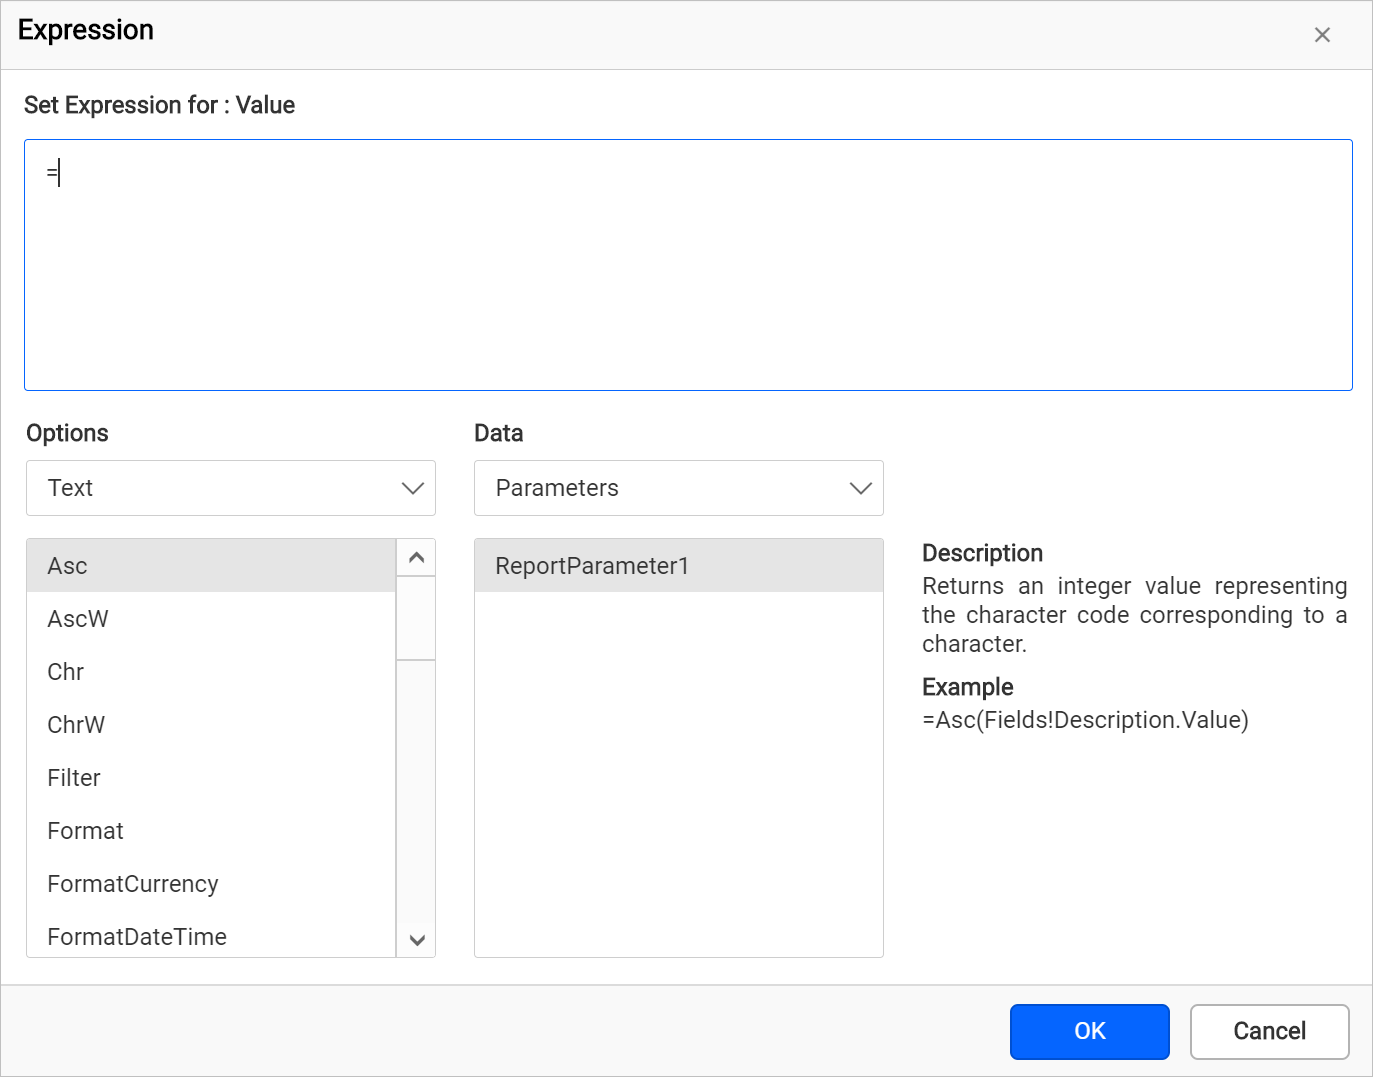
- Enter the required expression and click OK.
- Now, the square icon will be indicated with black color and value field denoted with
<<Exp>>,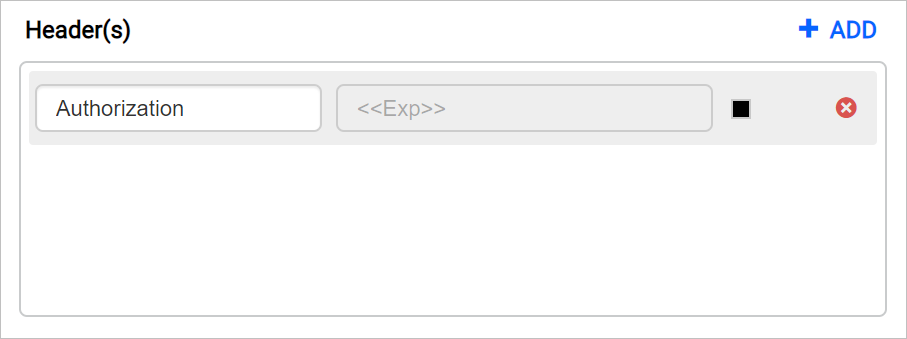
To reset the expression, choose Reset option from the menu. Specify other required connection settings and click Connect. Once you click on connect for the first time, it will prompt for a valid header values to load data in query design.
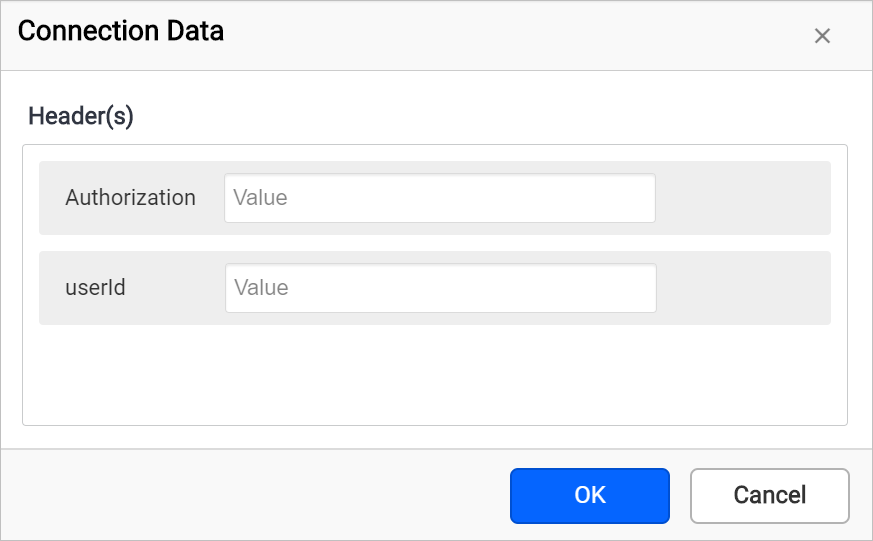
Enter a valid headers value instead of expression and click OK.
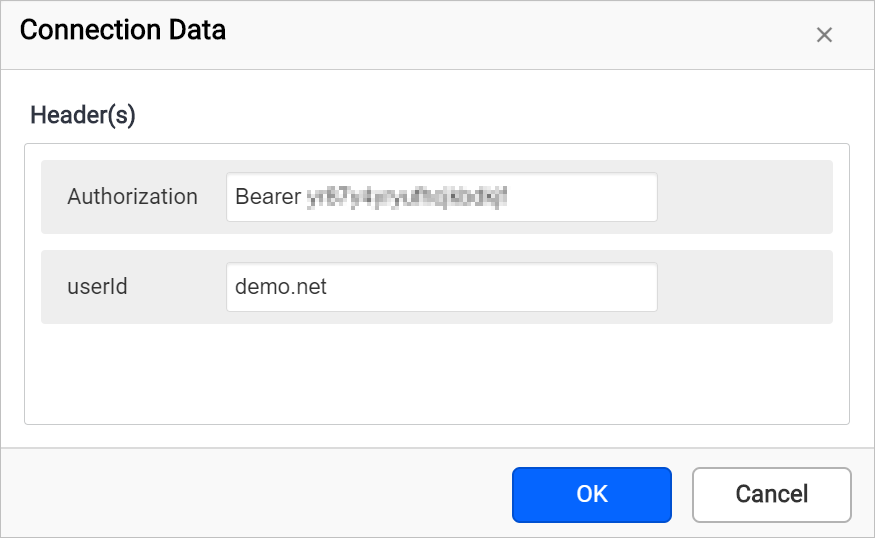
The above action will fetch field information from specified REST API URL and take you to query design view.

How to pass parameters
The parameter option will start displaying once you choose POST method. To add parameter, follow these steps:
Click on the + ADD to add new parameter.
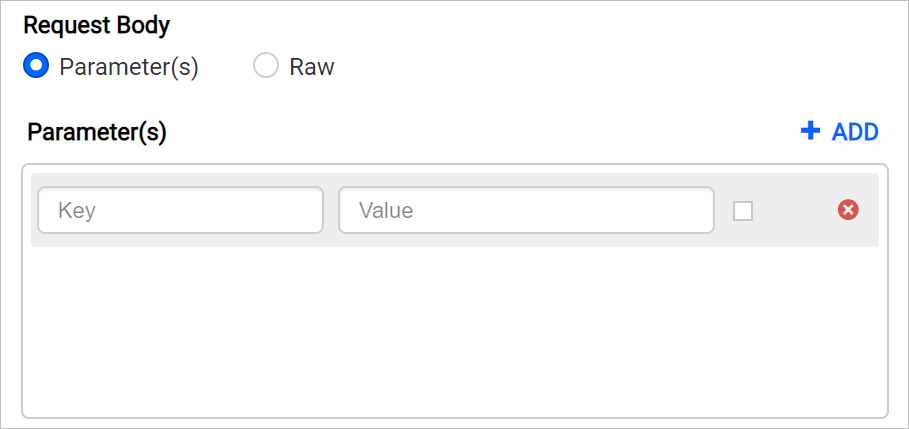
Enter the property name and its value to post the data.
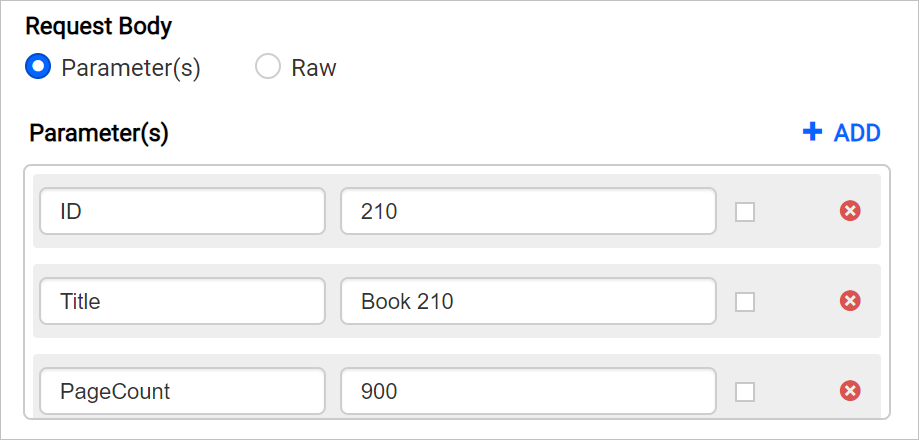
How to pass dynamic value for parameters
During report processing, you can pass dynamic values for each parameter using expressions. To set expression for parameter value, follow these steps:
- Click on the square icon in right corner of Value field to open expression menu,
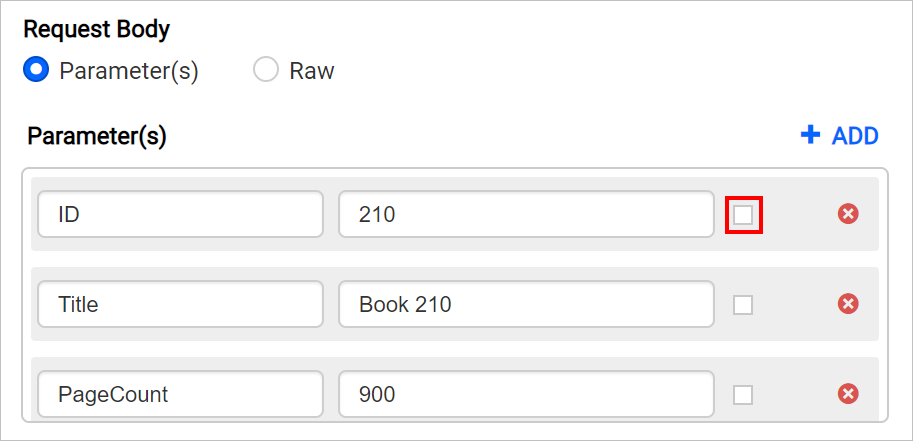
- Choose
Expressionoption from the menu,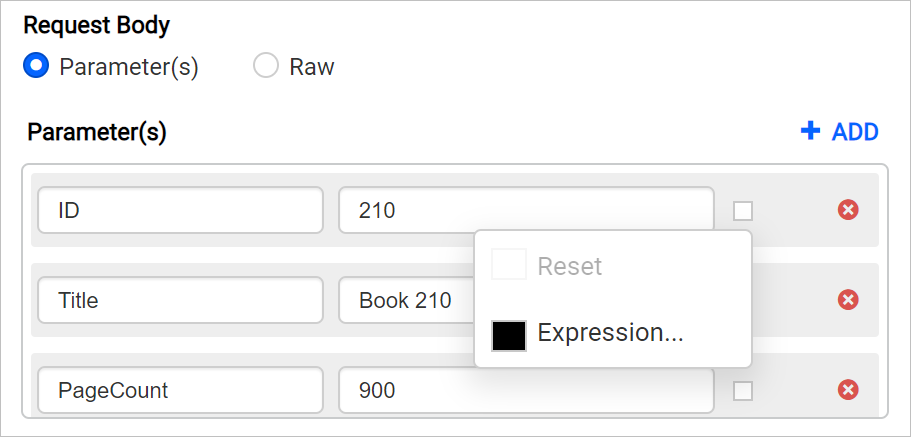
- Now, this will launch the expression dialog,
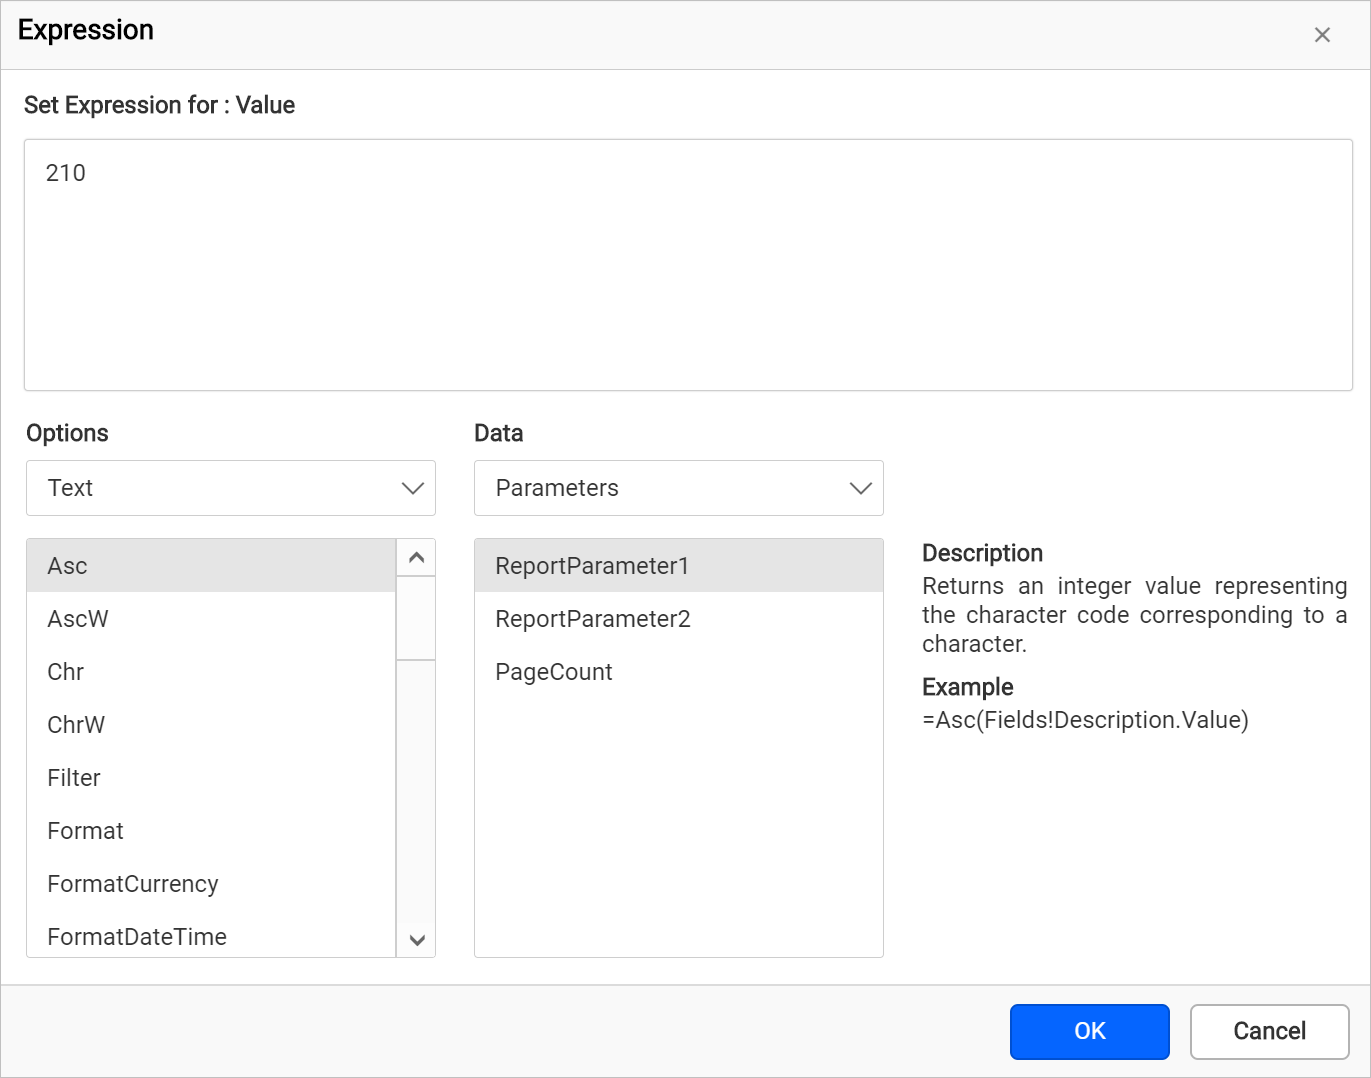
- Enter the required expression and click OK.
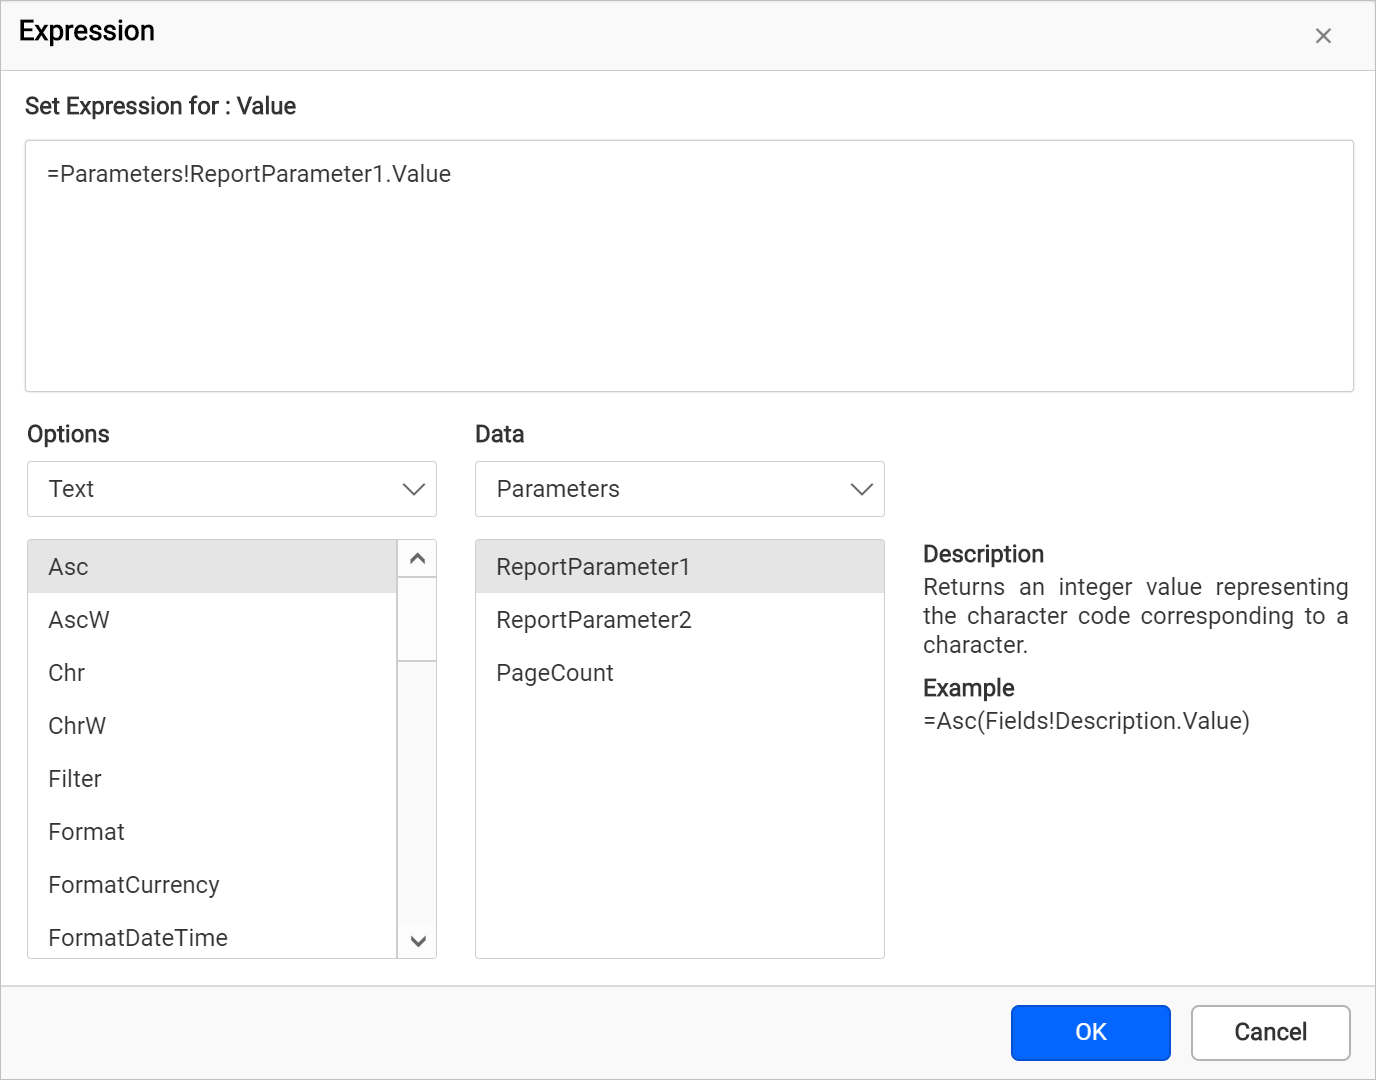
- Now, the square icon will be indicated with black color and value field denoted with
<<Exp>>,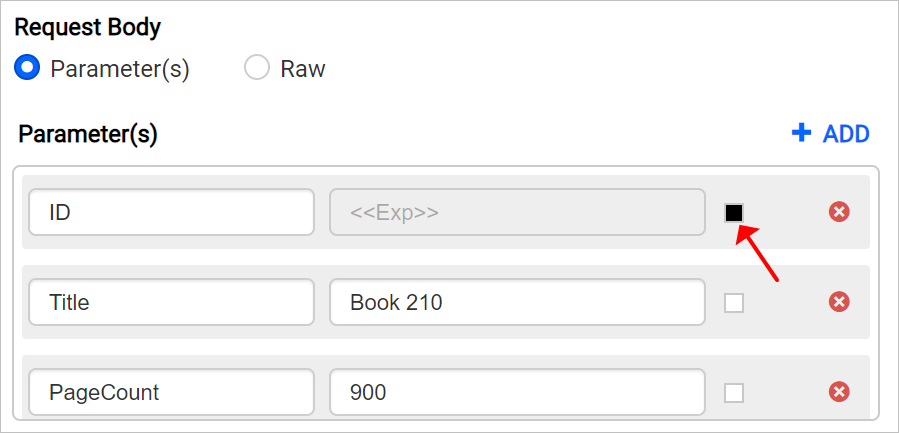
To reset the expression, choose Reset option from the menu. Specify other required connection settings and click Connect. Once you click on connect for the first time, it will prompt for a direct values to load data in query design.
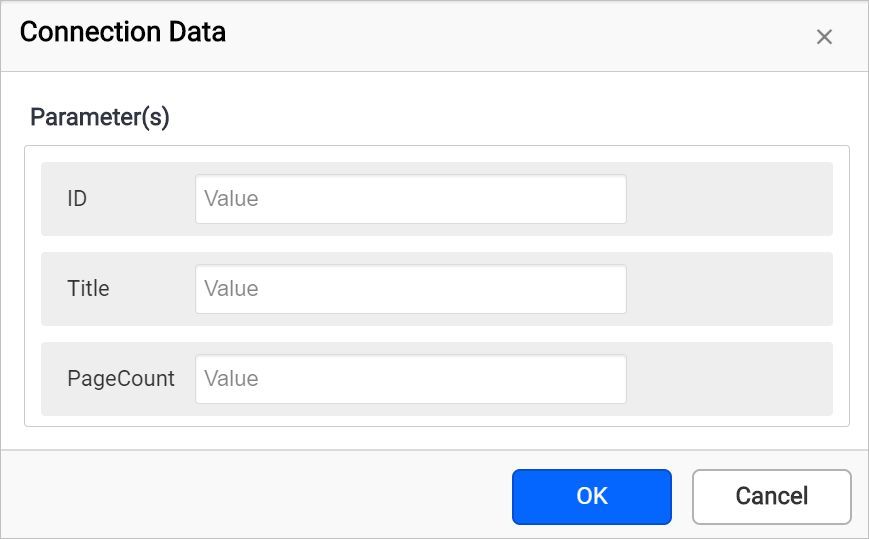
Enter a values instead of expression and click OK.
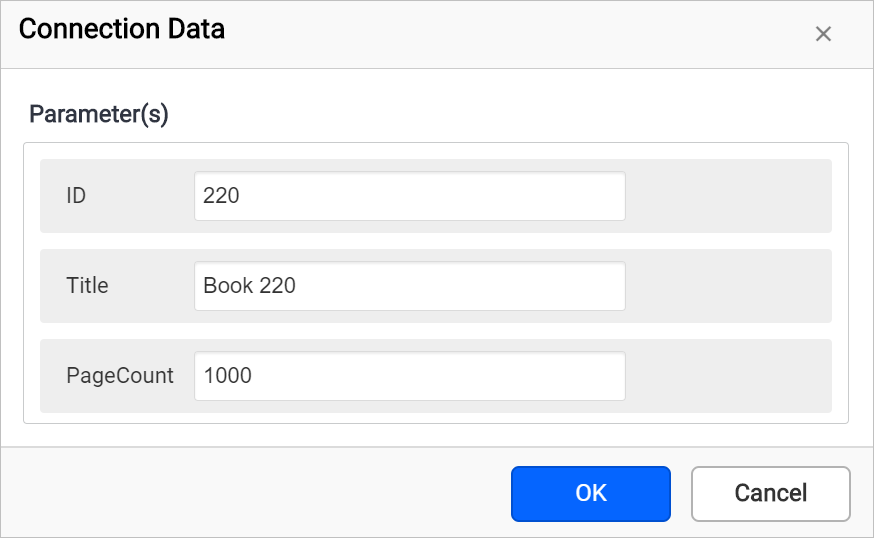
The above action will post information into specified REST API URL and take you to query design view.

How to pass raw data
To specify raw value, follow these steps:
Choose POST method and switch the Raw radio button. Now, a text area with an option to set expression will start displaying.
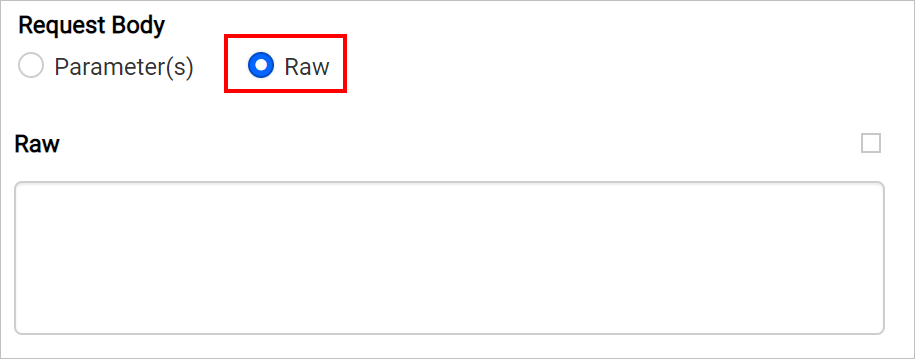
Enter the direct value in the text area, for example
{
  "ID": 220,
  "Title": "Book 220",
  "Description": "Book 220 added",
  "PageCount": 100,
  "Excerpt": "Lorem lorem lorem. Lorem lorem lorem. Lorem lorem lorem.\r\n",
  "PublishDate": "2020-08-06T10:42:22.464Z"
}
How to pass dynamic value for raw data
During report processing, you can directly pass raw data using expressions. To set expression for raw value, follow these steps:
- Click on the square icon in right corner of Raw field to open expression menu,
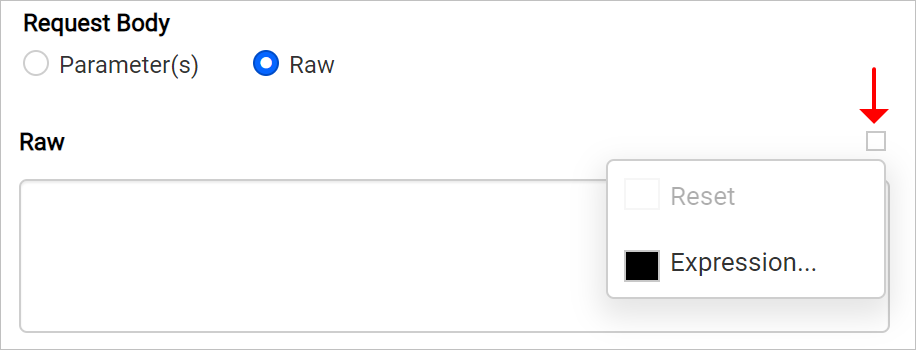
- Choose
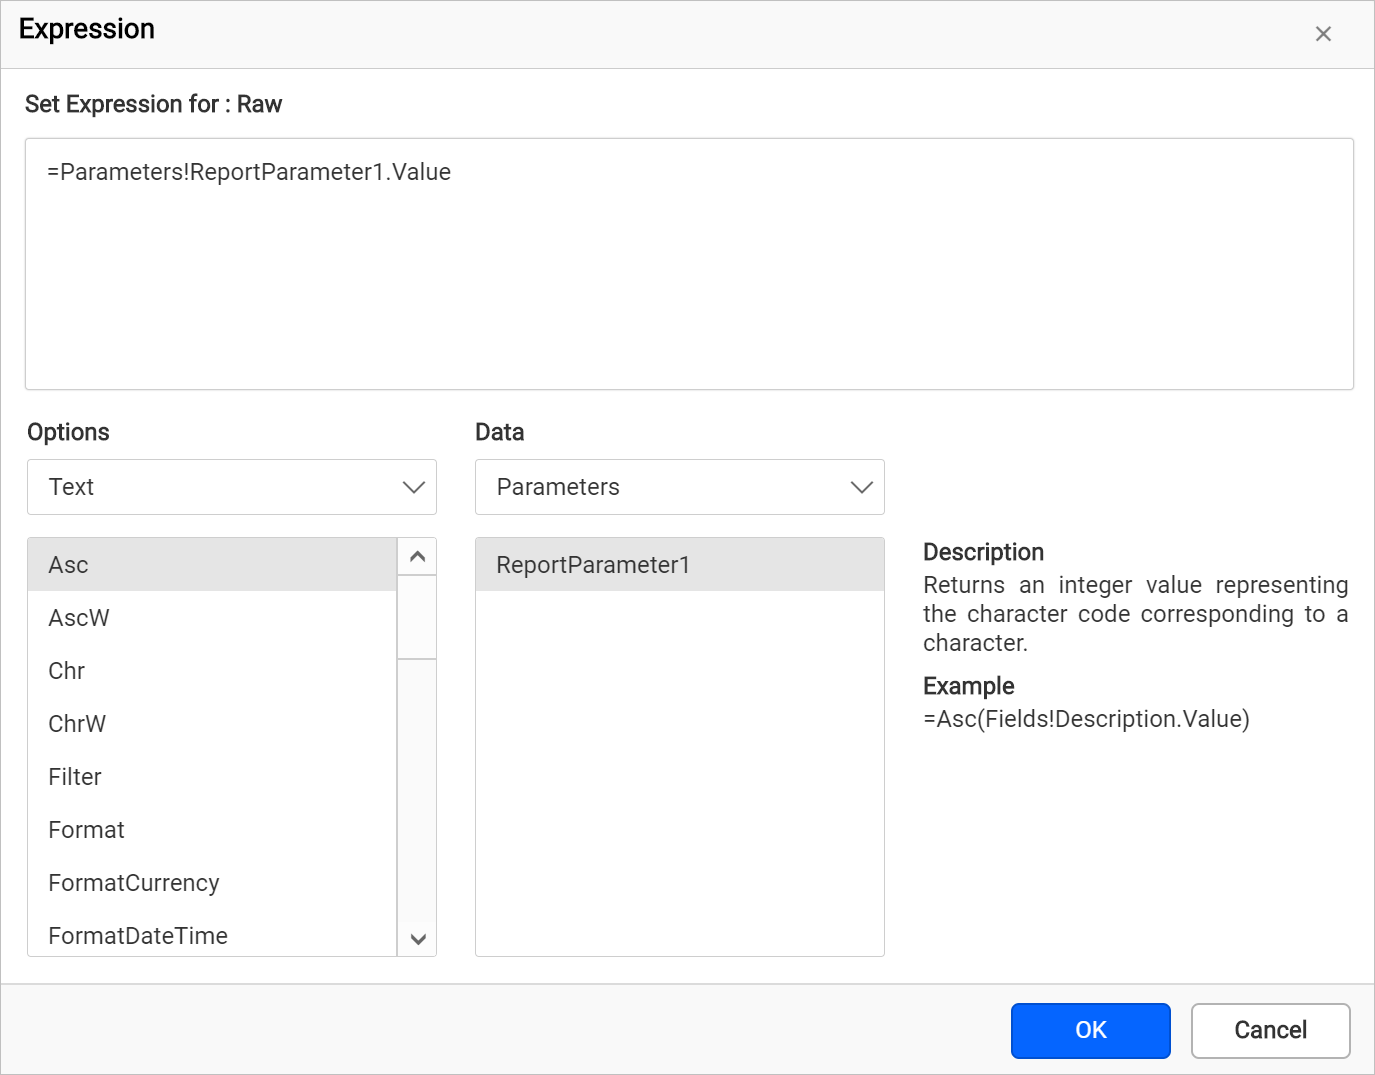
Expressionoption from the menu. Now, this will launch the expression dialog,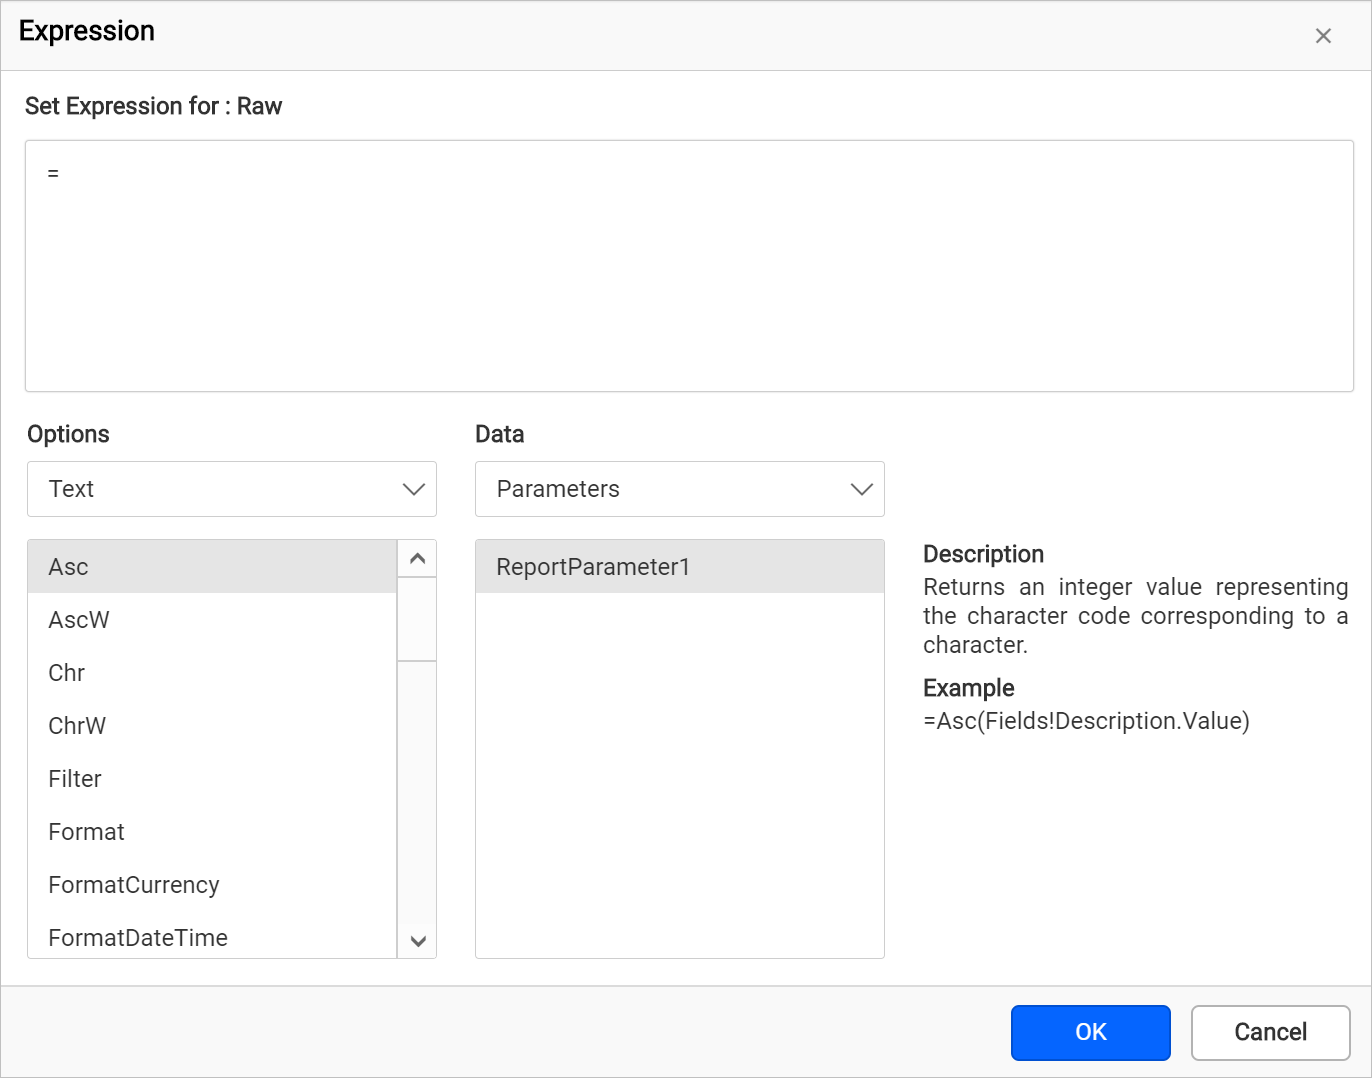
- Enter the required expression and click OK.
- Now, the square icon will be indicated with black color and value field denoted with
<<Exp>>,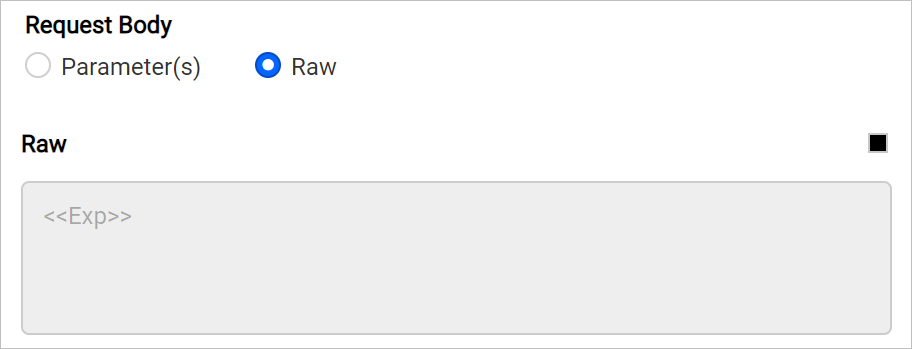
To reset the expression, choose Reset option from the menu. Specify other required connection settings and click Connect. Once you click on connect for the first time, it will prompt for a raw data to load data in query design.
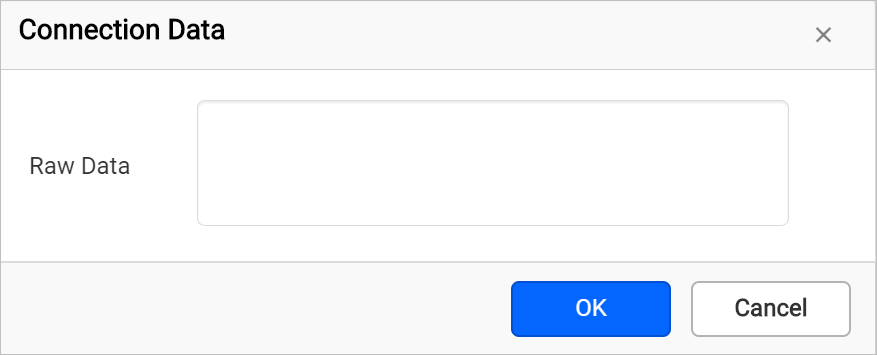
Enter a valid data and click OK.
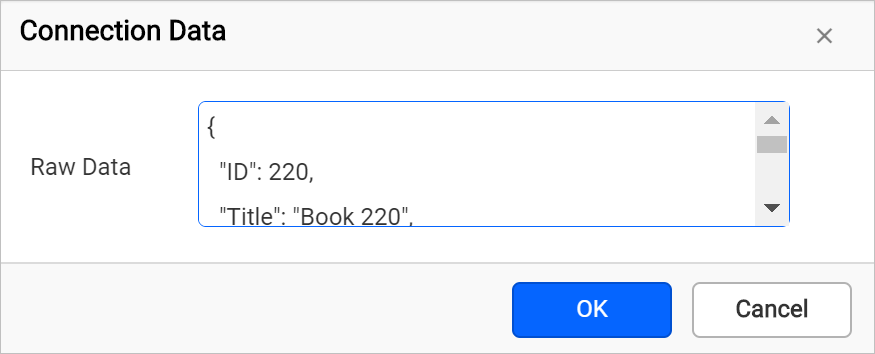
The above action will post the information into specified REST API URL and take you to query design view.

Syntax to pass expression in raw data
Syntax 1: When passing data as JSON object, it should be enclosed with in double quotes, the key/value strings should be enclosed within single quotes. Otherwise it can follow any syntax which supports the Client-Server transaction.
= "{'ItemType':'Dataset','ReportReferences':['3fe0ea1c-b6a1-4b20-95dd-158edd24ae4b']}"
Syntax 2: To use the Parameters, Data fields, or Variables along with Json object, follow the below syntax.
="{'ItemType':'Dataset','ReportReferences':['" & Parameters!ReportParameter1.Value & "']}"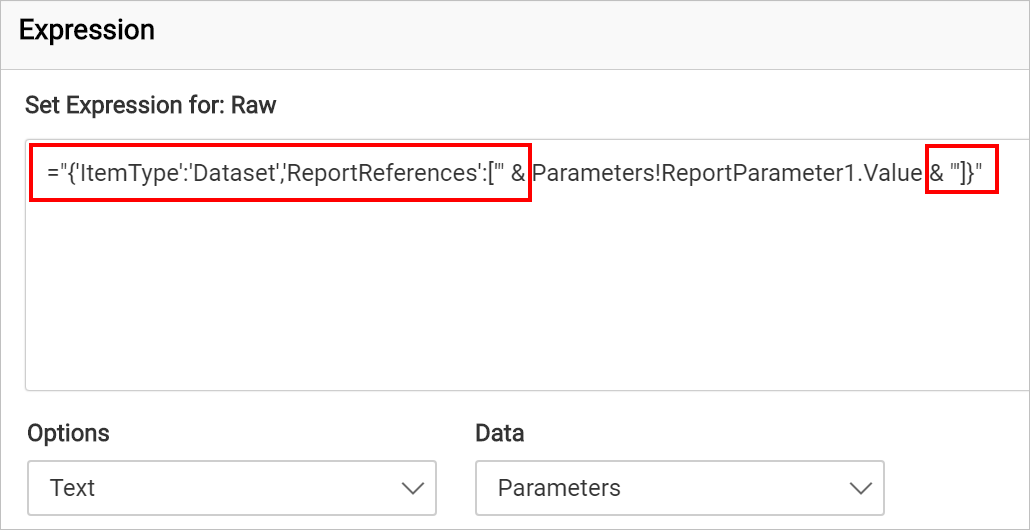
We use double quotes to identify the data is whole string value or not.
Expression Format
When mentioning expressions, it should be in a single line format, not in multiple lines. For example, when providing a JSON object as input, it should be formatted as a single line, rather than multiple lines, like below,
="{
  'ID': 220,
  'Title': 'Book 220',
  'Description': 'Book 220 added',
  'PageCount': 100,
  'Excerpt': 'Lorem lorem lorem. Lorem lorem lorem. Lorem lorem lorem.\r\n',
  'PublishDate': '2020-08-06T10:42:22.464Z'
}"
Incorrect format :
="{
'ID': 220,
'Title': 'Book 220',
'Description': 'Book 220 added',
'PageCount': 100,
'Excerpt': 'Lorem lorem lorem. Lorem lorem lorem. Lorem lorem lorem.\r\n',
'PublishDate': '2020-08-06T10:42:22.464Z'
}"
To use the Parameters with Json object, follow the below syntax,
="{'ID': '" & Parameters!id.Value & "','Title':'" & Parameters!title.Value & "','Description':'" & Parameters!description.Value & "','PageCount':'" & Parameters!pageCount.Value & "','Excerpt':'" & Parameters!excerpt.Value & "','PublishDate':'" & Parameters!publishDate.Value & "'}"
Pagination
Pagination allows REST API to conserve resources, improve response times and optimize the user experience. To get better response time for huge records append pagination properties along with URL or specify it as Headers. For example, you can append the pagination parameter in URL like below,
https://demo.net/rest/api/2/Books?id=1278&startAt=0&maxResults=33&fields=title,author,priceData format
You can choose the Data format of the response for the provided Rest API in the Data format drop-down.

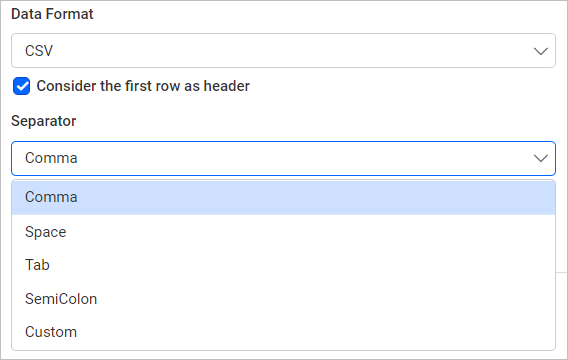
CSV data format
Once you select the CSV format, the Separator options will show as below. You can choose the separator from the given options.
Authentication types
You can set authentication type, either as None or Basic HTTP Authentication.
Use None type in following cases,
- If your data source supports authentication directly through REST API URL, choose None under Authentication Type.
- If your data source supports API Key/API Token authentication, pass these values under Header(s) by clicking +Add. Choose None under Authentication Type.
Use Basic Http authentication, if your data source requires username and password to authenticate. Choose Basic HTTP Authentication under Authentication Type and input the username and password.
See also
- Choose web data source
- Connect to web data source with GET action
- Connect to web data source with POST action
- Pass dynamic value for URL
- How to pass headers
- How to pass dynamic value for headers
- How to pass parameters
- How to pass dynamic value for parameters
- How to pass raw data
- How to pass dynamic value for raw data
- Syntax to pass expression in raw data
- Expression Format
- Pagination
- Data format
- CSV data format
- Authentication types
- See also