Transformation
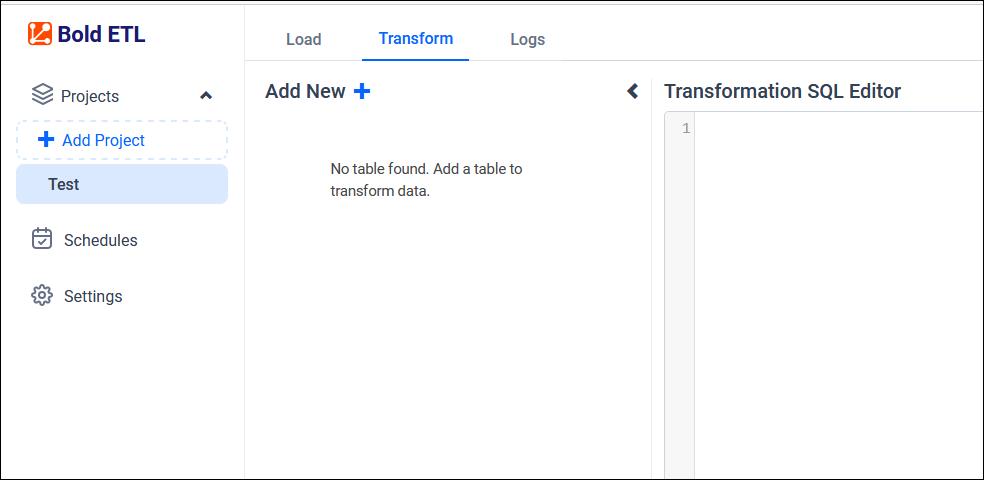
After the project data has been moved into the destination database, select a project and click on the Transform tab in the right side panel.
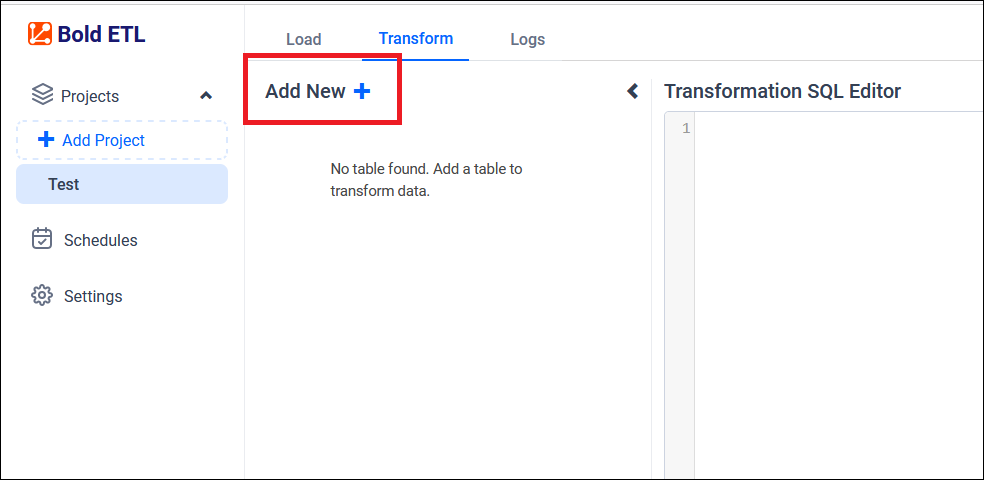
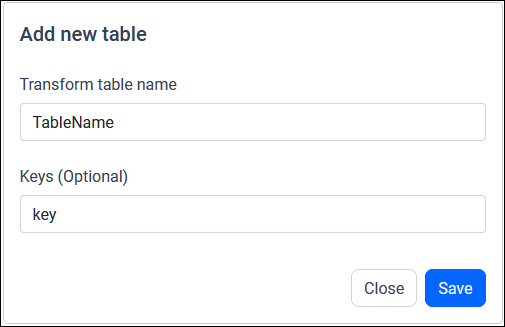
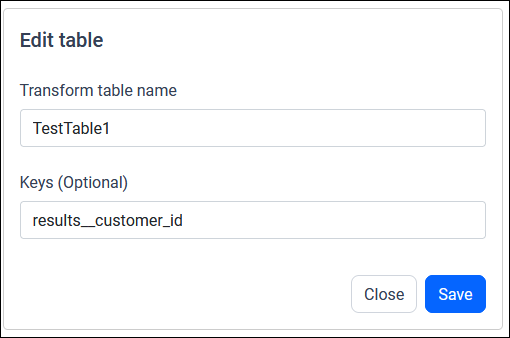
Click on Add New to create a table in the destination using SQL scripts. The table name must be specified in the “Transform table name” text box. Optionally, primary key values can be specified in a comma-separated format.
If the Data Store settings are PostgreSQL, Apache Doris, or MySQL, the data will be moved to the DuckDB under the {project_name} schema first and transformed into a Bold ETL Data Store. For example, if the project name is test, the data will be moved under the ‘test’ table schema.
If the Data Store settings are MSSQL, data will be moved to the MSSQL destination DB under the {project_name} table schema.
Sample Transformation scripts:
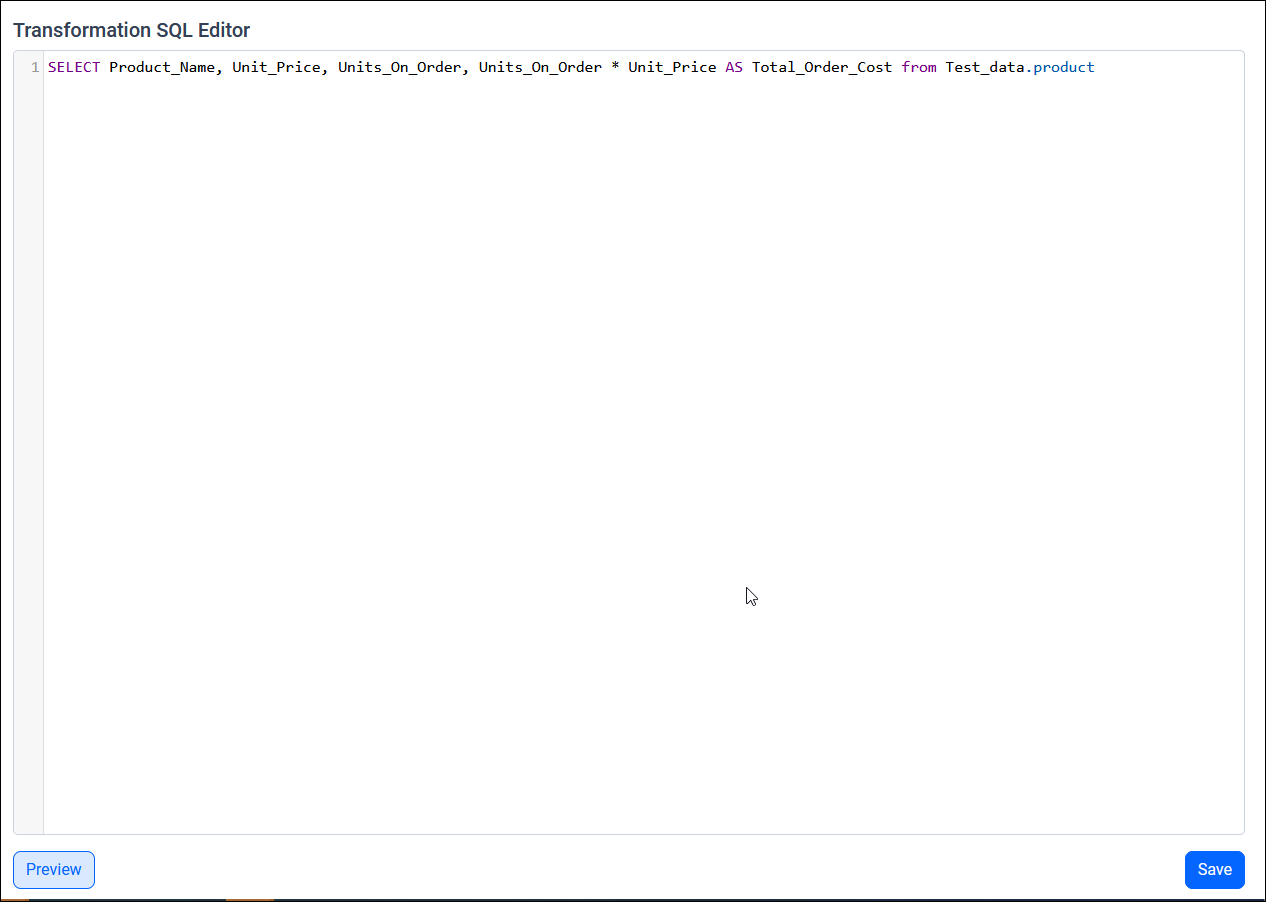
Preview
Click on Preview to view the data with a limit value of 10.
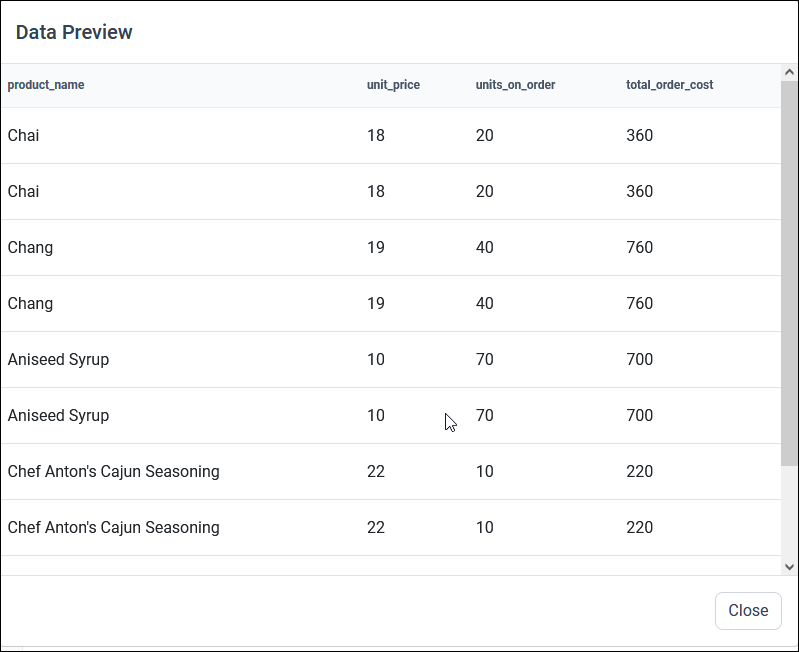
Note: The preview option only works after the source table data has been moved to destination database.
In the Transform section, users have the capability to incorporate multiple tables into their projects. They are also able to rearrange the sequence in which the transform tables are executed, as well as reuse these tables for future analyses.

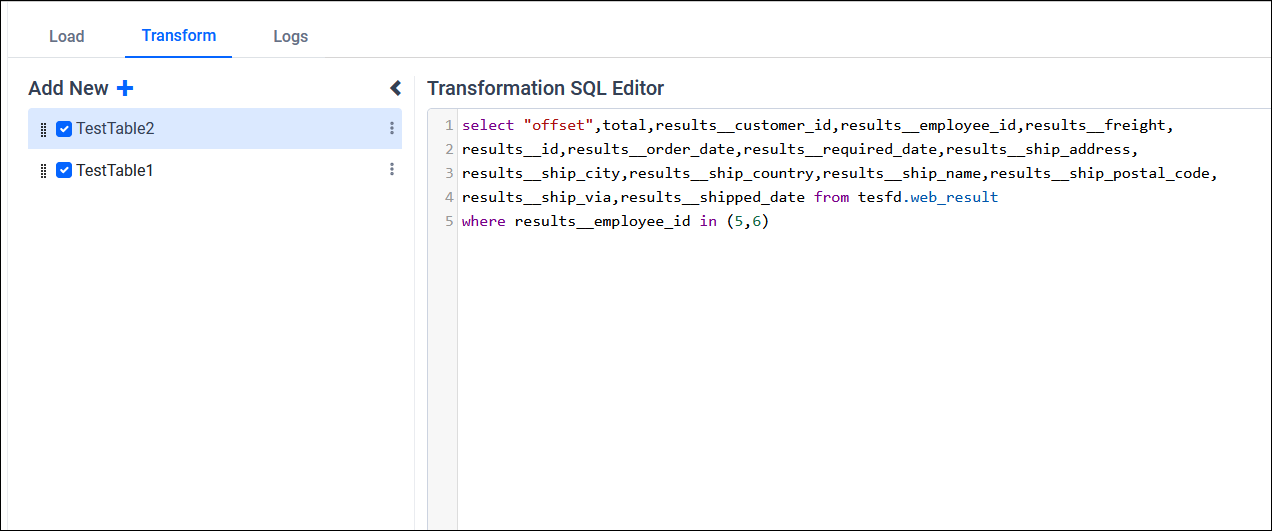
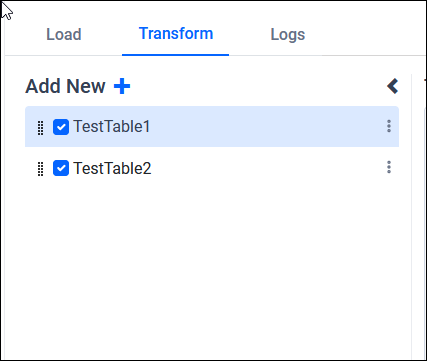
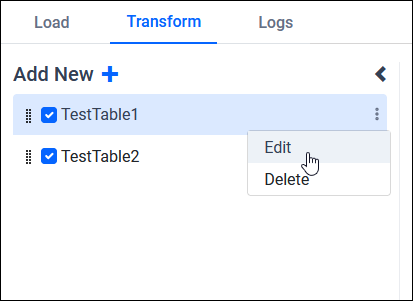
When users desire to incorporate Primary keys into the transform tables, they should input the primary key values during the process of adding or editing the tables.
After finishing the transformation, users should click the Save button. To execute the project, navigate to the Load tab, save the project again, and then select the Run Now option on the schedule page. The tables will be transferred to the destination database during this process.