Zendesk Chat:
Grab Subdomain:
Log into Zendesk to find your subdomain in the URL. For example, for www.yourhub.zendesk.com, the subdomain is yourhub.
Grab Zendesk Chat OAuth token:
- Access Zendesk Chat directly or through the “Chat” option located in the top right corner of the Zendesk product.
- Navigate to “Settings” > “Account” > “API” > “Add API client”.
- Fill in the client name, company, and redirect URLs (default:
http://localhost:8080). - Record the “CLIENT_ID” and “SUBDOMAIN”.
- Format the following URL with your own CLIENT_ID and SUBDOMAIN, paste it into a new browser tab, and press Enter.
- The call will be made, possibly prompting you to log in and select ‘Allow’ to generate the token.
- If the call is successful, your browser’s address field will display your new OAuth token (returned as the
access_tokenvalue). - Despite any error messages in the browser’s main window, if ‘access_token’ appears in the browser’s URL field, then the process was successful.
- Safely store the OAuth token for authentication purposes when retrieving data from Zendesk Chat.
- Additional methods for obtaining a Zendesk chat token can be found in the full documentation provided here.
Connection Properties:
In the YAML file, the config section contains the following properties:
Connectorname: Zendesk
subdomain: Zendesk sub-domain
Oauth_token: OAuth token
Metadata Properties:
This section defines the mode of data refresh. There are two modes: INCREMENTAL and FULL_TABLE. It only supports columns with DateTime data types.
| INCREMENTAL |
|
This mode fetches data from the date column specified in the replication key starting from the date specified in the replication value. Once scheduled, the replication value is updated according to the interval_type and interval_value from the imported data. For example, if the interval_type is set to 'year' and the interval_value is set to '1', the first schedule will fetch records from January 1, 2000 to December 31, 2000. In the next schedule, it will fetch records from January 1, 2001 to December 31, 2001, and so on. |
| FULL_TABLE |
|
This mode fetches data from the date column mentioned in the replication key from the start date as mentioned in the replication value. Once it is scheduled, the replication value is updated based on the interval_type and interval_value from the imported data. For ex set interval_type as 'year' and intervalue value as '1'.In first schedule, will fetch the record from Jan 1, 2000 to Dec 31, 2000. In next schedule, will fetch the record from Jan 1, 2001 to Dec 31, 2001 and so on. |
Examples:
INCREMENTAL:
version: 1
encrypt_credentials: false
plugins:
  extractors:
    - name: zendesk_data
      connectorname: zendesk
      config:
        subdomain: <SUBDOMAIN>
        Oauth token: <OAUTH TOKEN>
      Select:
        - TABLE1
        - TABLE2
      metadata:
        TABLE1:
          replication_method: FULL_TABLE
          replication_key: last_modified_on
          replication_value: '2023-07-19 00:00:00'
        TABLE2:
          replication_method: FULL_TABLE
          replication_key: last_modified_on
          replication_value: '2023-07-19 00:00:00'
FULL_TABLE:
version: 1
encrypt_credentials: false
plugins:
extractors:
- name: zendesk_data
connectorname: zendesk
config:
subdomain: <SUBDOMAIN>
Oauth token: <OAUTH TOKEN>
Select:
- TABLE1
- TABLE2
metadata:
TABLE1:
replication_method: FULL_TABLE
replication_key: last_modified_on
replication_value: '2023-07-19 00:00:00'
interval_type: days
interval_value: 6
TABLE2:
replication_method: FULL_TABLE
replication_key: last_modified_on
replication_value: '2023-07-19 00:00:00'
interval_type: days
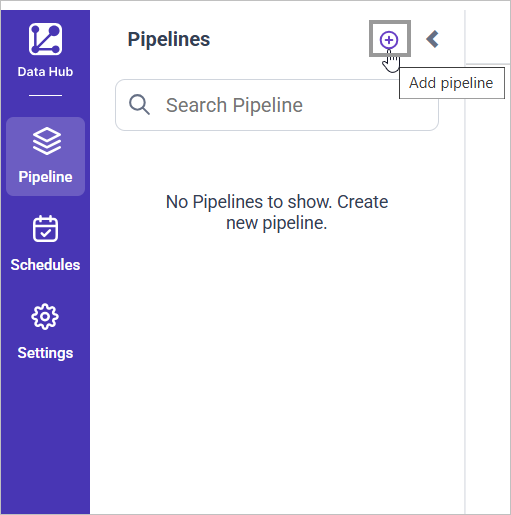
interval_value: 6Configure the Data Hub to connect Zendesk Chart
- To start, Click the
Bold Data Hubicon on the Navigation Pane.

- Click
Add Projectand provide the name for the new project.
- Select the newly created project and add the
Zendesk Charttemplate.

- Update the subdomain and OAuth token in the template. Also, Update the resources on the
selectproperty and save it to the Reports Data Store.

- Creating a Pipeline in Bold Data Hub automatically creates a Data Source in Bold Reports®. The Bold Reports® Data Source is a live data source to the destination database used in Bold Data Hub.
Warning:
1. The `Encrypt_Credentials` property should be set to false when updating the new access token on the template. If you have modified other properties, such as 'select' or 'account id', the `Encrypt_Credentials` property must be set to true.
2. The default lifetime of the access token is 1 hour. Therefore, you need to convert it to a long-lived access token in order to use the same token for 60 days. Existing tables should be maintained even if the token has expired or is being used as an invalid token.
Schedule Data Hub Job
- To configure interval-based scheduling, click on the schedules tab and select the created pipeline and click on the schedule icon and configure it.


- For on-demand refresh, click
Run Nowbutton.
 .
.
- The Schedule history can be checked using the history option as well as logs.
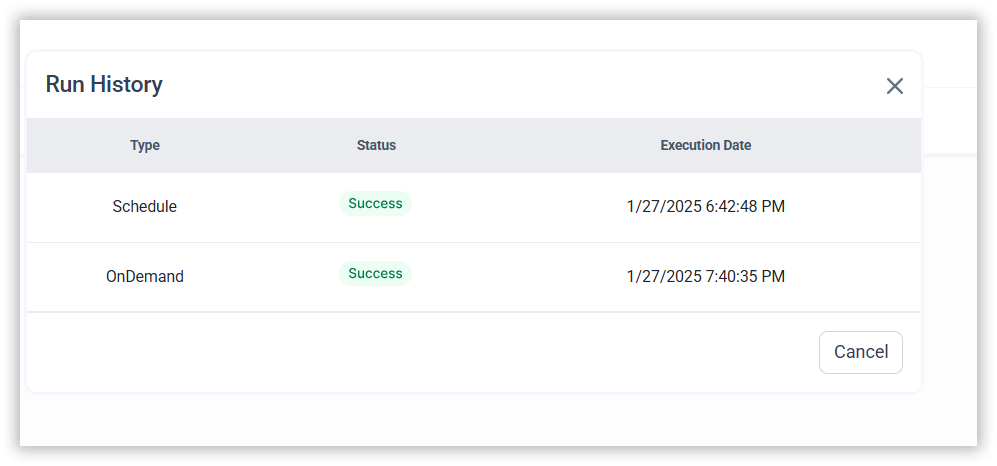
- Click on Logs to see if the run is completed and data source is created in Bold Reports®.

- Click
Edit DataSourceOption to view the created tables.
CONTENTS
CONTENTS
Thank you for your feedback and comments.We will rectify this as soon as possible!