SQLite Source
SQLite is a lightweight, file-based database used for storing and managing data locally. It’s easy to use and perfect for small to medium datasets, making it ideal for quick setup and offline analysis.
Connect to a SQLite Database File
To connect to a SQLite database file in Bold Reports®, follow these steps:
- Make sure your .db or .sqlite file is ready and accessible.
- In Bold Reports®, go to the Data Hub section.
- Choose SQLite from the available connectors.
- Browse and select your SQLite database file.
- Test the connection and proceed to import your data.
Connection Properties
The config section in a YAML file includes the following properties:
filePath: Path to your SQLite database file (e.g., `.db` or `.sqlite`)Example Configuration
version: 1.0.1
encrypt_credentials: false
union_all_tables: true
add_dbname_column: false
plugins:
  extractors:
    - name: SQLite
      connectorname: SQLite
      schemaname:
      config:
        filePath: <Path-to-your-SQLite-file>
      properties:
      metadata:
      select:
        - tablename
Configure the Data Hub to connect SQLite
- To start, Click the
Bold Data Hubicon on the Navigation Pane.

- Click
Add Pipelineand provide the name for the new pipeline.
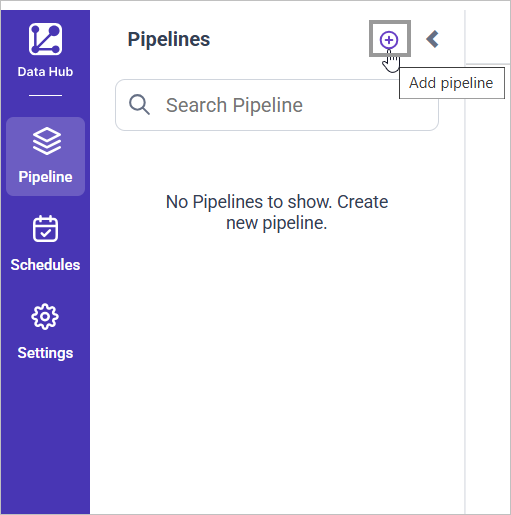
- Select the newly created pipeline and choose the SQLite connector. Double click or Click on Add Template option to add template.

Configuration Parameters
| Parameters | Description |
|---|---|
| File Path: | Provide the full local path to your SQLite database file (e.g., .db, .sqlite). |
| Select: | Tablename(s): Provide one or more table names from which to load data in the BigQuery dataset. |
- Click the “Upload File” button to upload your credentials Json file

- Copy the filepath and replace in credentials_path property. If it’s an Json file.


- Click Save and choose the desired destination to save the pipeline.

- Creating a Pipeline in Bold Data Hub automatically creates a Data Source in Bold Reports®. The Bold Reports® Data Source is a live data source to the destination database used in Bold Data Hub.

Schedule Data Hub Job
- To configure interval-based scheduling, click on the schedules tab and select the created pipeline and click on the schedule icon and configure it.


- For on-demand refresh, click
Run Nowbutton.
 .
.
- The Schedule history can be checked using the history option as well as logs.
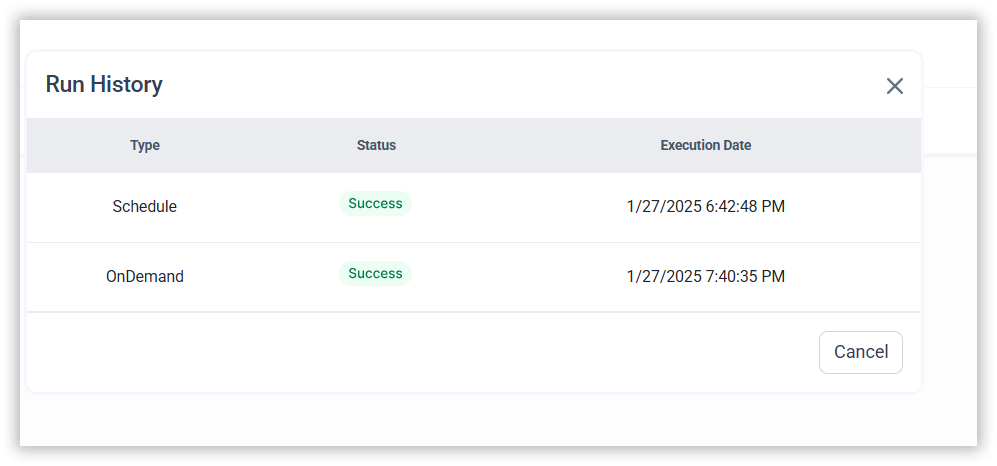
- Click on Logs to see if the run is completed and data source is created in Bold Reports®.
- Click
Edit DataSourceOption to view the created tables.
Thank you for your feedback and comments.We will rectify this as soon as possible!