OneDrive Source
OneDrive is a cloud-based file storage service from Microsoft that allows users to store, sync, and share files securely. In Bold Data Hub, the OneDrive connector enables you to access data stored in your OneDrive documents, for powerful and interactive dashboards.
Grab OneDrive Account Credentials
To obtain API credentials, follow these steps:
- Sign in to the Azure Portal.
- Go to Azure Active Directory > App registrations.
- Click New registration to create an app and Enter a name, choose account type, and add redirect URI (if needed).
- Generate credentials:
- Go to API permissions > Add a permission.
- Choose Microsoft Graph > Delegated permissions like Files.Read, Files.Read.All, User.Read, Sites.Read.All, offline_access
- Go to Certificates & secrets > New client secret > Add and copy the value.
- In Overview, copy Client ID and Tenant ID.
- Use Client ID, Tenant ID, and Client Secret in Bold Reports® to connect OneDrive.
Connection Properties
The config section in a YAML file includes the following properties:
connectorname: Onedrive
client_id: <>
client_secret: <>
tenant_id: <>
file_path: <>
Example Configuration
version: 1.0.1
destination:
plugins:
  extractors:
    - name: Onedrive
      connectorname: Onedrive
      config:
        client_id: <>
        client_secret: <>
        tenant_id: <>
        file_path: <>
Configure the Data Hub to connect OneDrive
OAuth Authentication with OneDrive
- Double Click on the connector, which will prompt a Authentication Setup window.

- Fill the Client ID and Client Secret and click Ok.

-
Click on Allow in the authorization window to accept the scopes requested by Bold DataHub.
-
Update the Tenant ID, File Path, client ID and client secret in the template. Also, Update the resources on the
propertiesproperty and Click Save and choose the desired destination to save the pipeline.

- Creating a Pipeline in Bold Data Hub automatically creates a Data Source in Bold Reports®. The Bold Reports® Data Source is a live data source to the destination database used in Bold Data Hub. For more information on the relationship between Bold Data Hub Pipeline and the associated Data Sources in Bold Reports®.

Schedule Data Hub Job
- To configure interval-based scheduling, click on the schedules tab and select the created pipeline and click on the schedule icon and configure it.


- For on-demand refresh, click
Run Nowbutton.
 .
.
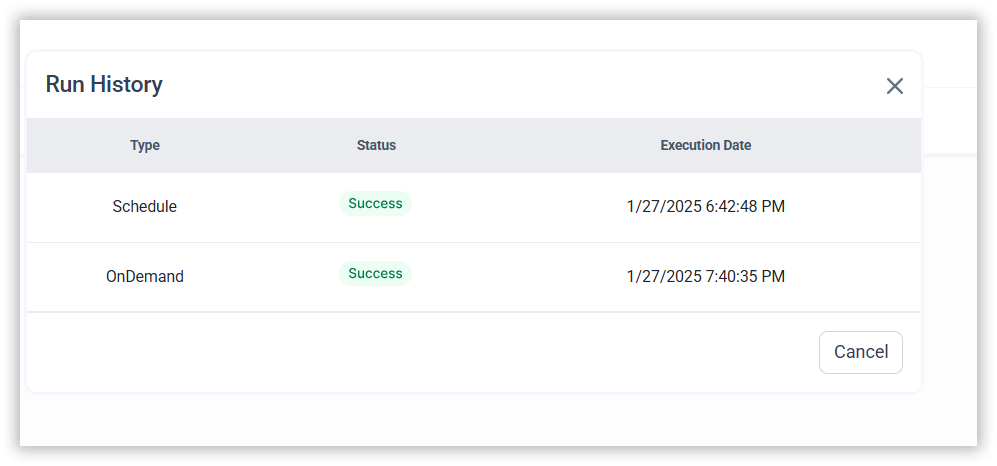
- The Schedule history can be checked using the history option as well as logs.
- Click on Logs to see if the run is completed and data source is created in Bold Reports®.
- Click
Edit DataSourceOption to view the created tables.
Thank you for your feedback and comments.We will rectify this as soon as possible!