Report Part
This section explains how to create Report Parts directly from the server and explores the options available in the published Report Parts.
-
Click on the
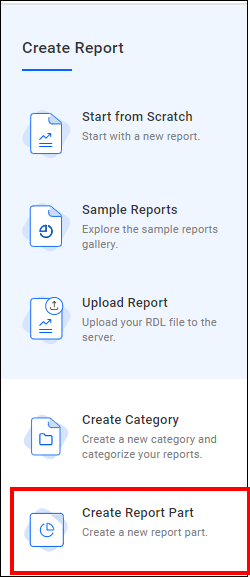
+icon in the left menu and then selectCreate Report Part.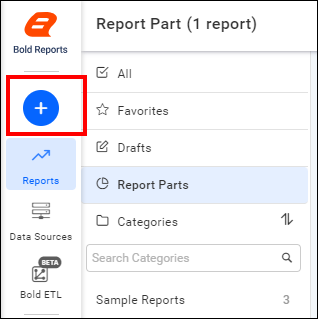
-
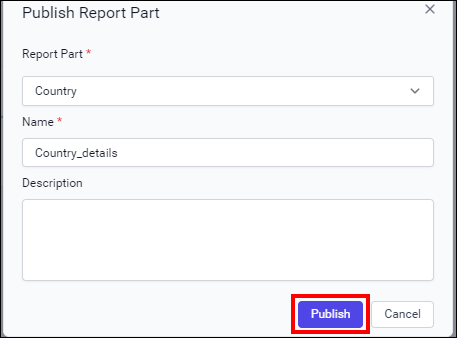
Enter the report part name and then click the
Add and Designbutton.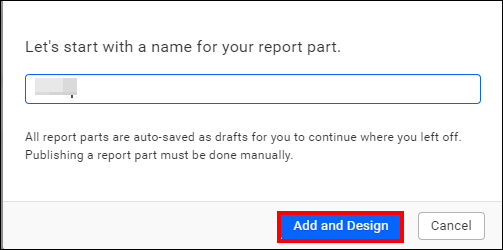
-
Now the report designer page will open. You can design and customize report items such as tables, charts, maps, indicators, and other elements.
-
After completing the design of your report elements, proceed by clicking the
Publishoption.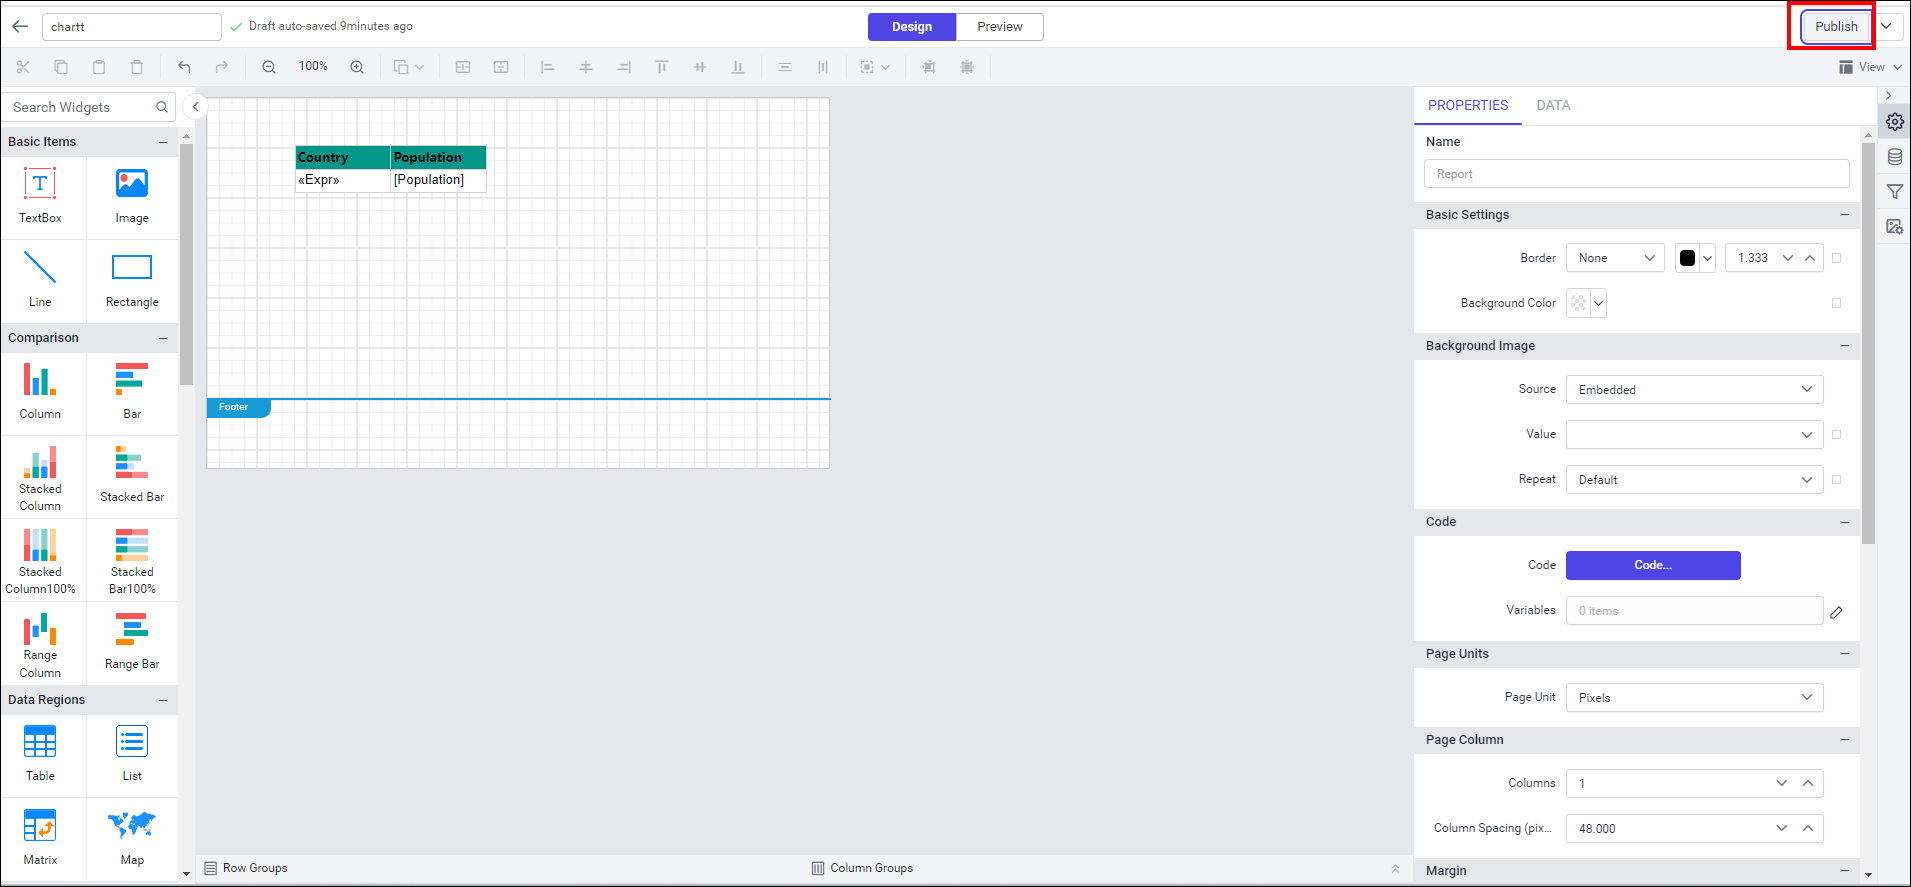
-
Published report parts can be viewed under the
Report Partssection.
-
Choose the
Editicon to edit the report part.
-
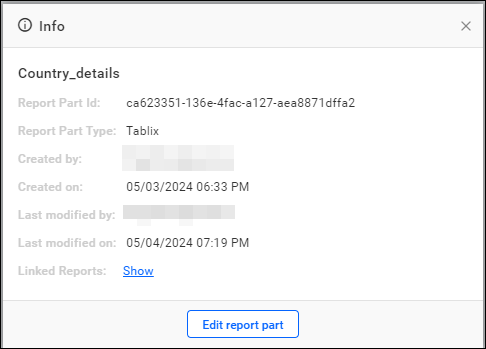
To view the Report Part Info, click on
Infoin the menu.
Report Part Info provides information about the Report Part id, Report Part Type, Created by, Created on, Last modified by, Last modified on, and Linked Reports.
-
Choose the delete option to delete the report part.

Note: To know more about it, refer to the section Report Parts.
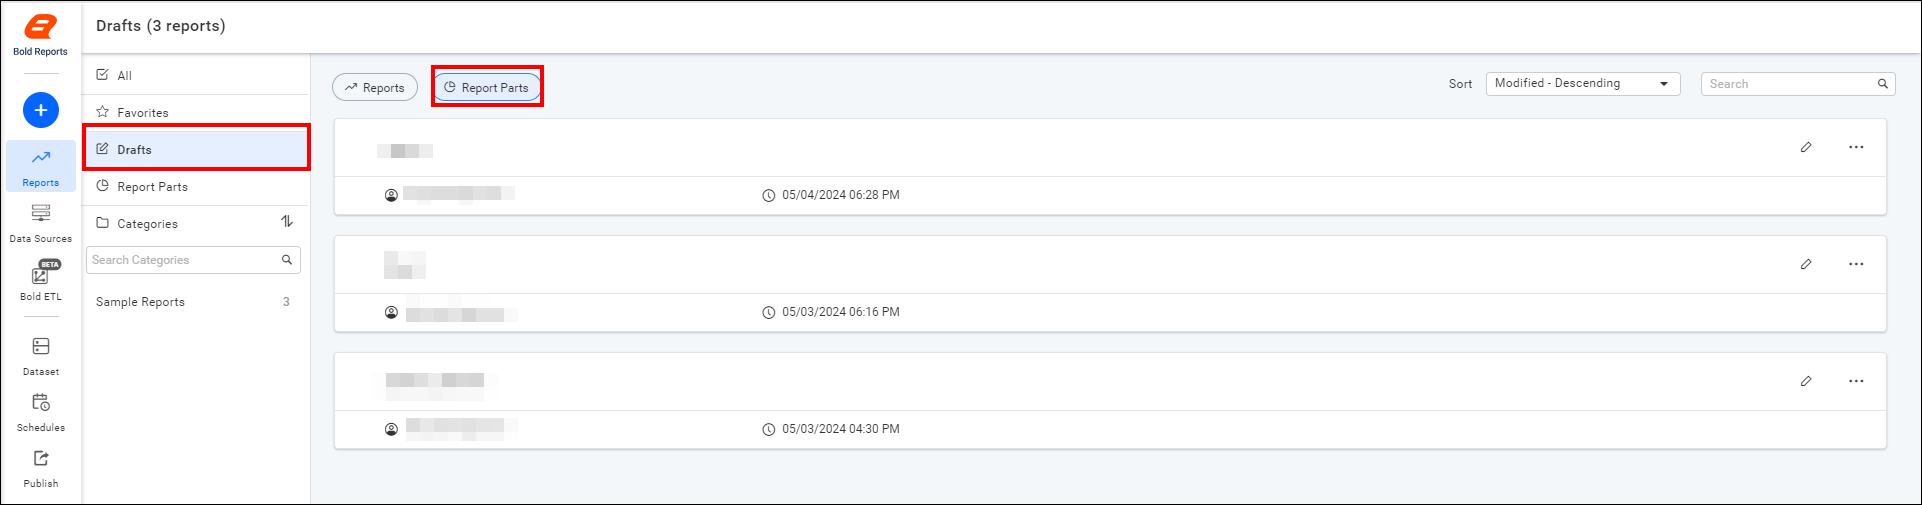
Draft Report Part
-
Unpublished Report Parts can be found under the
Report Partscategory in theDraftssection.