User Profile
This section describes the options available for users to view and manage their profiles. The options are:
- Profile details
- Security
- My permissions
- Personal Access Token
- Edit notification settings
- Forgot password
Profile details
You can view the profile, edit the profile details, and change the password.
View profile
To view your profile details, click the Profile icon located in the top-right corner of the Report Server menu bar.
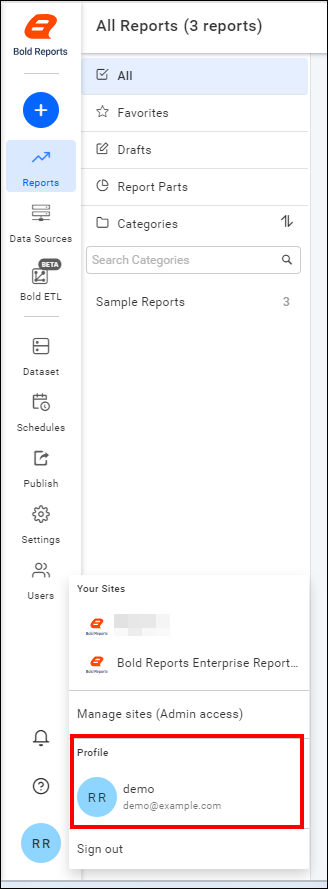
Edit profile
-
The user can edit their profile details in their Bold Reports® account. Click
Bold Reports Accountin the profile page.
-
You can edit and change the Username, First name, Last name, Phone number, and Profile picture of your account.

Upload Profile Picture
-
To update your profile picture, click the pencil icon on your profile, upload the image, and click save.

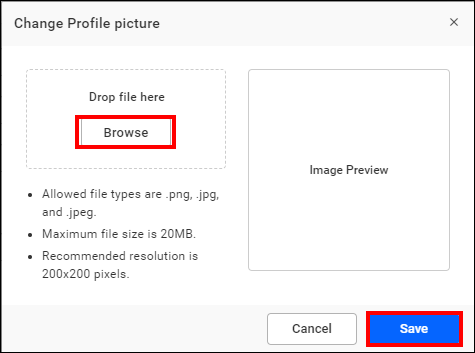
-
To delete your profile picture, click the delete icon on your profile and proceed with
Yes.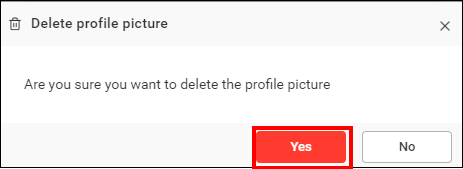
Account Preference
In account preference, set the language preference for your profile.

Security
In the Security section, update your password and enable 2FA for your account.
Change password
-
To change the user password to log in to the Report Server, click Change Password.

-
Set a new password, and then click Save.

Two Factor Authentication
Please refer to the Two-Factor Authentication Guide to learn about the implementation of 2FA in Bold Reports®.
Enable Two Factor Authentication
-
Go to the Two-Factor Authentication tab under the security section.
-
Click on Enable Two-Factor Authentication.
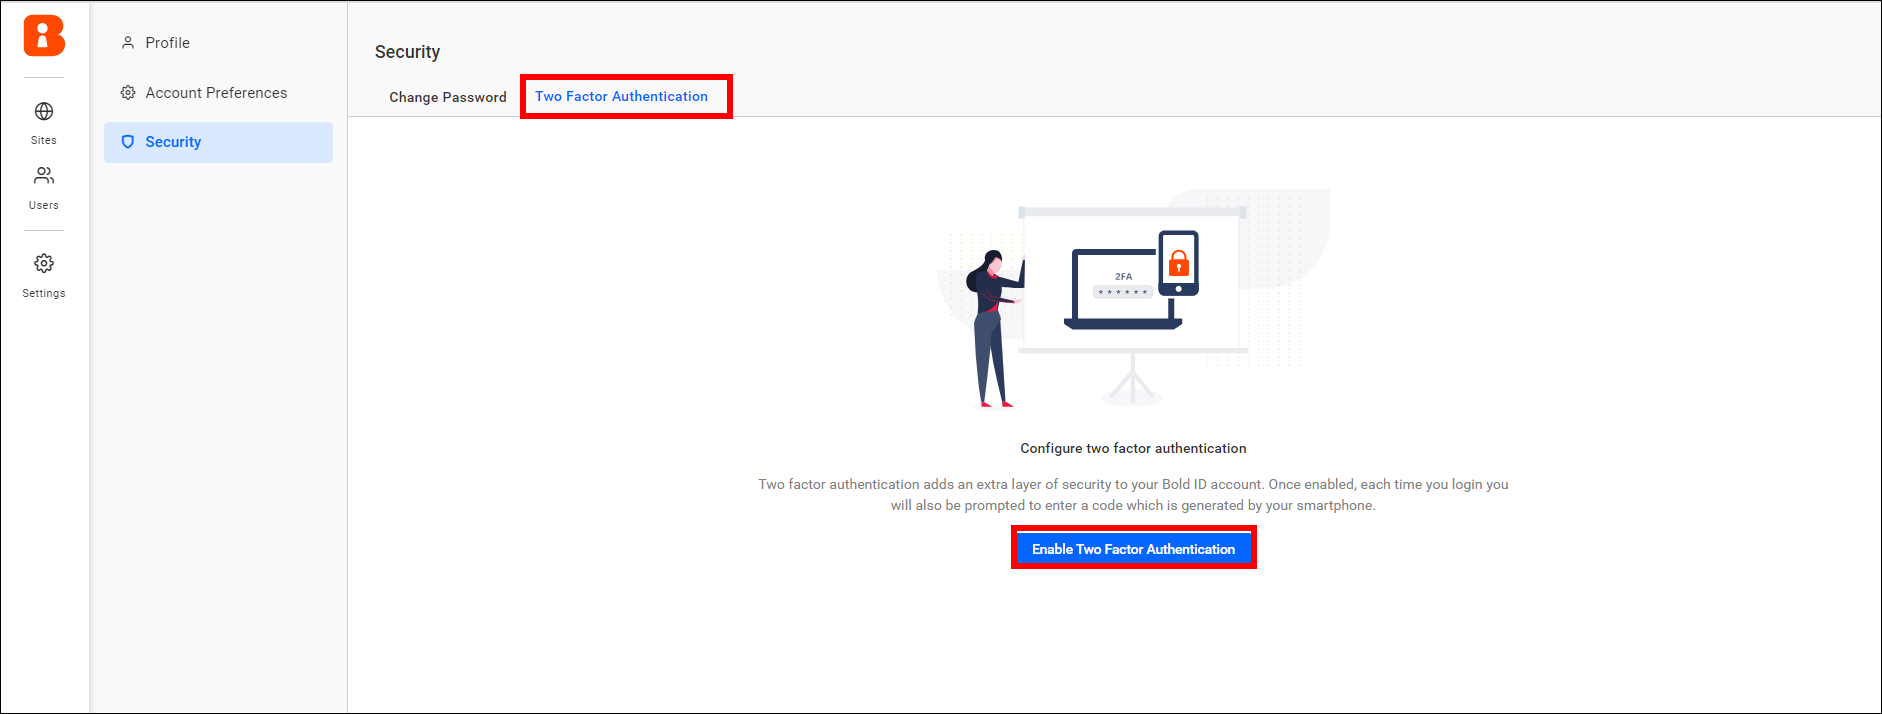
-
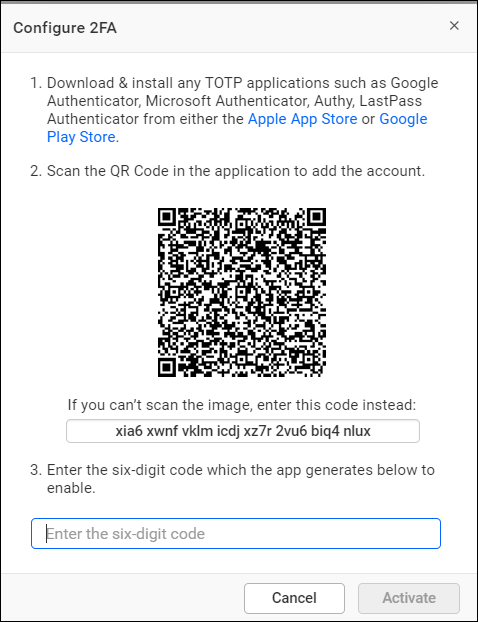
After that, using the authenticator application, you can either scan the QR code or manually enter the key shown under the QR code. This will add your user account to the authenticator application.
-
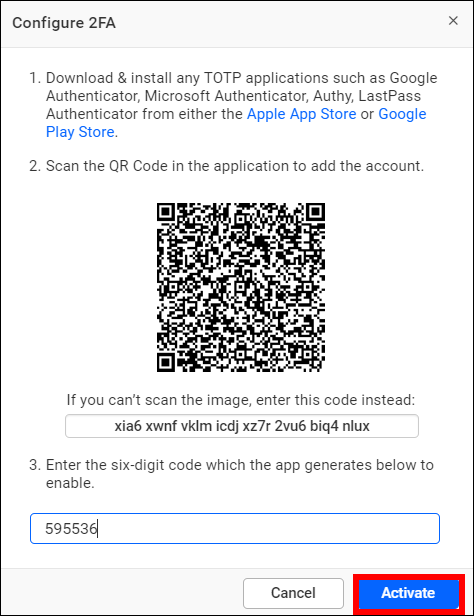
Enter the verification code shown in the authenticator application and click Activate.
-
After enabling it, 10 recovery codes will be generated. Copy the recovery codes and store them in a safe place.
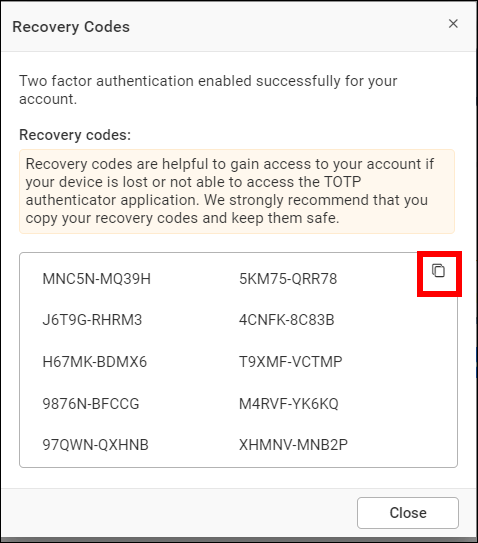
NOTE: Each recovery code can be used only once. To get new recovery codes, use the
Regenerate Recovery Codeoption in your profile.
Disable Two Factor Authentication
-
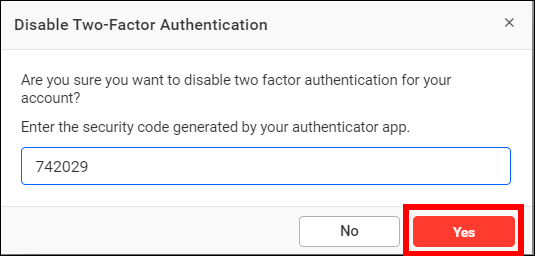
To disable 2FA, click on
Remove Two-Factor Authentication.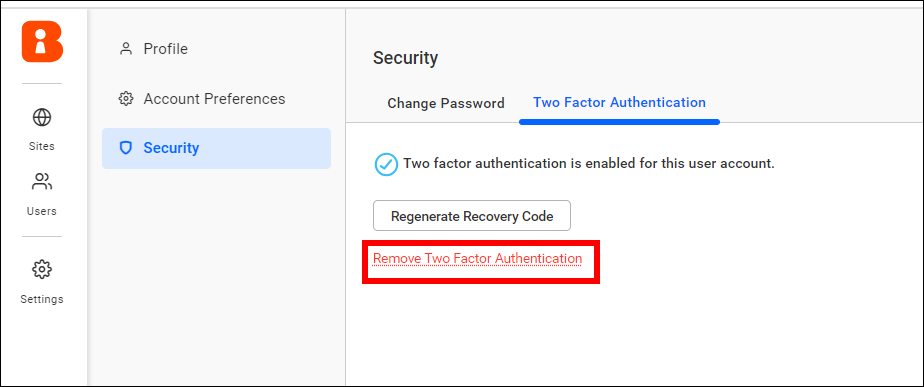
-
Enter the verification code shown in the authenticator application for the account and click yes.
My permissions
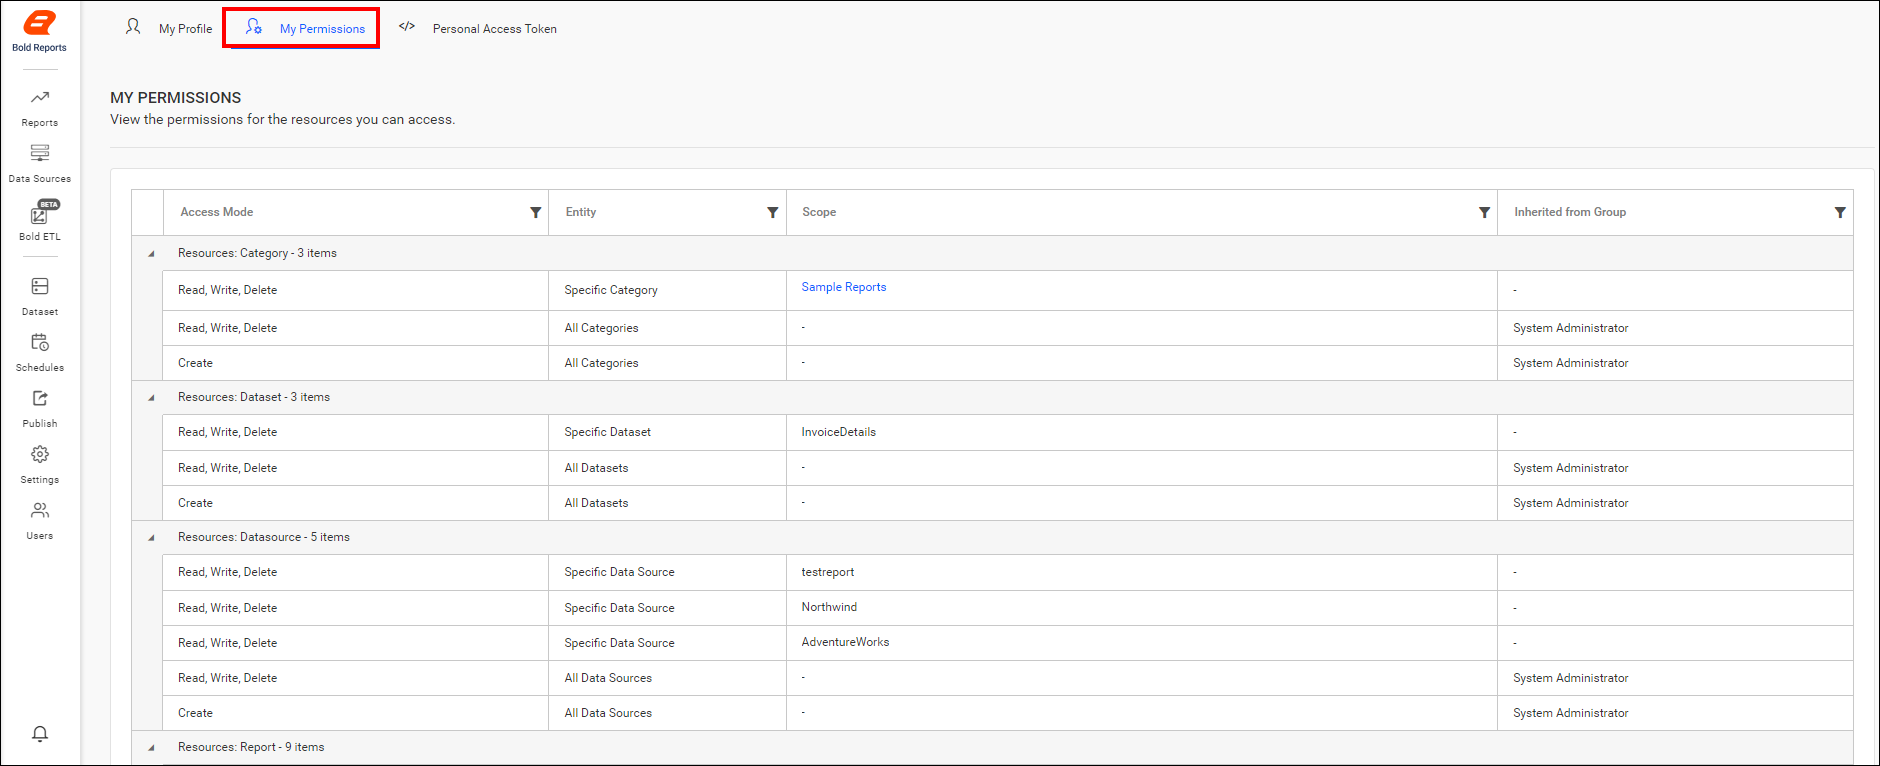
You can view your access permission list for each resources, such as reports, data sources, files, and schedules, in the Report Server.
Personal Access Token
Generally, authentication tokens can be used in API requests or other interactions with the Report Server to authenticate and authorize access to its resources. For more information on how to generate authentication token, please refer to the Generate Authentication Token Guide
Edit notification settings
Users can configure their own notification preferences and view/edit the following notification settings in the Report Server:
-
System notifications
-
Mail notifications
-
Auto watch for comments of created items.
-
Auto watch for comments of accessible items.

List of notifications
-
System notifications
-
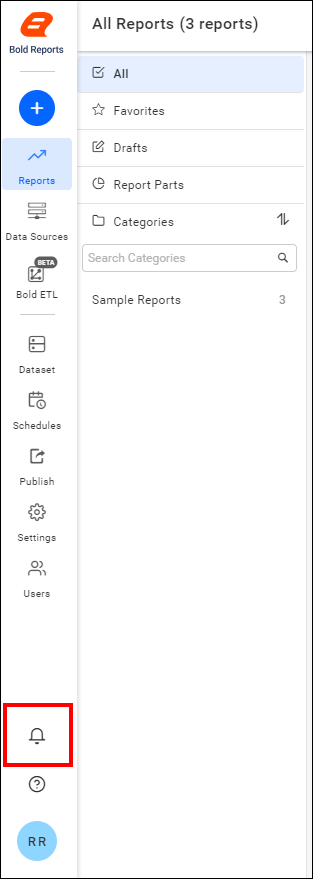
System notifications will appear near the user’s profile picture, as shown in the following image.
-
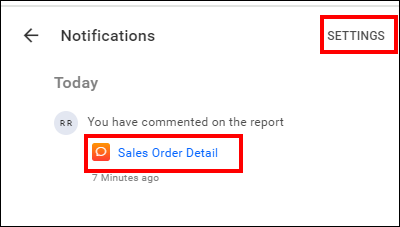
Users can navigate to the particular comment by clicking the report name in the notification section. To configure the user notification settings, users can navigate to the profile page by clicking settings.
-
-
Mail notifications
Enabling the mail notifications option will notify the users through email for comments, permissions, schedules, views, user(s), and group(s) (manual and schedule) synchronization, and user account activation.
-
Auto watch comments of created items
Enabling this will send notifications for comments on all the items created by users.
-
Auto watch comments of accessible items
Enabling this will send notifications for comments on all the items that are accessed by users.
-
Report schedule notification
By enabling or disabling the report schedule button, we can restrict the email notifications for scheduled reports.
-
User schedule notification
Enabling and disabling the user schedule button allows us to restrict the email notifications for admin users.
-
Specific watch
Apart from the auto-watch of newly created and accessible item settings, users can also watch an item specifically.
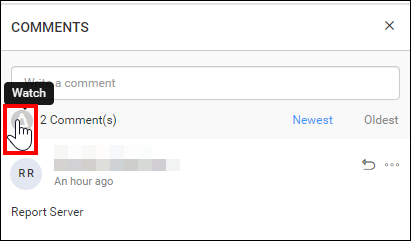
You can toggle between a watch and unwatch for a report comment at any time.
Inherit from global settings
If a user wants to inherit the same settings as those in the site notification settings, they can do so by enabling the Inherit from global settings option.

Forgot Password
If you have forgotten your password, you can reset it by following the steps below.
-
Click on the Cannot access your account? option on the login page.

-
Enter your email to receive the reset password link. After entering your email, click
Send recovery link.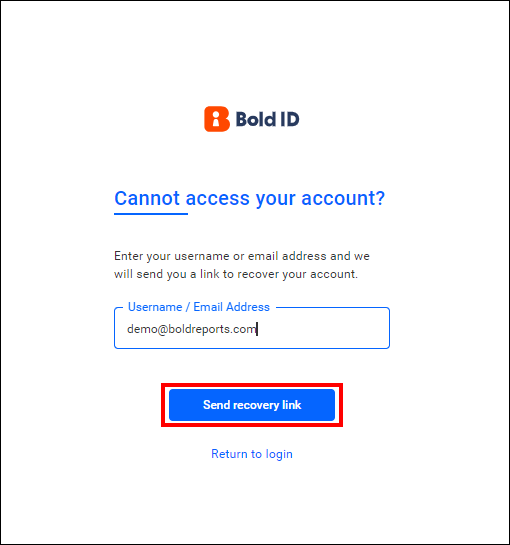
-
you will receive an email to reset the password.
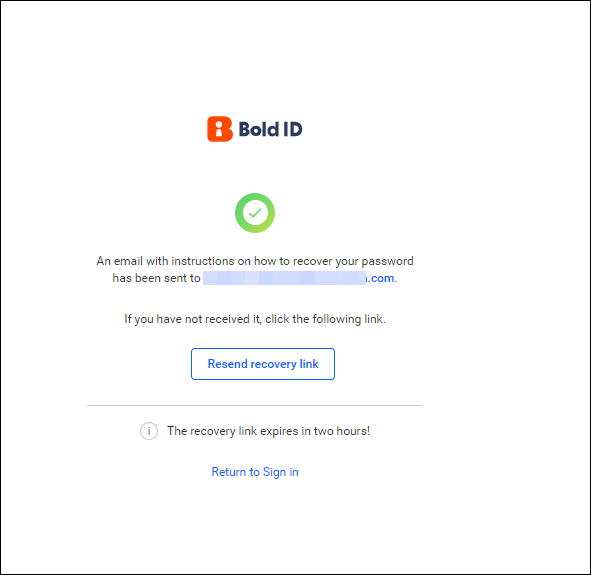
-
You can reset the password by clicking the link in the email you received.
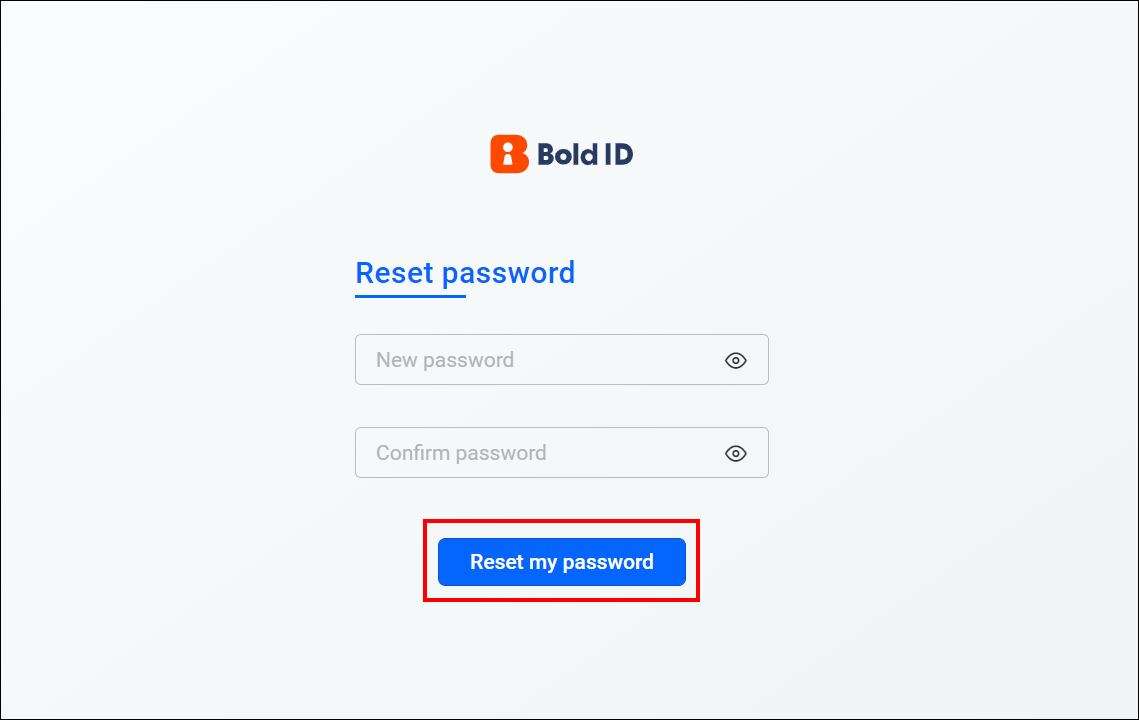
- Profile details
- View profile
- Edit profile
- Upload Profile Picture
- Account Preference
- Security
- Change password
- Two Factor Authentication
- Enable Two Factor Authentication
- Disable Two Factor Authentication
- My permissions
- Personal Access Token
- Edit notification settings
- List of notifications
- Inherit from global settings
- Forgot Password