Upgrading the Bold Reports® server to the latest version
This section explains how to upgrade the Bold Reports® Server from any version to the latest version.
Bold Reports® releases several major versions in a year. Each version includes new features, bug fixes, and other improvements.
The Bold Reports® Enterprise Edition can be manually upgraded to the latest version at any time, and there are no automatic updates for the Bold Reports® Server. Before upgrading, you can refer the features and enhancements in the Release Notes.
NOTE: Upgrading to the latest version does not require a license key. On the other hand, our services will retrieve the license in the backend after upgrading to the latest version.
Upgrading guidelines
Bold Reports® recommends that you follow the guidelines below when upgrading the Bold Reports® Server from an older version to the latest version.
- Save all the open settings and the unsaved items.
- Ensure no one is currently working with reports.
- Inform users about the maintenance time.
- For databases, make sure you have a valid network connection to the database while upgrading to the new version.
Backup the existing data
Before upgrading Bold Reports® to the latest version, make sure to take a backup of all the files and folders from the below location.
| Bold ID | {Deployed Location}\BoldServices\idp |
| Bold Reports® | {Deployed Location}\BoldServices\app_data |
Note: By default, Bold Reports® will be deployed in “C:\BoldServices”
Proceeding with the upgrade
Bold Reports® updates the database schema of your current version to the latest version. The upgrade process will retain all the resources and settings from the previous deployment.
You can download the latest version of the Bold Reports® Enterprise Edition under your account by visiting the Downloads Page.
Steps to upgrade Bold Reports® Enterprise Reporting
Run the Bold Reports® Enterprise Installer.
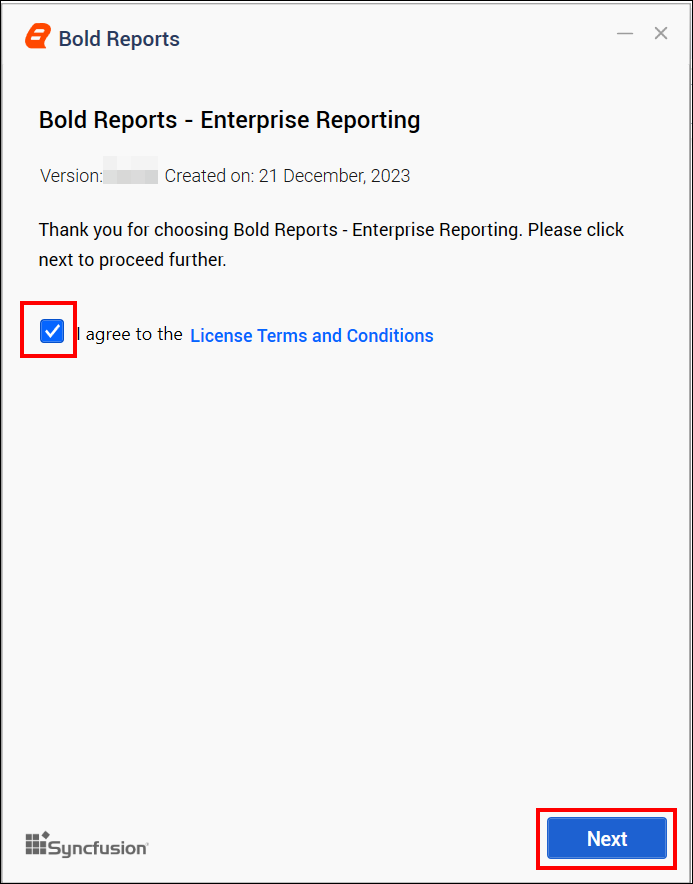
You can check the license agreement for Bold Reports® Enterprise Edition by clicking the License Terms and Conditions and proceeding by clicking the Next button.
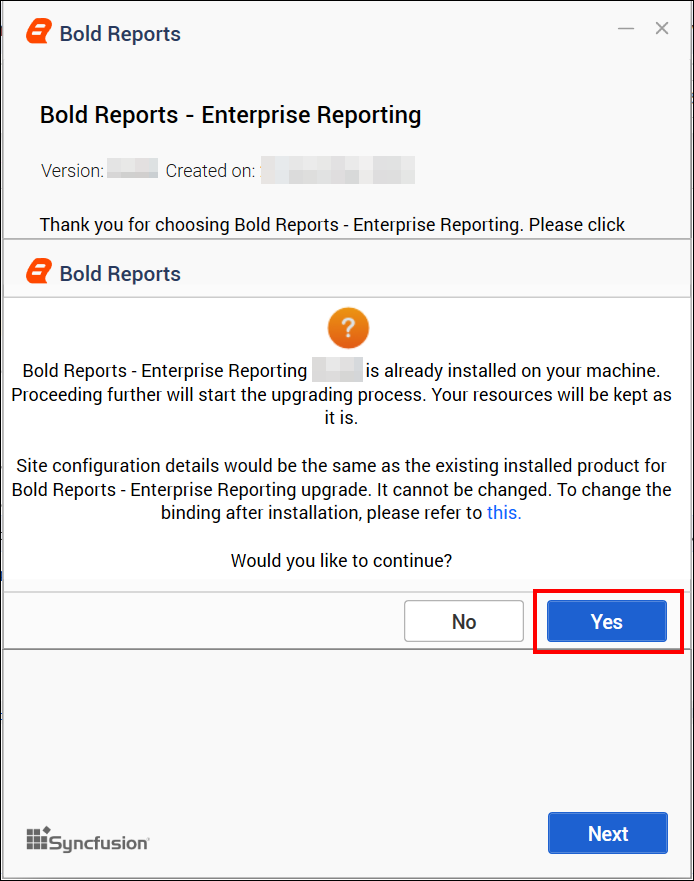
Then, the upgrading prompt will be shown; click Yes button to proceed with the installation.
Hosting type
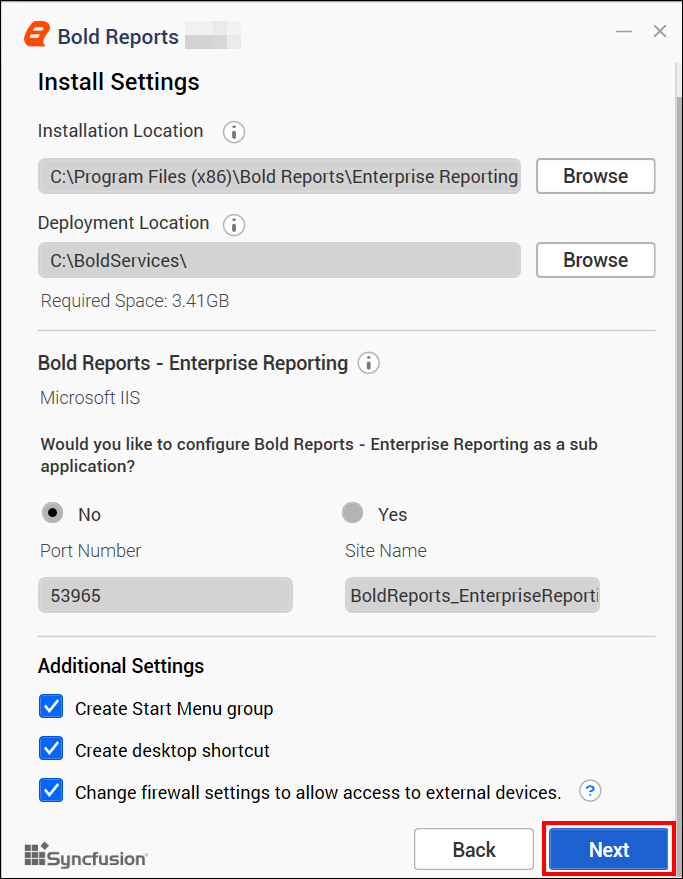
Then, click Next to upgrade the Bold Reports® Enterprise using the existing server hosting type, location, and port number.
Chromium Packages
Chromium packages are necessary to achieve image and PDF export functionalities in reports,schedules from Bold Reports®. Without these packages, the image and PDF export options in reports and schedules will no longer be available.
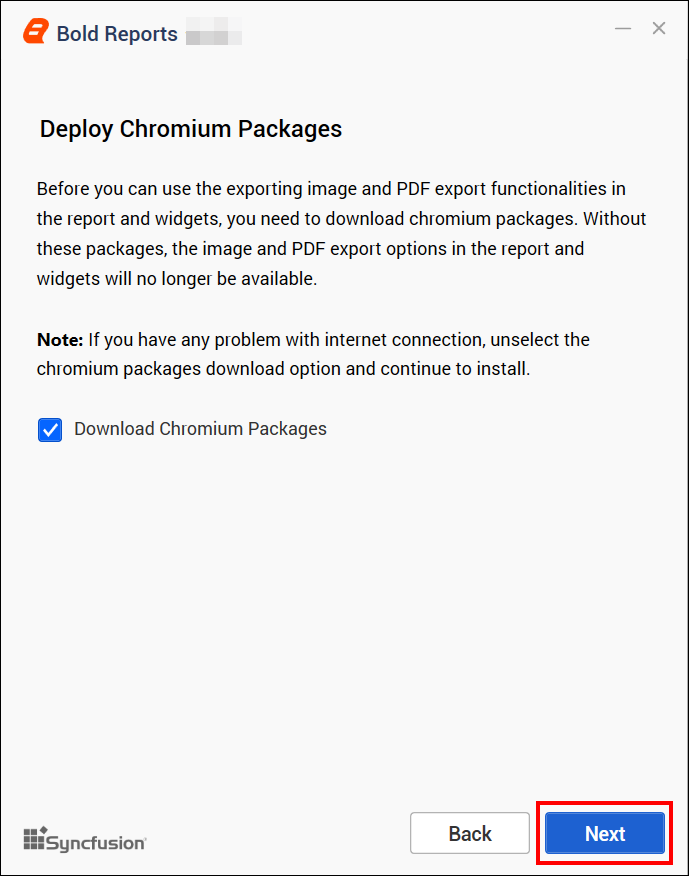
NOTE: Refer to the documentation to deploy chromium packages manually in Bold Reports®. Open the config.xml file at the location
{deployment_location}\app_data\reporting\configuration\config.xml, add the node as shown below, and then save the file.
<Exporting UsePuppeteer="true" PuppeteerPath="" />
Bold Data Hub
The Bold Data Hub application is designed to load data from various data sources into PostgreSQL, MSSQL, MySQL, and Apache Doris. It provides options to schedule the job at regular intervals to pull data from data sources. It supports transformation using SQL scripts. By default, Python 3 will be installed for Bold Data Hub.
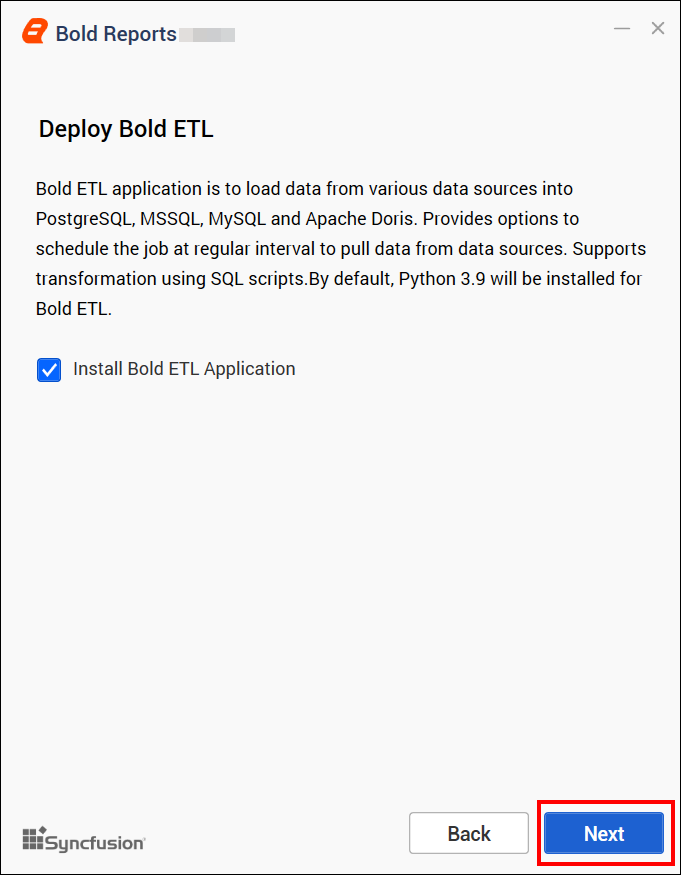
For Windows OS, Python 3.9 version is required along with Bold Reports® Enterprise Edition for Data Hub. If Python 3.9 version is already installed, please specify the Python path in
{Drive}:\BoldServices\etl\etlservice\appsettings.jsonand restart the app on the IIS server.
"PythonPath": "<Drive>:\\BoldServices\\Python39"Client libraries
Bold Reports® Enterprise Edition utilizes client libraries, such as Oracle, PostgreSQL, and MySQL, to connect with their respective SQL database variants. Please check the license of each library to provide consent for installation. Only the selected client libraries will be shipped with the product.
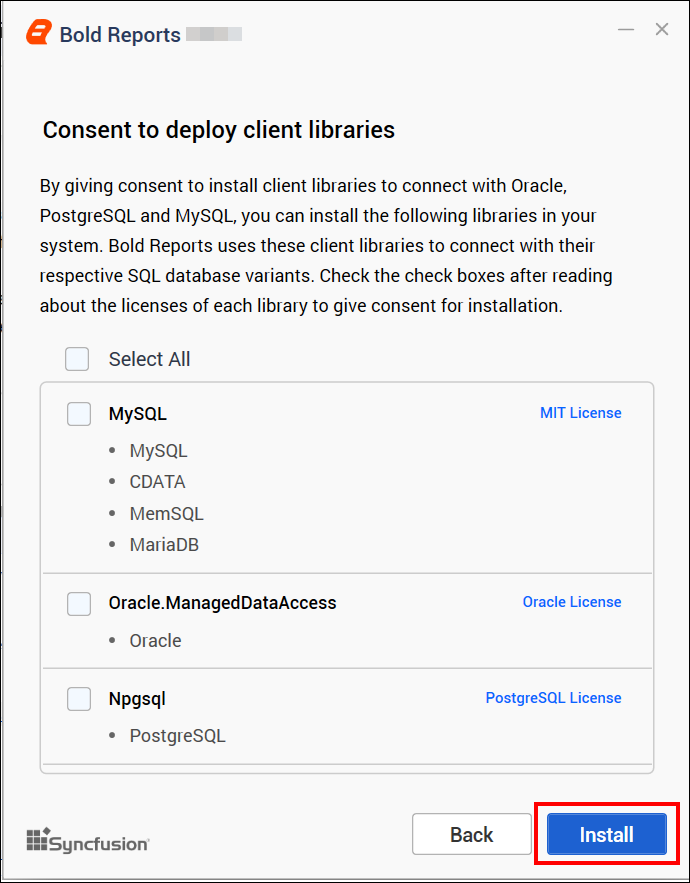
Read and accept the license to install the selected client libraries, and then click Install.
After the installation process is completed, you can launch the application by clicking Launch Application.
