OpenID Connect support in User Management Server
The User Management Server can be configured to support OpenID Connect for Single Sign-On (SSO), enabling users to log in directly to the User Management Server after authenticating using OpenID Connect.
Configure OpenID Connect provider
-
An account with an OpenID provider.
-
Register the User Management Server with the OpenID Connect provider.
Steps to configure OpenID in User Management Server
-
Log in to Bold ID with an admin credentials.
-
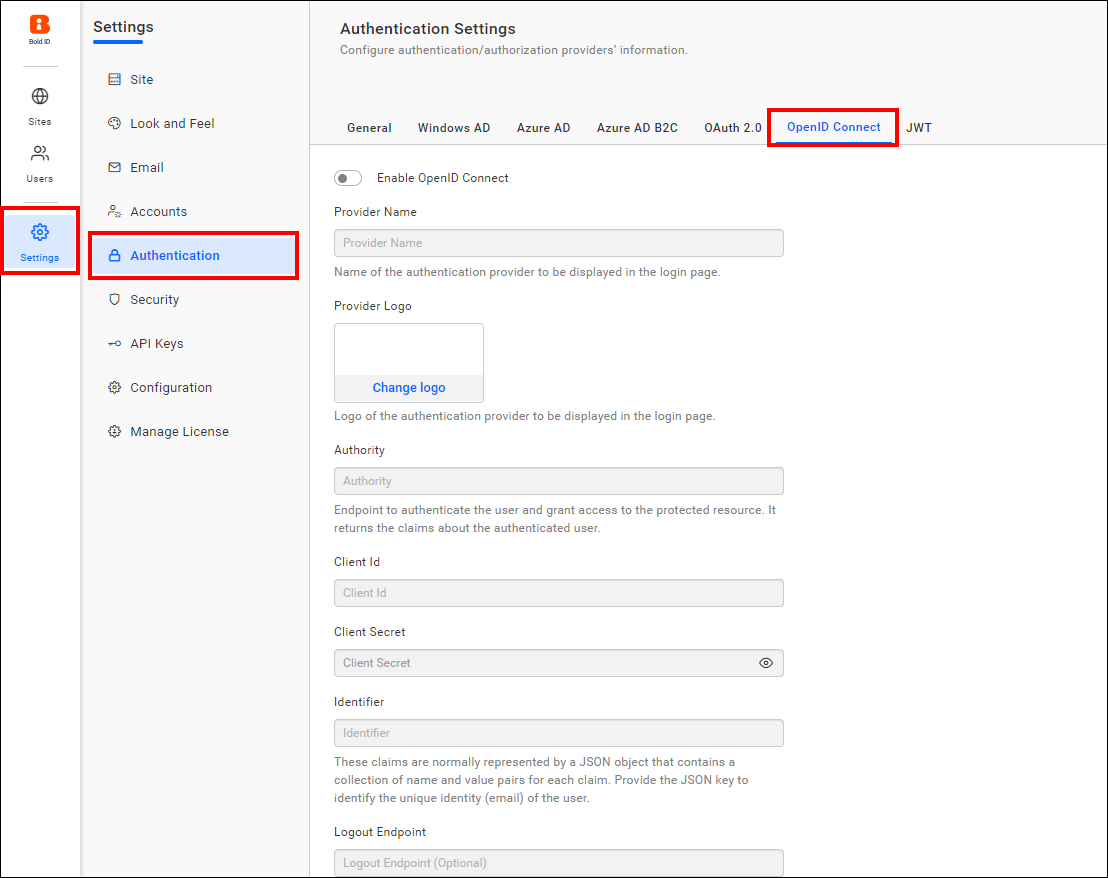
On the left side menu, navigate to
Settings, followed byAuthentication, and thenOpenID Connect.

-
Provide the following details in the
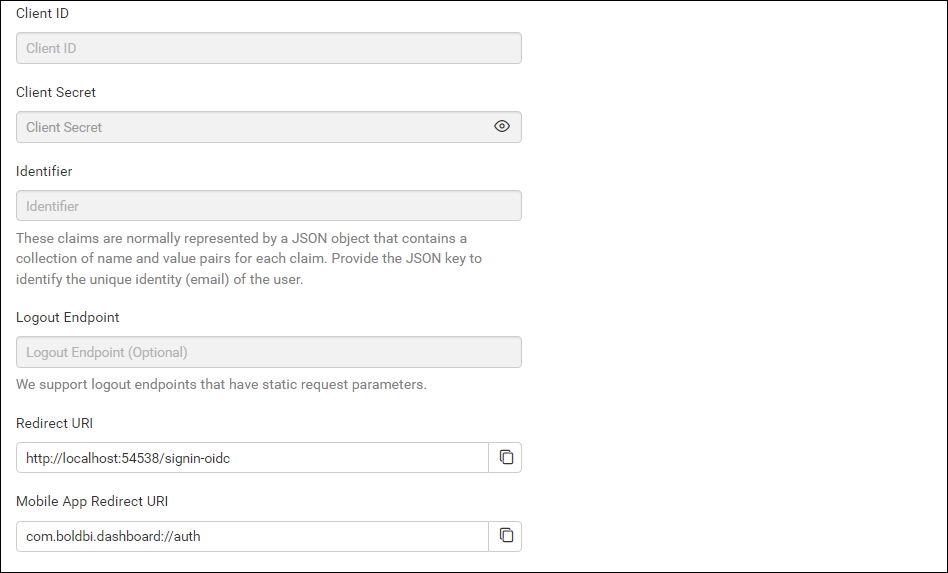
OpenID Connectsettings page of User Management Server.Provider Name It represents the name of the authentication provider that will be displayed on the login page. Provider Logo It represents the logo of the authentication provider that will be displayed on the login page. Authority It is the instance created for the user in the provider's environment. Client ID It is a unique identifier provided to each of the applications while registering with the providers. Client Secret It is a secret key that is used to authorize the applications. Identifier It is the property name that holds the user's email address in the deserialized ID token.
Note: Response type needs to chosen for group claims Authentication
Group Claims Authentication
This section allows automatic user and group mapping based on the group claim received in the authentication token. The claims are typically represented as a JSON object containing key-value pairs for each claim. Provide the appropriate JSON key to identify the group claim value.
| Enable User and Group Mapping | When enabled, the system fetches group claim values from the token and dynamically maps users to one or more groups during login. |
| Un-map Existing Groups of User and map to New Group | When enabled, all previously assigned groups for the user are removed, and the user is mapped only to the groups specified in the claim. |
| Group Claim Name | Enter the claim name that contains the group identifiers. Users will be mapped only if the group names in the claim match existing groups in the site. |

To import the OpenID Connect groups, you need to configure the group details when saving the OpenID authentication settings.

The following list of OpenID Connect providers explains how to connect with the User Management Server.
Set OpenID Connect as default authentication
OpenID Connect can be set as the default authentication when OpenID Connect settings are enabled.
Follow these steps to configure default authentication:
-
In the settings page, navigate to
Authenticationtab and selectGeneral. -
Enablethe Enable Default Authentication option and select OpenID Connect as default authentication provider, as shown in the following screenshot.
Disabling OpenID connect settings
Disabling the Enable Default Authentication option and then clicking Save will disable the OpenID Connect default authentication.
