SMTP Account
This section explains how to configure the email settings in the Bold Reports® Server to send emails using an SMTP account, including the configuration of SMTP details.
SMTP Email Settings are required to perform the following operations:
Account activation:Sending user account activation emails.Forgot password:Provide request links to reset passwords for users who have forgotten them.Reset password:Sending links to facilitate password resets.Schedule and deliver reports:Distributing exported reports to scheduled recipients.
The Bold Reports® Server requires the following SMTP details to send emails.
| SMTP Server | The SMTP server specifies the public IP address or provider that delivers the emails to the end user's mail box. |
| SMTP Port | The port number of the SMTP server may vary depending on the SMTP server and the connection type (SSL/TLS). | Sender Name | The name displayed on the email as the From name. |
| Sender Email Address | The email address displayed as the From email address in the recipient's email. |
| Authentication type | We support two types of authentication: 1.Basic Authentication: This default authentication type requires a username and password.2.Anonymous Authentication: You can choose this option if you have disabled authentication on your SMTP server. |
| Username | A valid username for the sender's email account is required for sending emails. |
| Password | The password of the sender's email account. |
| Enable SSL | If SSL is enabled, it will be used to connect with your SMTP server; otherwise, the connection will be made using TLS. |
Steps to configure SMTP account settings in Bold Reports®:
-
Navigate to the Settings option in the left-side panel of the Report Server and proceed to the
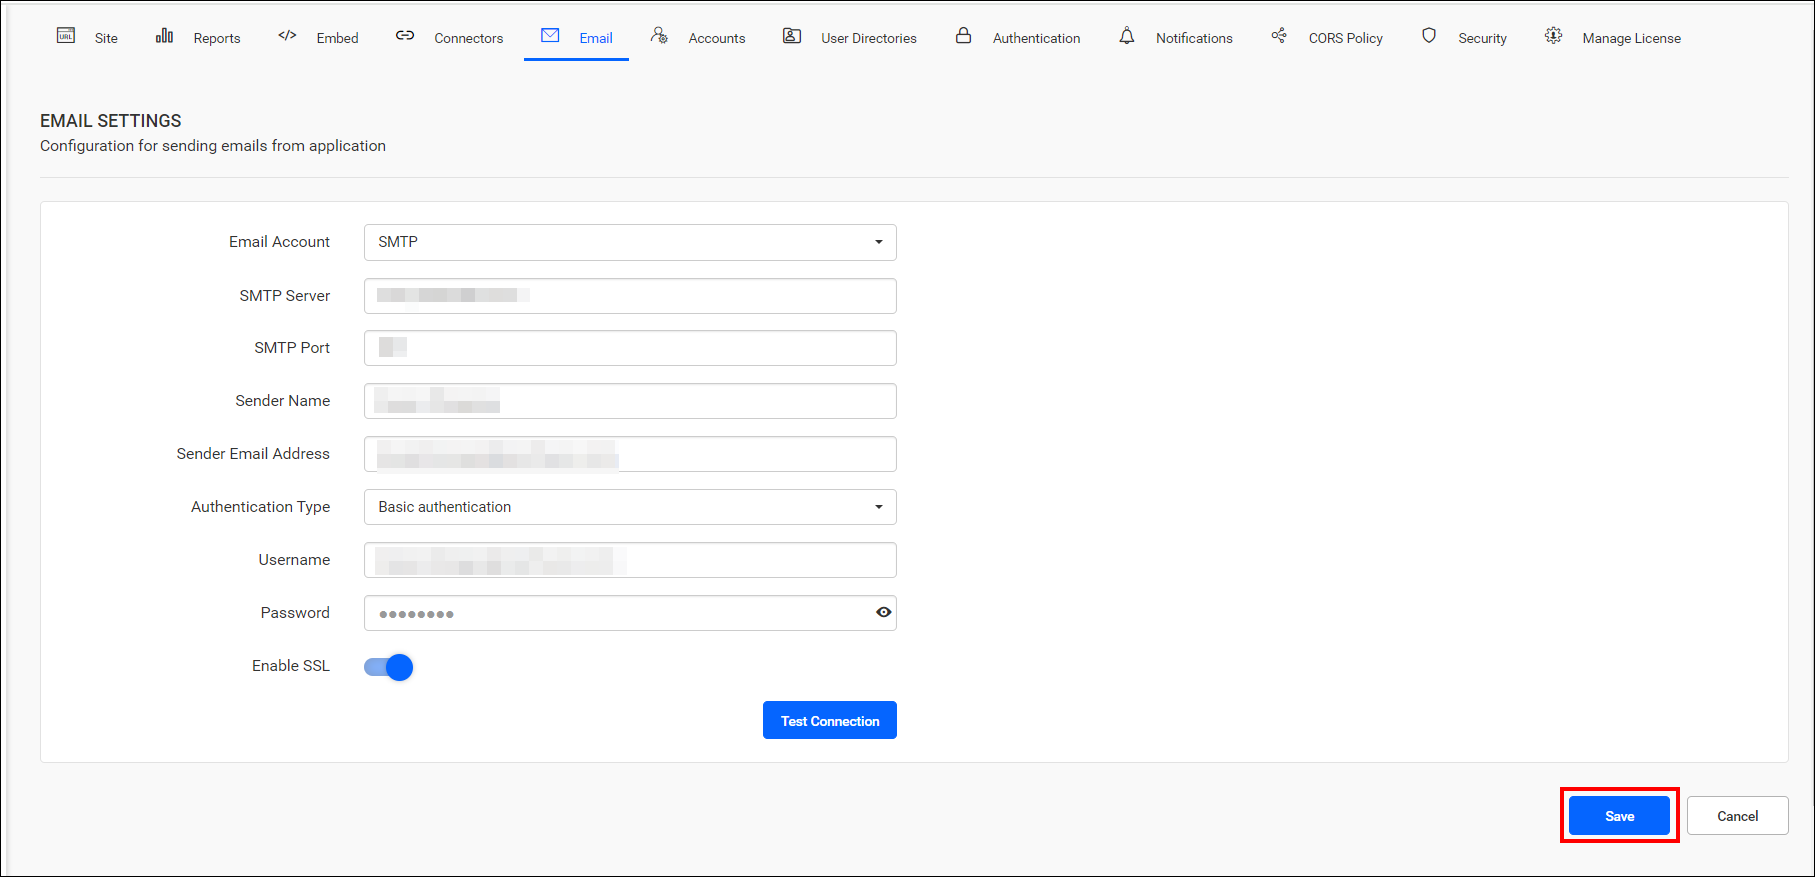
Emailtab as shown in the following image. You can also access this page directly using the URL -http://{domain}/reporting/site/site1/administration/e-mail-settings.
-
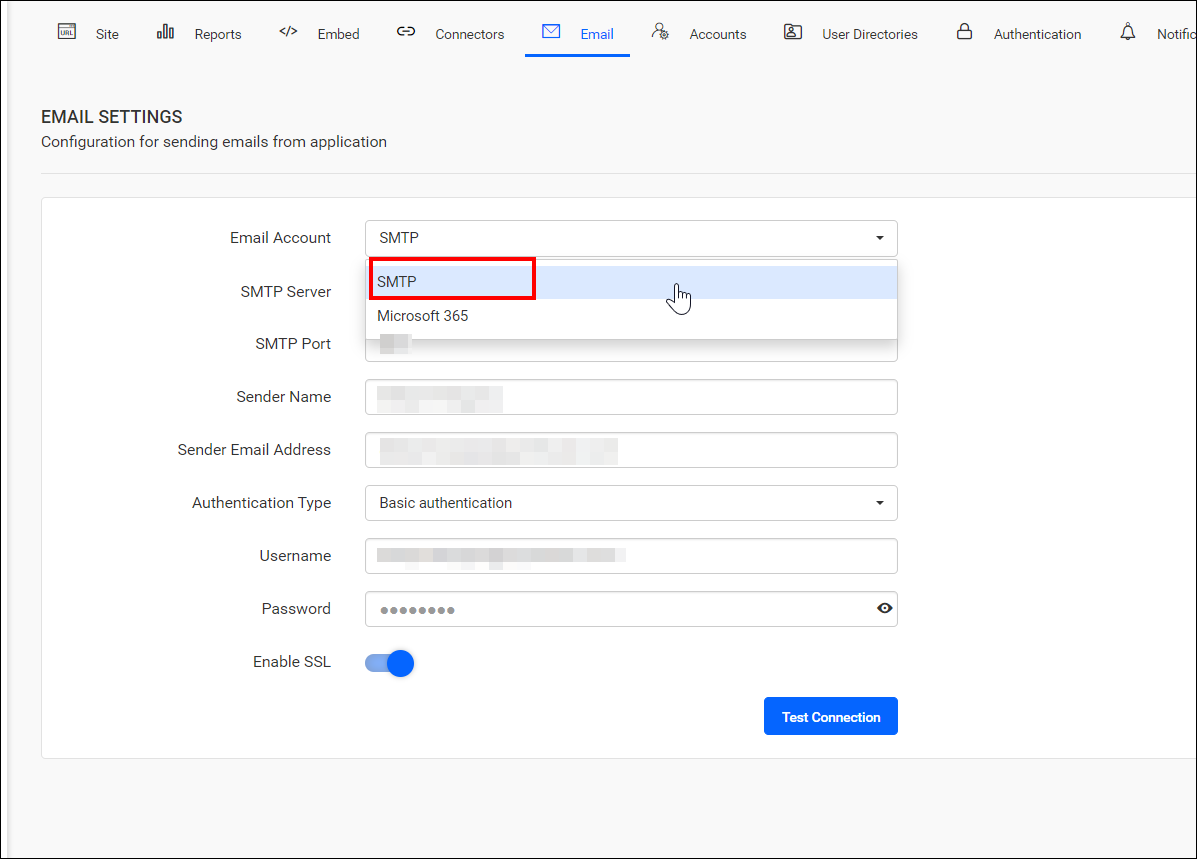
Select SMTP from the Email Account drop-down menu and populate the respective fields with the SMTP Server, SMTP Port, Sender Name, Sender Email Address, Authentication Type, Username, and Password.
-
Once you’ve input the email settings connection details, validate the settings using the
Test Connectionoption.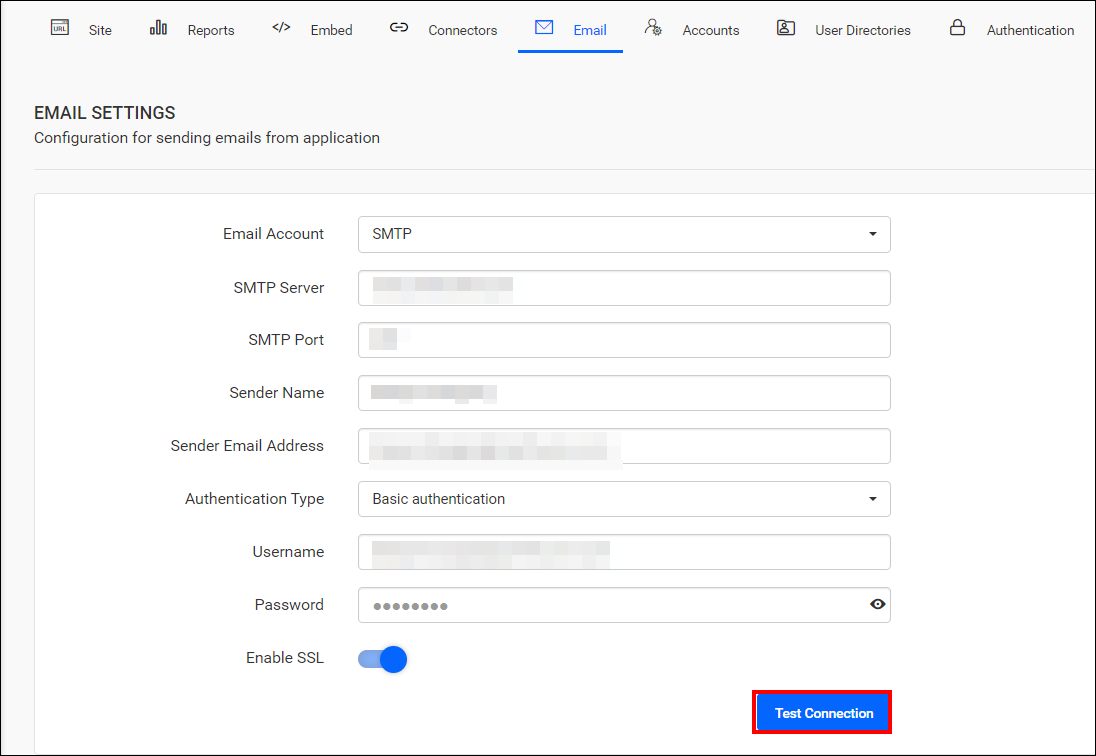
-
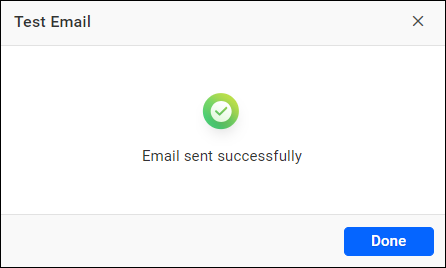
Enter an email address and click
Sendto confirm that the SMTP configuration is set up correctly.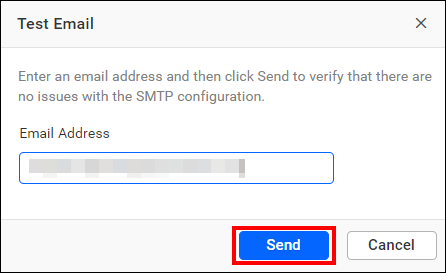
-
Finally, click
Saveto apply the settings.