How to migrate from one syncfusion single tenant server to Bold reports multiple tenant server in azure blob storage
-
Create IDP folder and Report Server folder in your local machine as shown in the following screenshot.

-
Create the following sub-folders structure like /App_Data/Configuration/ under IDP folder.
-
Go to your storage account, which is created at the deployment time of Bold Reports® (multi tenant)and in container section navigate to following location. boldreportscontainer/boldservices/app_data/configuration

-
Download the config.xml and privatekeys.dat files to the folder IDP/App_Data/Configuration

-
Create the following sub-folders structure like /App_Data/Configuration/ under Report Server folder in your local machine.
-
Go to the storage account of previous Syncfusion® Report Server (Single-Tenant) and in container section navigate to the following location. syncfusionrscontainer/Syncfusion/Report Server/Configuration/

-
Download the config.xml file to the folder Report Server/App_Data/Configuration

-
Run the data migration utility.
Steps to run the data migration utility
-
Download the shared Migration Utility zip folder from Utility.
-
Extract the folder and edit the Syncfusion.Server.DataMigration.exe.config file.
-
Update the values of below listed keys in the config file.
<add key = “ReportsBackUpConfigPath” value=””/>
<add key = ”BoldReportsIDPPath” value=”D:\migration\IDP”/>
-
Copy the Configuration path from your Report Server back up folder and paste it to the value of ReportsBackUpConfigPath key.
For example,
<add key="ReportsBackUpConfigPath" value=" D:\migration\Report Server\App_Data\Configuration" /> -
Copy the IDP folder path from your back up folder and paste it to the value of BoldReportsIDPPath key.
For example,
<add key=" BoldReportsIDPPath" value="D:\migration\IDP" /> -
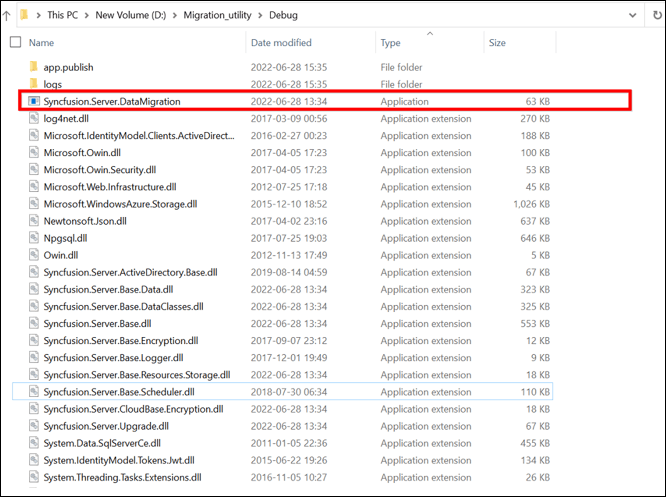
Run the tool Syncfusion.Server.DataMigration.exe from the extracted location.

Note:
The migration tool can migrate your resources like Reports, Data Sets, Data Sources, Schedules, Users, Groups and Permissions.
Also, the utility will not migrate the following items like Admin Settings and Profile Pictures.
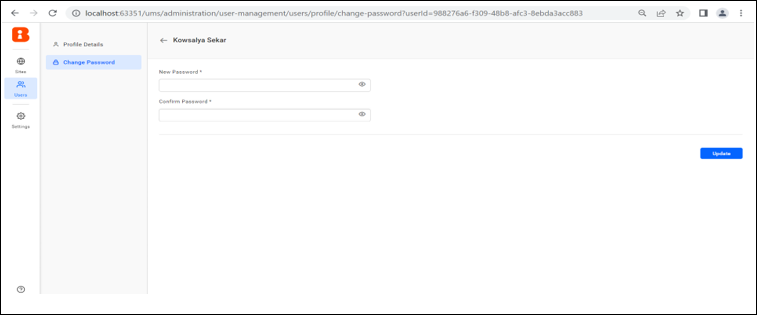
The utility will not migrate the password of the user. So we need to set the password manually. In ums page set password for the user manually as shown in the screenshot below.
