How to register an Azure application with mail-sending API permissions and restrict its access to specific mailboxes
To enable email sending from the Bold Report Server using a Microsoft Office 365 account with OAuth authentication, it is essential to register an Azure app. This app needs to be granted the required API permissions for accessing the email service. Additionally, you can also limit access to specific mailboxes if needed.
Steps to register an Azure application with mail-sending API permissions
-
Go to Azure portal and select
Microsoft Entra ID.
-
Click on
App registrationsin the side navigation menu and clickNew registration.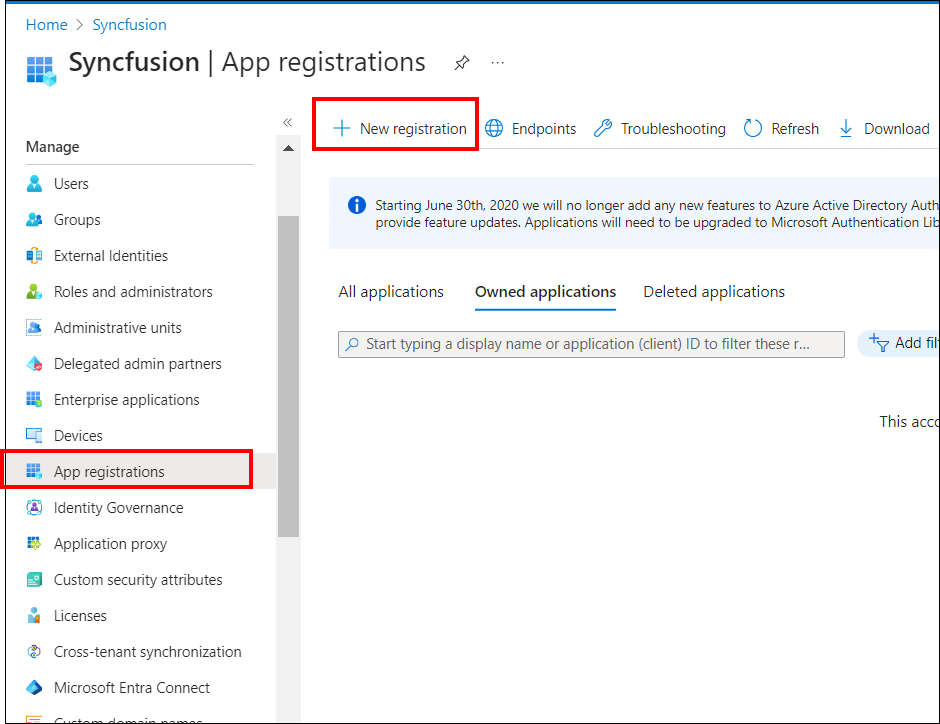
-
Enter a meaningful name in the Name section for your application. Choose “Accounts in this organizational directory only” option under Supported account types. Click
Registerto create the application.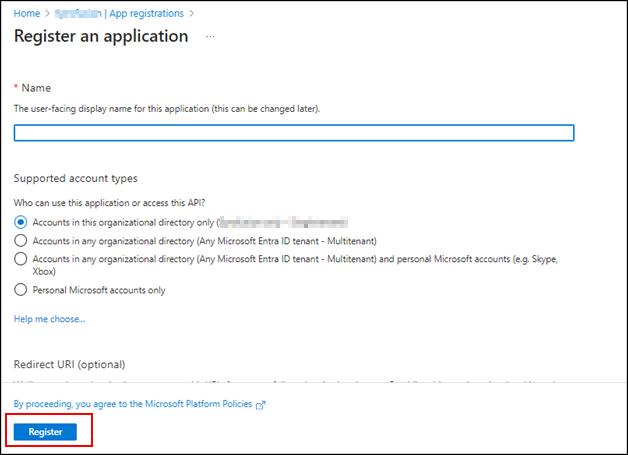
-
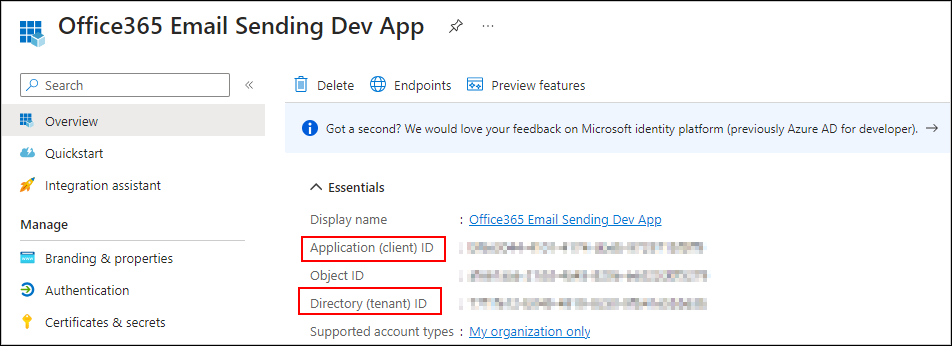
On the app Overview page, select and copy the Application (Client) ID & Directory (tenant) ID, which will be needed for our email settings configurations.
-
Click on
Certificates & Secretsoption, selectNew client secretto generate a client secret for the app.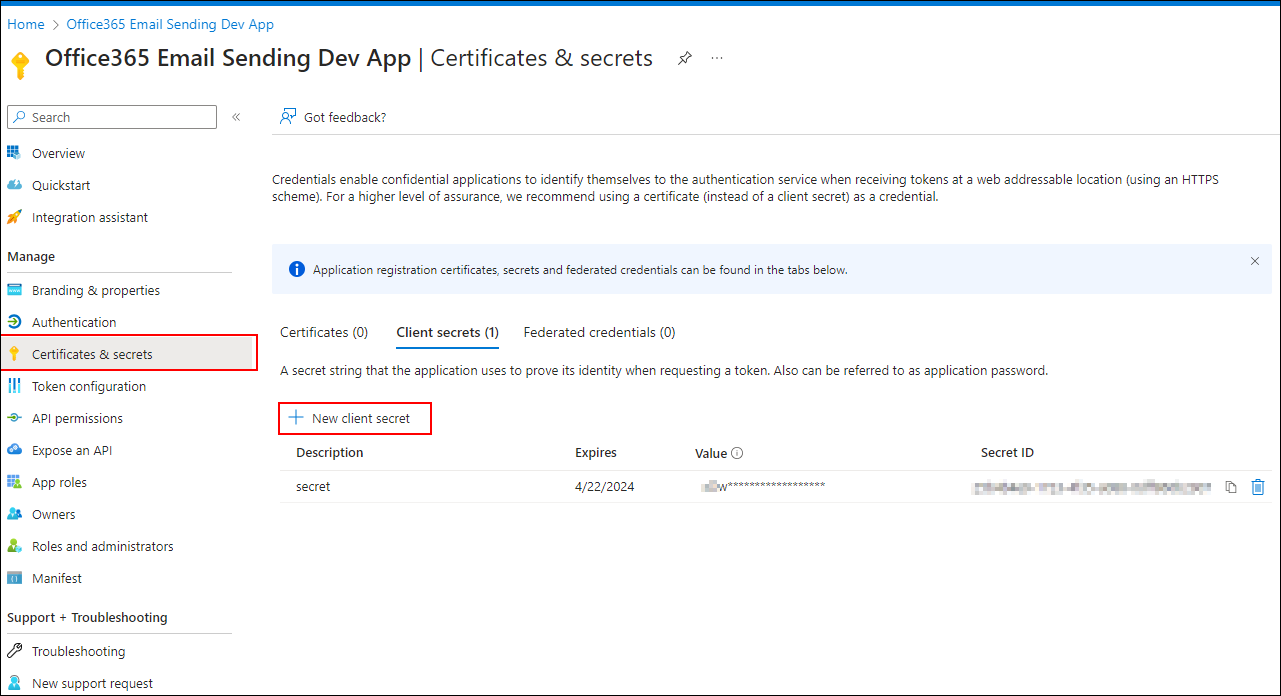
-
Add the
Descriptionand select theExpiresoption as per your requirement. ClickAdd.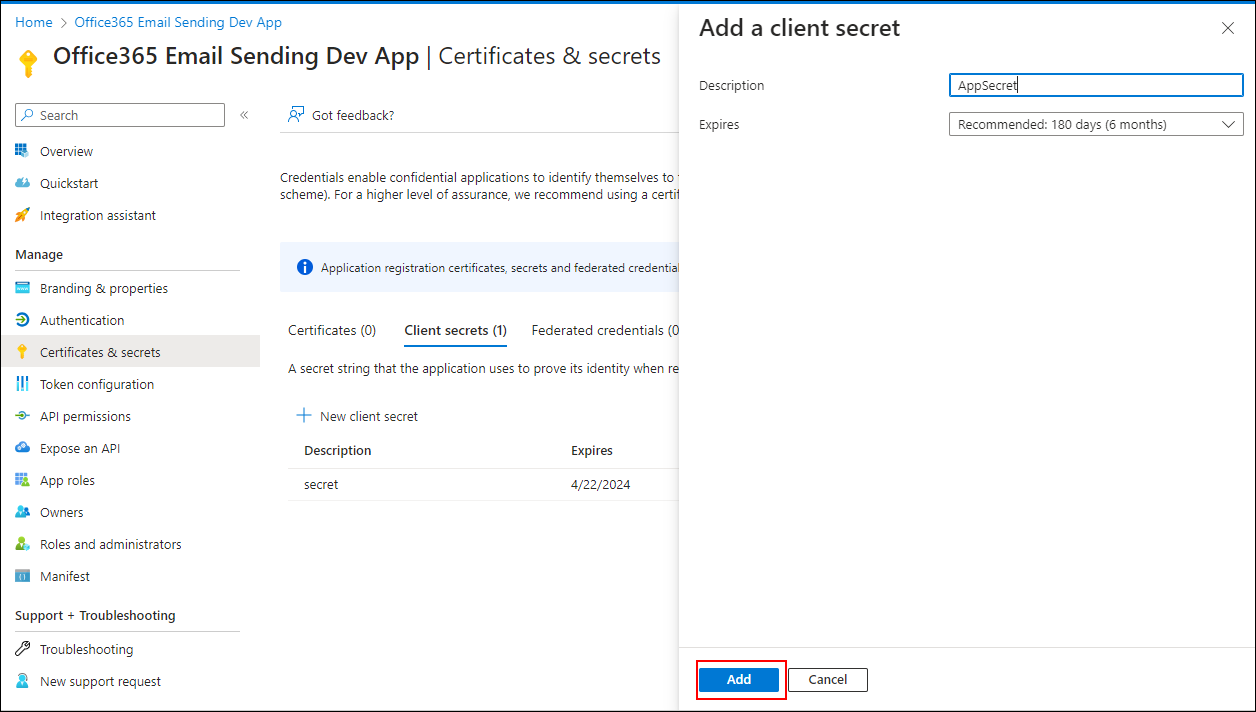
-
Copy the
valuewhich is the app client secret, and secure it for future purposes. You will not be able to see the value again once you reload the page.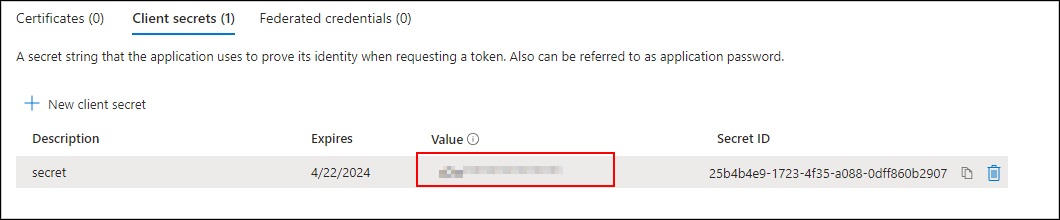
-
To add
Mail.SendAPI permissions, select theAPI permissionstab and click onAdd a permission.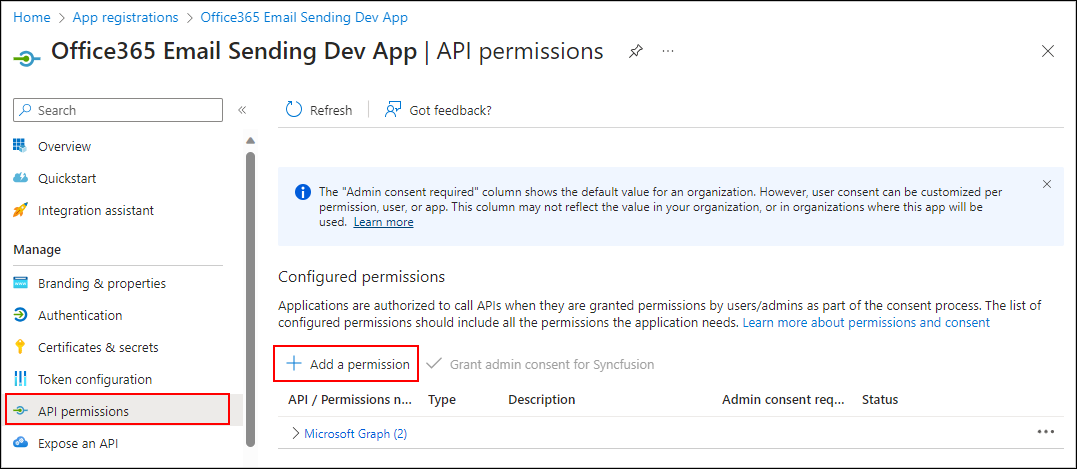
-
Select
Microsoft Graphfrom the permission list.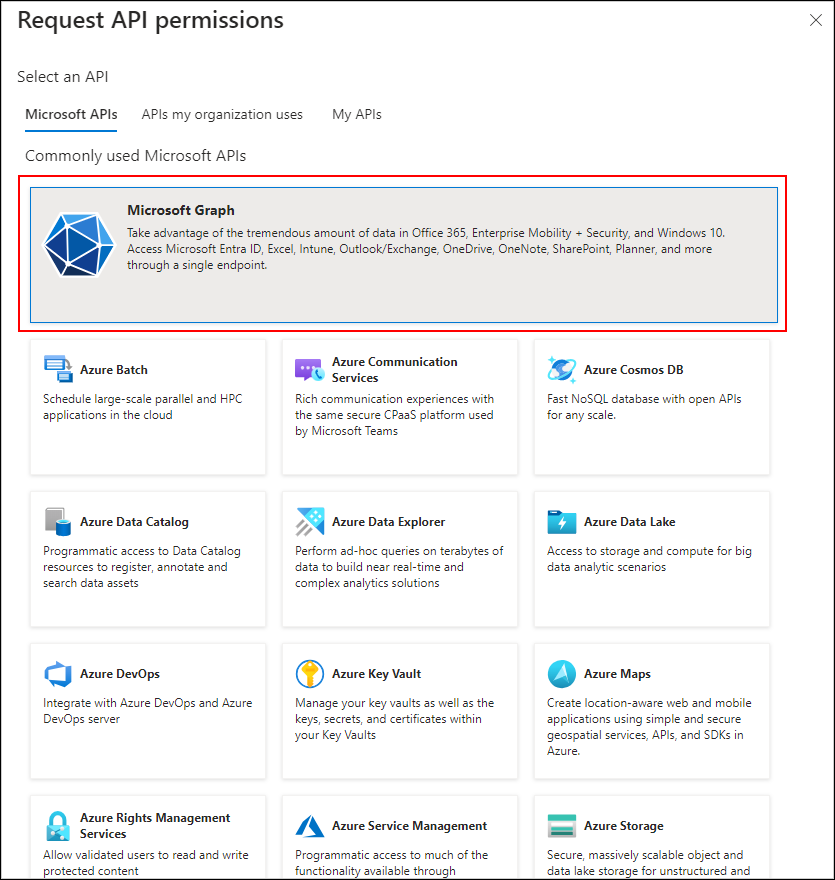
-
Choose
Application permissions, search for Mail in the search area, then checkMail.Sendpermission from the list and add permission using theAdd Permissionsbutton. Provide admin consent forMail.Sendpermission for Microsoft Graph API.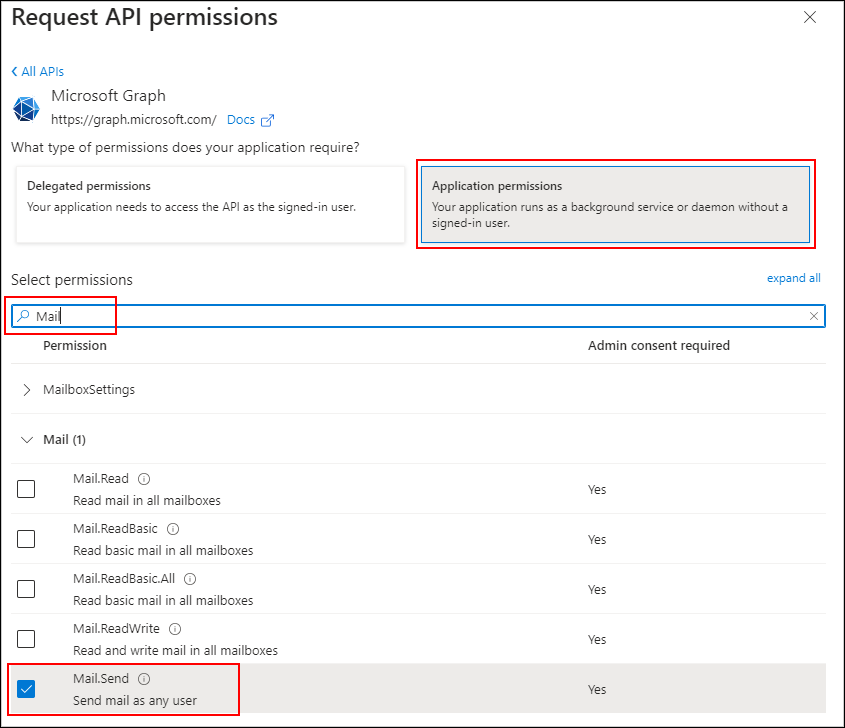

-
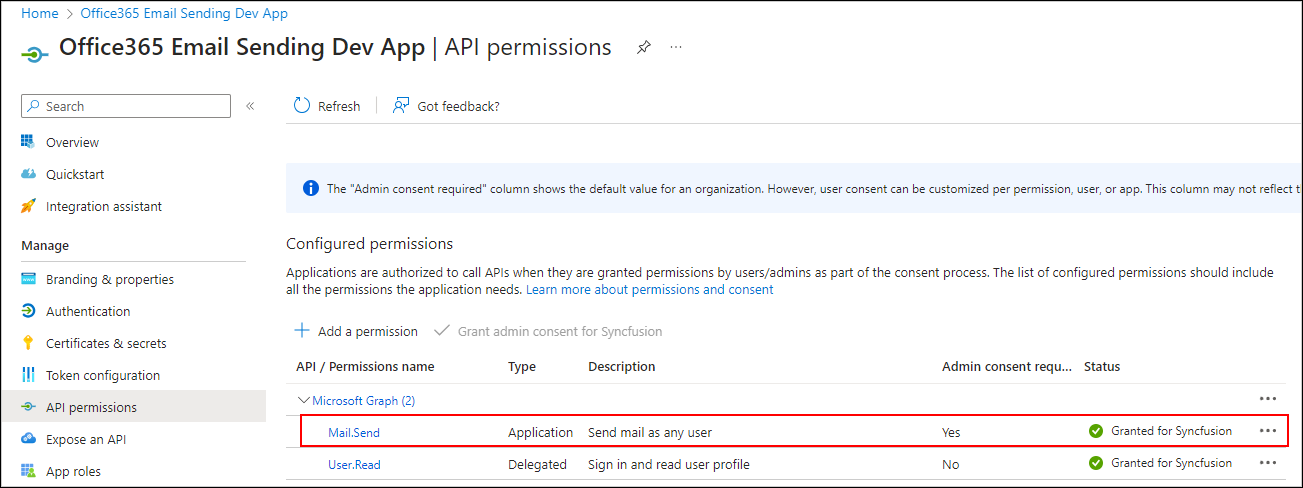
Make sure the permission is listed in the permissions grid as shown below.
Restricting app access to specific mailboxes:
Using a Microsoft Office 365 account with OAuth Authentication for email sending through the Microsoft Graph API requires the ‘Mail.Send’ permission. However, granting this permission to the entire application can pose a potential risk of other senders misusing someone’s email address. To address this concern, it is advisable to restrict app access. You can find instructions on configuring application access policies in the documentation at this link. Without such restrictions, there is a risk of unauthorized users sending emails from the application, which could present potential security concerns. Once you have configured the application access policy for a specific mailbox, other mailboxes will be restricted from sending emails using the app.
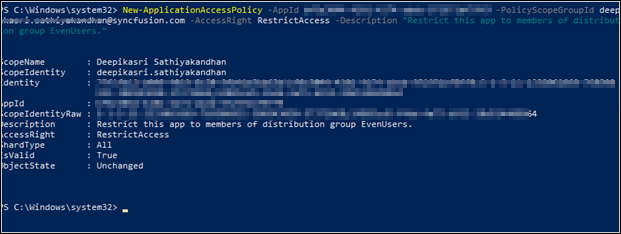
Sample to create access policy: Create an access policy to restrict app access to specific mailboxes.
Sample to test access policy: Test whether permission has been granted for the email address or not.
