How to install Bold Reports® Server over Bold BI in Azure App Services
Follow the below steps to install Bold Reports® server over Bold BI in azure app services.
-
Login to Azure Portal.
-
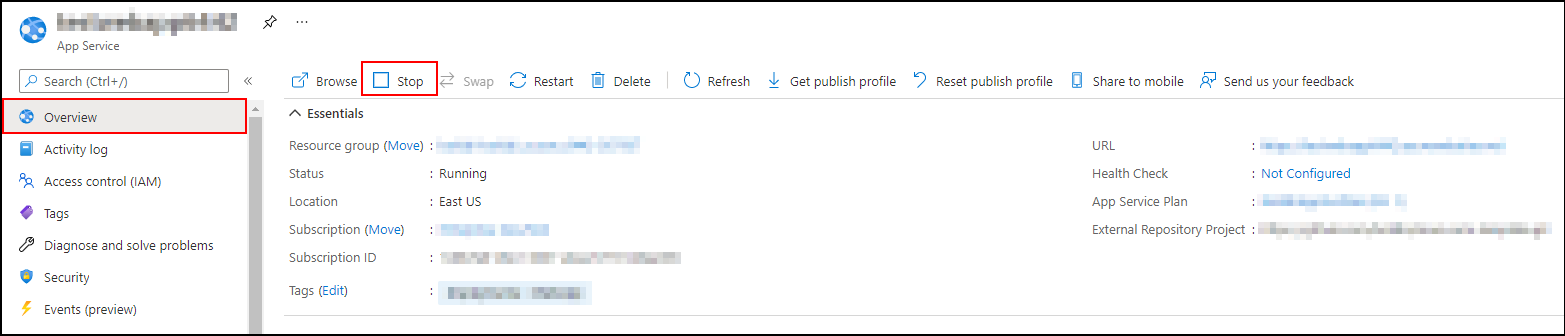
Select the Bold BI Azure App Service.

-
In the Overview section, click Stop.
-
Click
Get Publish Profile optionto download a file.
-
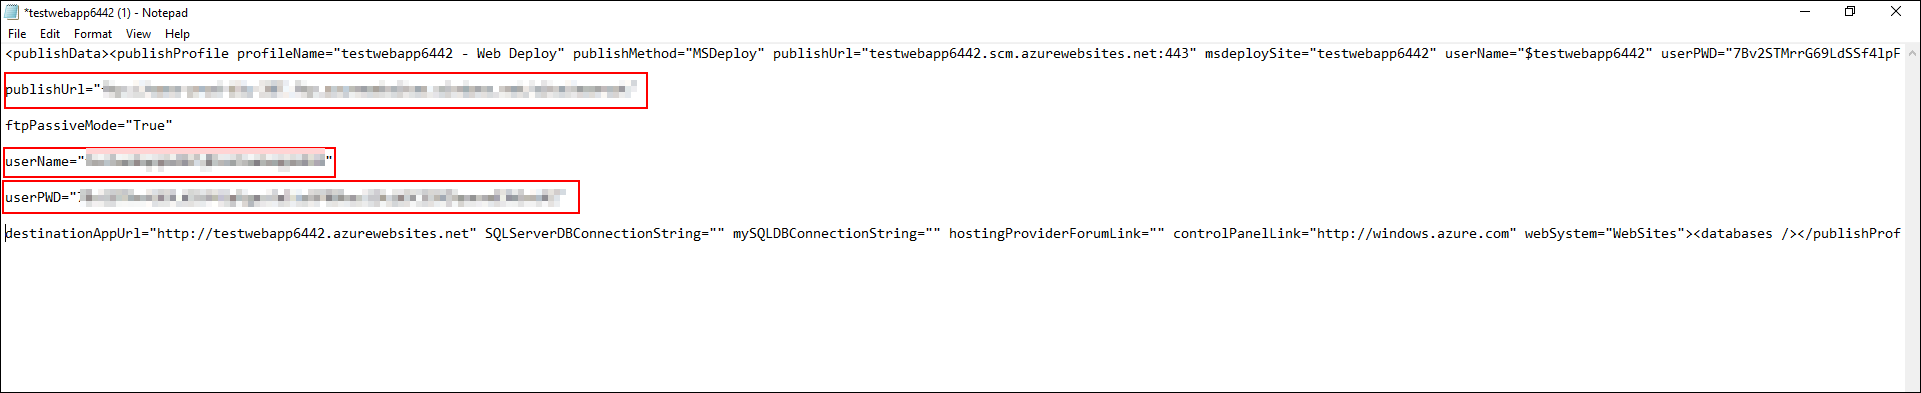
Edit a PublishSettings file in notepad and then note down the following values of Publish URL, Username and Password.
-
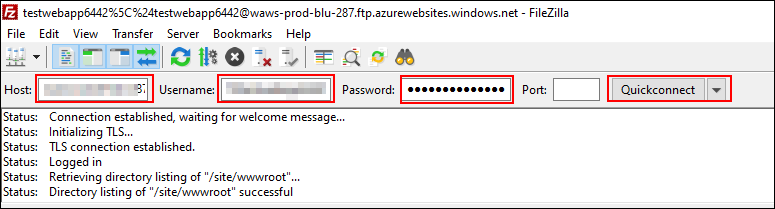
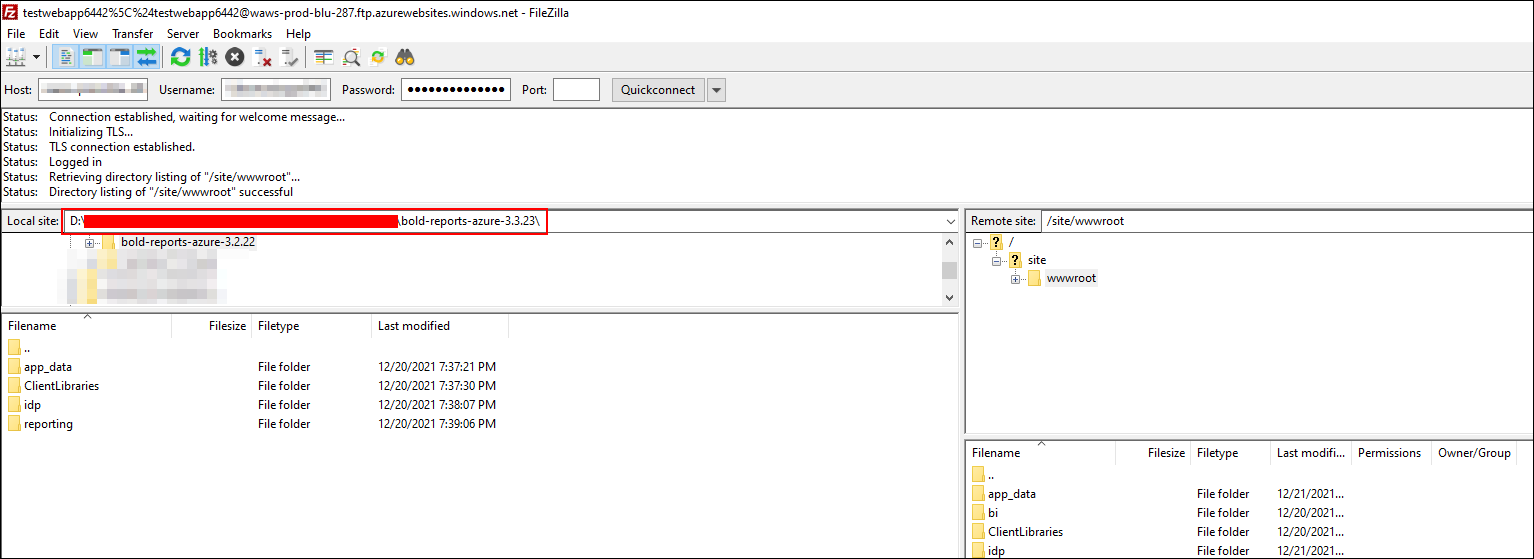
Download file zilla and enter details of Publish URL, Username and Password and click Quickconnect.
-
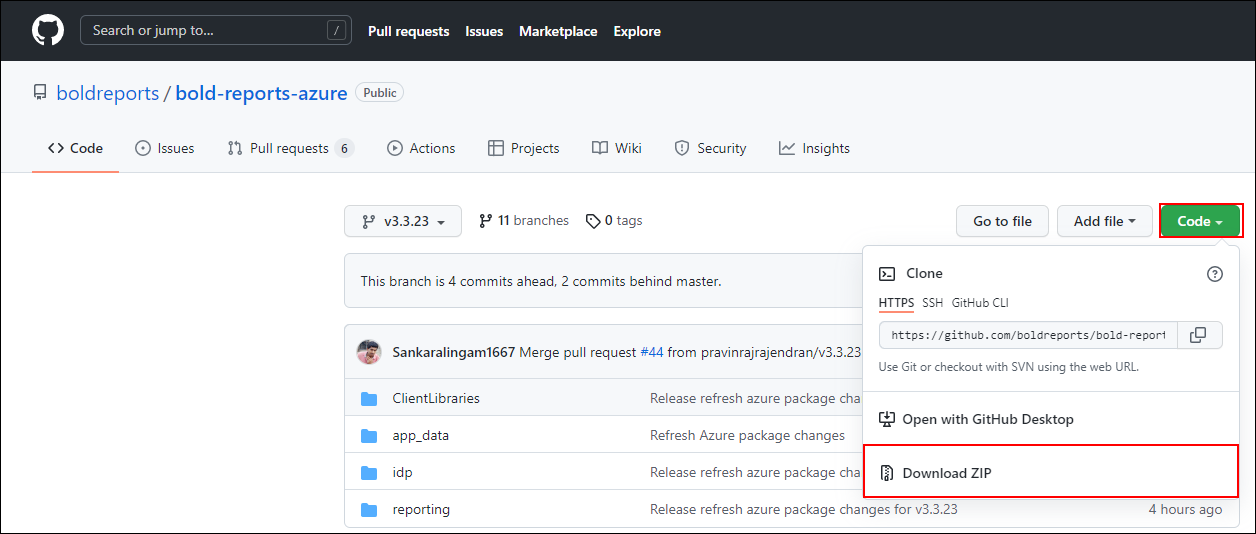
Download and extract the Bold Report Server Azure packages v3.3.23.
-
Enter the extracted packages file path in the local site.
-
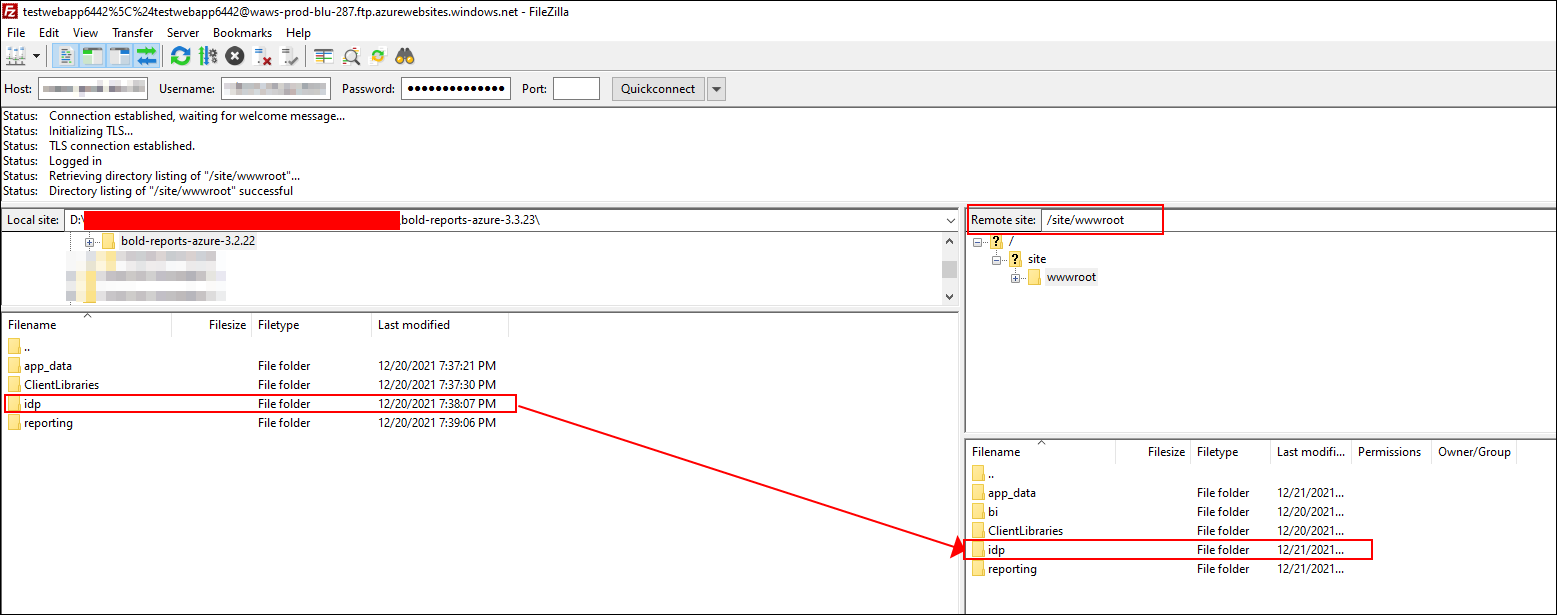
Drag and drop the reporting folder from local site to remote site.

-
For combination deployment, IDP application is common for both Bold BI and Bold Reports®. So we have to find the latest version of IDP when we going to replace the IDP folder.
-
Open the Version.xml file in both download location and Azure deployed location.
Azure deployed location /site/wwwroot//idp/ums/configuration/onpremise/boldid/mssql/versioned_scripts/versions.xml Download location {Extracted_location}/ bold-reports-azure-3.3.23/idp/ums/configuration/onpremise/boldid/mssql/versioned_scripts/versions.xml 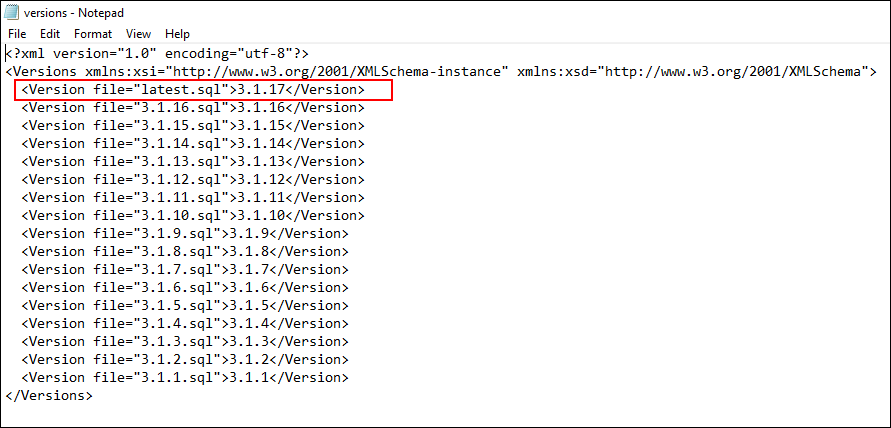
-
Compare the version.xml files and find the latest version of IDP between Azure deployed location and extracted location.
-
If IDP version in Azure deployed location is higher, we need to skip step 14 and then continue from step 15.
-
If IDP version in extracted location is higher, we need to move IDP folder from extracted location to Azure deployed location.
-
Search and select the
App Service Editor.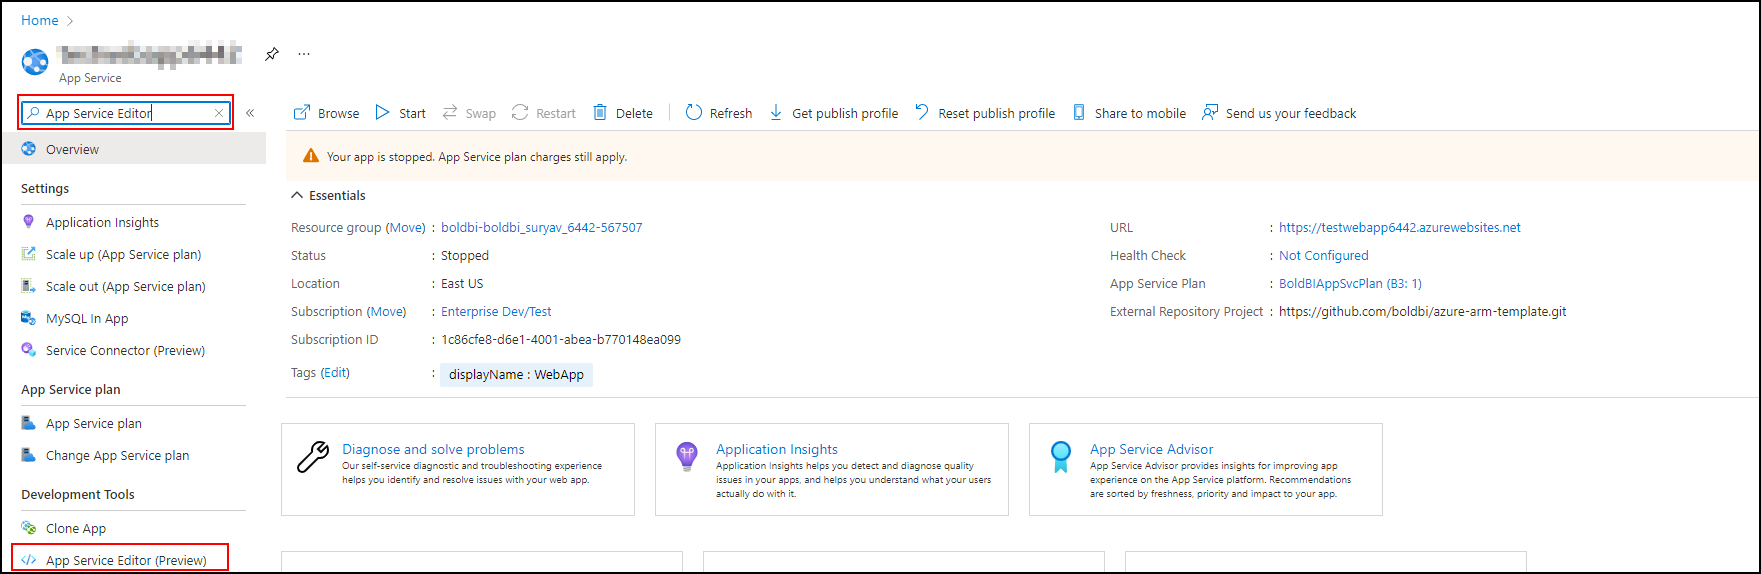
-
Click Go option.

-
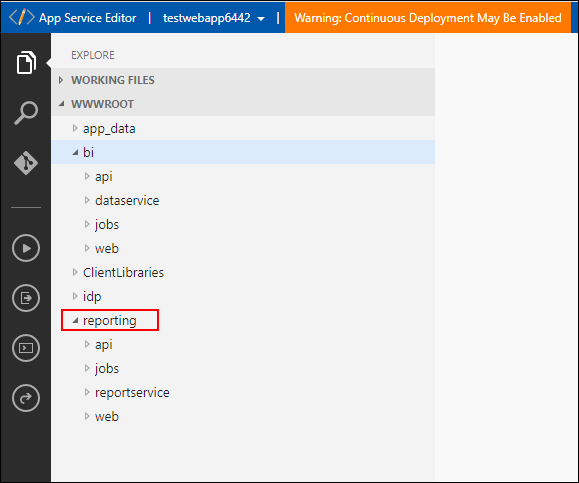
Check and confirm whether the reporting folder is moved to the Azure deployment location.
-
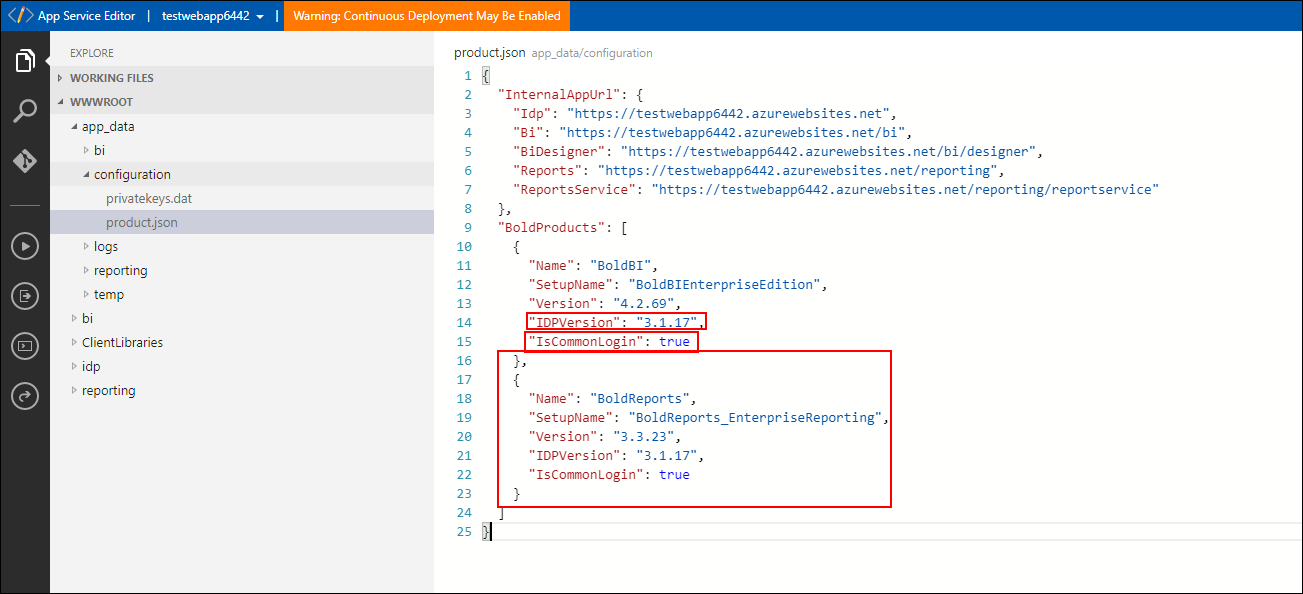
Go to the following path wwwroot/app_data/Configuration/product.json .
- Add object for boldreports as mentioned in screenshot.
- Then need to update the latest IDP version which you found at step 12.
- Set
IsCommonLoginproperty to be true for Bold BI and Bold Reports®. - The IDP version of Bold BI or Bold Reports® should be same.
-
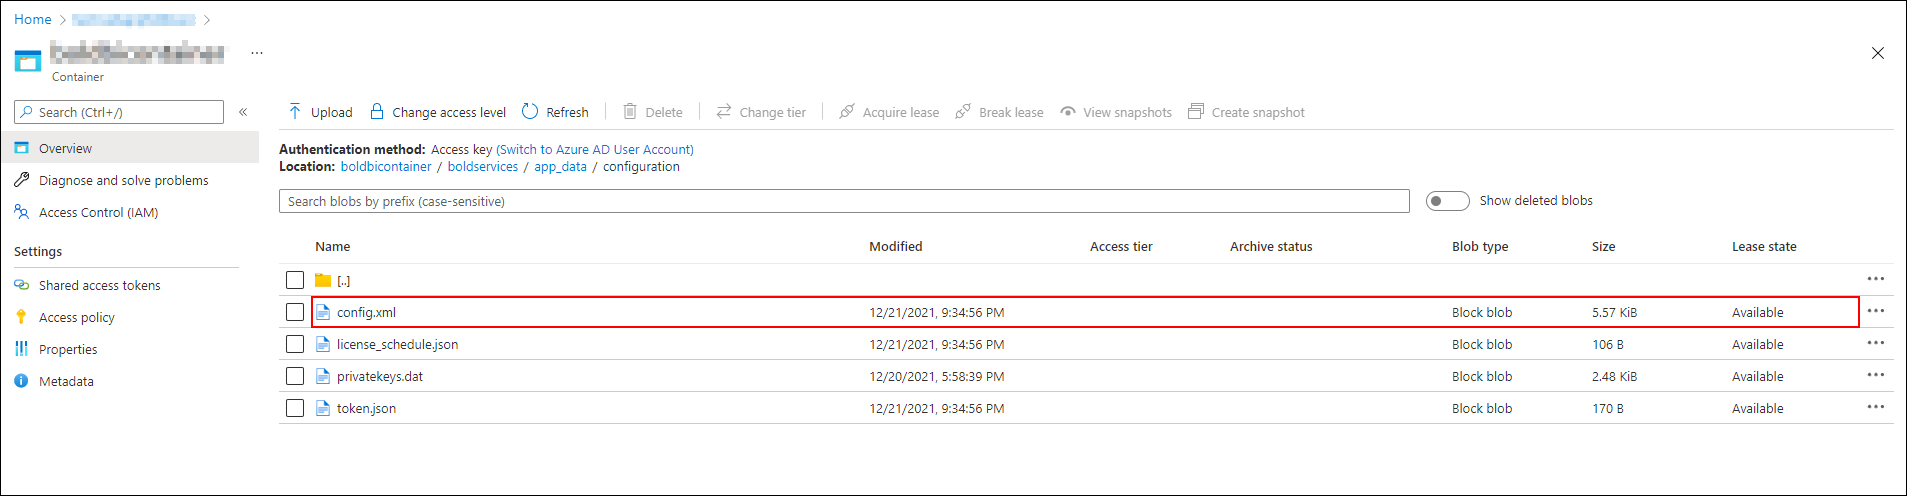
Go to Bold BI Storage account.

-
Click
Containersoption and select boldbicontainer.
-
Go to the following path boldbicontainer/boldservices/app_data/configuration and select Config.xml file.
-
Click Edit option and include the Bold Reports® product details in xml format.
- Update latest IDP version of both Bold BI and Bold Reports®.
- Then set
IsCommonLoginproperty to be true for both Bold BI and Bold Reports® and click the save option.

-
Go to Bold BI Azure App Service, select
Configurationand then clickApplication Settings.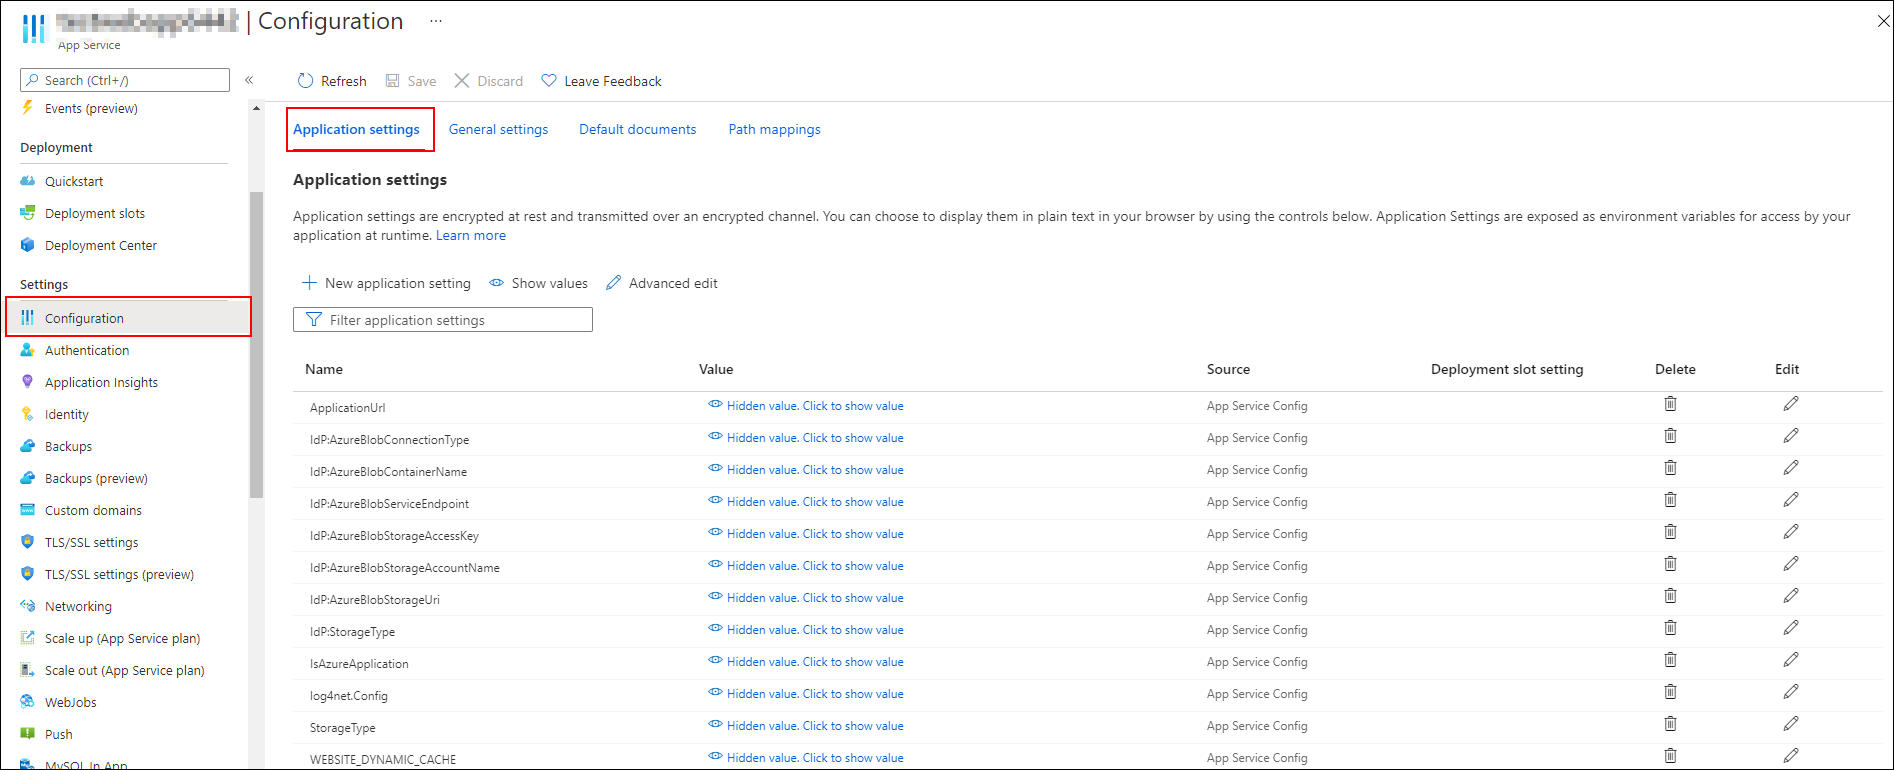
-
Check and confirm whether the WEBSITE_LOAD_USER_PROFILE key value is included in
Application Settings. If not include the key values as mentioned below.Key Value WEBSITE_LOAD_USER_PROFILE 1 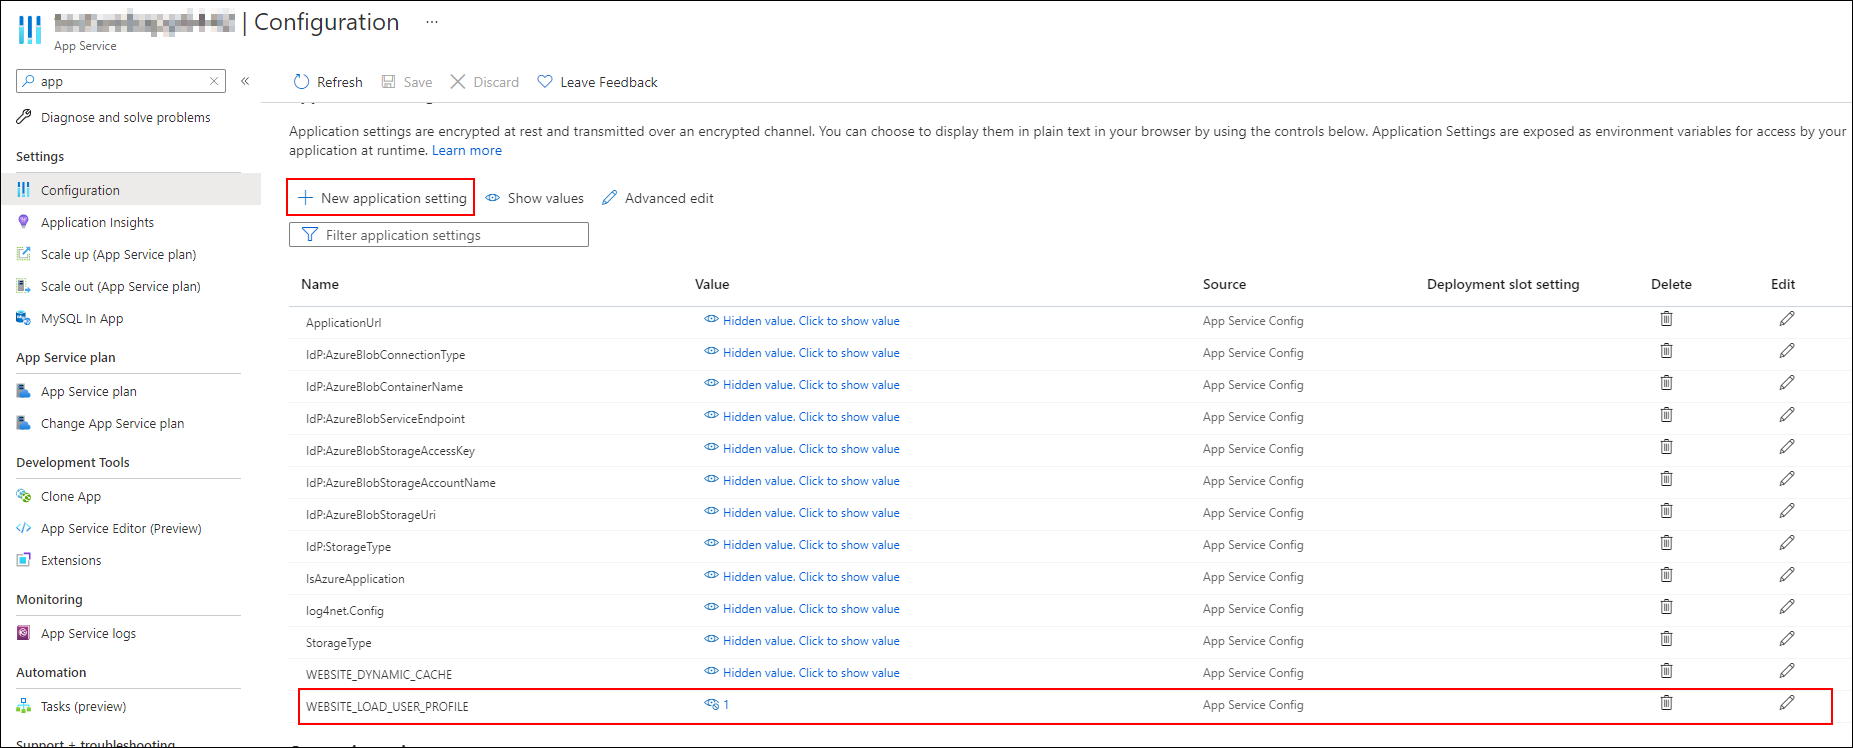
-
Click
General Settingsand select .NET Version to .NET 6.Settings Value .NET version .NET 6 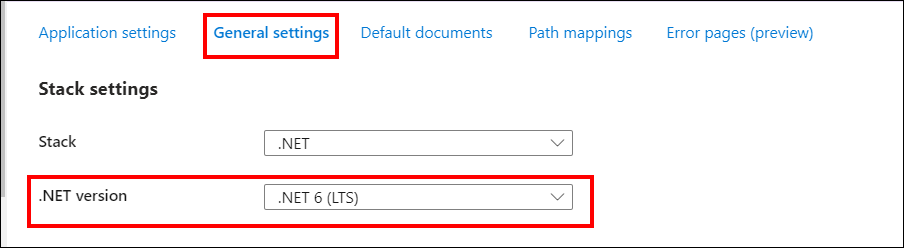
-
Go to
Path Mappingsand selectNew Virtual Applicationthen add virtual path and physical path in the screenshot.Virtual Path Physical Path /reporting site\wwwroot\reporting\web /reporting/api site\wwwroot\reporting\api /reporting/jobs site\wwwroot\reporting\jobs /reporting/reportservice site\wwwroot\reporting\reportservice 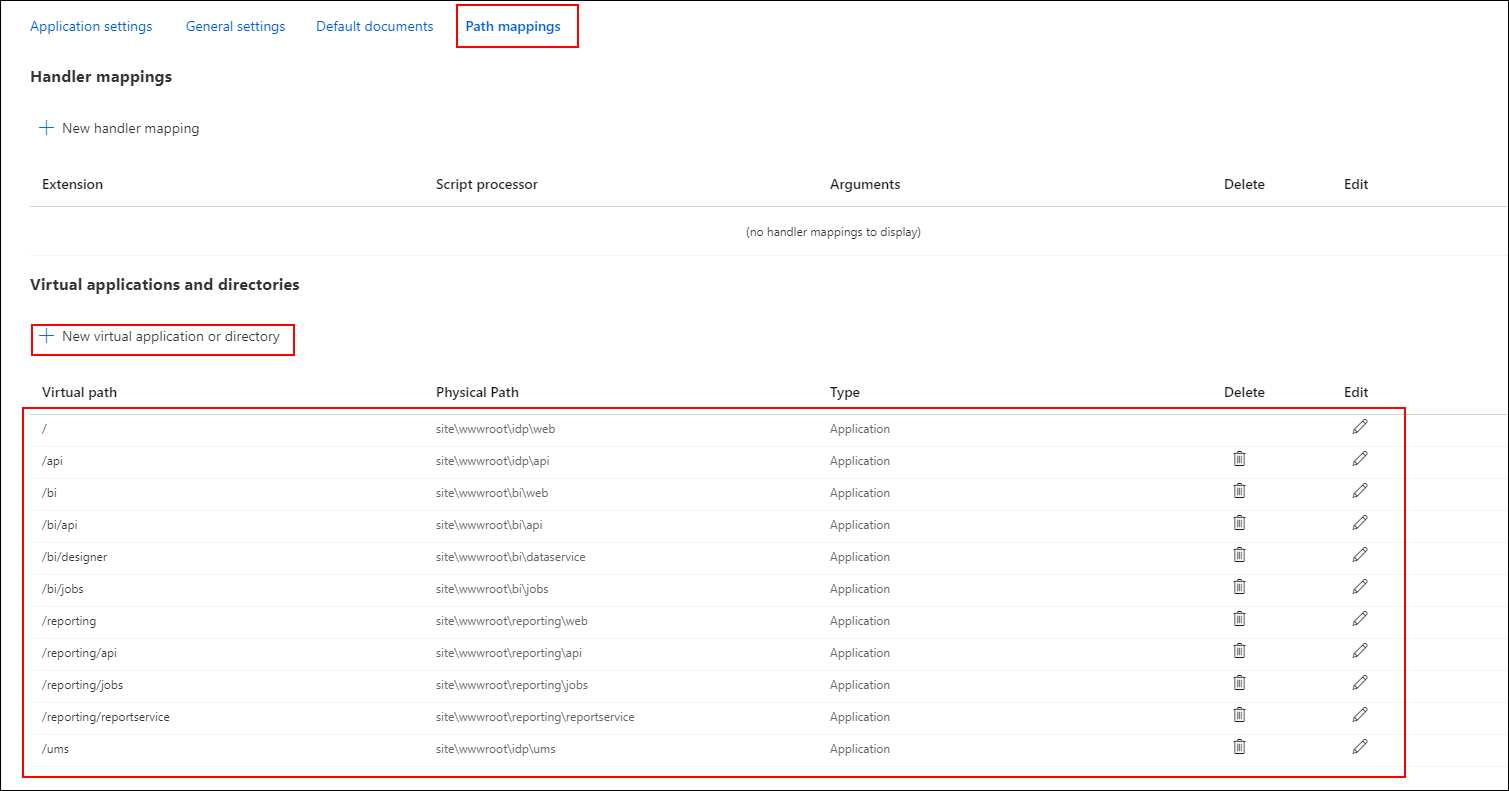
-
Start the Bold BI Azure App Service by clicking
Startbutton from Overview section.
-
Login into Bold ID application.

-
Go to
Manage Sites.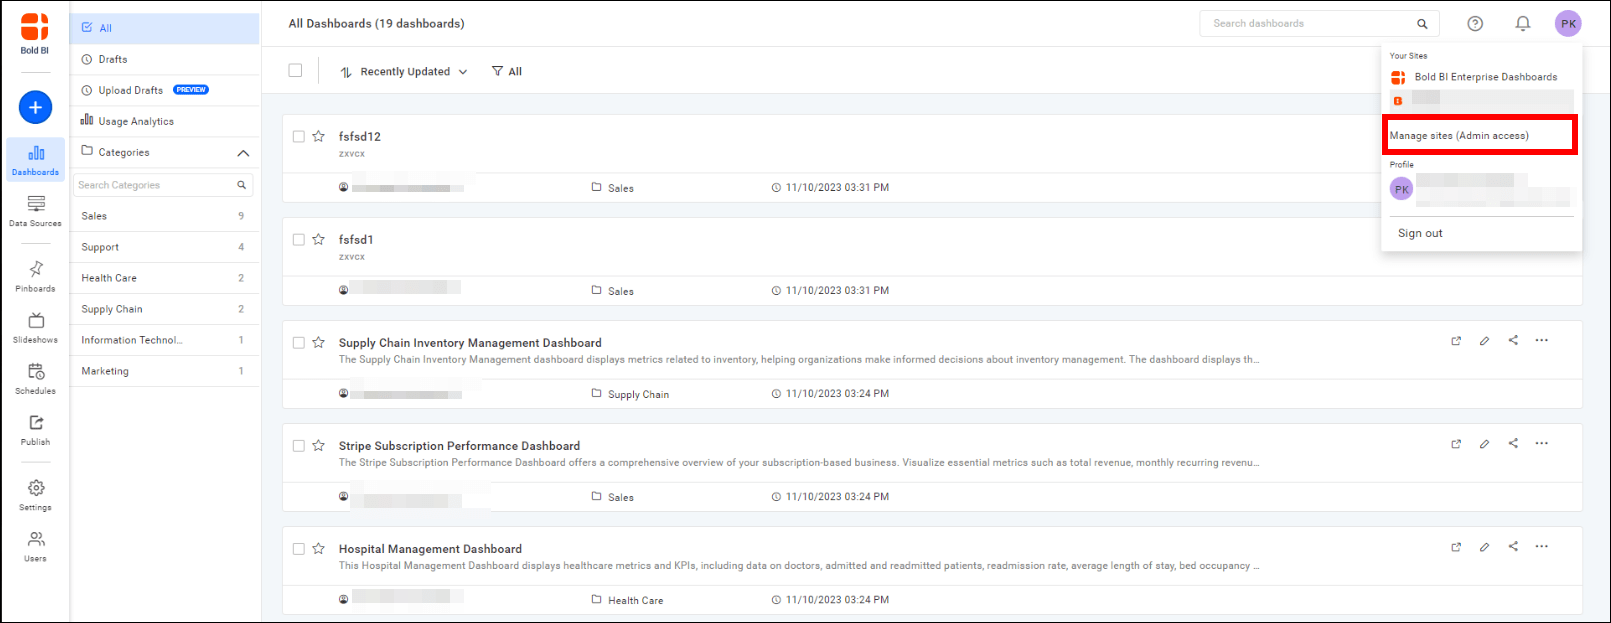
-
Click
Settingsoption in IDP application.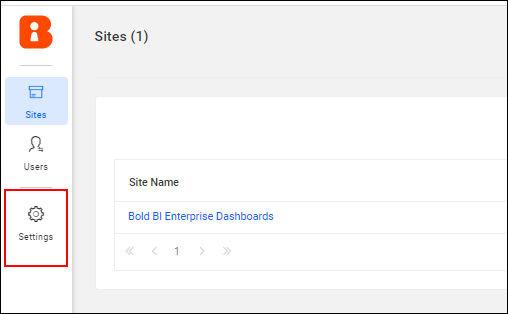
-
Go to
Manage Licensesection and clickLogin to activate accountunderEnterprise Reportingoption.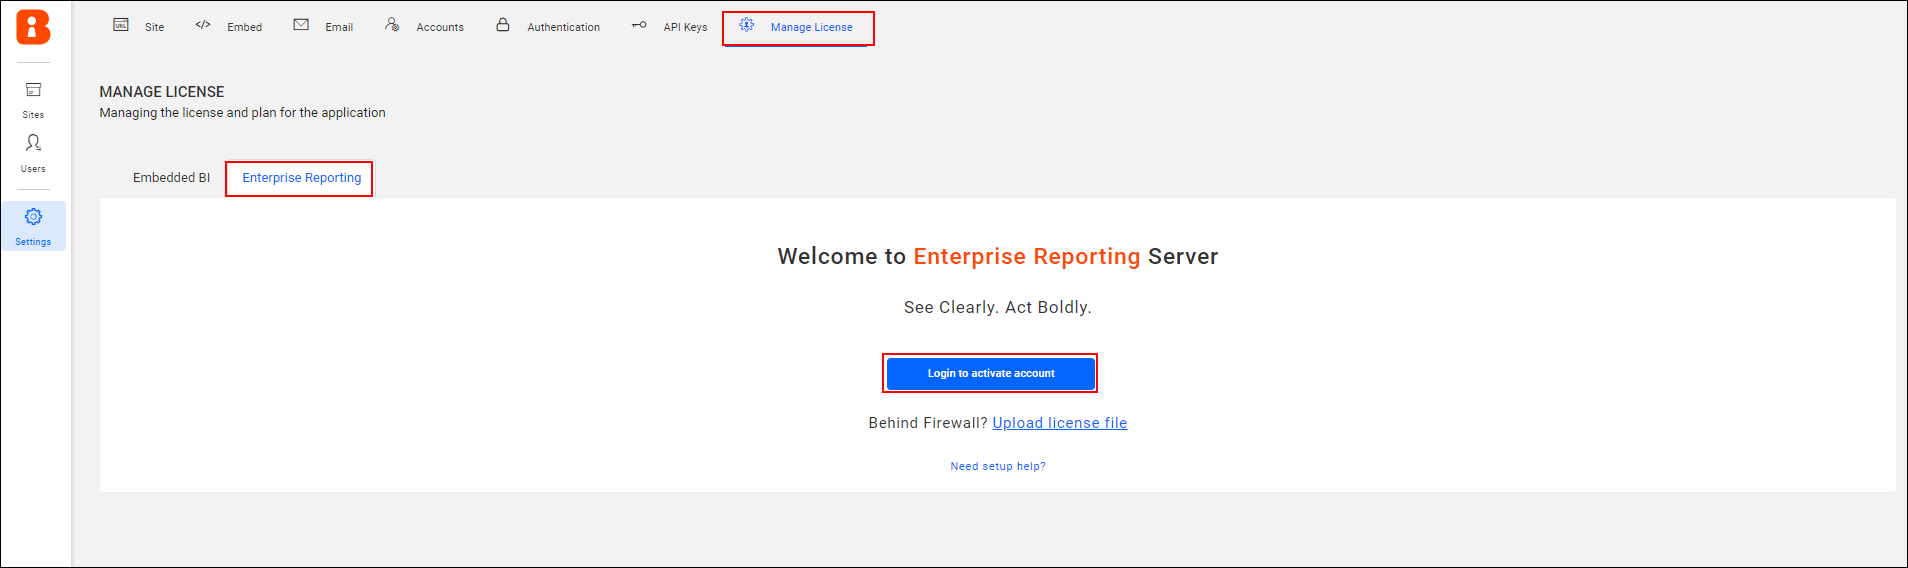
-
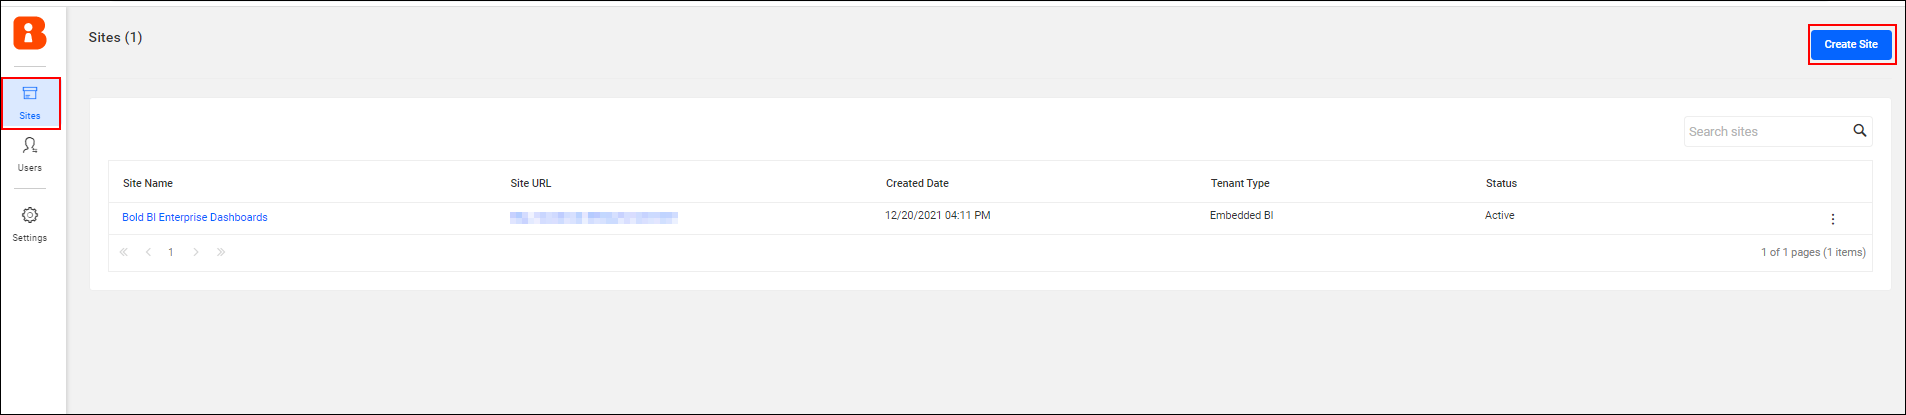
Once the account has been activated, go to site page and create a site.
-
Now, create a site for Bold Reports®.

-
Enter the database credentials and click next.
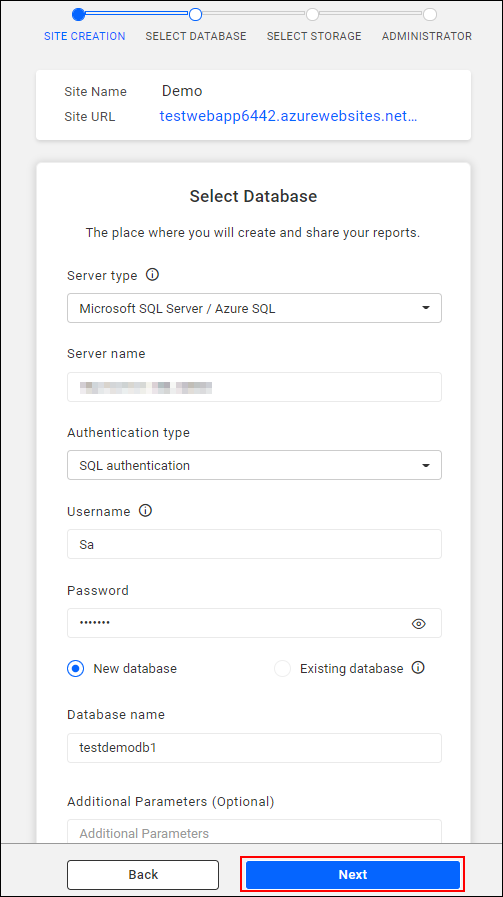
Note: If you need to use already existing database, select existing database option.
-
Provide your Azure blob storage details, if you don’t have custom blob storage means you can enable the
use the same blob used for tenant registrationcheck box and this will restores the default storage account details.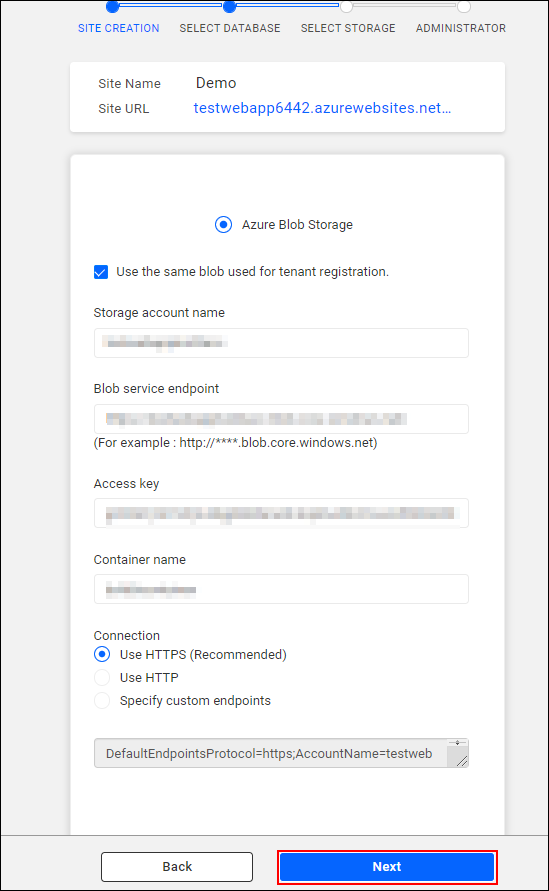
-
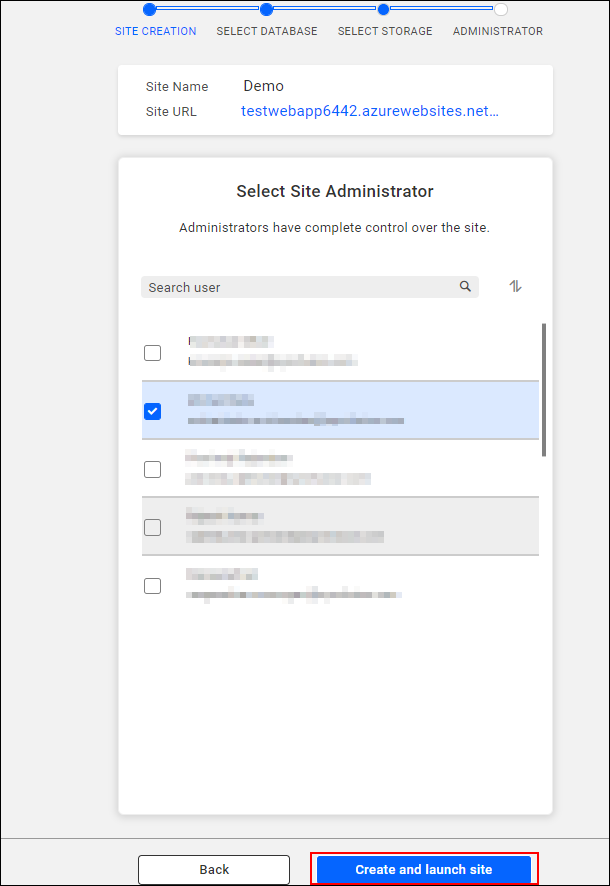
Select administrator and click create and launch site.
-
Now site will be created and Bold Report Server will be launched.