Create a Bold Reports® Azure App Service using the ARM template up to v2.x
If you already have Report Server Azure App Service with Syncfusion® Report Platform Report Server or Bold Reports® v1.x Report Server, then refer to the Syncfusion® Report Server migration or upgrade v1.x for your startup.
This section explains how to create the Bold Reports® Report Server into Azure cloud as App Service using the ARM template by following these steps:
-
Log in to Azure portal.
-
Click Create resource from the top menu.

- Search
Template deploymentin the marketplace and select Template deployment.

- Click Create.

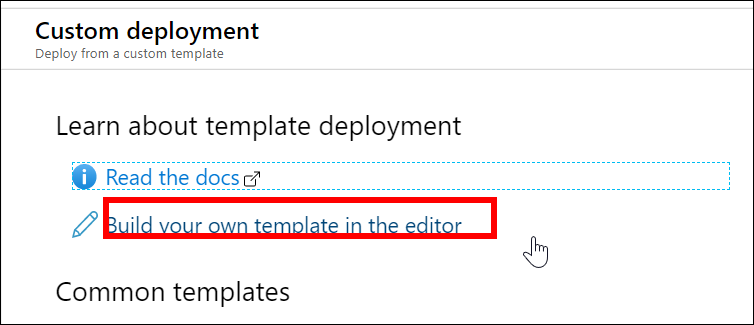
- Now, select Build your own template in the editor in the Custom Deployment window.
-
Click here to download the ARM template file.
-
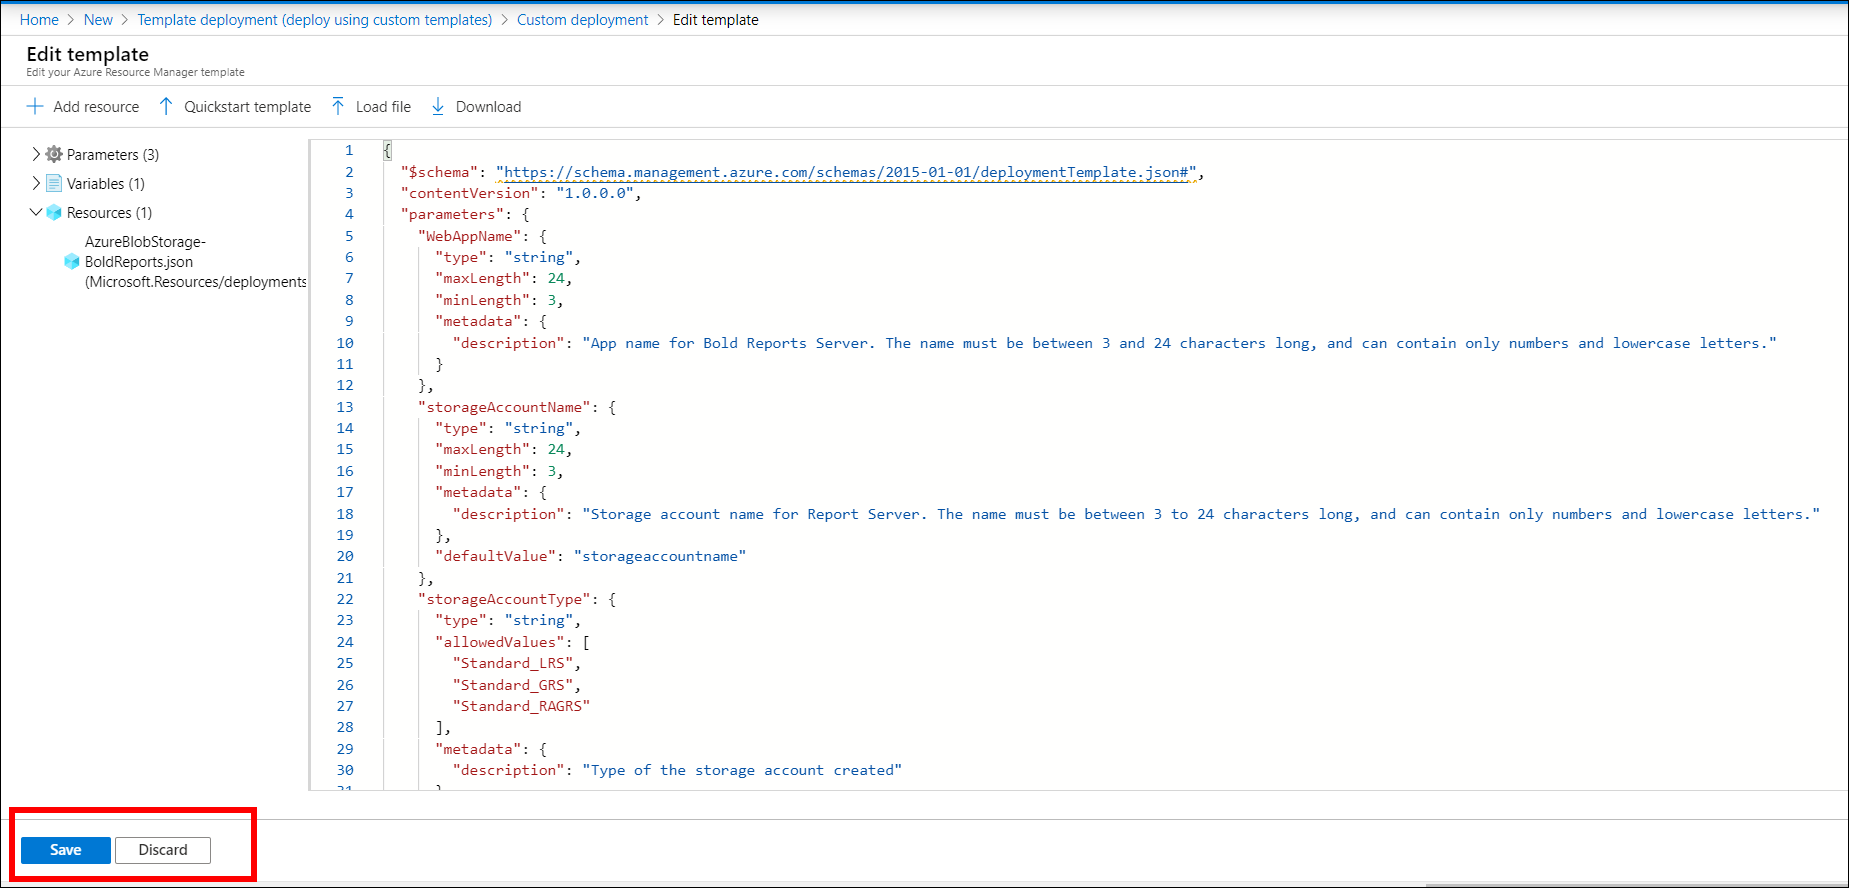
Copy all the contents in the template file and replace them in the Edit template window, and then click Save.
-
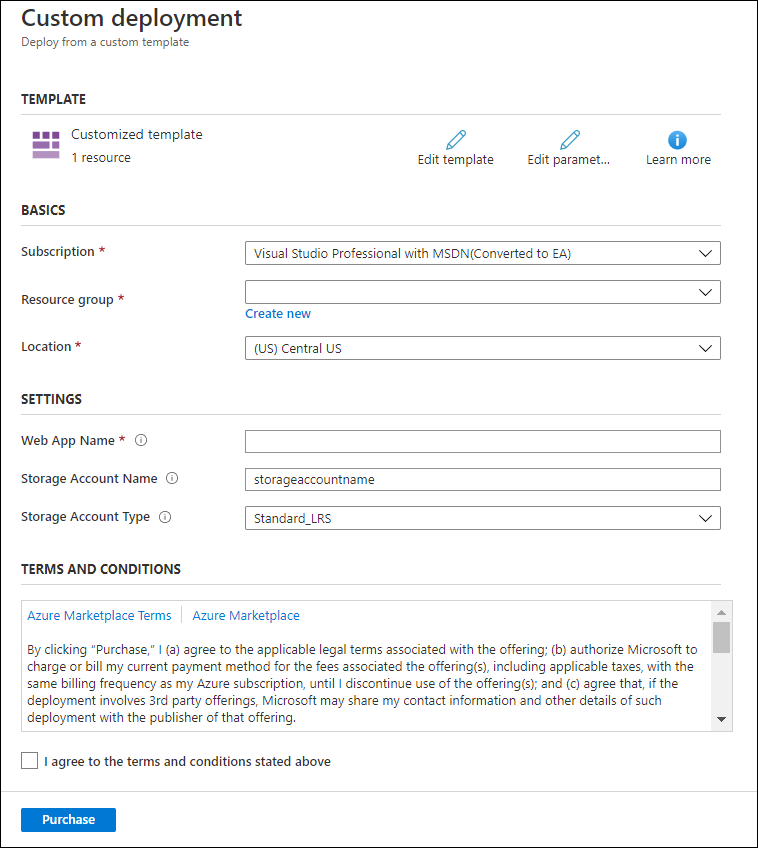
Fill the details as instructed in the following to complete the deployment steps.
-
Subscription: Choose the subscription that you have with Azure. Learn more about subscriptions from here.
-
Resource group: This is a logical group in Azure to group your resources like web app, storage account, network etc. Learn more about resource groups from here.
-
Location: Choose the location to deploy the app. East US is our recommended location.
-
Web App name: This is the name of the Report Server that you want to have in the URL. As this is going to be the URL, it should be unique globally. Deployment process will be failed, if this is already present and you should start once again with another name.
-
Storage account name: This is mandatory for Blob storage and also must be unique as that of the Web App name. Learn more about storage accounts from here.
-
Storage account type: This is optional, if you have chosen file storage in storage type and mandatory for Blob storage. Learn more about storage account types from here.
Note: Web App name and Storage account name should be in lowercase only.
-
-
Select the agreement check box and click Purchase to deploy the Bold Reports® On-Premise Web App.
Now, Bold Reports® Multi-tenant App Service(Web App) deployment get started.
Note: Deployment process will take around 15 minutes to complete.
The App Service plan for the Web App is created, which will be in Basic – B1 by default. Learn more about App Service plans from here. Bold Reports® On-Premise Web App does not support free or shared App Service plans.
Bold Reports® On-Premise supports basic, standard, and premium App Service plans in the Azure. The minimum recommended App Service plan to run the application is the basic plan.
To get better performance, scale up the App Service plan from basic to standard or premium plans. Refer to the following documentation links to learn how to scale up and scale out the App Service plan.
Scale up: https://docs.microsoft.com/en-us/azure/app-service-web/web-sites-scale
Scale out: https://docs.microsoft.com/en-us/azure/monitoring-and-diagnostics/insights-how-to-scale
-
After the successful deployment go to your Web App and search
App Service Editor, then clickGOas shown in the following screenshot.
-
Copy your Web App URL, and then update the following xml node
InternalAppReportUrlin the config.xml file underwwwroot/IDP/UMS/Configuration/boldreports/config.xml.The URL must be,
InternalAppReportUrl-{web App URL}/reporting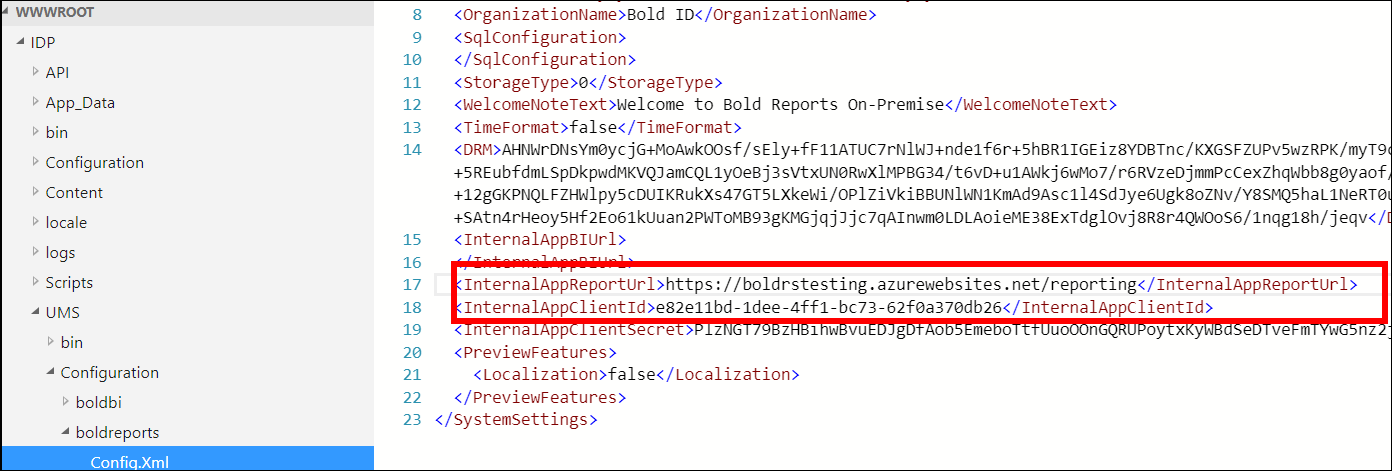
-
Copy your Web App URL, and then update the following xml node
InternalAppDataServiceUrlandInternalAppIdpUrlin the config.xml file underwwwroot/Report Server/Configuration/config.xml.The URL must be,
InternalAppDataServiceUrl–{web App URL}/reporting/reportserviceInternalAppIdpUrl–{web App URL}/

Now, stop and start your Web App, and then browse it.
Configure a new Bold Reports®
Configure the Bold Reports® Multi-tenant Azure App Service by following these steps:
-
Click the
Proceed to Setup.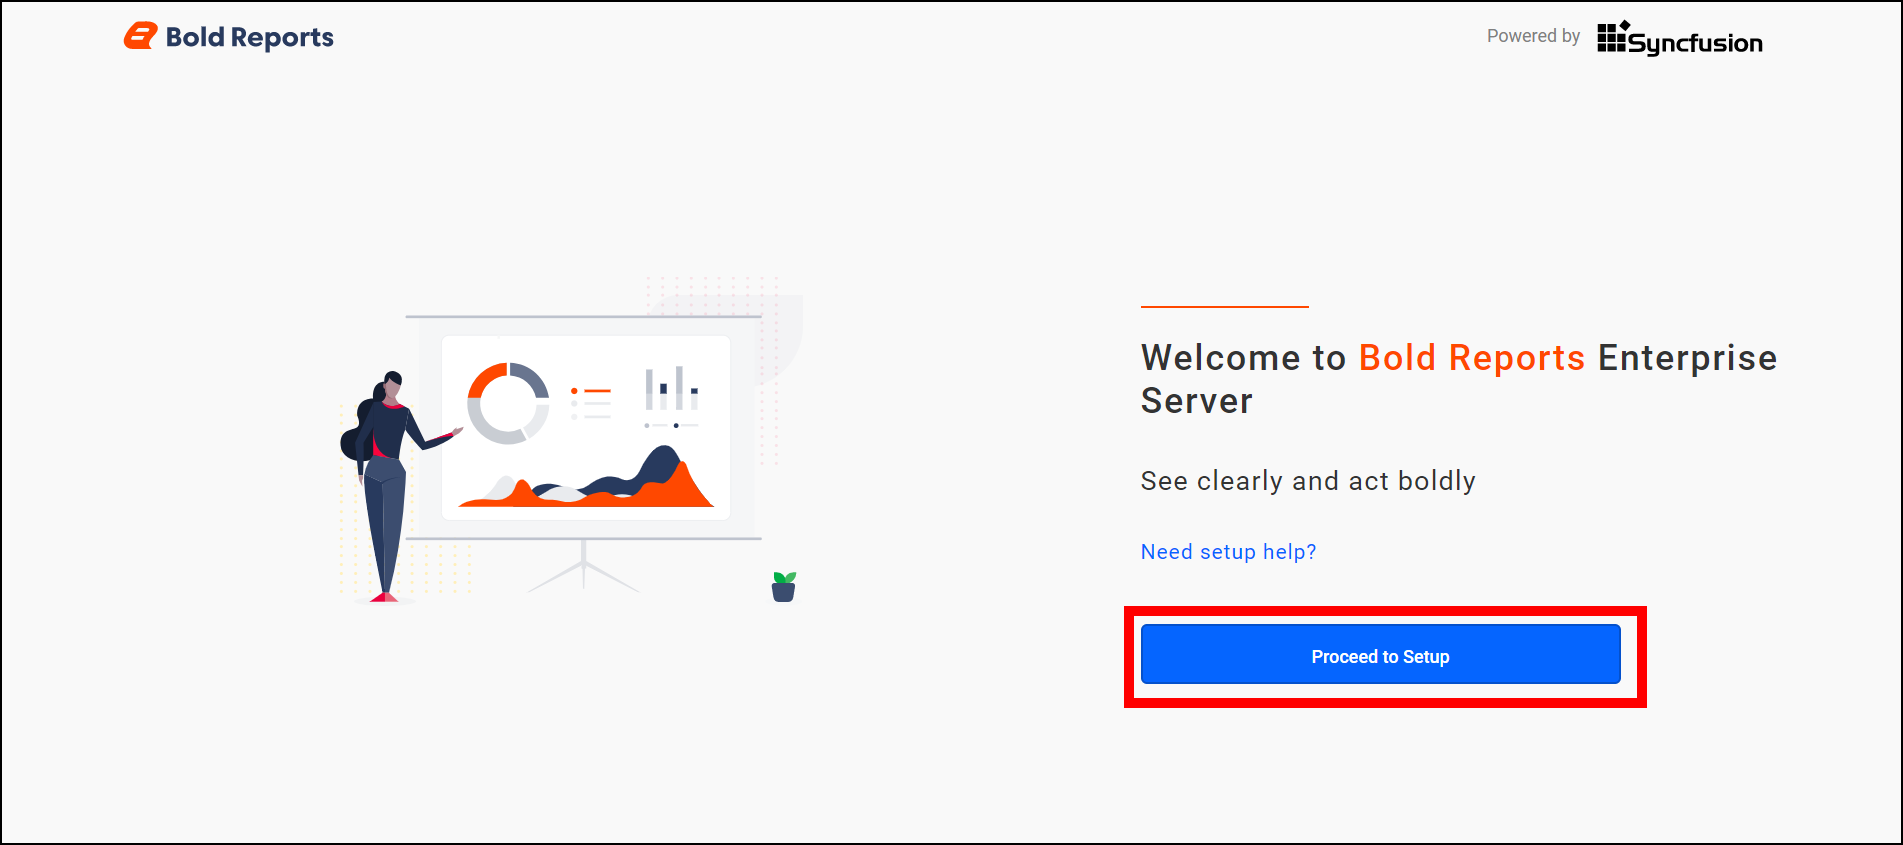
-
Provide the user details and this user will be an admin for Bold Reports®, and then click
Next.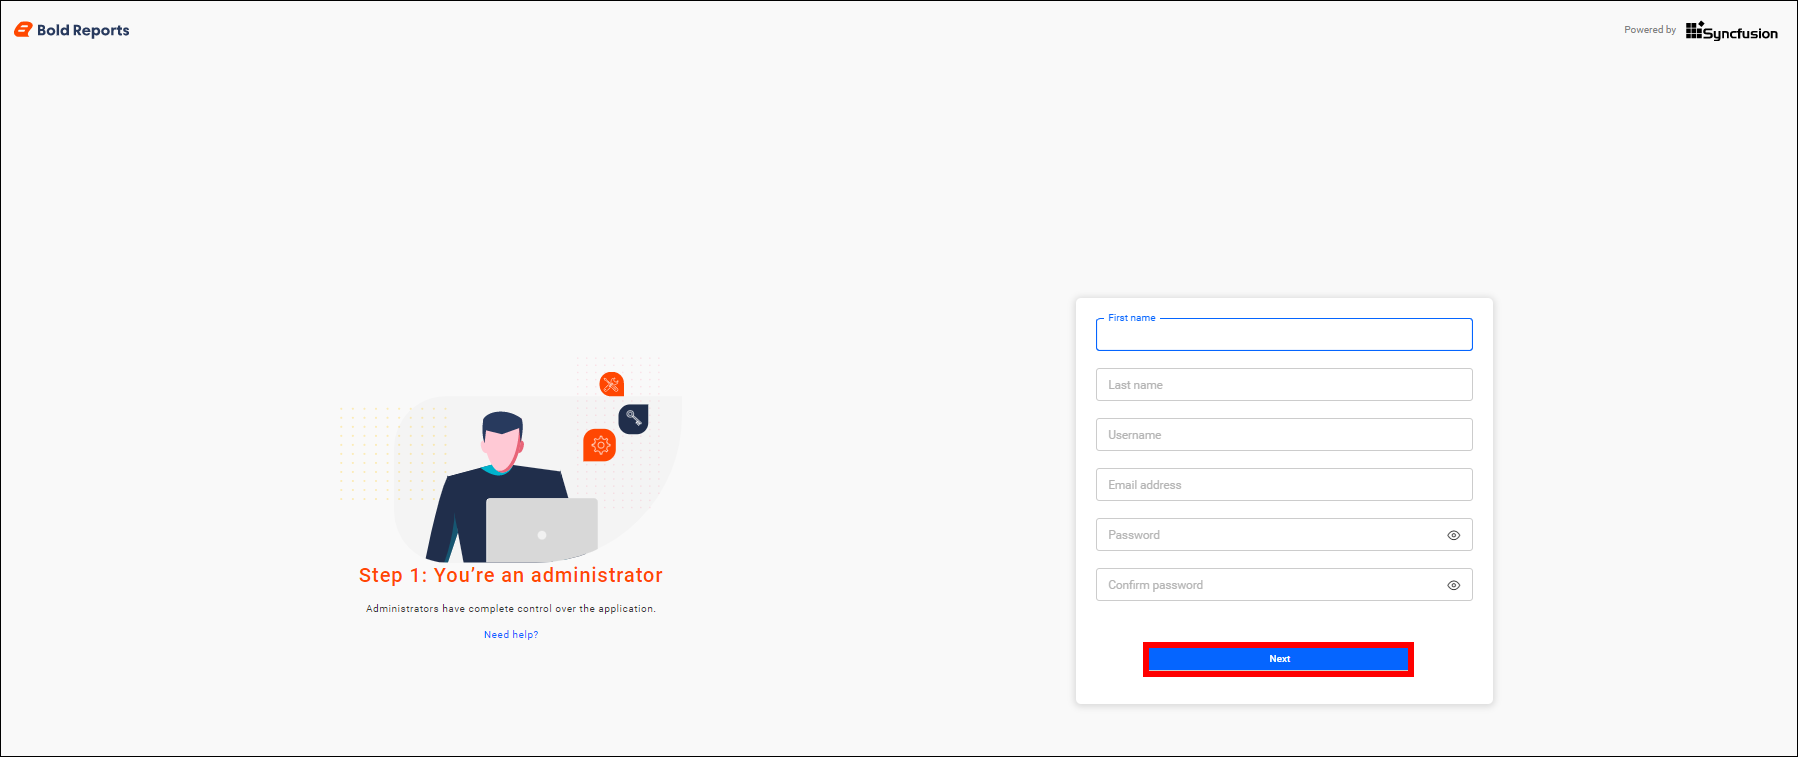
If you wish to migrate your Syncfusion® Report Server Azure app service(
v4.x) data or Bold Reports® Azure app service version(v1.x) data to Bold Reports® Multi-tenant Azure App Service, while configuring the admin details you must use the admin email id of Syncfusion® Reports Server or Bold Reports® Server (Single Tenant). -
Provide your Database details to maintain your reports, users, and their access permissions, and then click
Next.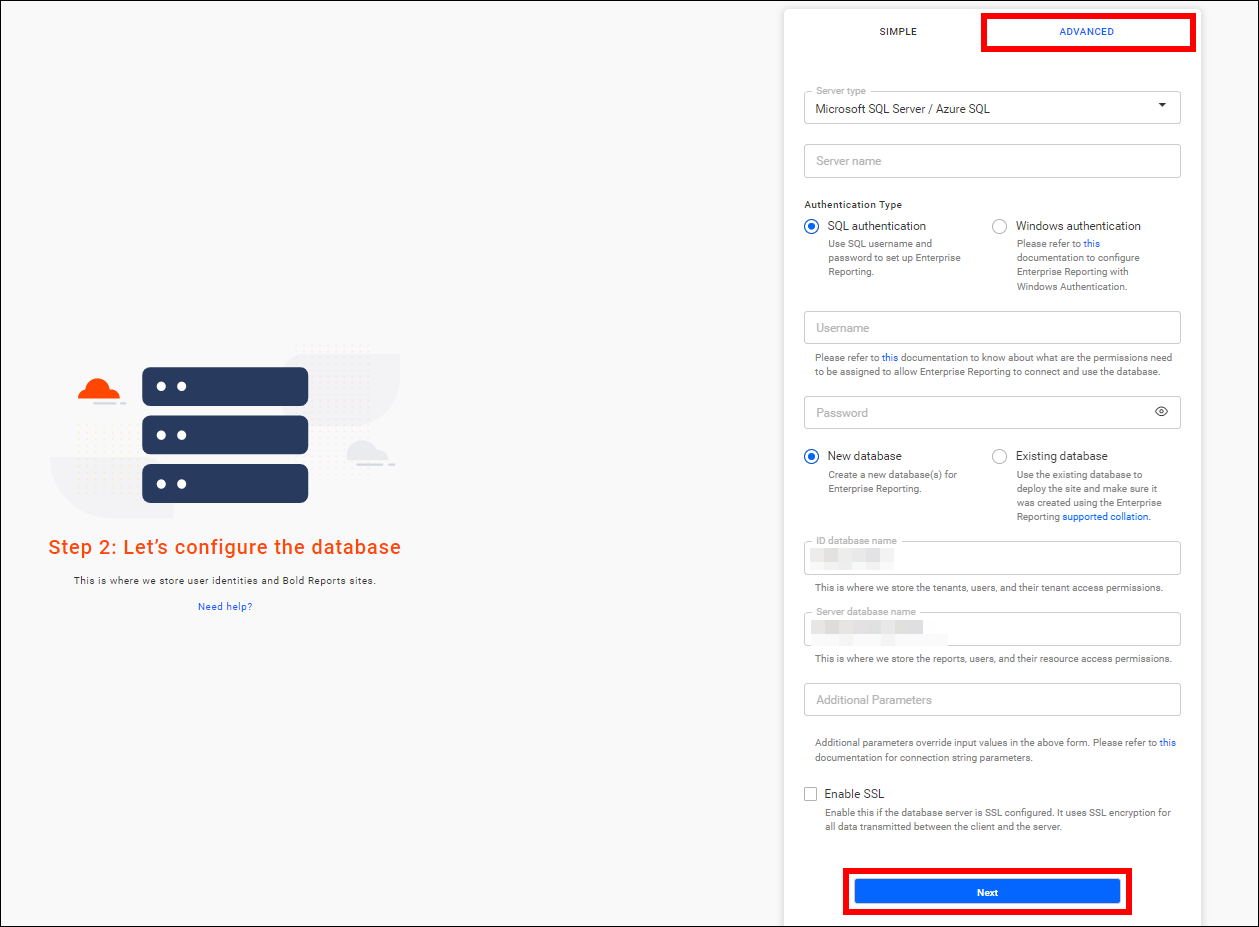
-
Click the check box to fetch the pre-configured blob details at the deployment time to maintain your physical files of reports, datasets, data sources etc, and then click
Next.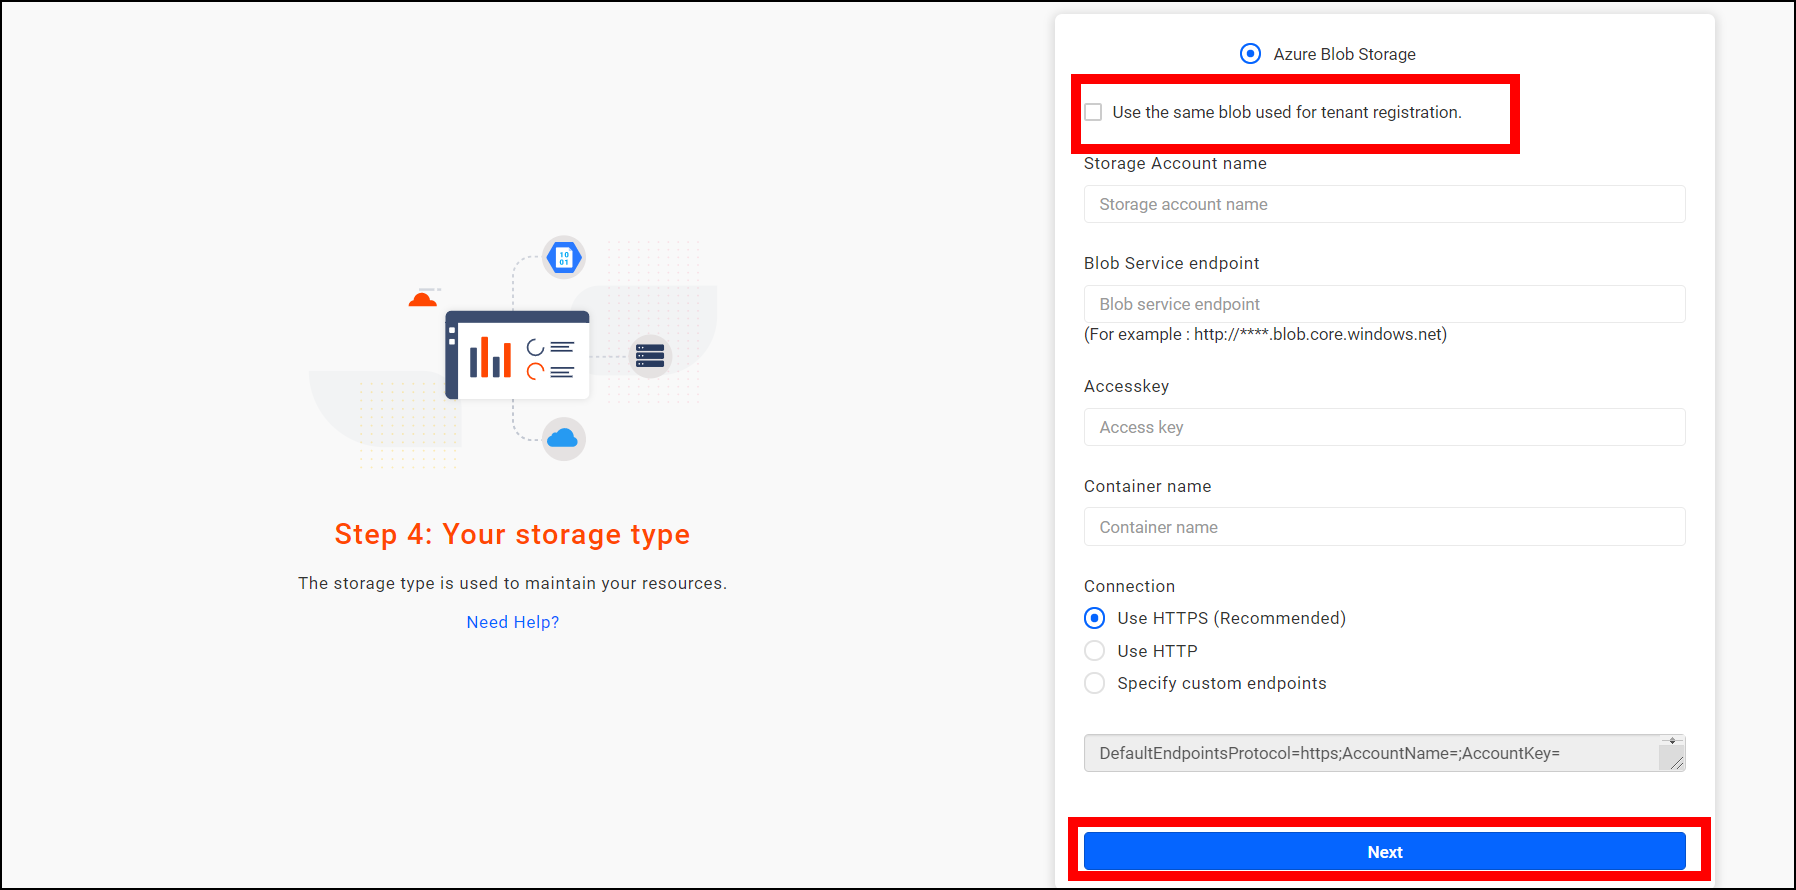
-
Once the configuration is done, then you can able to navigate sites or reports page by success login.