Single Sign-On (SSO) with OneLogin authentication
Users can be added to the Bold Reports® application using the OneLogin provider. By importing them, you can share the reports and email exported reports with them.
How to register the Bold Reports® application in OneLogin
This section explains how to set up Single Sign-On for users in OneLogin with the Bold Reports® application.
Note: This configuration has to be done on the OneLogin website.
Prerequisites
- An admin account in OneLogin.
- Install the Bold Reports® application.
Steps to register the Bold Reports® application
-
Login to the OneLogin website with the
adminaccount. -
Click on
Applicationsin the header menu.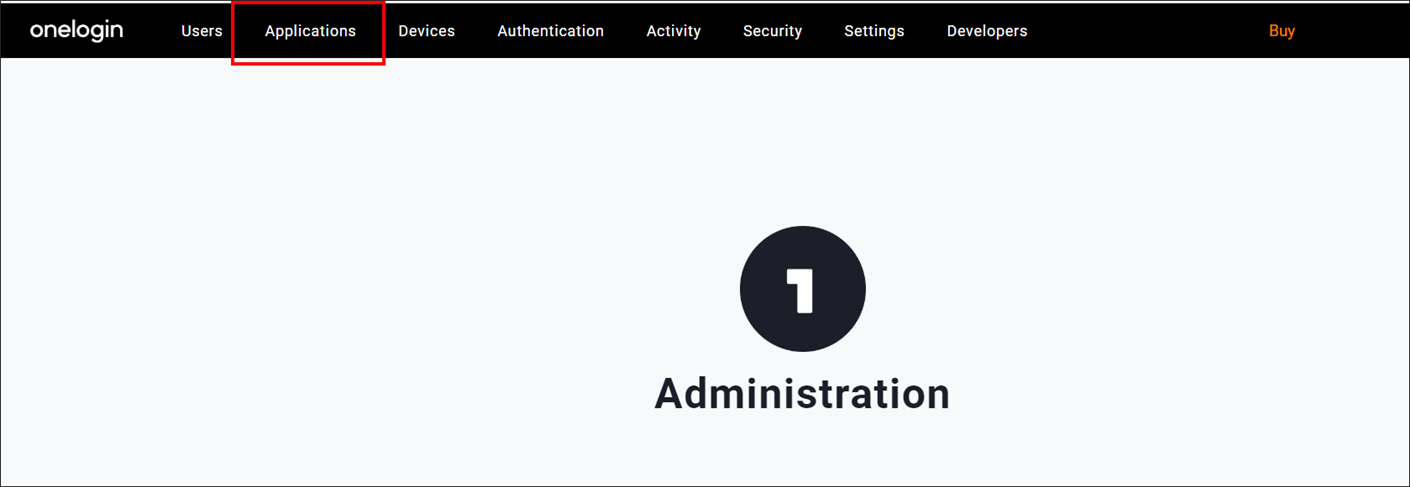
-
Click on the
Add Appbutton.
-
Type the word
OpenID Connect, oroidc, in the search box and click on the result.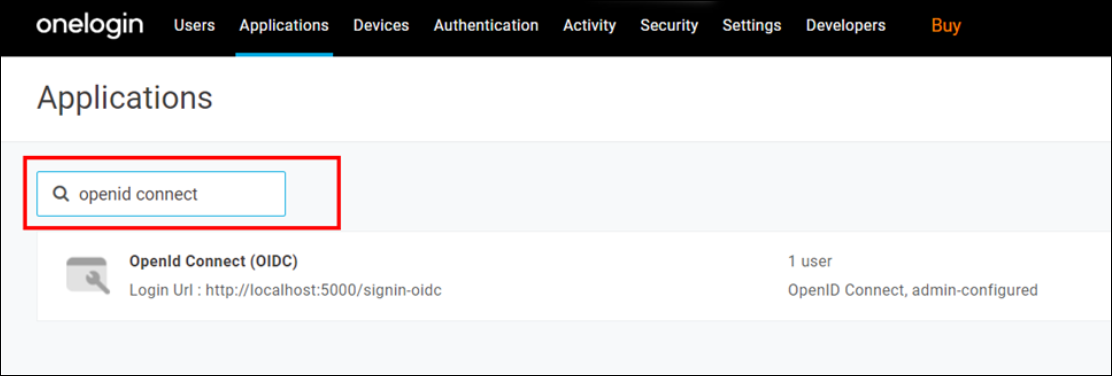
-
Type the application name and click
Add App. -
Save the application name in the
Display Name.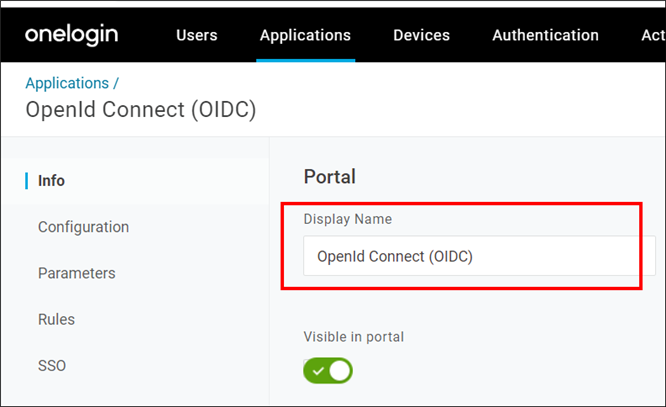
-
Click the Configuration tab and save the
Redirect URI'sandLogin URL.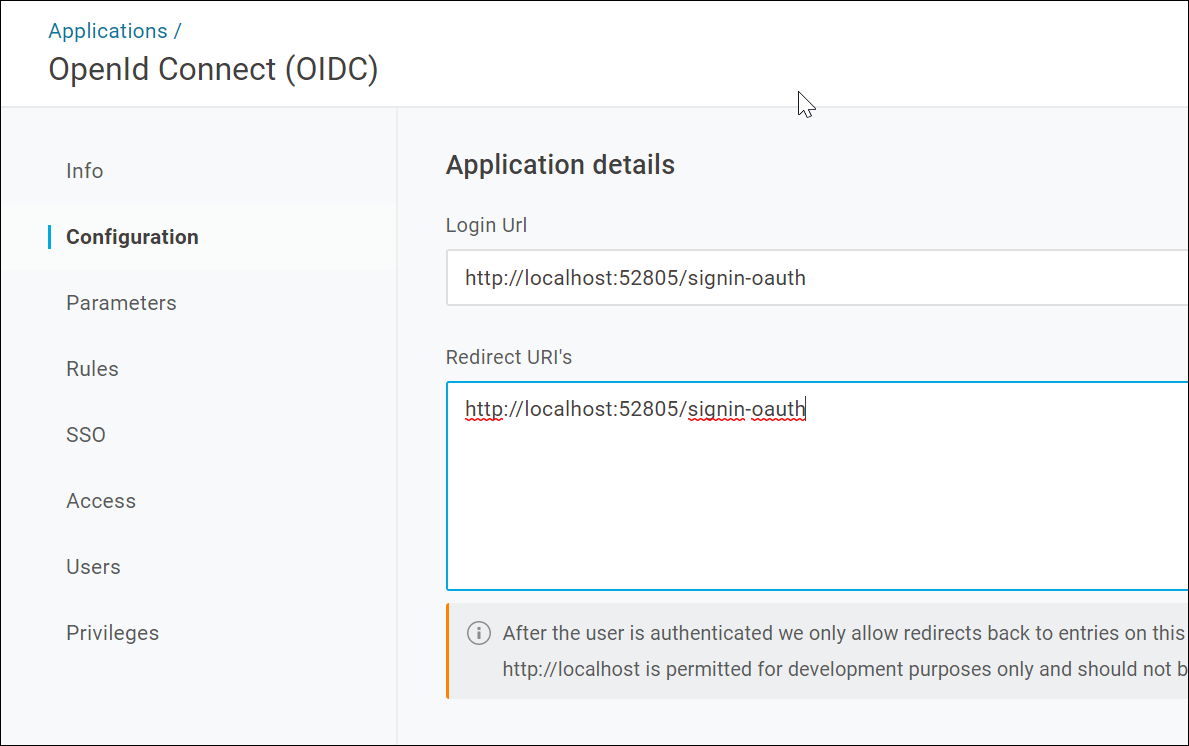
-
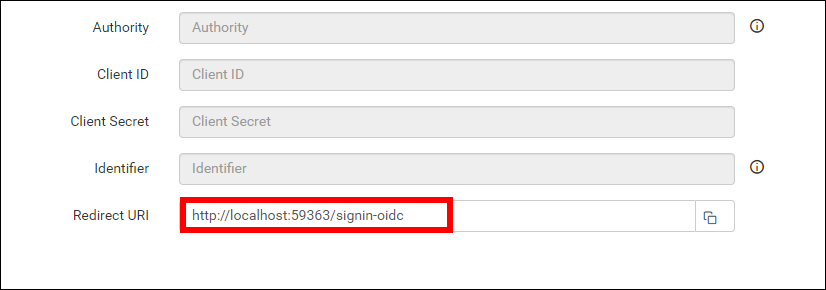
The redirect URI and Login URL are found under the OpenID Connect settings of your Bold Reports® application, as shown in the following screenshot.
-
Click the
SSO tab; you will find theClient IDandClient Secret, which you can use in the Bold Reports® application.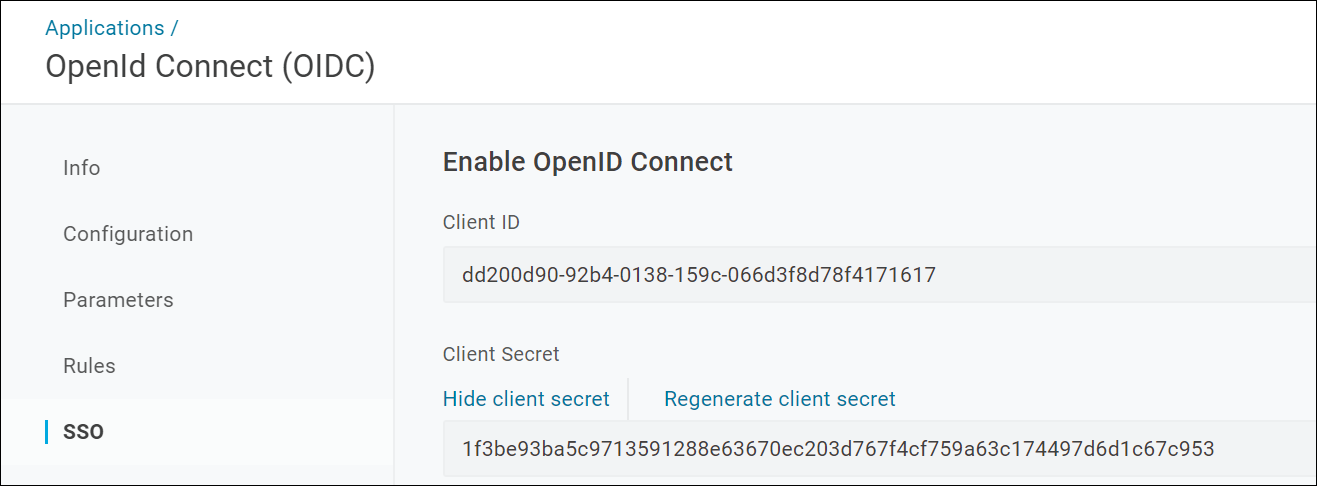
After successful registration in OneLogin, save these settings in the Bold Reports® settings page to enable this authentication.
Enable OneLogin support for authentication in Bold Reports®
Configure the settings in Bold Reports® to enable the authentication using OneLogin,following the snapshot below .
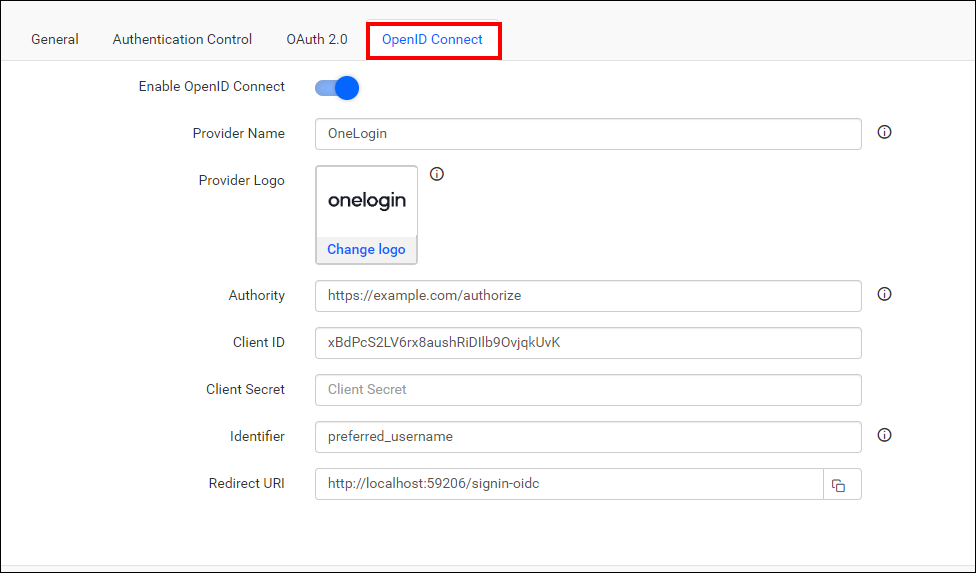
Below are the fields that need to be saved in Bold Reports® to enable OneLogin for authentication.
| Provider Name | It represents the name of the authentication provider to be displayed on the login page. |
| Provider Logo | It represents the logo of the authentication provider to be displayed on the login page. |
| Authority | It must be in the form of https://subdomain.onelogin.com/oidc. The sub domain represents the OneLogin instance. |
| Client ID | The Client ID you receive after registering the Bold Reports® application on the OneLogin website. |
| Client Secret | The Client Secret you receive after registering the Bold Reports® application on the OneLogin website. |
| Identifier | preferred_username |
| Logout Endpoint | It is an endpoint that logs out the third-party provider. |