Application Startup
NOTE: If you have already installed Bold Reports® on your machine, please go to this section to activate your Bold Reports® account.
This topic describes how to activate the account and startup the Bold Reports® Enterprise Application.
You can activate your account either by using your login credentials or by offline unlock key.
Application Startup for Bold Reports® Enterprise
The application startup screen helps you to configure storage options and admin account setup.
The application startup holds the storage options configuration for the below application,
- Bold Reports® Sites - Manages user identities and sites
- Bold Reports® Server- Manages reports, data sources, dataset, schedules and the user permissions.
New User - System Administrator
A new user should be created to access the Bold Reports® sites and reports with the details mentioned in the below image.
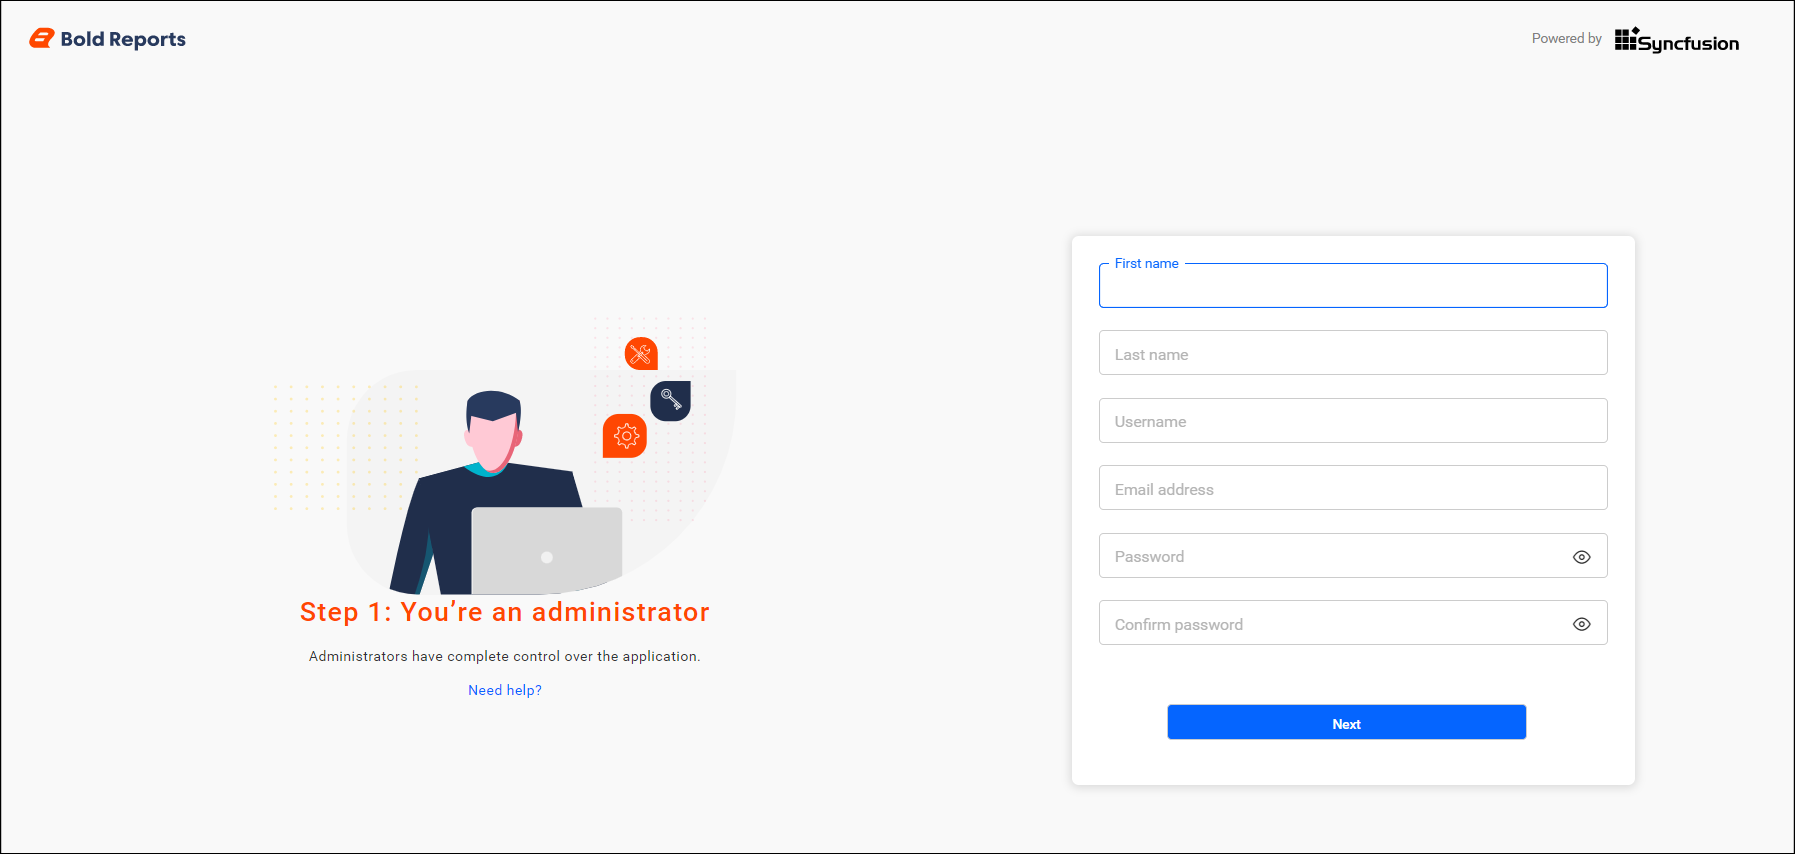
While creating this new user account, a new group called System Administrator is also created.
By default, the System Administrator group has permission to do the following:
- Create Reports
- Create Data Sources
- Create Dataset
- Create Schedules
- Create Users
- Create Groups
- Manage Permissions for users and groups
The new user account created is assigned to this group by default.
Database Configuration
Database Mode Selection
Before configuring the database, determine the mode for managing tenant data in Bold Reports. Your selection impacts how tenant data is stored, secured, and maintained.
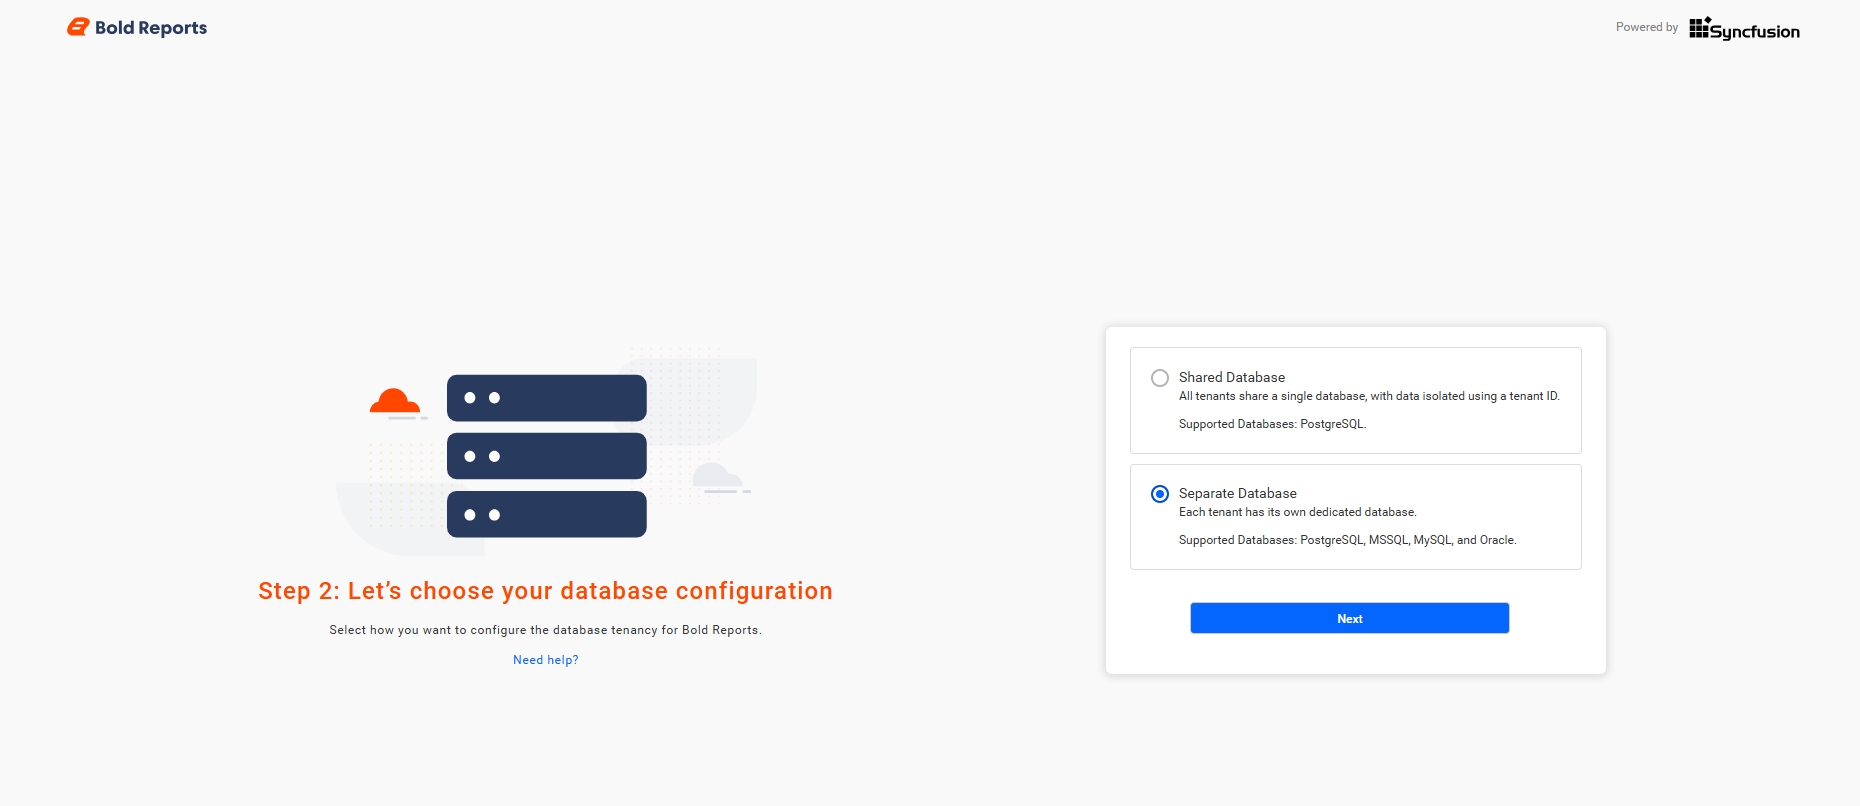
Shared Database Mode
In this mode, all tenants share a single database, with data logically separated using unique identifiers. This approach optimizes resource utilization, reduces infrastructure costs, and simplifies maintenance while maintaining data segregation. It is well-suited for scalability and efficient management. Supported Databases: PostgreSQL, MSSQL

Separate Database Mode
With this mode, each tenant has a dedicated database, ensuring complete physical data separation. This provides enhanced security, independent management, and optimized performance for each tenant. However, it requires greater infrastructure investment and ongoing maintenance.
Supported Databases: MSSQL, PostgreSQL, MySQL, Oracle

Once you select the preferred database mode, click Next to proceed to the database configuration step, where you will enter the required connection details.
This configuration helps you to configure single or individual databases for Bold ID and Bold Reports® configuration.
Bold ID database stores the sites, users, and their site access information.
Bold Reports database stores the reports, users, and their resource access permissions. You can use anyone of the following database to configure the Bold Reports® Server.
Storage Options
- Microsoft SQL server / Azure SQL
- PostgreSQL
- MySQL
- Oracle
You can connect to the SQL Server instance with the below options.
-
Create new database.
-
Use an existing database.

Create New Database
Database Configuration for Bold Reports® Server in SQL Server
Database Configuration for Bold Reports® Server in PostgreSQL
Database Configuration for Bold Reports® Server in MySQL.
Database Configuration for Bold Reports® Server in Oracle
Note: When creating a new site during installation, database users need specific permissions. Please ensure that the users are granted the necessary permissions.
Existing Database
Existing database can be used to configure the database to store the user identities and report details.
The credentials that is given to connect to database Server instance must have permissions to
- Create Database
- Create Table
- Insert
- Update Table
- Alter Table
- Select
- Drop Table
- Drop Database
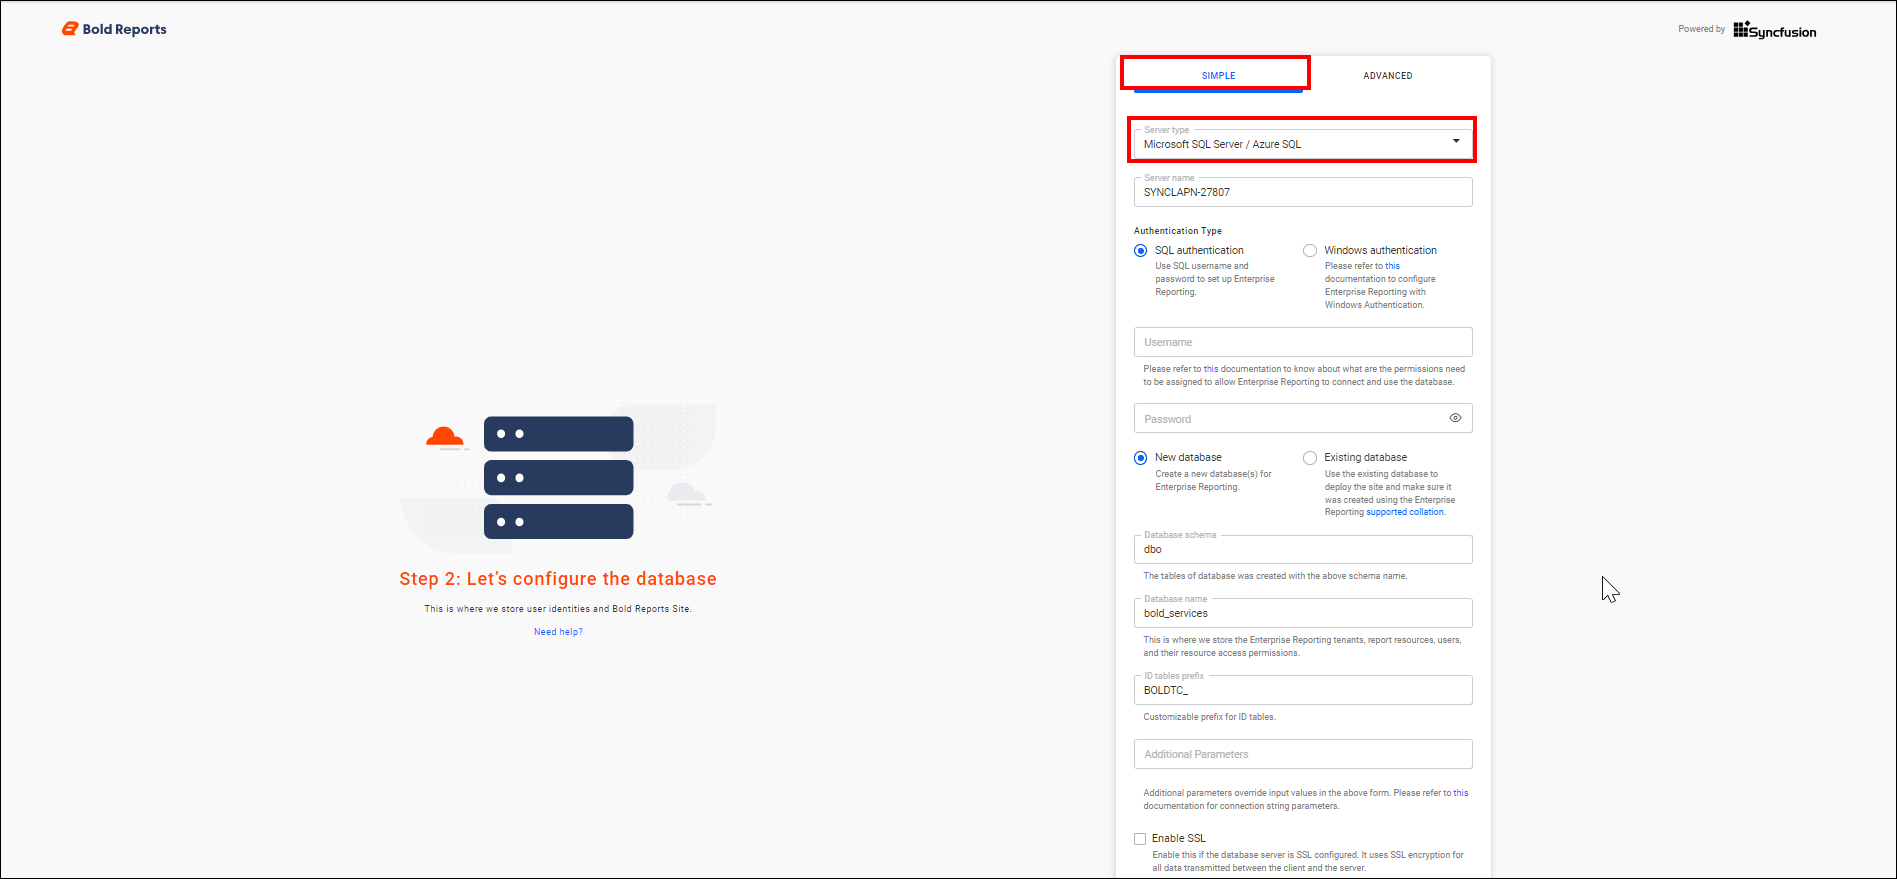
Here, user can select a simple or advanced mode for configuration.
Simple mode
Configure a single database for Bold ID and Bold Reports®.
This configuration stores the user identities, site details, reports, users, and their access permissions in a single database.
The sites will be deployed to the local file system by default in Simple mode
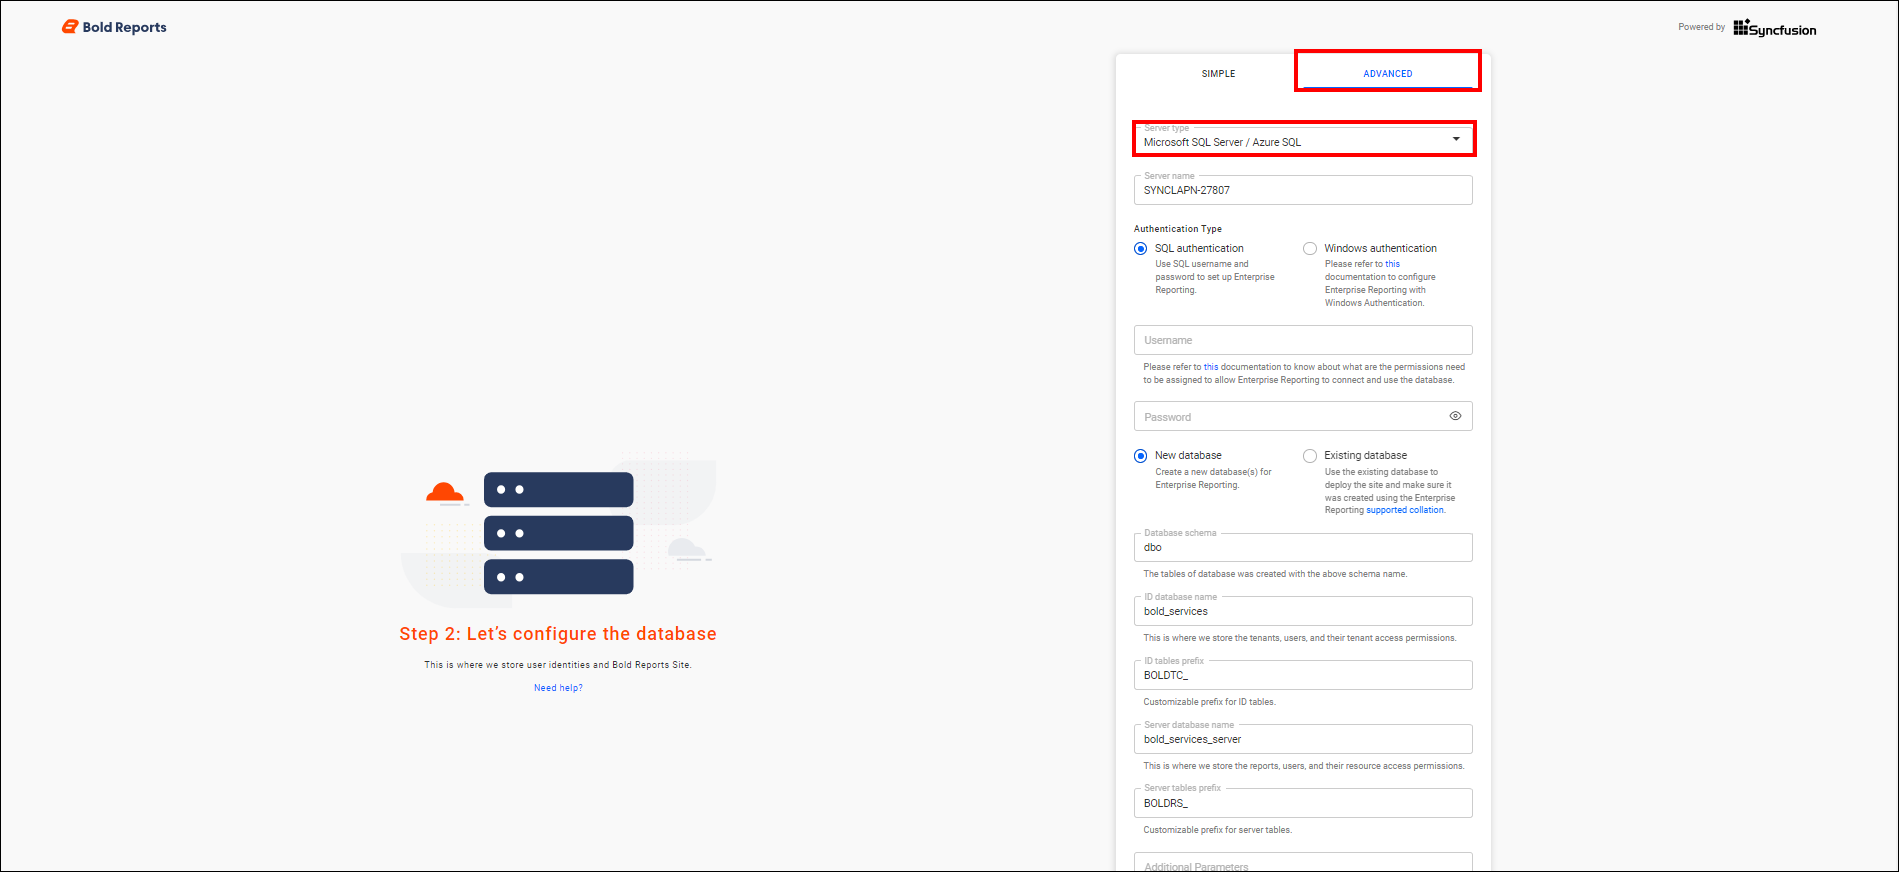
Advanced mode
Configure individual databases for Bold ID and Bold Reports®, and choose between local file system and Azure Blob Storage for Bold ID and Bold Reports®.
Bold ID database stores user identities and site details.
Bold Reports database stores reports, users, and their access permissions.
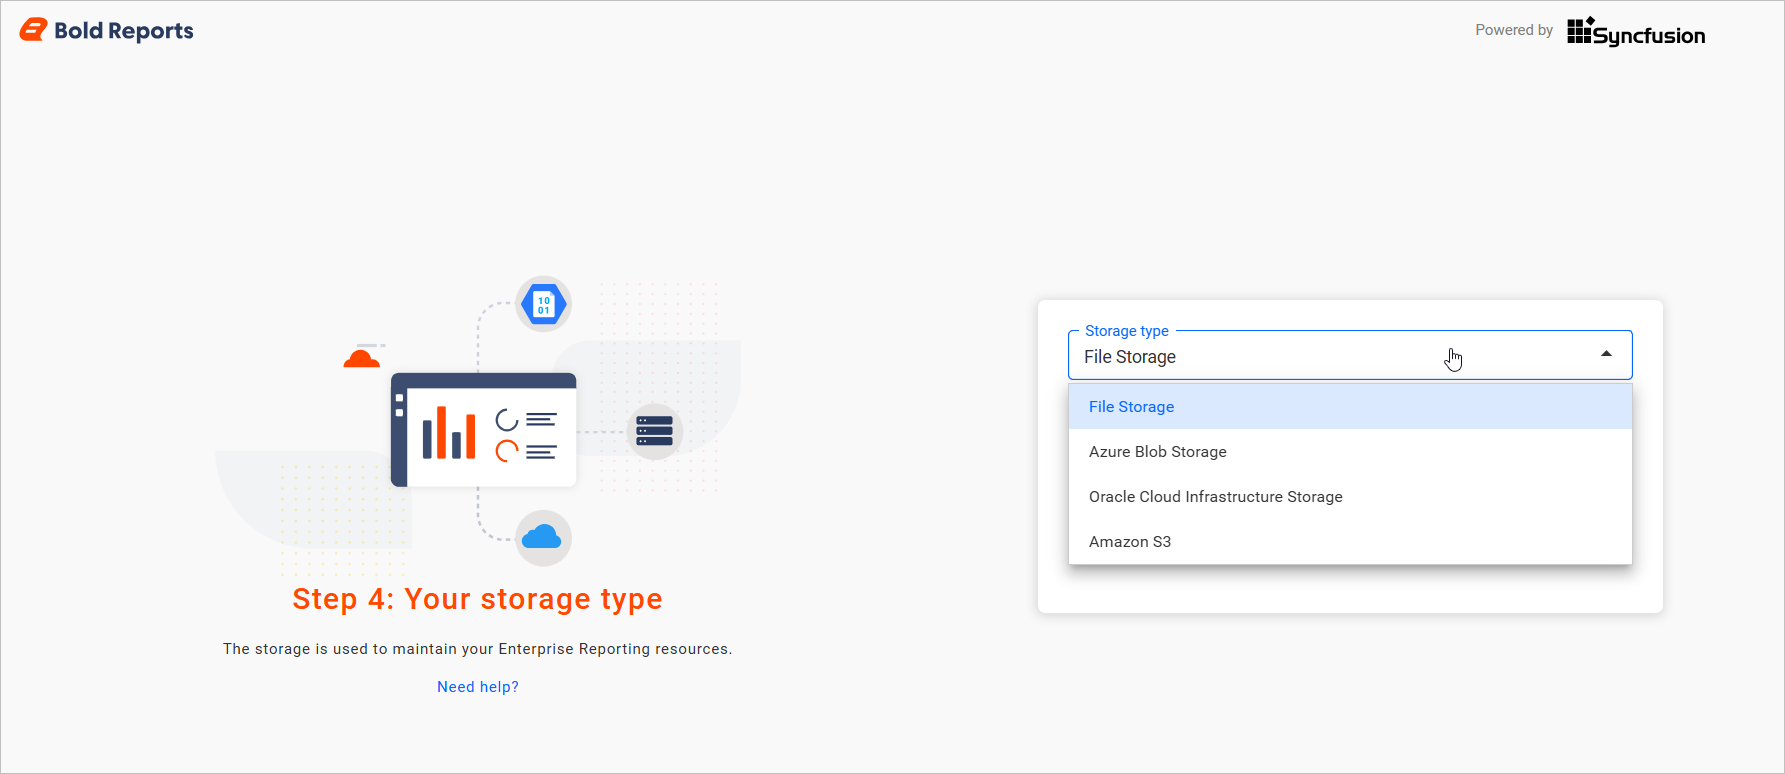
Storage Configuration
In advanced mode, the user can select the desired storage option from the Storage Type dropdown by providing the required credentials in the respective fields, to store the resource in Bold ID and Bold Reports®.
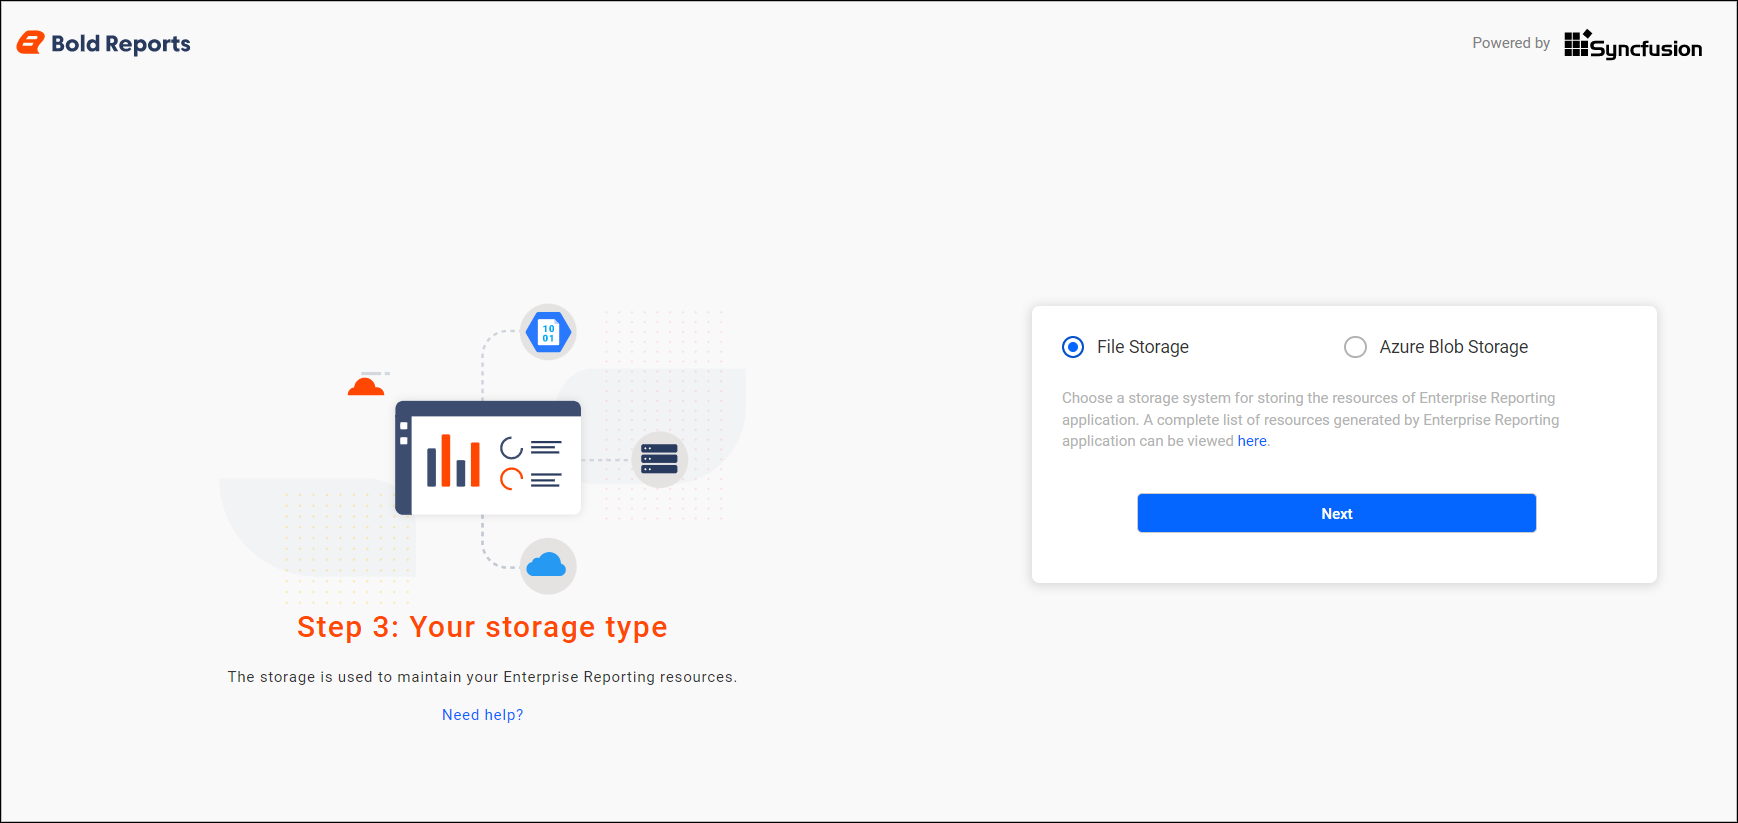
By default, storage type is File Storage.
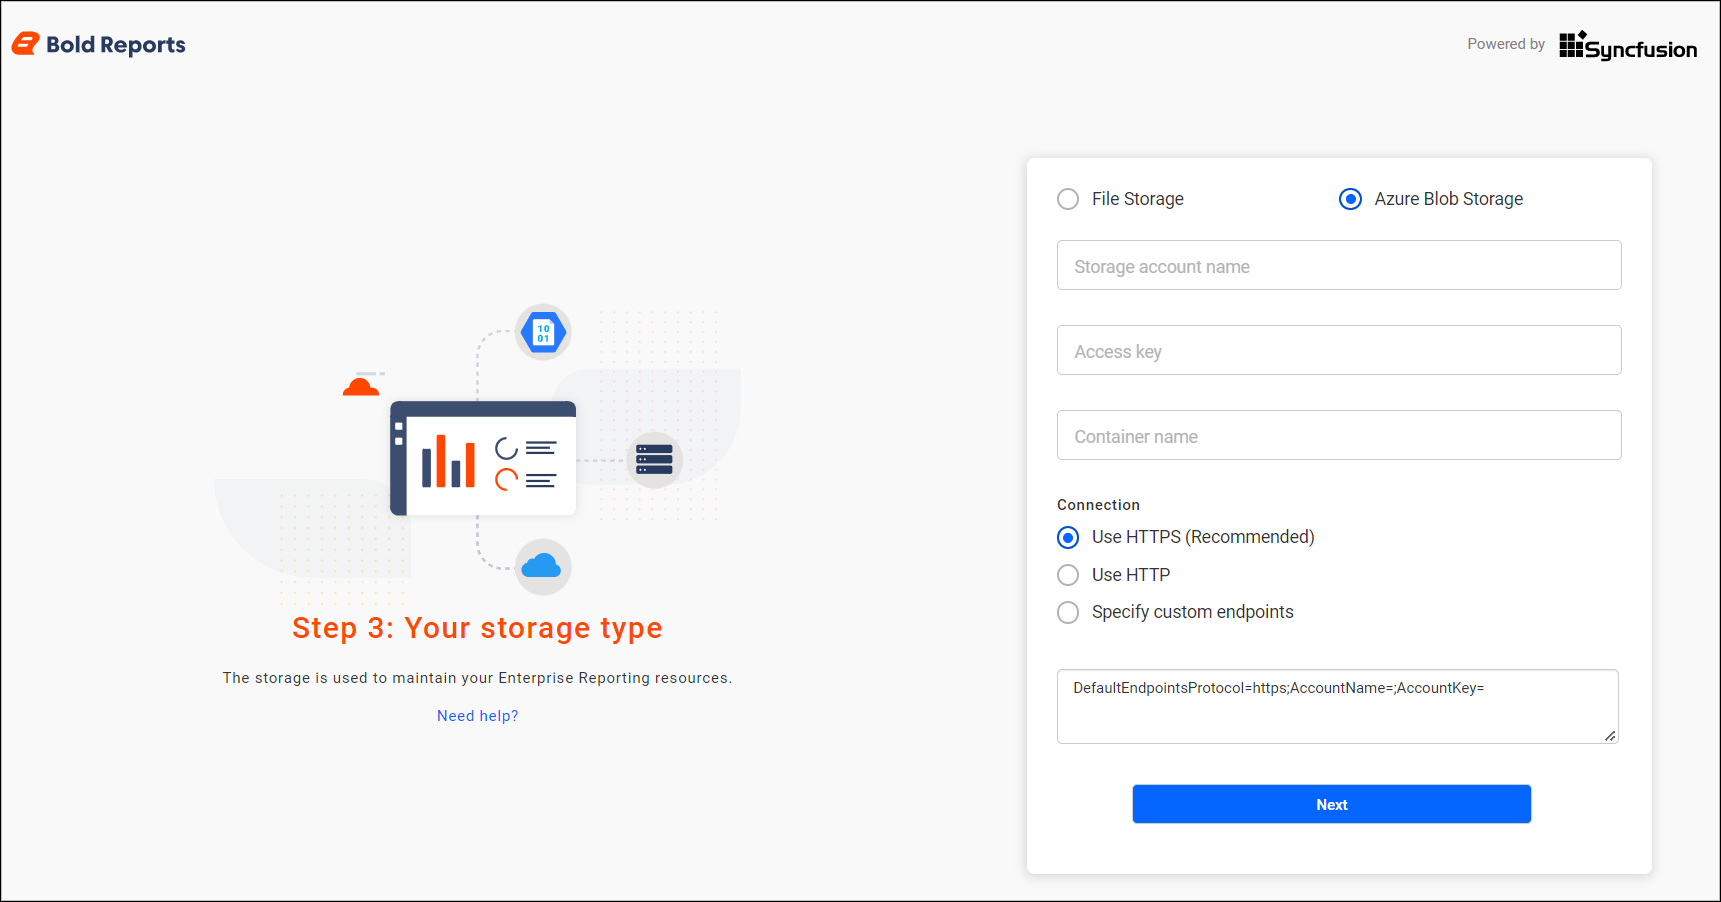
Azure Blob Storage
Users can select the Blob Storage by providing the Azure Blob Credentials in the required field. For detailed configuration steps, refer to the Azure Blob Storage Quickstart Guide.
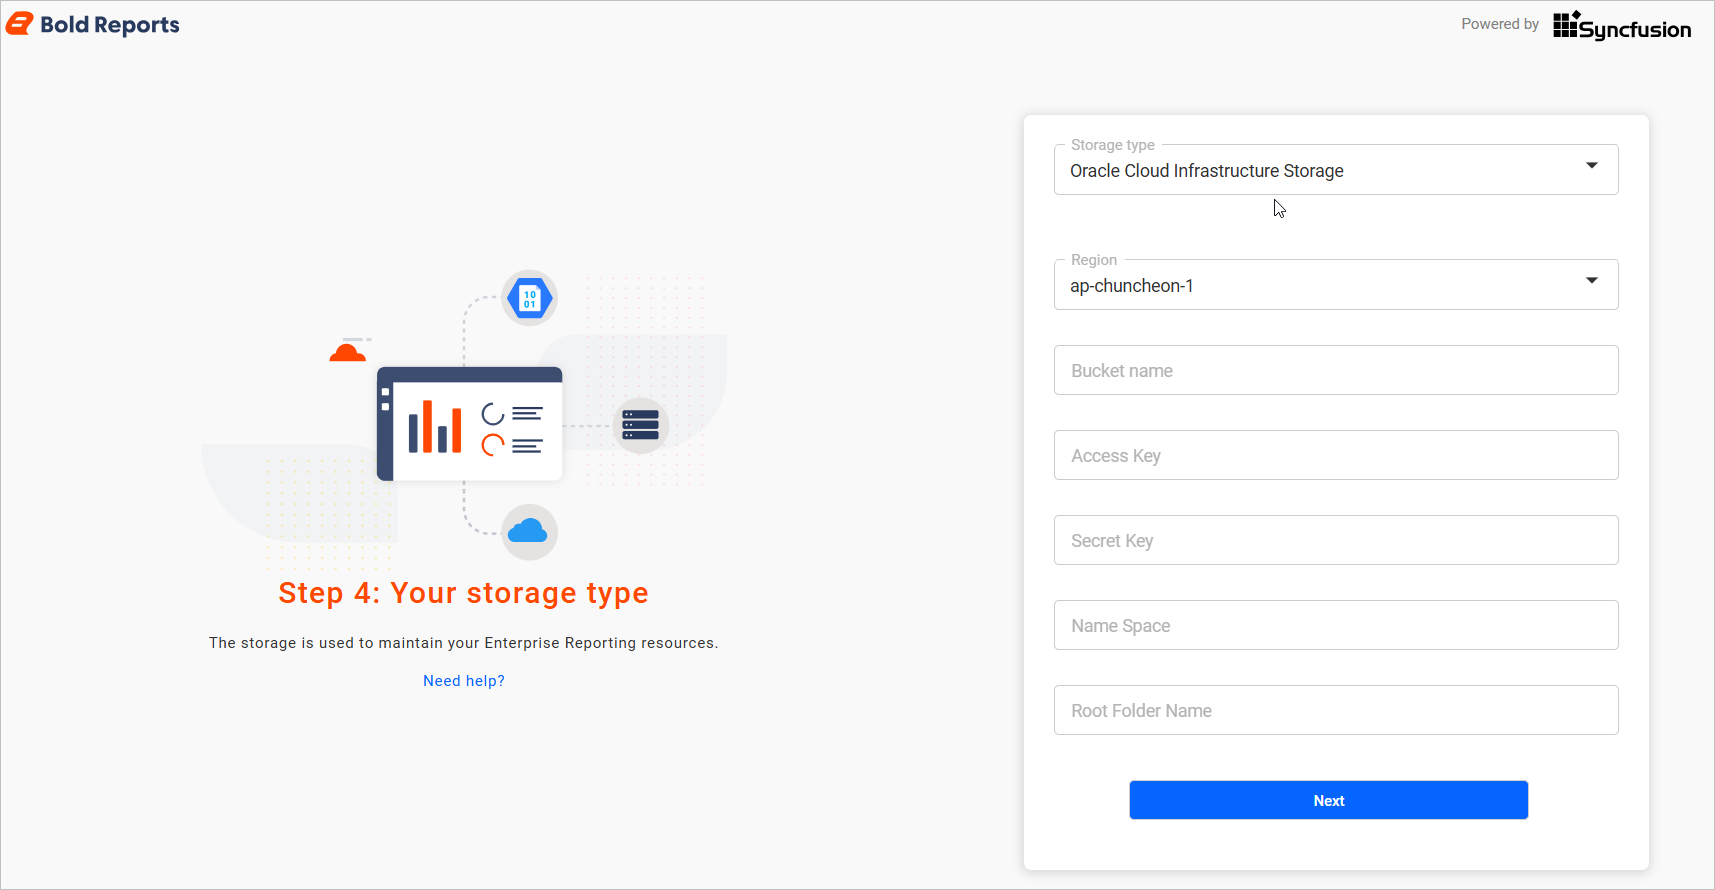
Oracle Cloud Infrastructure (OCI) Object Storage
Provide the required Oracle credentials such as OCI Access Key, Secret Key, and Bucket Name, Root Folder Name, Region, NameSpace.
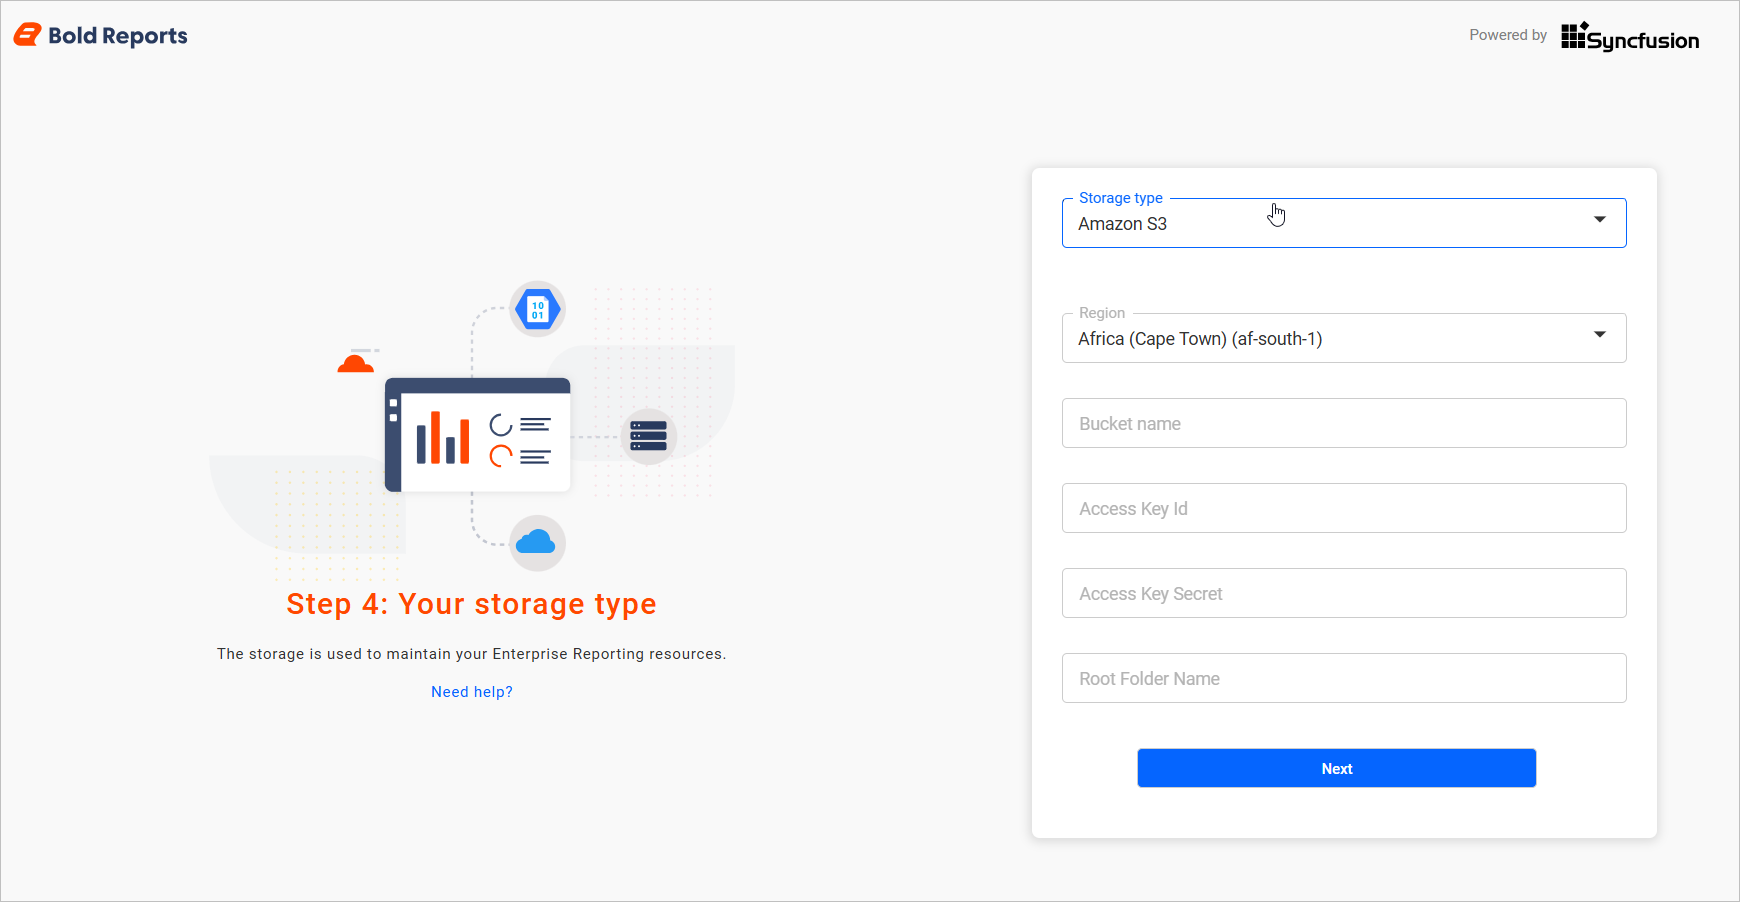
Amazon S3
Enter the AWS Access Key, Secret Key, and Bucket Name, Root Folder Name, Region details to configure S3 storage. You can find the details on how to configure the Amazon S3.
Activate the account using login credentials
You can sign in with your registered email address to activate your subscription.
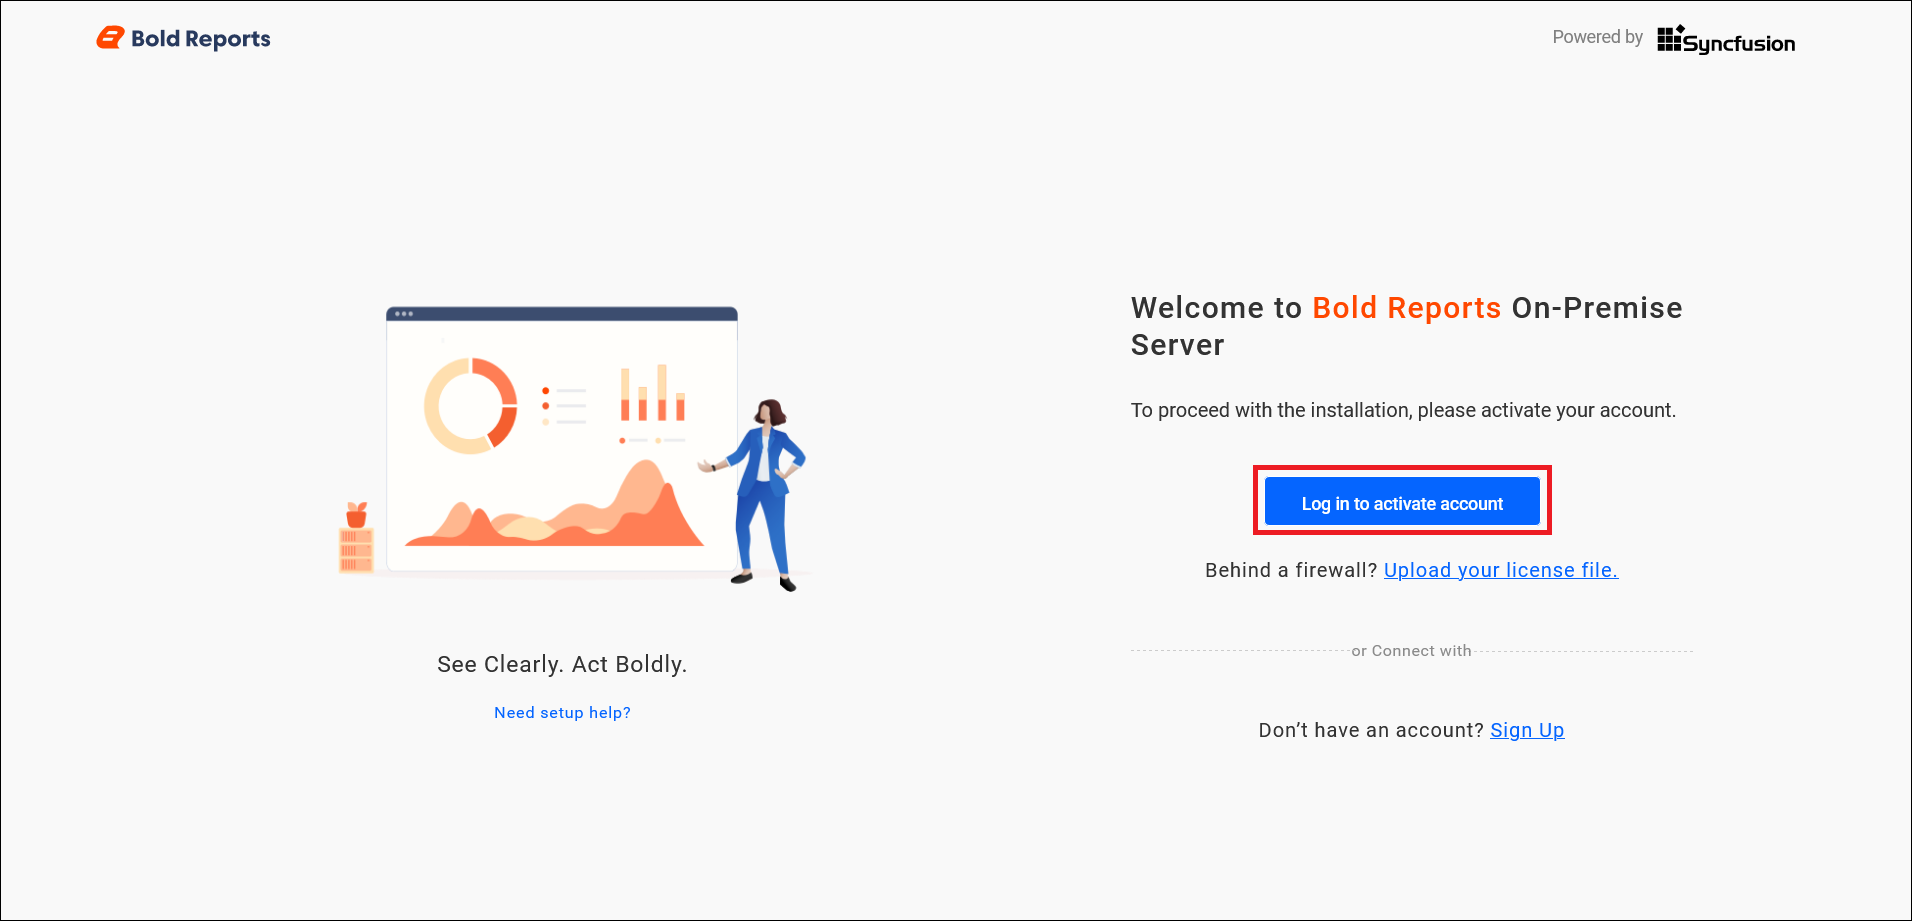
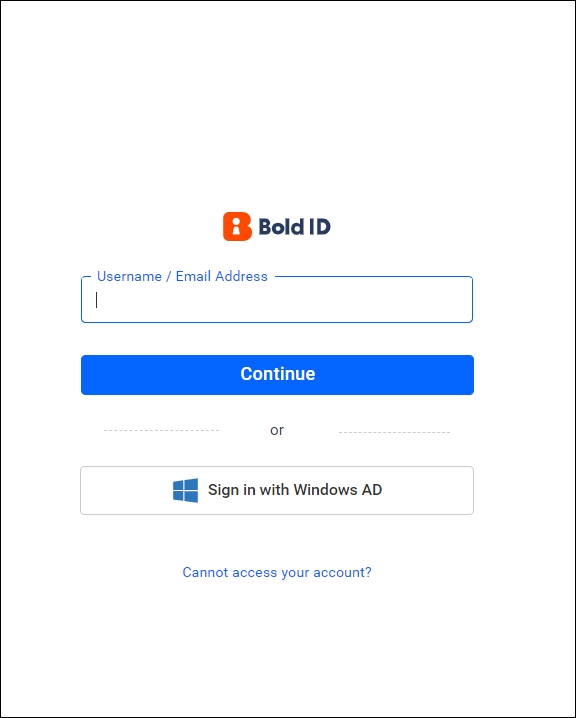
Select Login option
From the login window, choose your account type and proceed to login.
- Bold Reports® Login Credentials
- Azure AD
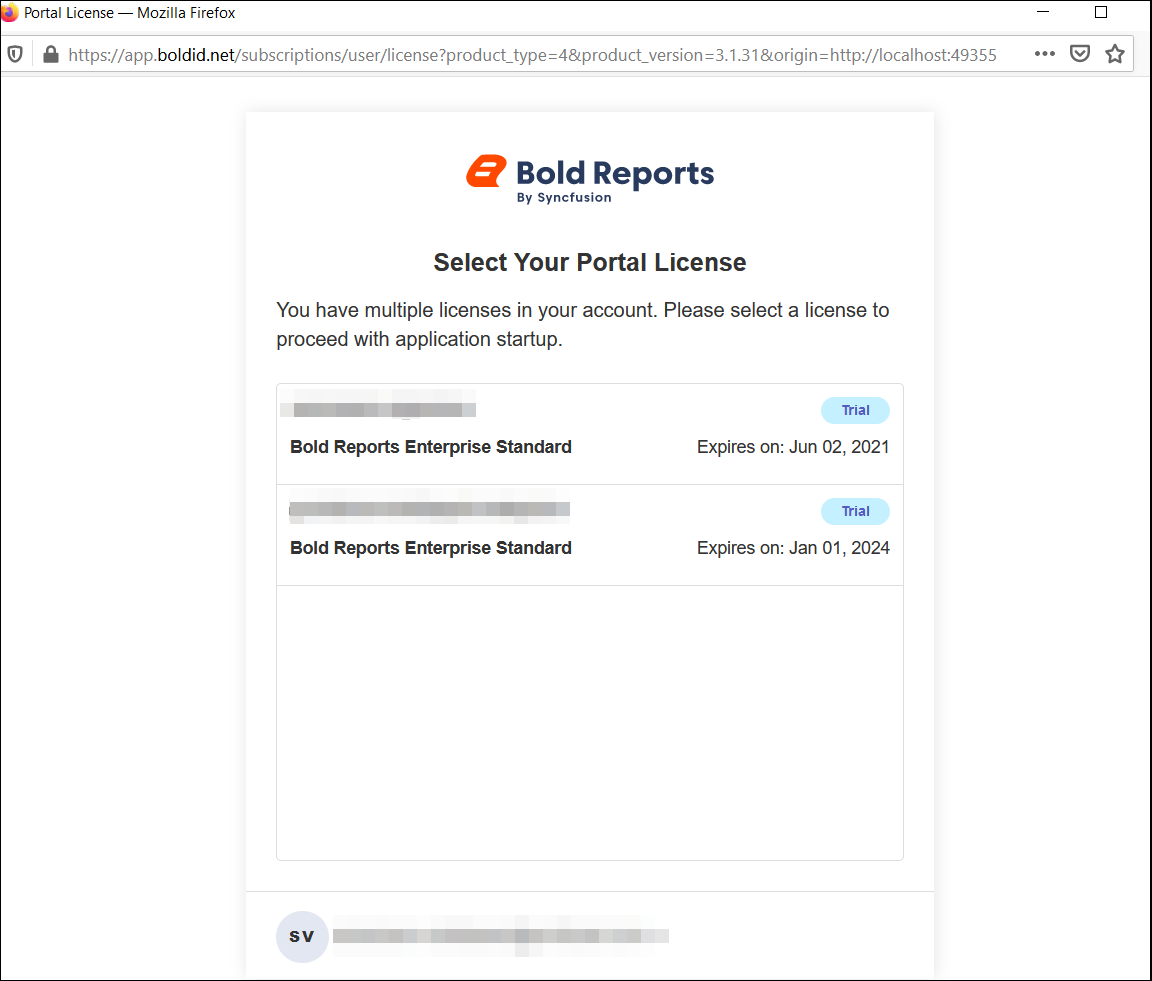
Select license
If you are having multiple Bold Reports® licenses, then you will be getting this screen and select the corresponding license to proceed with application startup. Otherwise, you will be automatically redirected to the application startup screen.
Offline Installation
NOTE: Offline unlock key available for selected customers only. Please contact us to get access to the offline unlock key.
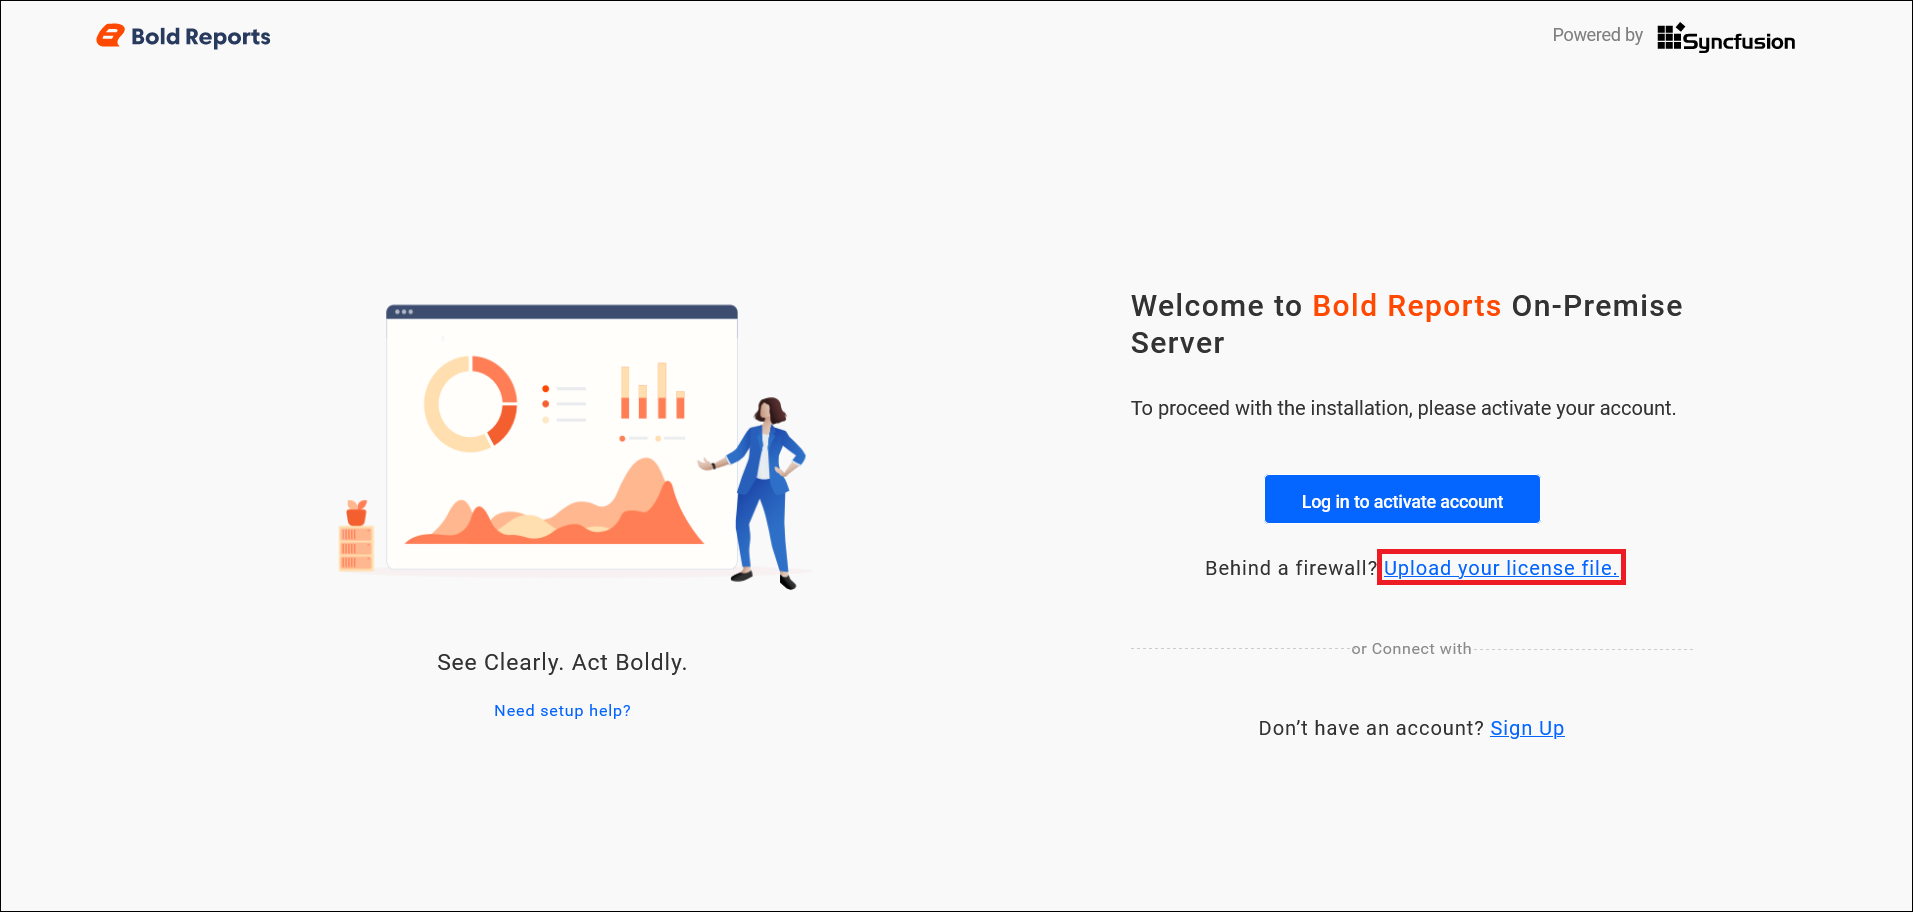
If you are installing Bold Reports® in firewall-restricted environments, you can use the offline unlock key to activate the account. Please download your offline unlock key from the Bold Reports® download page.
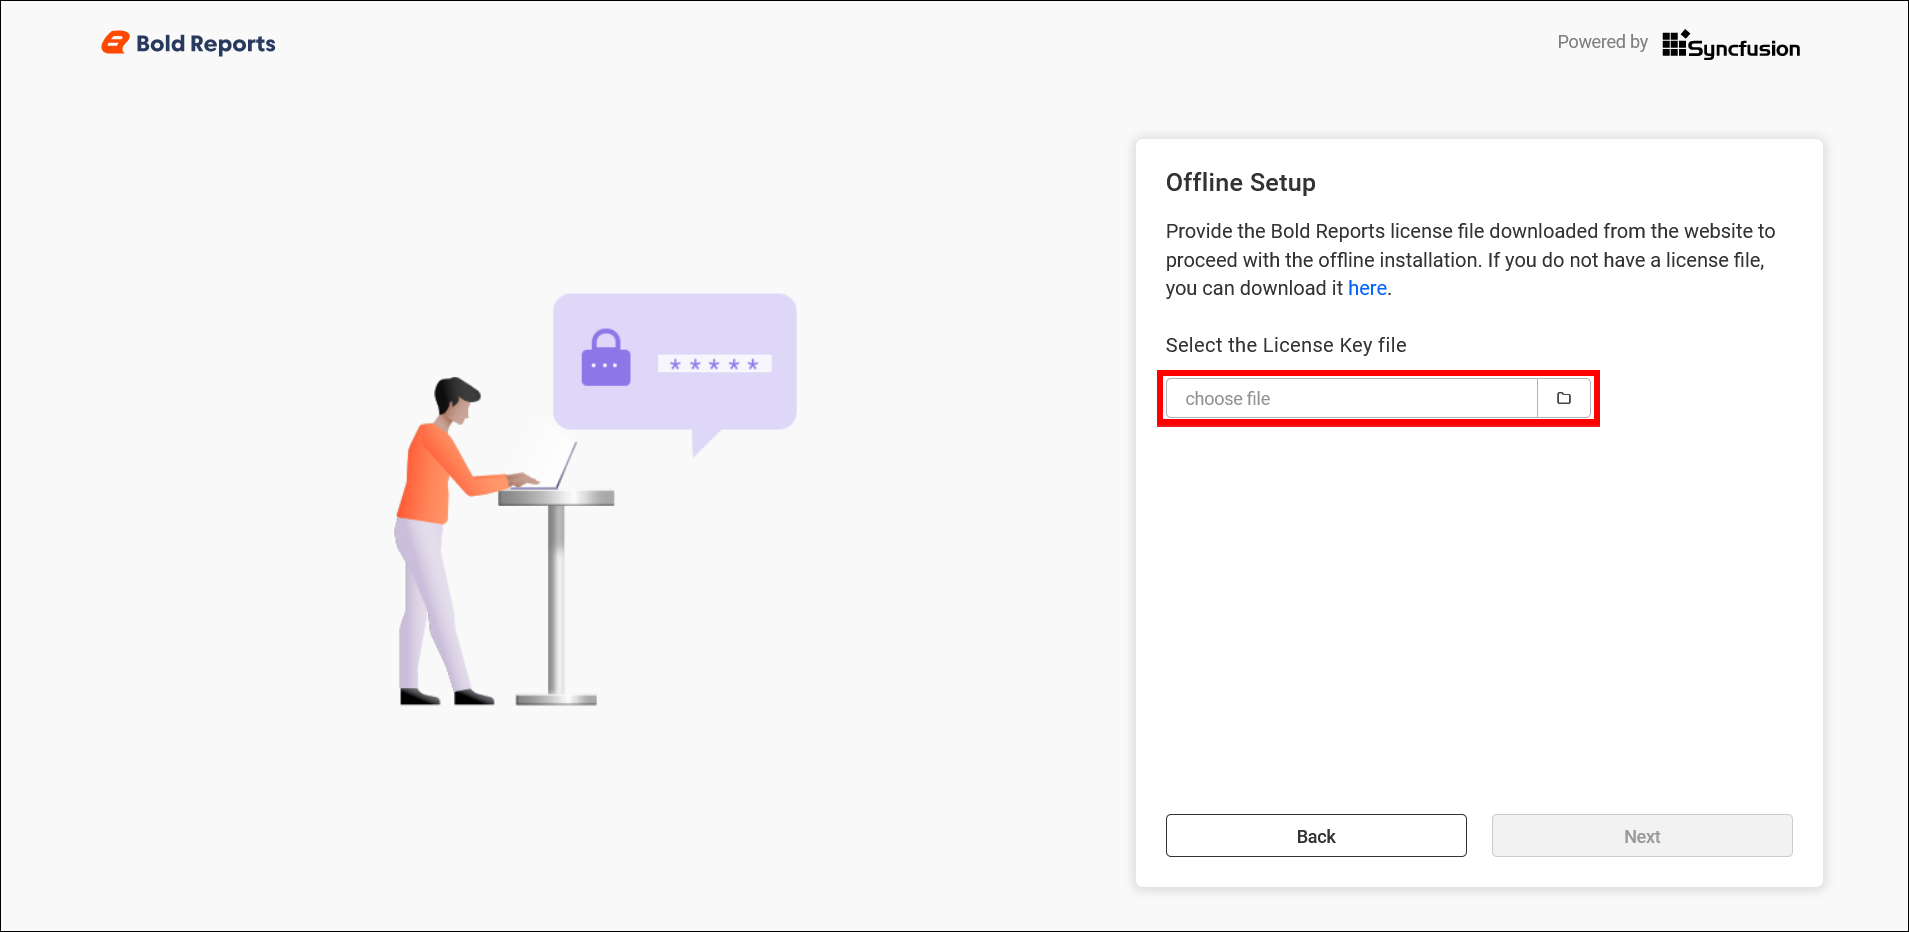
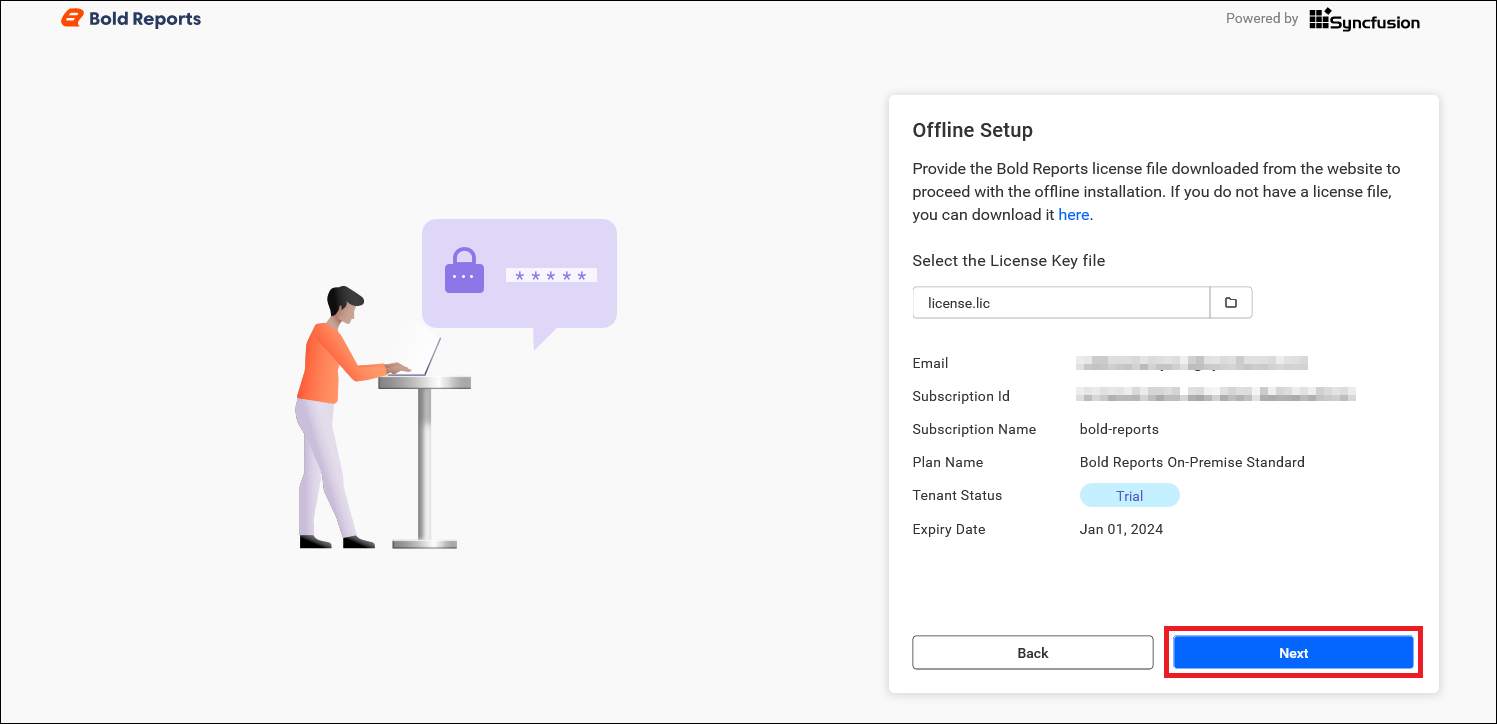
Once the unlock key is uploaded, proceed to the next screen for configuring the application.
Trial Mode Activation
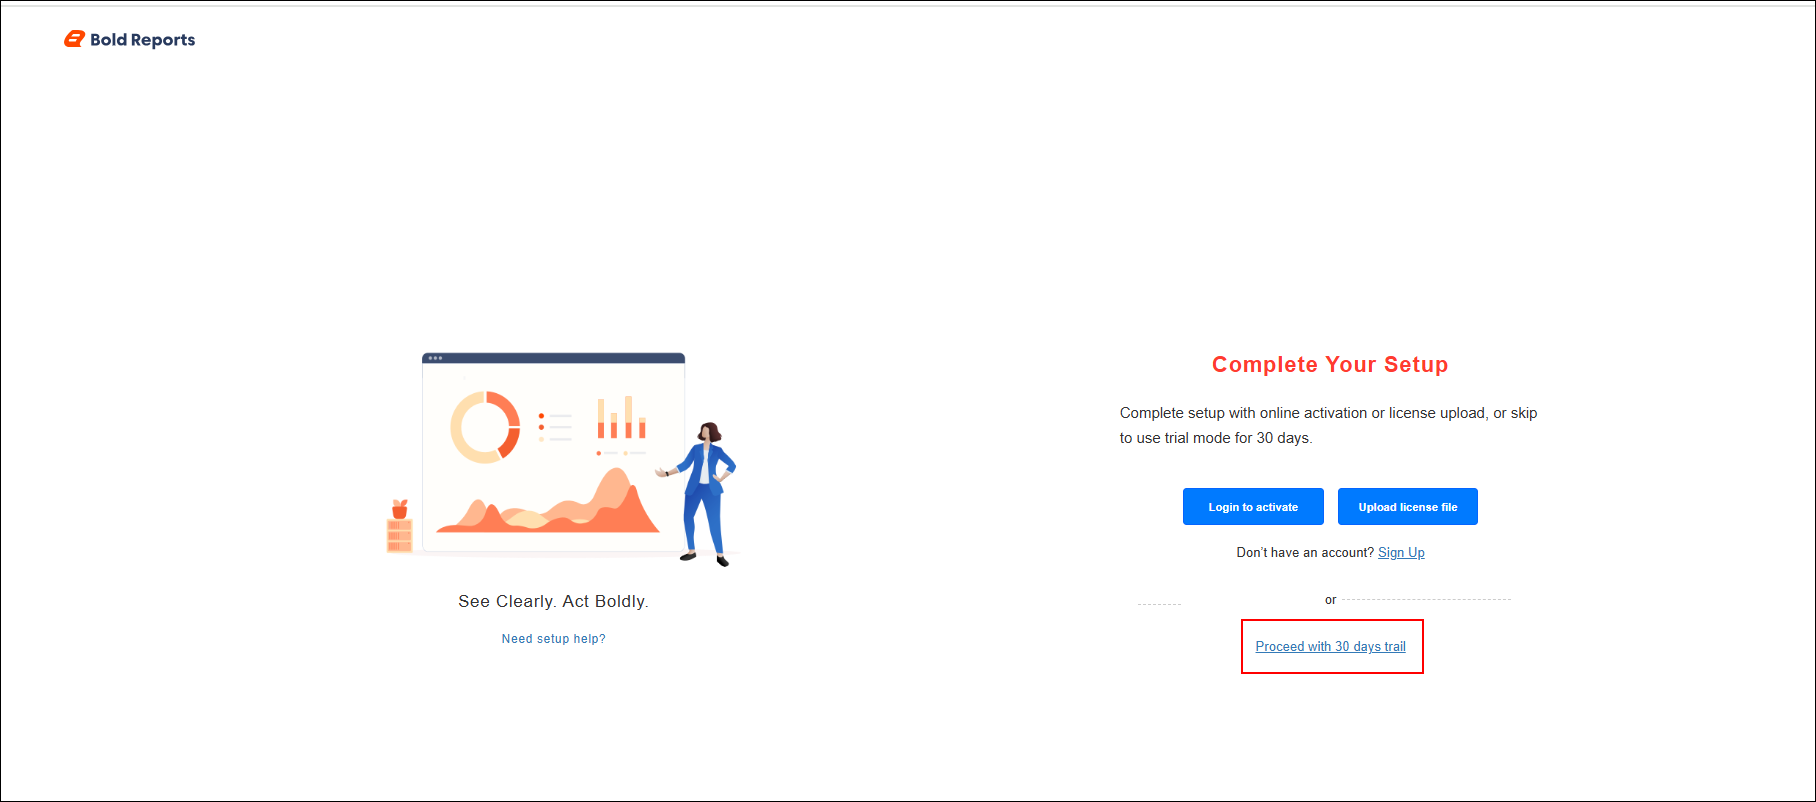
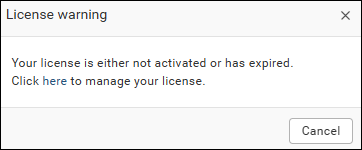
If you do not have an online or offline license, you can use the 30-day free trial to explore and evaluate the application’s features. Once the 30-day trial period ends, the application will display a warning icon, and clicking the icon will show a message indicating that the trial period has expired.
![]()
Possible errors cases and their solution
| Cases | Solution |
|---|---|
| Invalid File Type | Please ensure to upload the valid unlock key file (lic) downloaded from the Bold Reports® download page. |
| unlock key Expired | Your unlock key date was expired. Please download the new unlock key file from the Bold Reports® download page. |
NOTE: If you are facing any other issues, please contact us from our contact page.
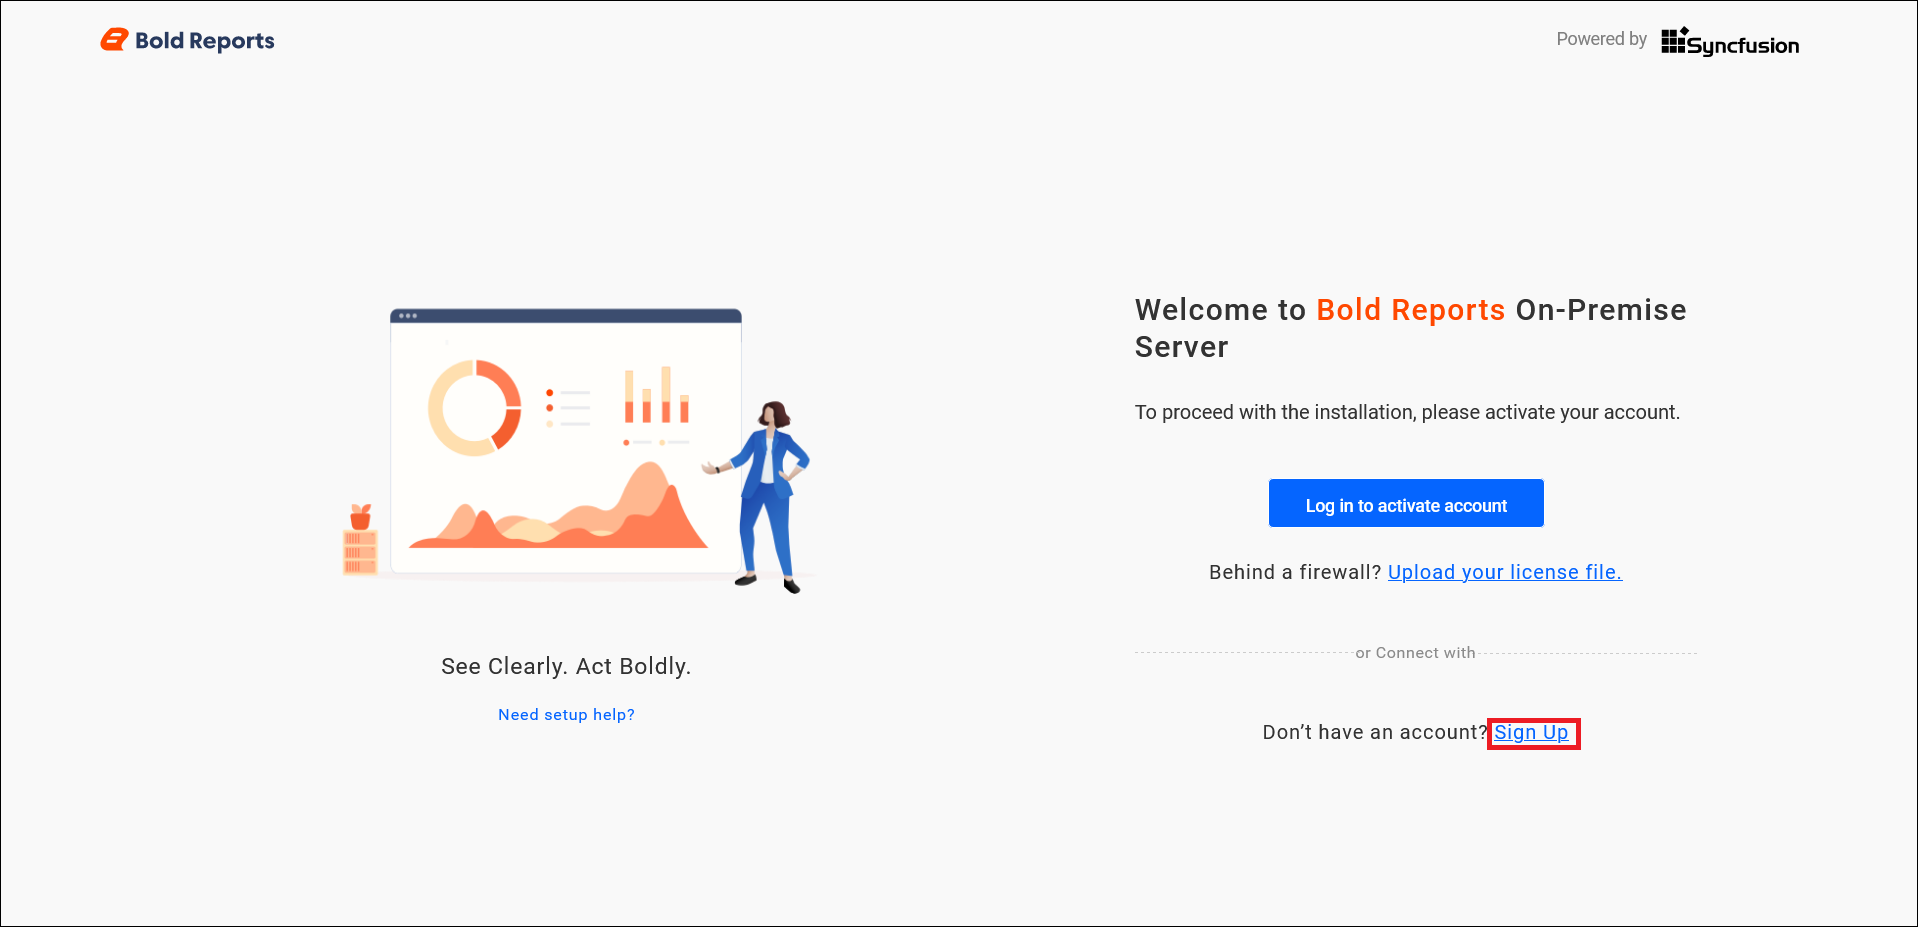
Create Account Without Trial
If you do not have an account for Bold Reports®, you can request a new trial from the Bold Reports® pricing page.
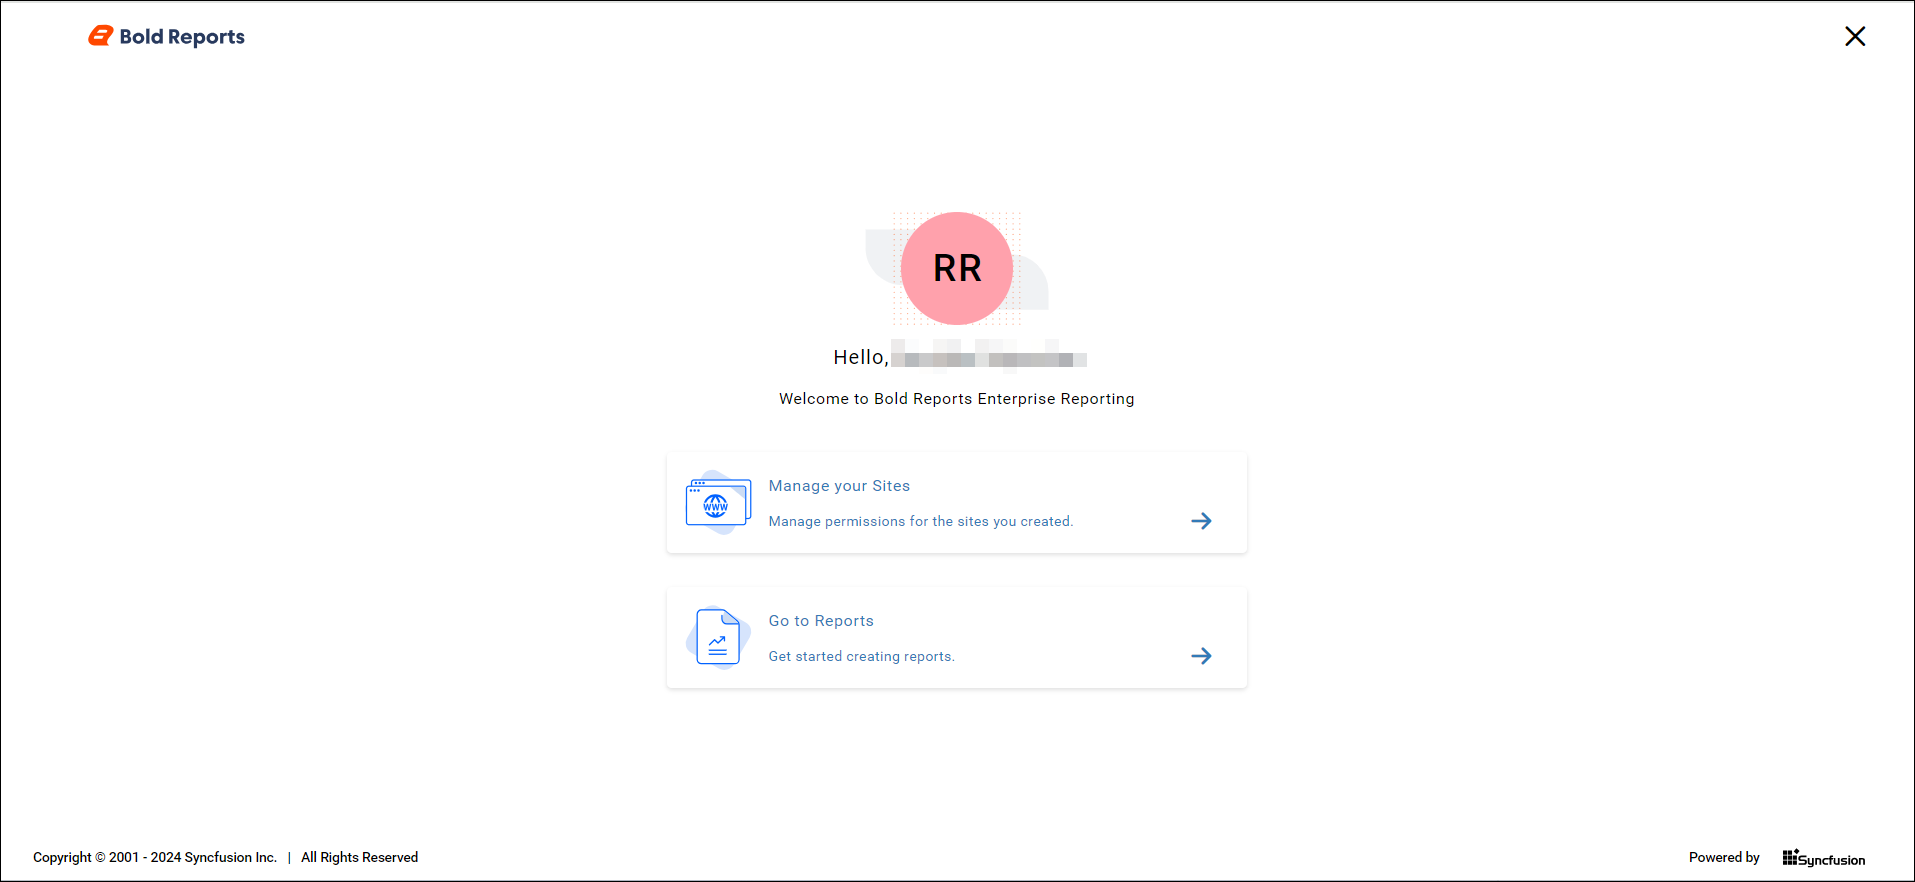
Once the process completed, you can able to
- Manage sites – where you can manage permissions for the sites you have created.
- Go to Reports - where you can create, edit, update the reports and so on.
Report Server Database
Bold Reports® Report Server stores the following information only to the server database:
- Information of reports
- Information of shared data sources
- Information of shared datasets
- Categories
- Schedules definitions
- Permissions settings associated for report, data source, data set, categories, and schedules
- Report Server configurations
The reports, dataset, and data source, which are added to the Bold Reports® Report Server will be maintained in some location based on storage type you have chosen while configuring the Bold Reports® Server application. Refer to this FAQ page for more information.
Activate Bold Reports® license
You can activate your account either by using your login credentials or by offline unlock key.
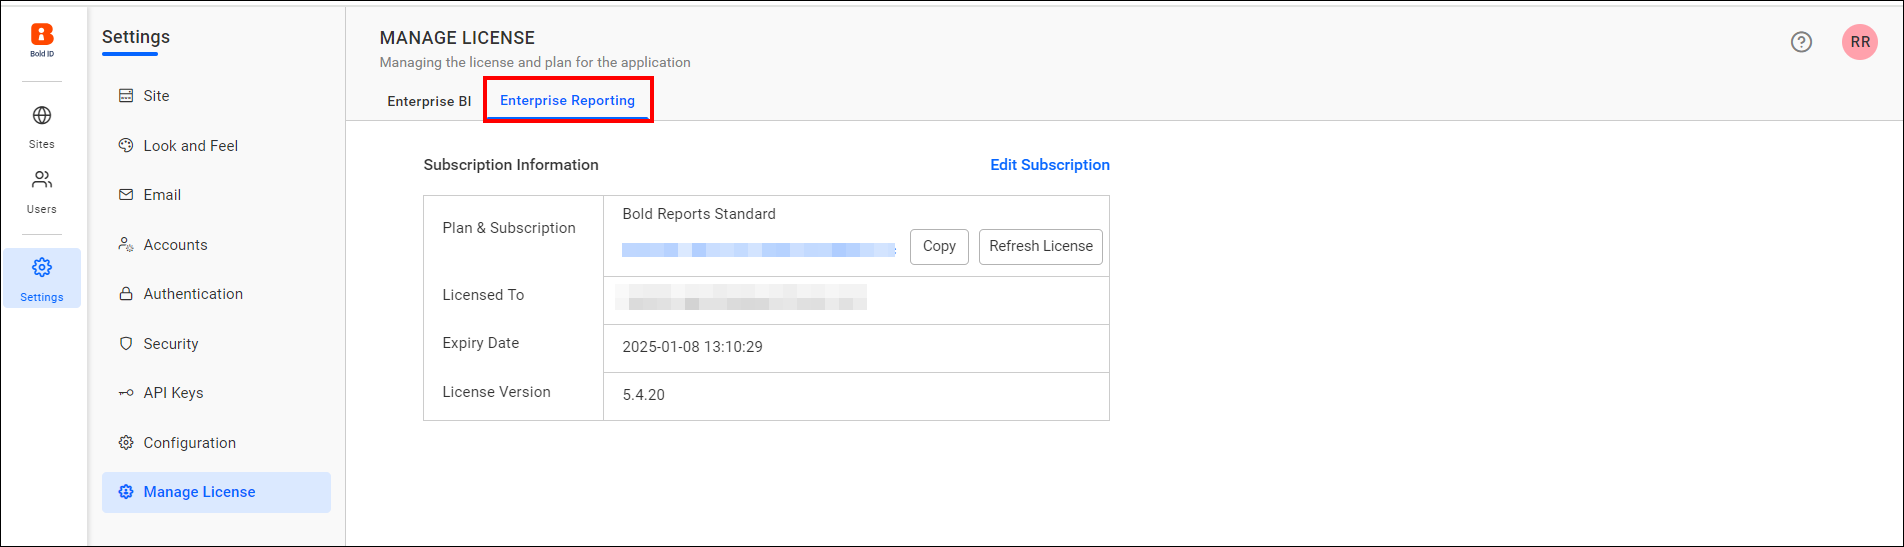
Open the Manage License Page - {domain}/ums/administration/license-settings
Then, choose the Enterprise Reporting tab.
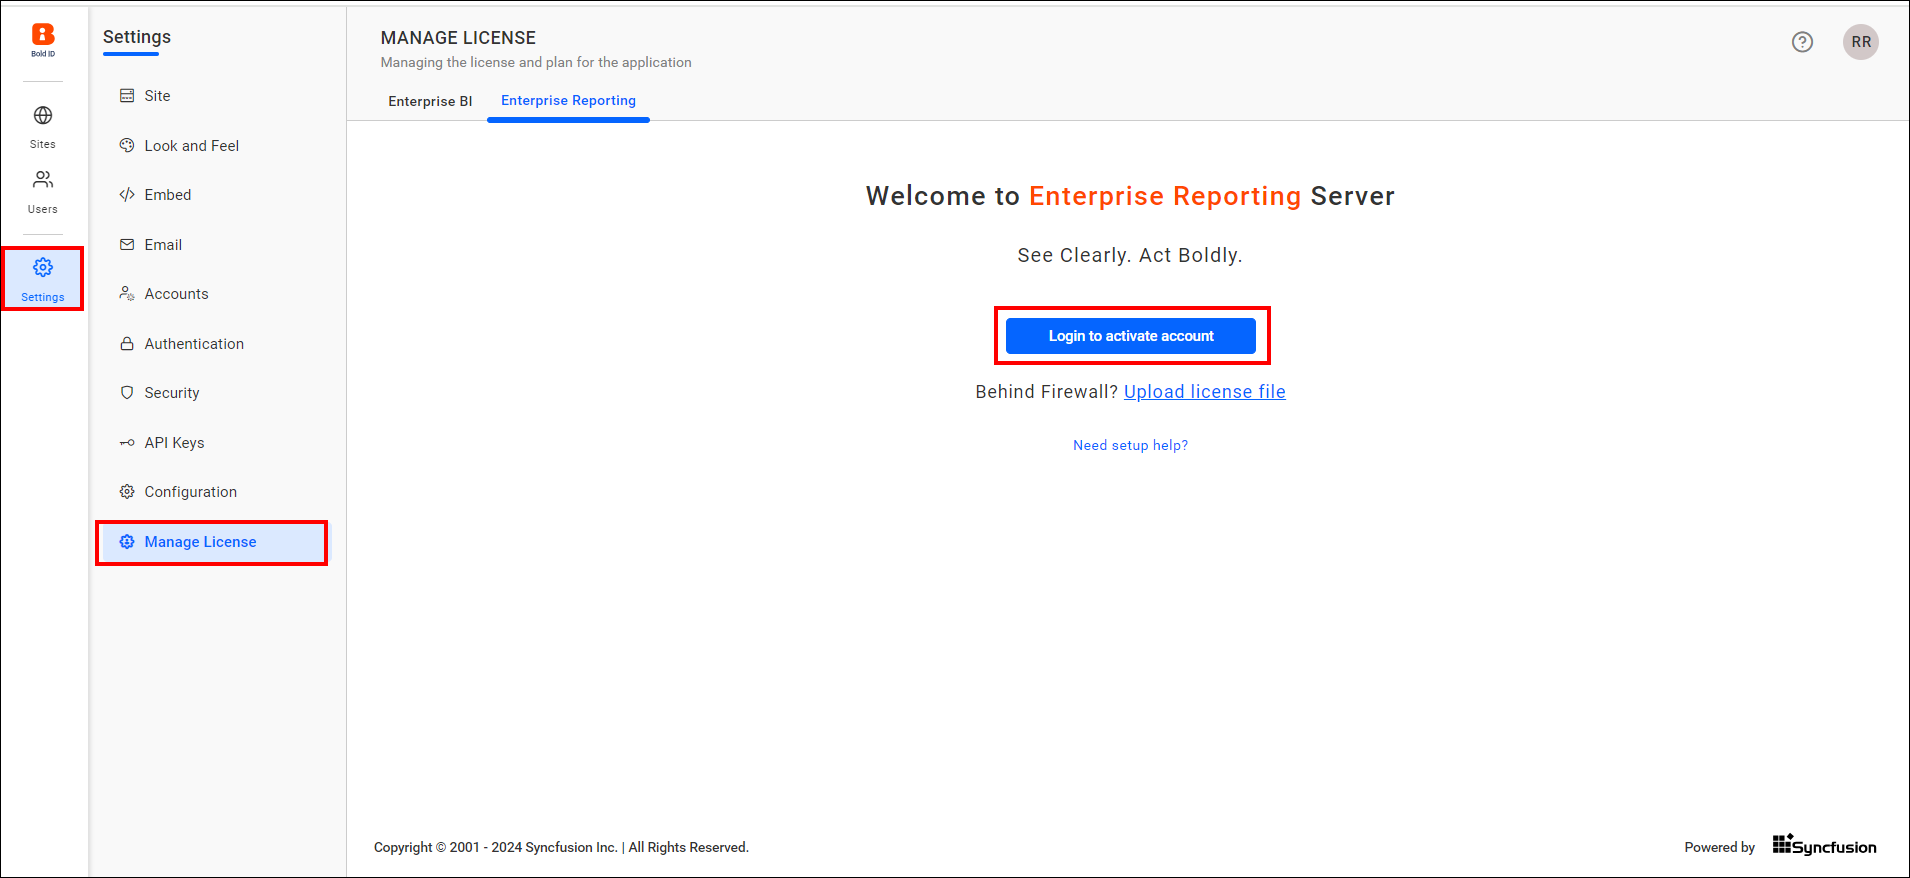
Activate Bold Reports® license using the login credential
You can sign in with your registered email address to activate your subscription.
If you are having multiple Bold Reports® licenses, then you will be getting this screen and select the corresponding license to activate the Bold Reports®. Otherwise, your Bold Reports® license will be automatically activated.
Upload unlock key
NOTE: Offline unlock key available for selected customers only. Please contact us to get access to the offline unlock key.
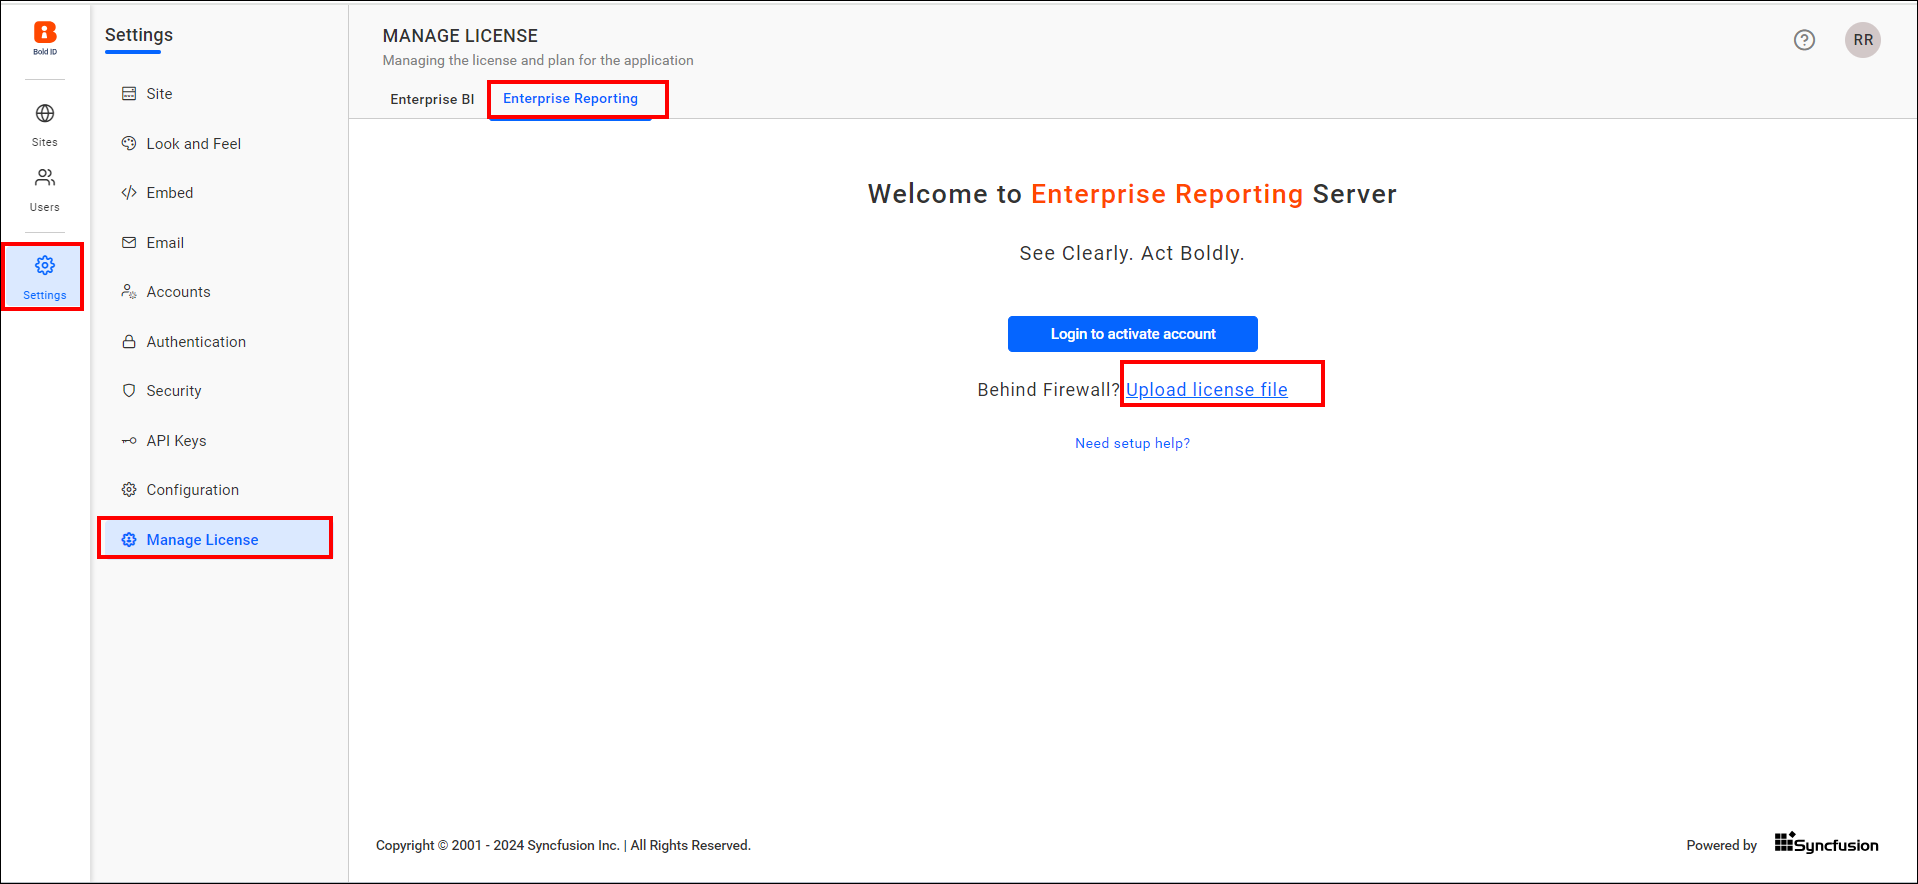
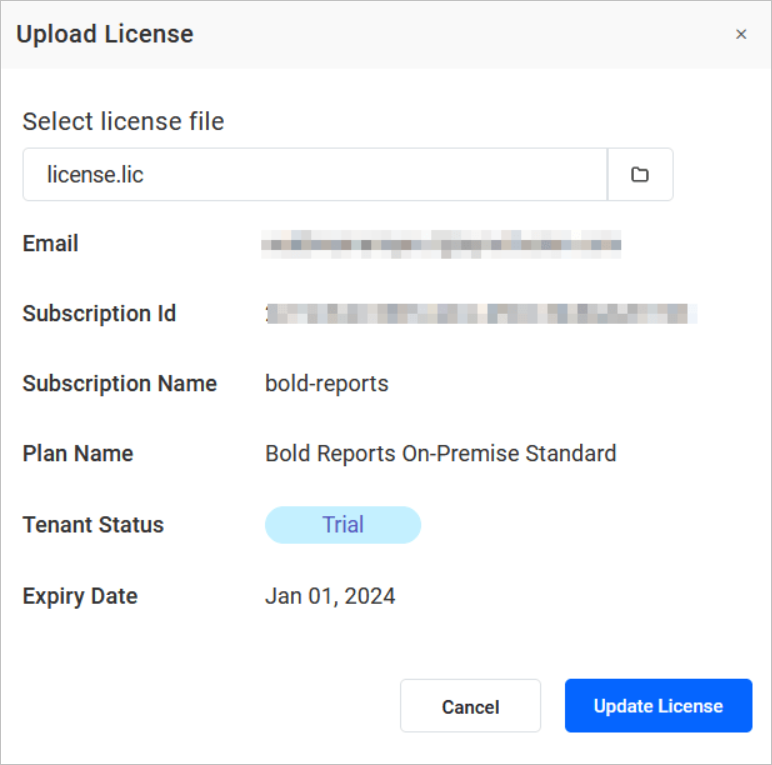
Once the unlock key is uploaded, proceed to the Upload License button for activating the Bold Reports® License.
Create site
Please refer to this Create Site document to create a new Bold Reports® site.
See Also
- Application Startup for Bold Reports Enterprise
- New User - System Administrator
- Database Configuration
- Database Mode Selection
- Shared Database Mode
- Separate Database Mode
- Storage Options
- Create New Database
- Existing Database
- Simple mode
- Advanced mode
- Storage Configuration
- Azure Blob Storage
- Oracle Cloud Infrastructure OCI Object Storage
- Amazon S3
- Activate the account using login credentials
- Select Login option
- Select license
- Offline Installation
- Trial Mode Activation
- Possible errors cases and their solution
- Create Account Without Trial
- Report Server Database
- Activate Bold Reports license
- Activate Bold Reports license using the login credential
- Upload unlock key
- Create site
- See Also