How to configure custom styles
This section explains the steps required to configure custom styles in the embedding application, excluding WPF and UWP.
Create a custom style JSON File
- Create a JSON file with a user-defined name, represented as
{name of file}.json, to define the required CSS styles for the report. The file should follow the specified format:"table header": { "font-family": "arial", "font-size": "13.333333333333334px", "font-weight": "bold", "background-color": "#6495ED", "border-bottom-color": "navy", "border-right-color": "gray", "border-left-color": "gray", "border-right-width": "1.333px", "border-left-width": "1.333px", "border-top-width": "2px", "border-bottom-width": "2px", "border-bottom-style": "double", "border-top-color": "navy" }, "header": { "background-color": "#6495ED", "font-family": "arial", "font-size": "0.16666979166666665in", "font-style": "normal", "font-weight": "bold", "color": "white" }
Initialize custom styles in controller
-
Add the
IDesignerSettingsinterface to theReportingAPIControllerclass as shown:public class ReportingAPIController : Controller, IReportDesignerController, IDesignerSettings -
To Initialize the custom styles in the Bold Reports® Embedding application, add the following methods to the
ReportingAPIController.csfile:// To initialize the custom styles in the designer [NonAction] public void InitializeDesignerSettings(DesignerSettings designerSettings) { designerSettings.CustomStyleSheets = GetCustomStyles(); } // To initialize the custom styles in the viewer [NonAction] public void OnInitReportOptions(ReportViewerOptions reportOption) { reportOption.ReportModel.CustomStyleSheets = GetCustomStyles(); } [NonAction] public Dictionary<string, Dictionary<string, string>> GetCustomStyles() { // Define the file path string filePath = @"D:\Custom\custom_style.json"; // Specify the custom_style.json path // Check if the file exists if (!System.IO.File.Exists(filePath)) { throw new FileNotFoundException($"The file '{filePath}' does not exist."); } try { // Read the file content string jsonContent = System.IO.File.ReadAllText(filePath); // Deserialize the JSON content into a dictionary var customStyles = JsonConvert.DeserializeObject<Dictionary<string, Dictionary<string, string>>>(jsonContent); // Return the deserialized dictionary return customStyles ?? new Dictionary<string, Dictionary<string, string>>(); } catch (Exception ex) { // Handle and log the exception (if needed) throw new Exception("An error occurred while reading or deserializing the custom styles.", ex); } }
Choose the custom style in designer
-
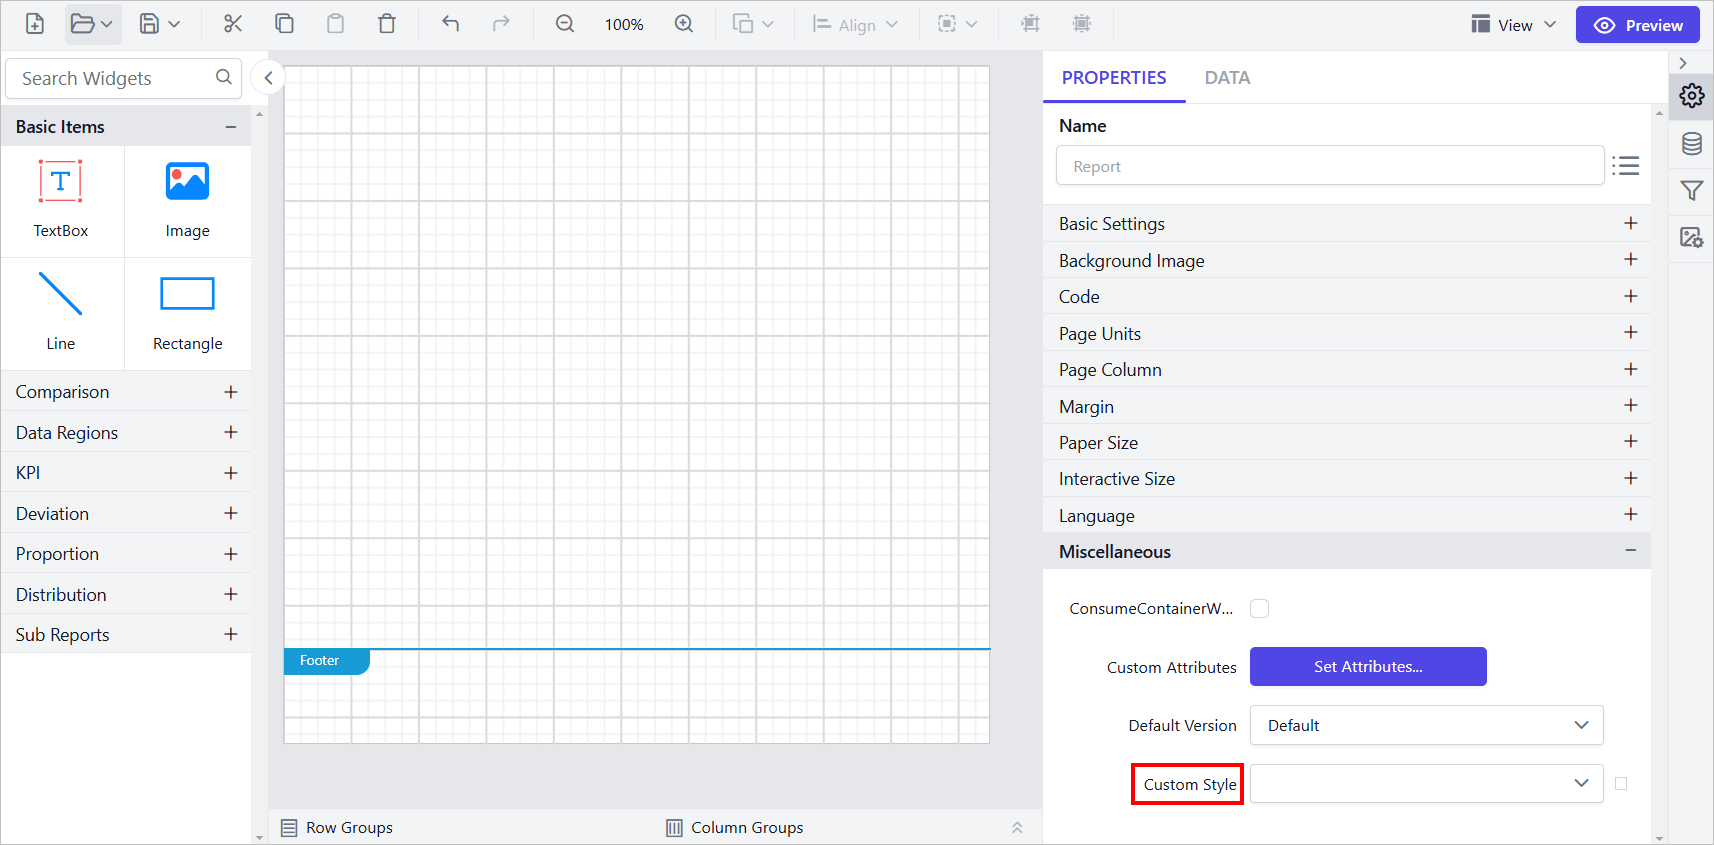
The Report Designer will render as shown below:
-
Navigate to the Properties panel. In the Report Properties section under
Miscellaneous, theCustom Styledropdown displays the style keys from the uploaded file. Select the appropriate style key.
-
In the previous step, the custom style was applied at the report level. You can also apply custom styles to specific report sections (header, body, report items and footer) as needed.
View the custom style in preview
The styles defined in the selected Style Key from the previous step will be applied to all parts of the report, ensuring consistent and customized styling in both the preview and exported outputs.