Display SSRS RDL report in Bold Reports® ASP.NET Web Forms Report Viewer
This section explains you the steps required to create your first ASP.NET Web Forms reporting application to display an already created SSRS RDL report in Bold Reports® ASP.NET Web Forms Report Viewer without using a Report Server.
Create an ASP.NET Web Forms application
-
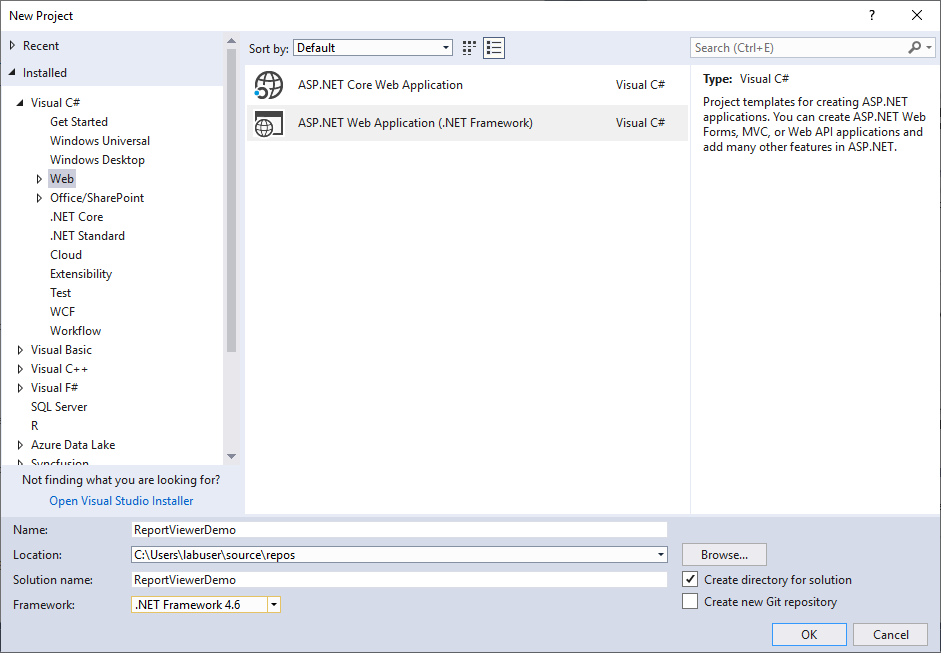
Open Visual Studio 2017, click the File menu, go to New, and then select Project.
-
Go to Installed > Visual C# > Web, and then select the required .NET Framework in the dropdown.
-
Select ASP.NET Web Application (.NET Framework), change the application name, and then click OK.
-
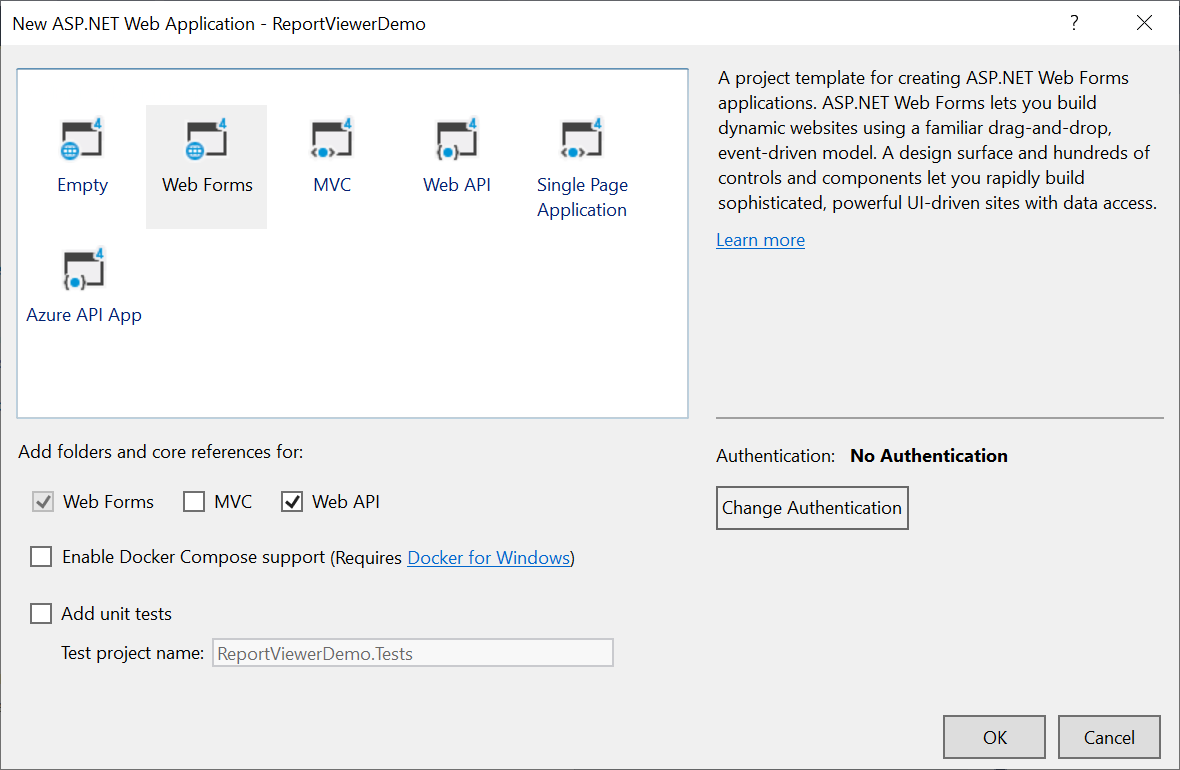
Choose Web Forms, Web API and then click OK.
Starting with Bold Reports® version 8.1.1, support for version .NET Framework 4.6 (including .NET Framework 4.0 and .NET Framework 4.5) has officially ended, with only limited support available for these versions. To continue receiving new features, improvements, and full support, upgrade to .NET Framework 4.6.2 or later. If you need to stay on an .NET Framework 4.6, use Bold Reports® version 7.1.10 or earlier.
Configure Report Viewer in an application
-
Right-click the project or solution on the Solution Explorer tab and choose Manage NuGet Packages. Alternatively, select Tools > NuGet Package Manager > Manage NuGet Packages for Solution menu command.
Refer to the NuGet Packages to learn more details about installing and configuring Report Viewer NuGet packages.
-
Search for
BoldReports.WebandBoldReports.WebFormsNuGet packages and install them in your Web Forms application. The following table provides details about the packages and their usage.Package Purpose BoldReports.WebCreates Web API service to process the reports. BoldReports.WebFormsContains tag helpers to create client-side Report Viewer control. BoldReports.JavaScriptContains Report Viewer scripts and style sheets. -
Open the
Web.configfile, and add theBoldReports.WebFormsassembly reference to the<system.web.pages.controls>element with theBoldtag prefix as in the following code.<configuration> .... .... <system.web> .... <pages> .... <controls> <add assembly="BoldReports.WebForms" namespace="BoldReports.WebForms" tagPrefix="Bold" /> .... </controls> </pages> </system.web> .... .... </configuration>
Refer scripts and CSS
Install the BoldReports.JavaScript and BoldReports.Mvc5 nuget packages into your application.
BoldReports.JavaScript- contains Report Viewer scripts and style sheets.BoldReports.Mvc5- contains HTML Helpers for Report Viewer.
Successful installation adds the scripts and styles to the Scripts and Content folders in your application.
-
The following scripts and style sheets are mandatorily required to use the Report Viewer.
bold.report-viewer.min.cssjquery.min.jsbold.reports.common.min.jsbold.reports.widgets.min.jsbold.report-viewer.min.js
-
Open the
Default.aspxpage. -
Add the listed references in the same order given in the above list. You can replace the following code on the
Default.aspxpage.If you need to refer the online CDN links instead of the local script and style sheets, then please refer to this Bold Reports® CDN section.
<asp:Content ID="BodyContent" ContentPlaceHolderID="MainContent" runat="server">
<!-- Report Viewer component styles -->
<link href="~/content/bold-reports/v2.0/tailwind-light/bold.report-viewer.min.css" rel="stylesheet" />
<script src="https://cdnjs.cloudflare.com/ajax/libs/jquery/3.6.0/jquery.min.js"></script>
<!-- Report Viewer component dependent script -->
<script src="~/scripts/bold-reports/v2.0/common/bold.reports.common.min.js"></script>
<script src="~/scripts/bold-reports/v2.0/common/bold.reports.widgets.min.js"></script>
<!-- Report Viewer component script -->
<script src="~/scripts/bold-reports/v2.0/bold.report-viewer.min.js"></script>
</asp:Content>
To learn more about rendering a report with data visualization report items, refer to the how to render data visualization report items section.
Initialize Report Viewer
Initialize the Report Viewer as shown in the following code sample on the Default.aspx page.
<asp:Content ID="BodyContent" ContentPlaceHolderID="MainContent" runat="server">
    <div style="height: 650px;width: 950px;min-height:404px;">
        <Bold:ReportViewer runat="server" ID="viewer">
        </Bold:ReportViewer>
    </div>
</asp:Content>
Add already created reports
The Report Viewer is only for rendering reports. You must use a report generation tool to create a report. To learn more about creating new reports, refer to the create RDL report section.
-
Create a folder
Resourcesin your application to store the RDL reports. -
Add already created reports to the newly created folder.
In this tutorial, the
sales-order-detail.rdlreport is used, and it can be downloaded from here. You can add the reports from the Syncfusion® installation location. For more information, refer to the samples and demos section.
Configure Web API
The interface IReportController has a declaration of action methods that are defined in the Web API Controller for processing the RDL, RDLC, and SSRS reports and for handling requests from the Report Viewer control. The IReportController has the following action methods declaration.
| Methods | Description |
|---|---|
| PostReportAction | Action (HttpPost) method for posting the request in the report process. |
| OnInitReportOptions | Report initialization method occurs when the report is about to be processed. |
| OnReportLoaded | Report loaded method occurs when the report and sub report start loading. |
| GetResource | Action (HttpGet) method to get resources for the report. |
ReportHelper
The class ReportHelper contains helper methods that help to process a Post or Get request from the Report Viewer control and return the response to the Report Viewer control. It has the following methods:
| Methods | Description |
|---|---|
| GetResource | Returns the report resource to the requested key. |
| ProcessReport | Processes the report request and returns the result. |
Add Web API Controller
-
Right-click the Controller folder in your project and select Add > New Item from the context menu.
-
Select
Web API Controller Classfrom the listed templates and name it asReportViewerController.cs.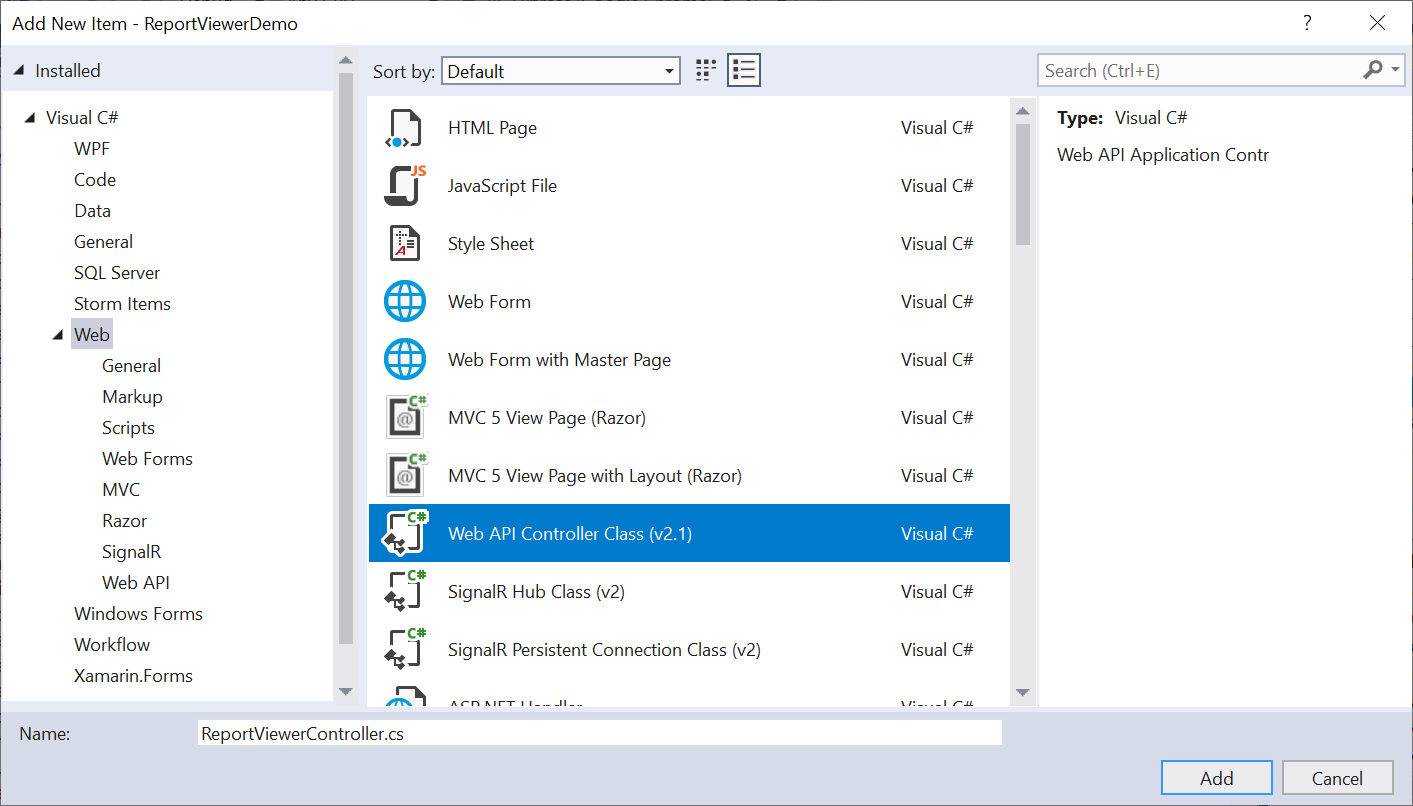
-
Click Add.
While adding the Web API Controller class, naming it with the suffix
Controllerthat is mandatory. -
Open the
ReportViewerControllerand add the following using statement.using BoldReports.Web.ReportViewer; -
Inherit the
IReportControllerinterface, and implement its methods (replace the following code in the newly created Web API controller).public class ReportViewerController : ApiController, IReportController { // Post action for processing the RDL/RDLC report public object PostReportAction(Dictionary<string, object> jsonResult) { return ReportHelper.ProcessReport(jsonResult, this); } // Get action for getting resources from the report [System.Web.Http.ActionName("GetResource")] [AcceptVerbs("GET")] public object GetResource(string key, string resourcetype, bool isPrint) { return ReportHelper.GetResource(key, resourcetype, isPrint); } // Method that will be called when initialize the report options before start processing the report [NonAction] public void OnInitReportOptions(ReportViewerOptions reportOption) { // You can update report options here } // Method that will be called when reported is loaded [NonAction] public void OnReportLoaded(ReportViewerOptions reportOption) { // You can update report options here } }
Add routing information
To configure routing to include an action name in the URI, open the WebApiConfig.cs file and change the routeTemplate in the Register method as follows,
public static class WebApiConfig
{
    public static void Register(HttpConfiguration config)
    {
        // Web API configuration and services

        // Web API routes
        config.MapHttpAttributeRoutes();

        config.Routes.MapHttpRoute(
        name: "DefaultApi",
        routeTemplate: "api/{controller}/{action}/{id}",
        defaults: new { id = RouteParameter.Optional }
        );
    }
}
If you are looking to load the report directly from the SQL Server Reporting Services (SSRS), then you can skip the following steps and move to the SSRS Report.
Set report path and service URL
To render the reports available in the application, set the ReportPath and ReportServiceUrl properties of the Report Viewer. You can replace the following code on your Report Viewer page.
<asp:Content ID="BodyContent" ContentPlaceHolderID="MainContent" runat="server">
    <link href="~/content/bold-reports/v2.0/tailwind-light/bold.report-viewer.min.css" rel="stylesheet" />
    <script src="https://cdnjs.cloudflare.com/ajax/libs/jquery/3.6.0/jquery.min.js"></script>
    <script src="~/scripts/bold-reports/v2.0/common/bold.reports.common.min.js"></script>
    <script src="~/scripts/bold-reports/v2.0/common/bold.reports.widgets.min.js"></script>
    <script src="~/scripts/bold-reports/v2.0/bold.report-viewer.min.js"></script>
    <div style="height: 650px;width: 950px;min-height:404px;">
        <Bold:ReportViewer runat="server" ID="viewer" ReportPath="~/Resources/sales-order-detail.rdl"
            ReportServiceUrl="/api/ReportViewer">
        </Bold:ReportViewer>
    </div>
</asp:Content>
The report path property is set for the RDL report that is added to the project
Resourcesfolder.
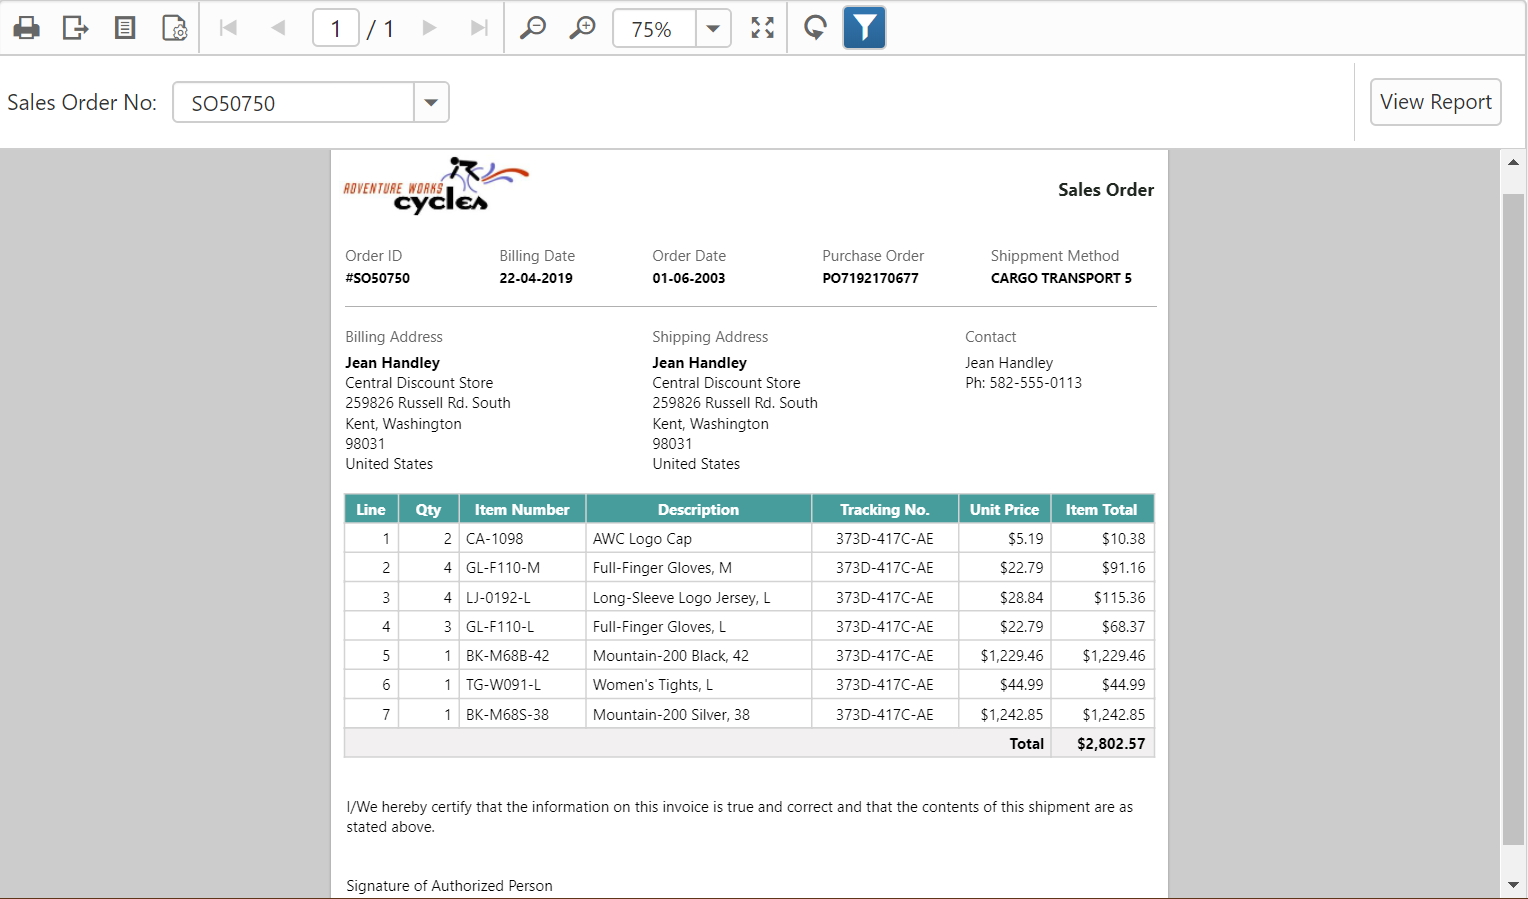
Preview the report
Build and run the application to view the report output in the Report Viewer as displayed in the following screenshot.
Note: You can refer to our feature tour page for the ASP.NET Web Forms Report Viewer to see its innovative features. Additionally, you can view our ASP.NET Web Forms Report Viewer examples which demonstrate the rendering of SSRS RDLC and RDL reports.