Tablix cell
Tablix cell contains the actual content to be presented by the table.
Change an item within a cell
A tablix cell contains the report items to display the data in the tabular format. By default, all cells in tablix contains the Textbox report item. You can place any of the other report items supported in Web Report Designer inside the tablix cell to present data. There are two ways to change an item within a cell.
- Drag and drop report item into table cell
- Insert item using cell menu
Drag and drop report item into table cell
Drag and drop the required report item into the table cell from item panel.
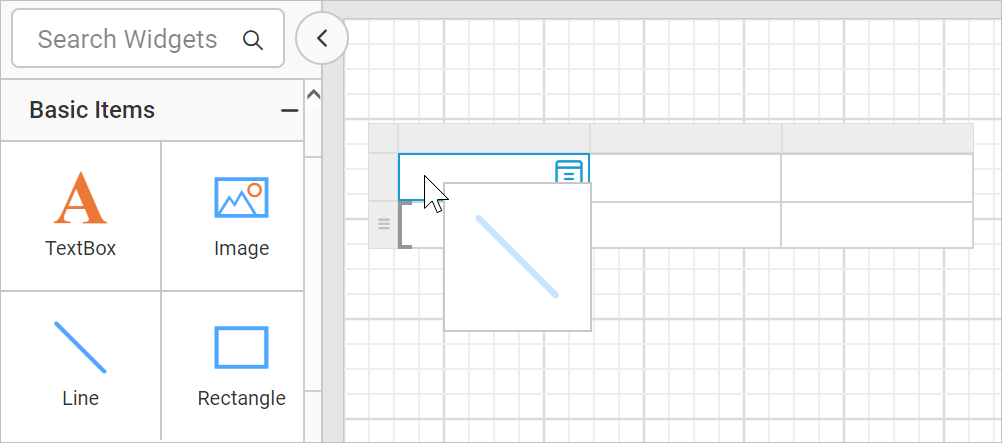
Now, the item will replace the existing textbox in the cell and inserts a line report item.

Similarly, you can insert other report items into the table cell. The following snap shows the tablix cells with different report items

When you drag and drop an item into the cell which contains text box, line, image, sub-reports, chart or barcode report item, the old item in the cell will be replaced by a new report item. If the cell contains a report items such as a rectangle, list, table, or matrix, the new item is added to the containing item instead of replacing it. To replace such report item with a new item, delete the respective item from the cell. Deleting the rectangle, list, table, or matrix item replaces it with a text box, which you can then replace with another item.
Insert item using cell menu
-
Select a cell in tablix and right click in the respective cell. Now, the cell menu will be opened like below.
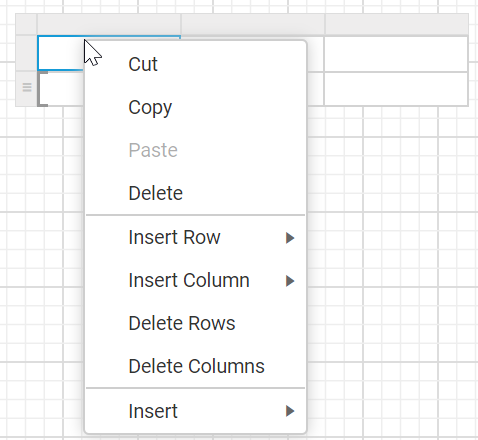
-
Choose the required report item from the
Insertmenu option.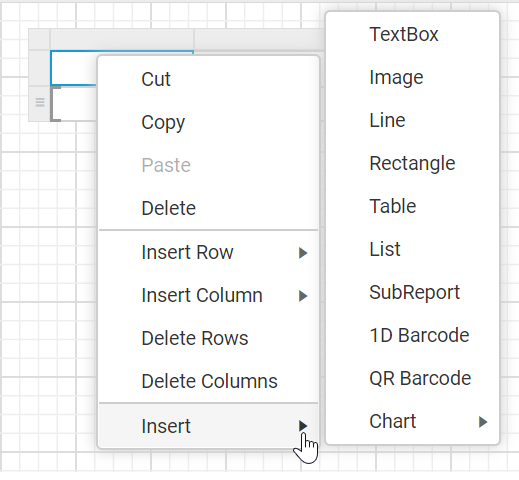
-
Now, the old report item in the cell will be replaced by new report item.

Here, line report item is used to demonstrate the behaviour.
When you insert item into the cell using the
Insertoption from cell context menu, the report item in the cell will be replaced by a new report item. To insert items inside the container report item such as a rectangle, drag and drop the required report item into the tablix cell containing rectangle.
Cell properties
The cell properties is properties of the report item placed in the respective cell. For example, if the cell contains the line report item, then the line report item properties will be displayed in the properties panel. To style a tablix cell, select the required cell and modify the respective report item properties in the properties panel.
Refer the Properties panel section to set and edit properties report item properties.
Delete an item from a cell
To delete the item from the tablix cell, select cell and right click. Click on Delete option.
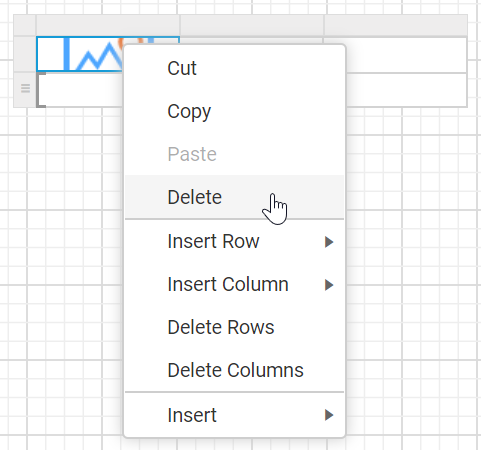
Now, a new Textbox will be inserted in the respective cell.
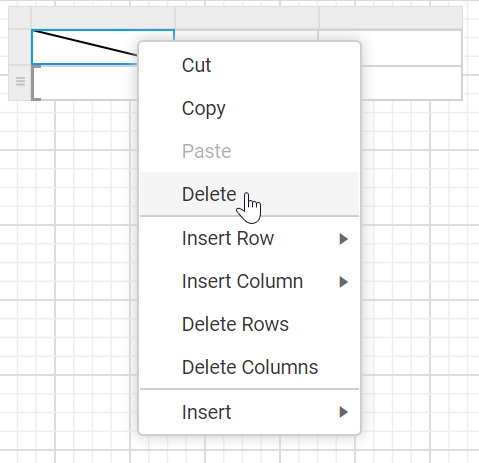
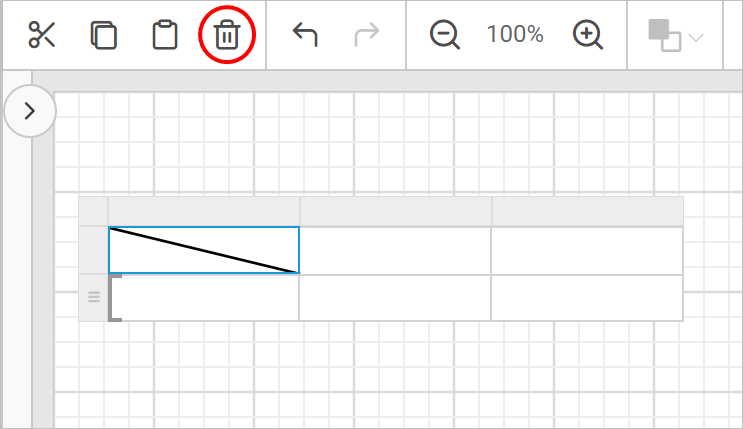
You can also, delete the item from cell using Delete option in the toolbar. Select the cell and click on the delete icon in the toolbar.
Cut Copy and Paste cell contents
To cut, copy and paste cell contents in the table cell make use of the right-click menu or use the corresponding icons available in the toolbar,
-
Cut - Select the cell content and use the
Cuticon in the toolbar or right-click and select theCutoption from the menu to delete the selected cell content. The cut data can be later inserted in any other cell in the tablix or in the design area. -
Copy - Select the cell content and either use the
Copyicon in the toolbar or right-click and select theCopyoption from the menu. The copied cell content can be later inserted in any other cell in the tablix or in the design area. -
Paste - Select a cell and either use the
Pasteicon in the toolbar or right-click and select thePasteoption to insert the previously copied/cut cell content to the selected cell or in the design area.
You can also use the following keyboard shortcuts to perform cut, copy and paste operations.
- Ctrl+X key combination for cutting;
- Ctrl+C key combination for copying;
- Ctrl+V key combination for pasting.
Cut Copy and Paste operation in single cell
Cut :
- Select a tablix cell, use the
Cuticon in the toolbar or right-click and select theCutoption from the menu.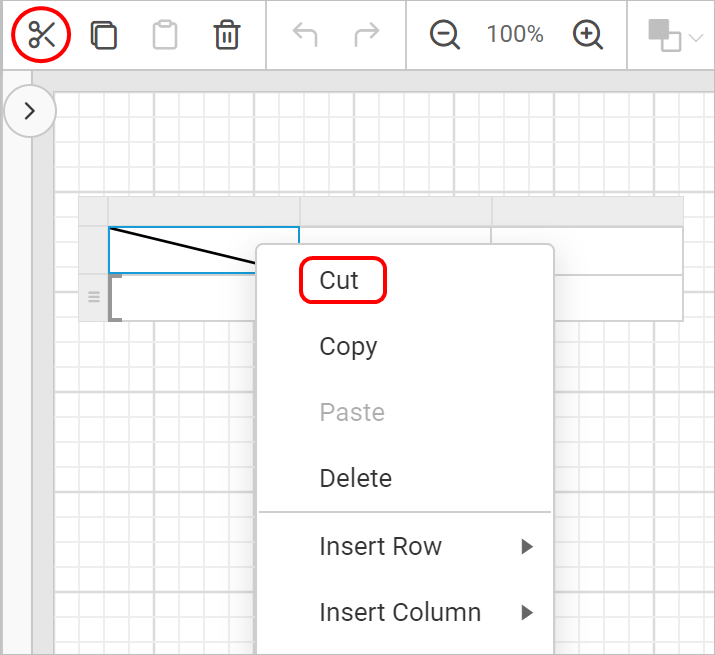
- Now, the report item will be deleted and new
Textboxwill be inserted in the respective cell.
Copy :
- Select a tablix cell, use the
Copyicon in the toolbar or right-click and select theCopyoption from the menu.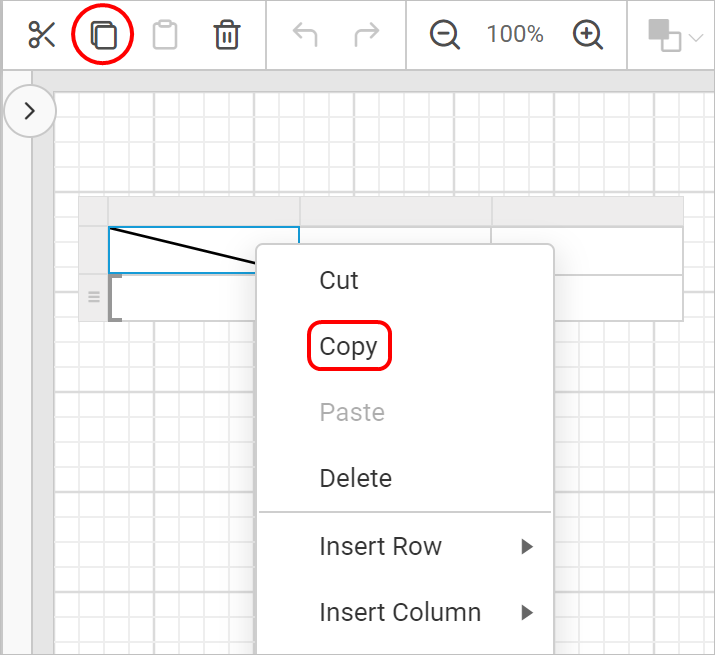
- The copied cell content can be later inserted in any other cell in the tablix or in the design area.
Paste :
- Select a tablix cell, use the
Pasteicon in the toolbar or right-click and select thePasteoption in the cell menu.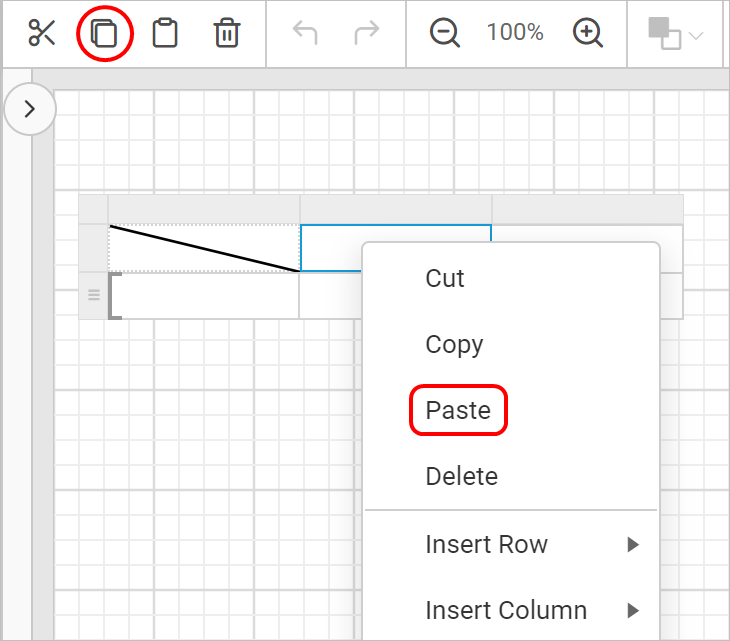
- Now, previously copied item will be pasted in the selected cell.

Cut Copy and Paste operation in multiple cell
You can perform the cut/copy and paste action in multiple cells at a time.
- Select the required cells in the tablix data region and perform copy or cut action. Here, copy action is performed.
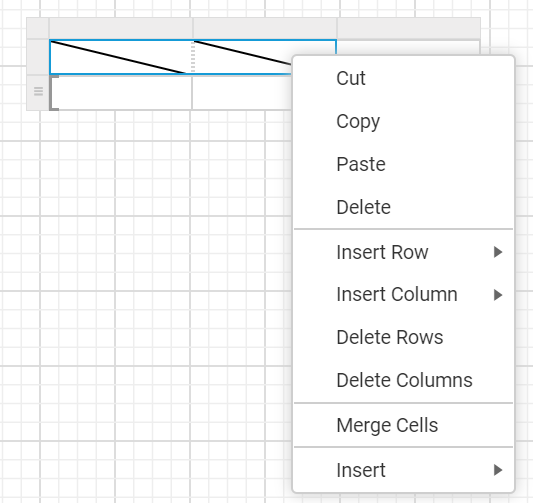
- Now, select the cells in which you need to paste the copied cell content in the tablix data region and perform paste action.
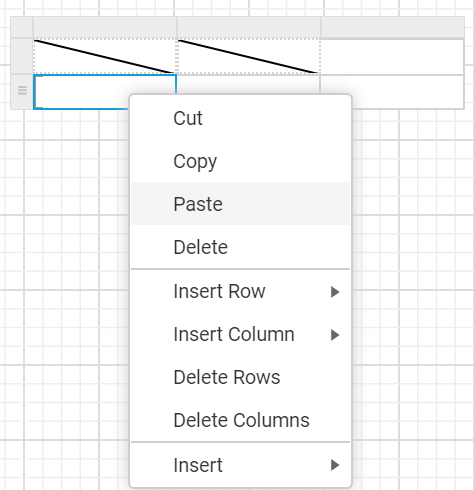
- The copied cell contents will be pasted in the selected cells like below,

The copied cell content area and target cell content area to perform paste action need to be same. In the below example, the cell content in the second row, first two columns are copied and trying to pasting the cell content in second row, last column.
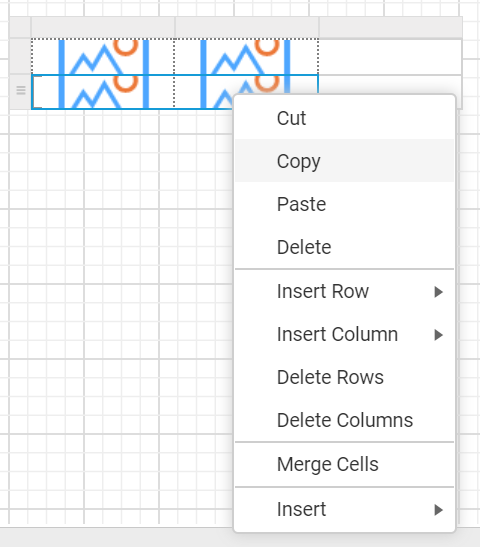
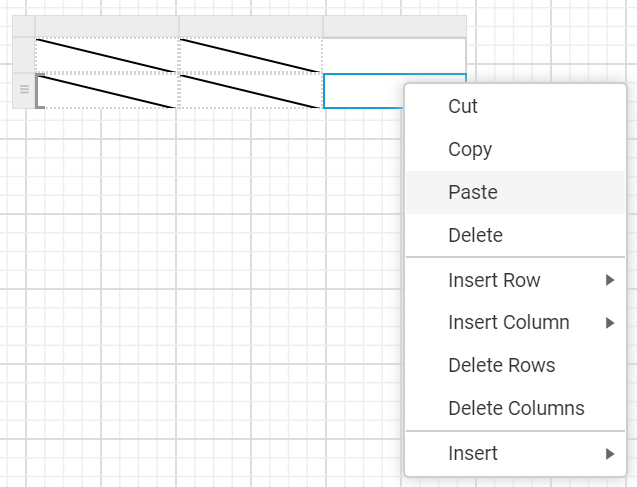
Now, the following alert message will be shown in the design area.
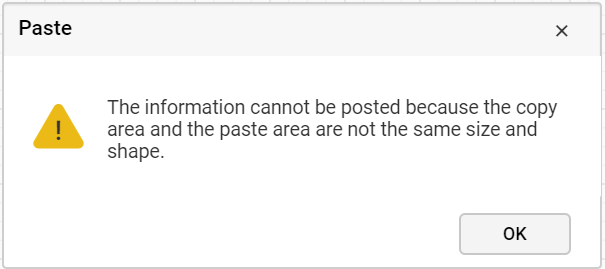
So, whenever performing the paste action, the target area must have enough left, top, right, and bottom cell areas.