Join Tables
Joining of tables is required when the dataset query design demands for more than one table. The following sections describes the steps required to create and edit the relationships between tables.
Prefer watching over reading? Check out this video for join tables:
Refer Create Data section for better understanding with the following steps.
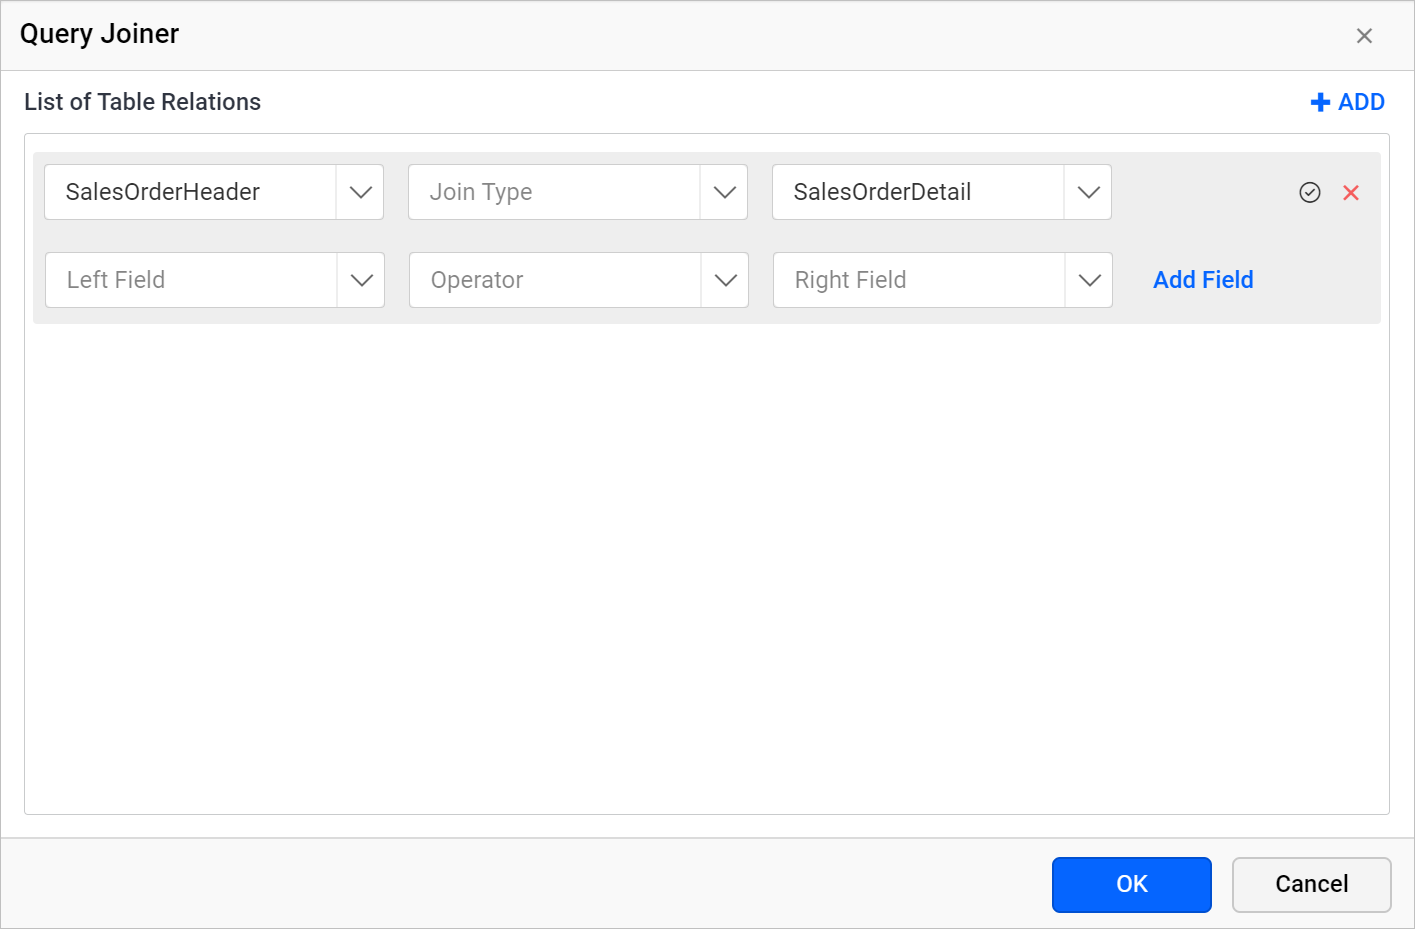
Open query joiner dialog
Click on the Join icon in the query designer toolbar to open Query Joiner dialog.
The Join icon in the query designer toolbar will be in disabled state, if there is only one table found dropped in table design view like below:
![]()
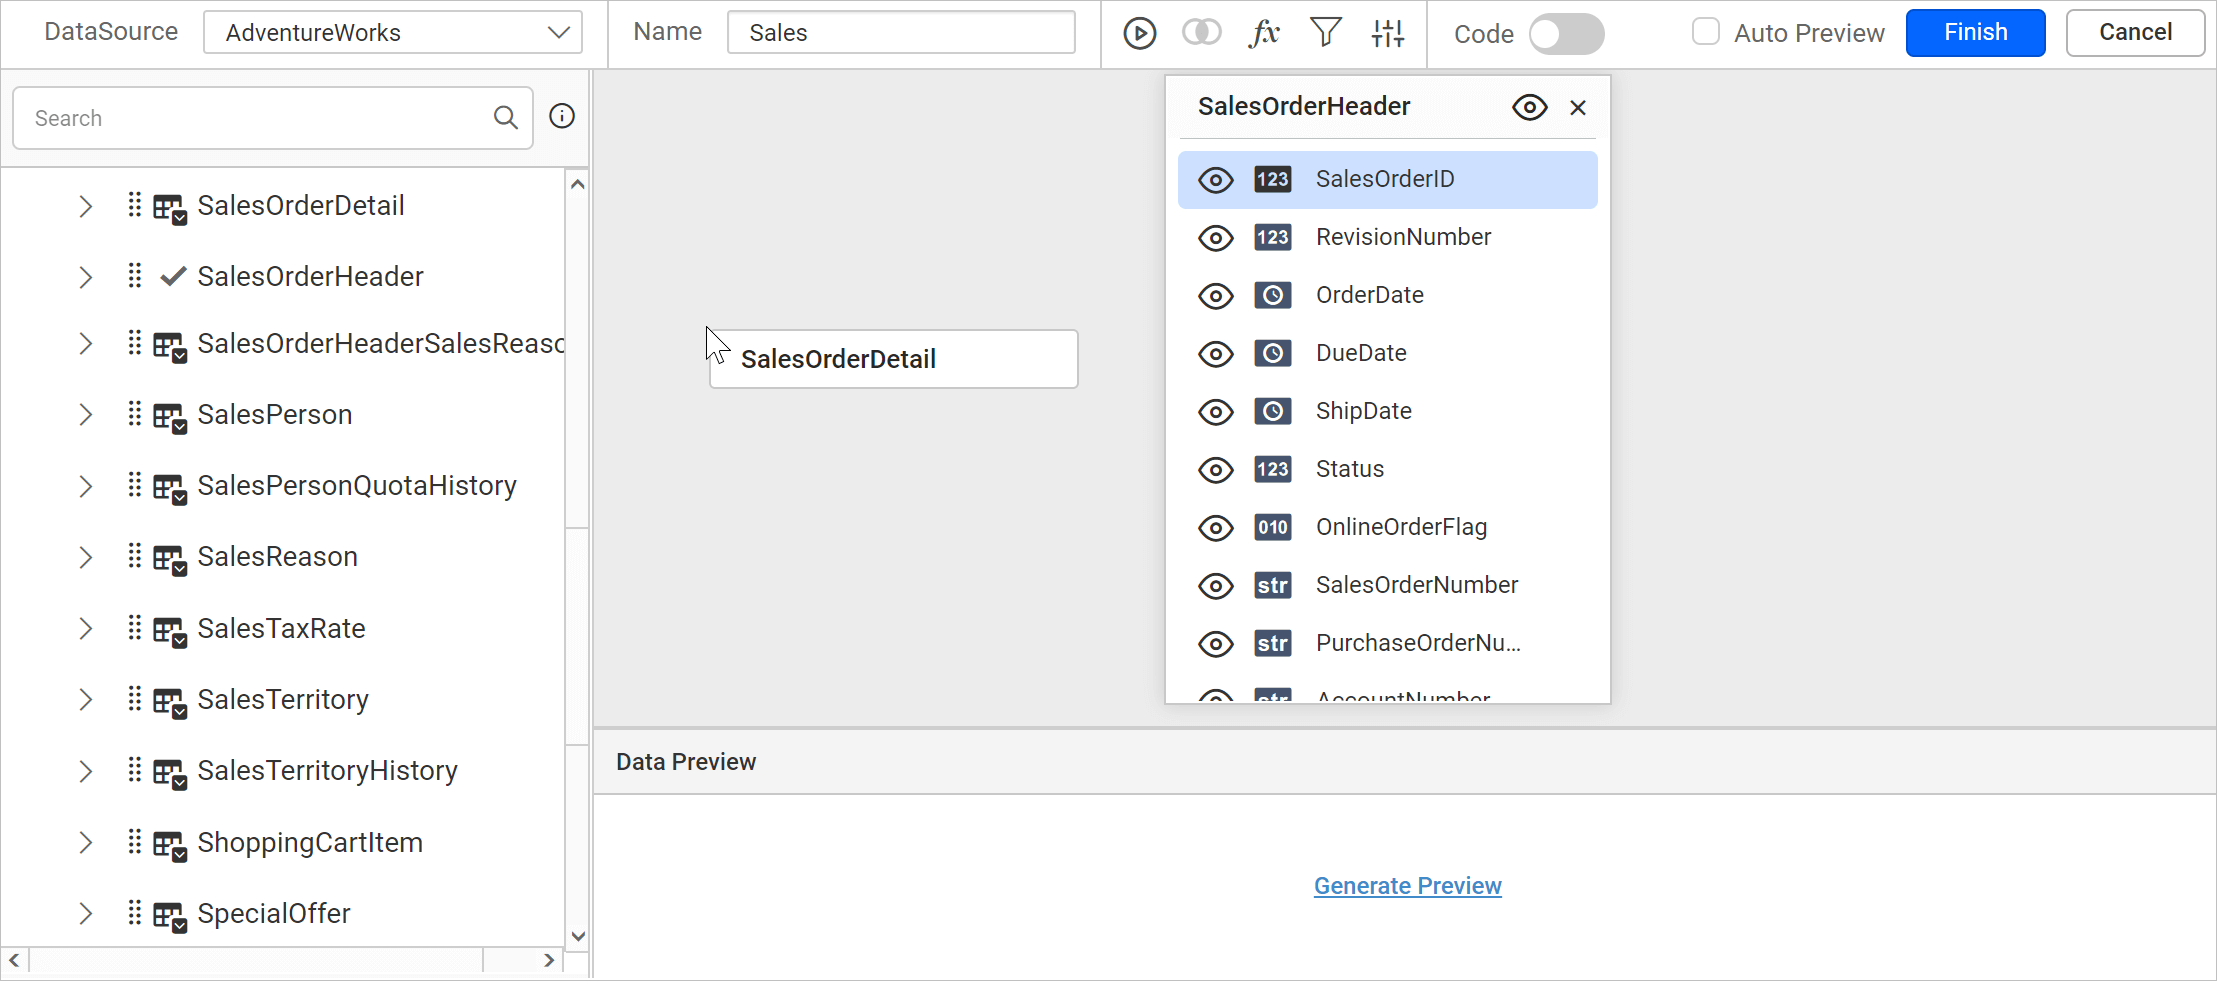
The Join icon will get enabled once the second table found dropped in table design like below:
![]()
Create a table relation
- Drag a table or view from the left pane and drop it into the center pane labeled with
Drag and Drop tables herelike below.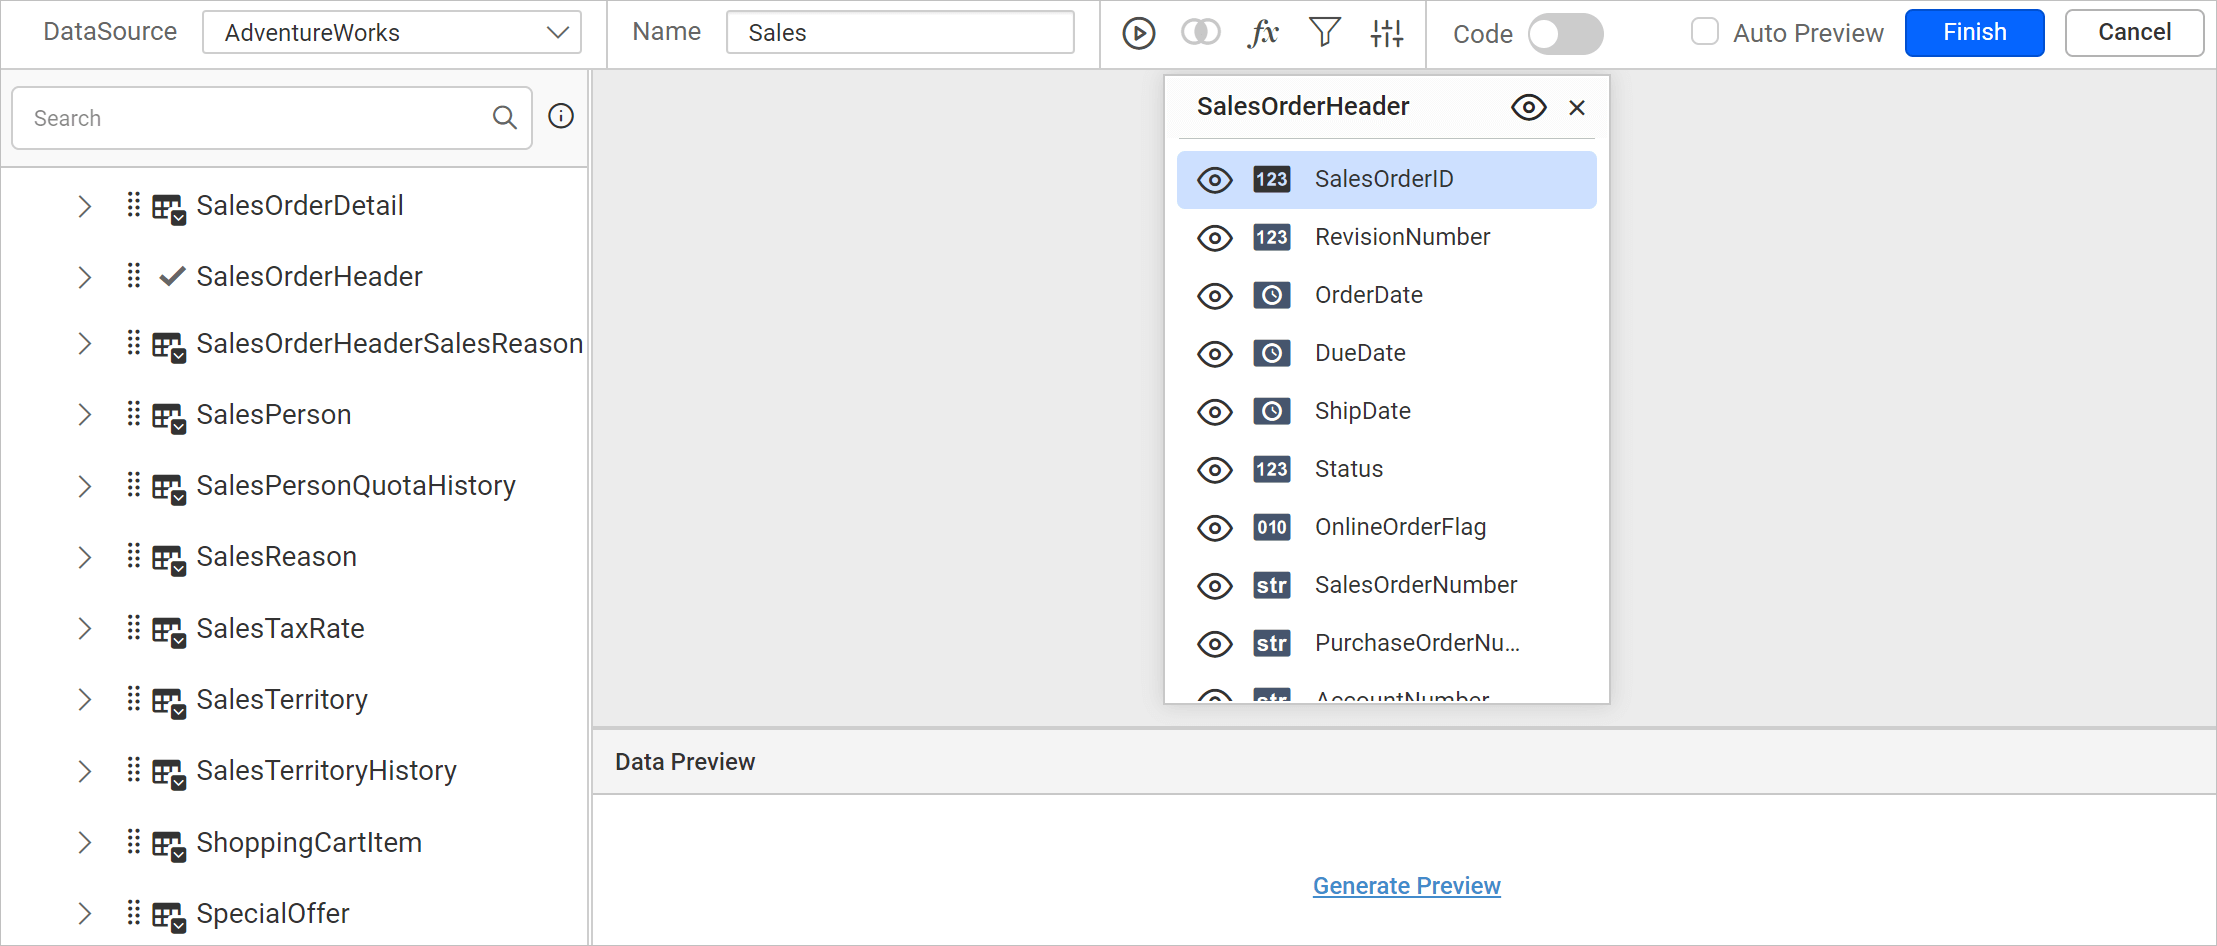
- Drag and drop another table into the design area.
- If the subsequent table being dropped, has any of its column as foreign key in any of the already dropped tables, the joining will take place automatically. Else, it will prompt the join editor like below to let you define the keys (columns) to join between this table and any one of the already dropped tables.
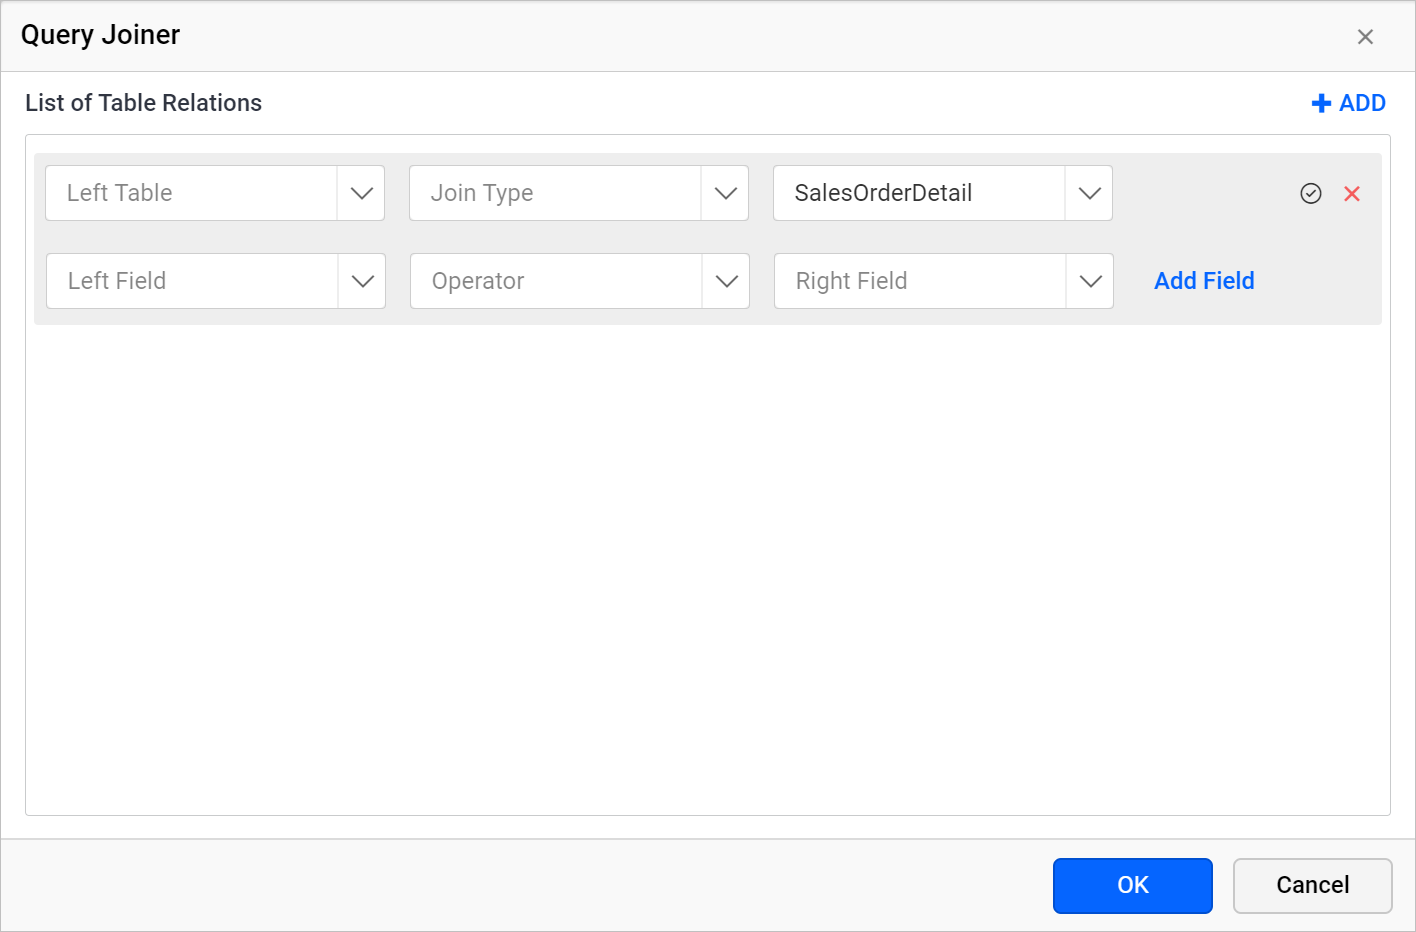
Table drop-down list
-
Left Table - The
Left Tabledrop-down list illustrates the list of table dropped in design area.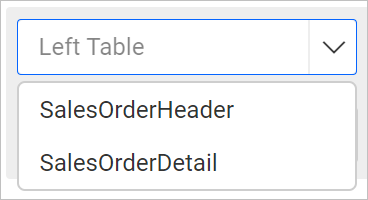
-
Right Table - The
Right Tabledrop-down list illustrates the list of table dropped in design area. By default, the table which you have dropped recently will be selected in this field.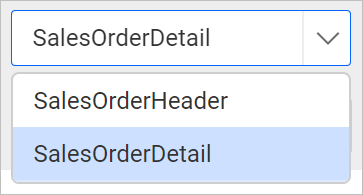
In the below snap, the new relationship is initiated between SalesOrderHeader and SalesOrderDetail tables.
Join Types
The joins are used to retrieve data from two or more data tables, based on a join condition.
Types:
- Inner Join
- Left Outer
- Right Outer
- Full Outer.
Refer Supported join types section to learn about the purpose of each join type.
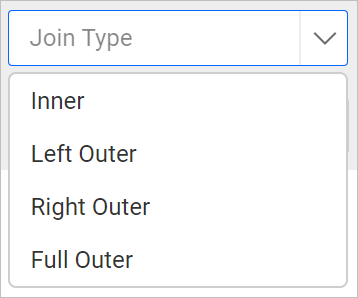
In the below snap, inner join is created between the SalesOrderHeader and SalesOrderDetail tables.

Table fields
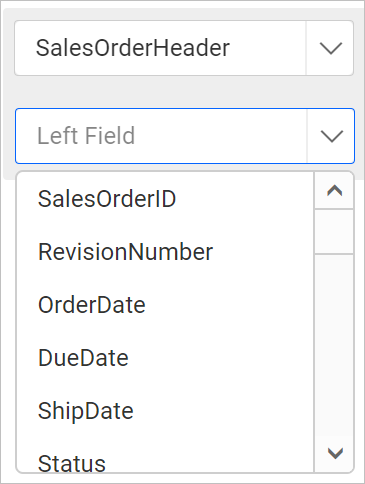
-
Left field - The available columns of the table selected in the Left Table drop-down list will be listed here.
-
Right field - The available columns of the table selected in the Right Table drop-down list will be listed here.
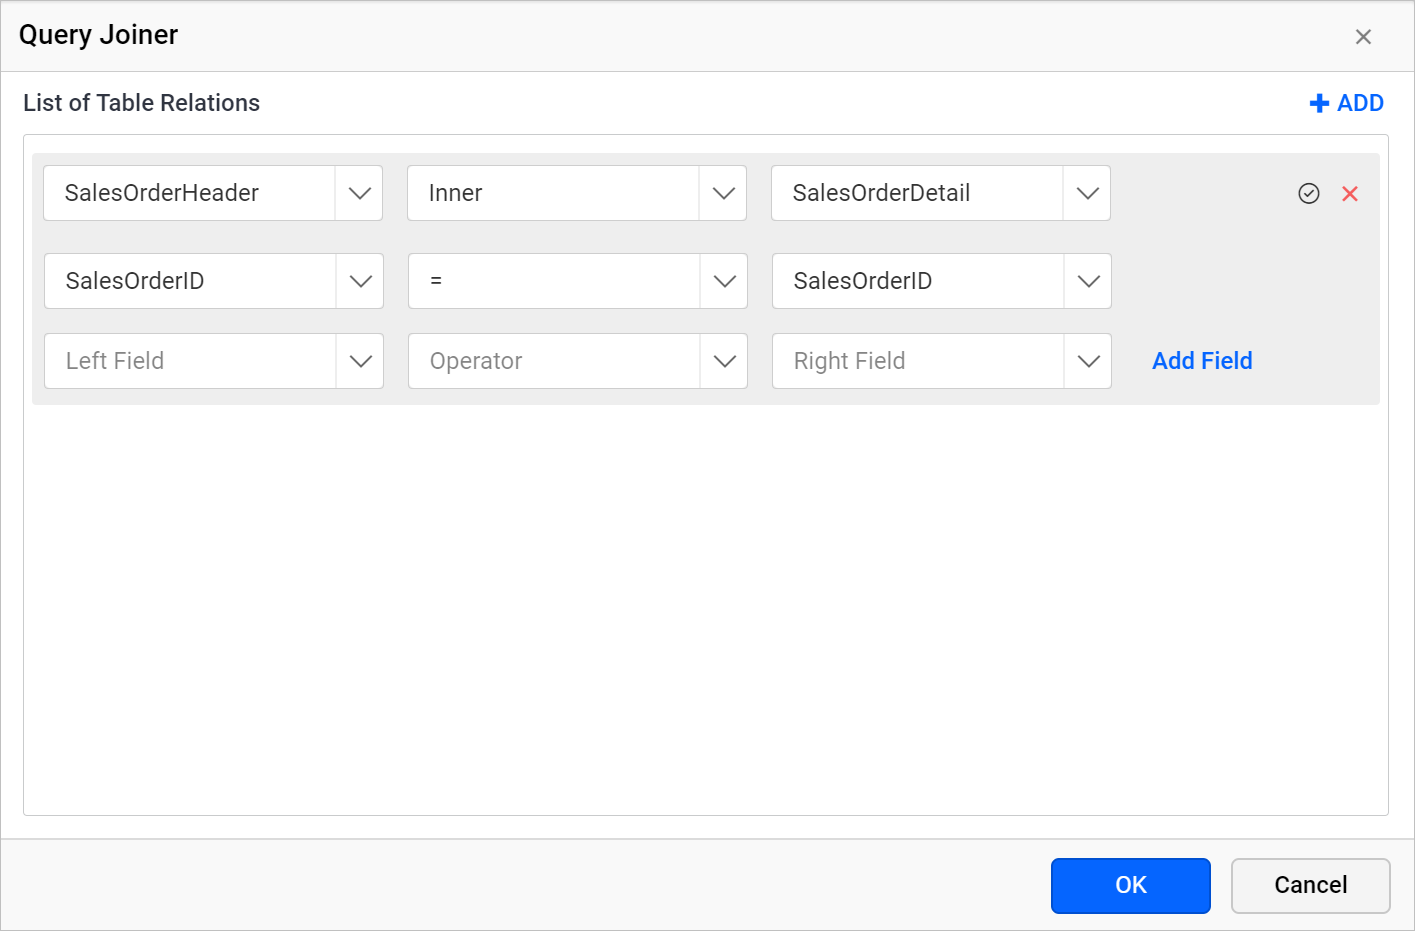
In the below snap, the join field is created for SalesOrderID column in both tables.

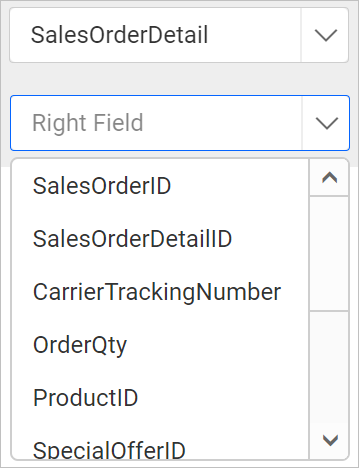
Operator
To compare the values of the two columns (one from each table) between tables, any of the operator list shown in the below image can be used.
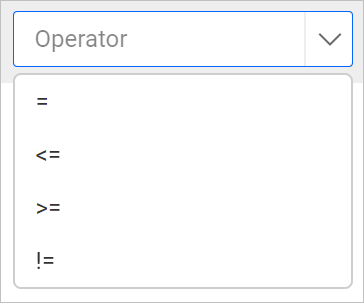
In the below snap, the Equal operator is applied between SalesOrderID column of both tables.

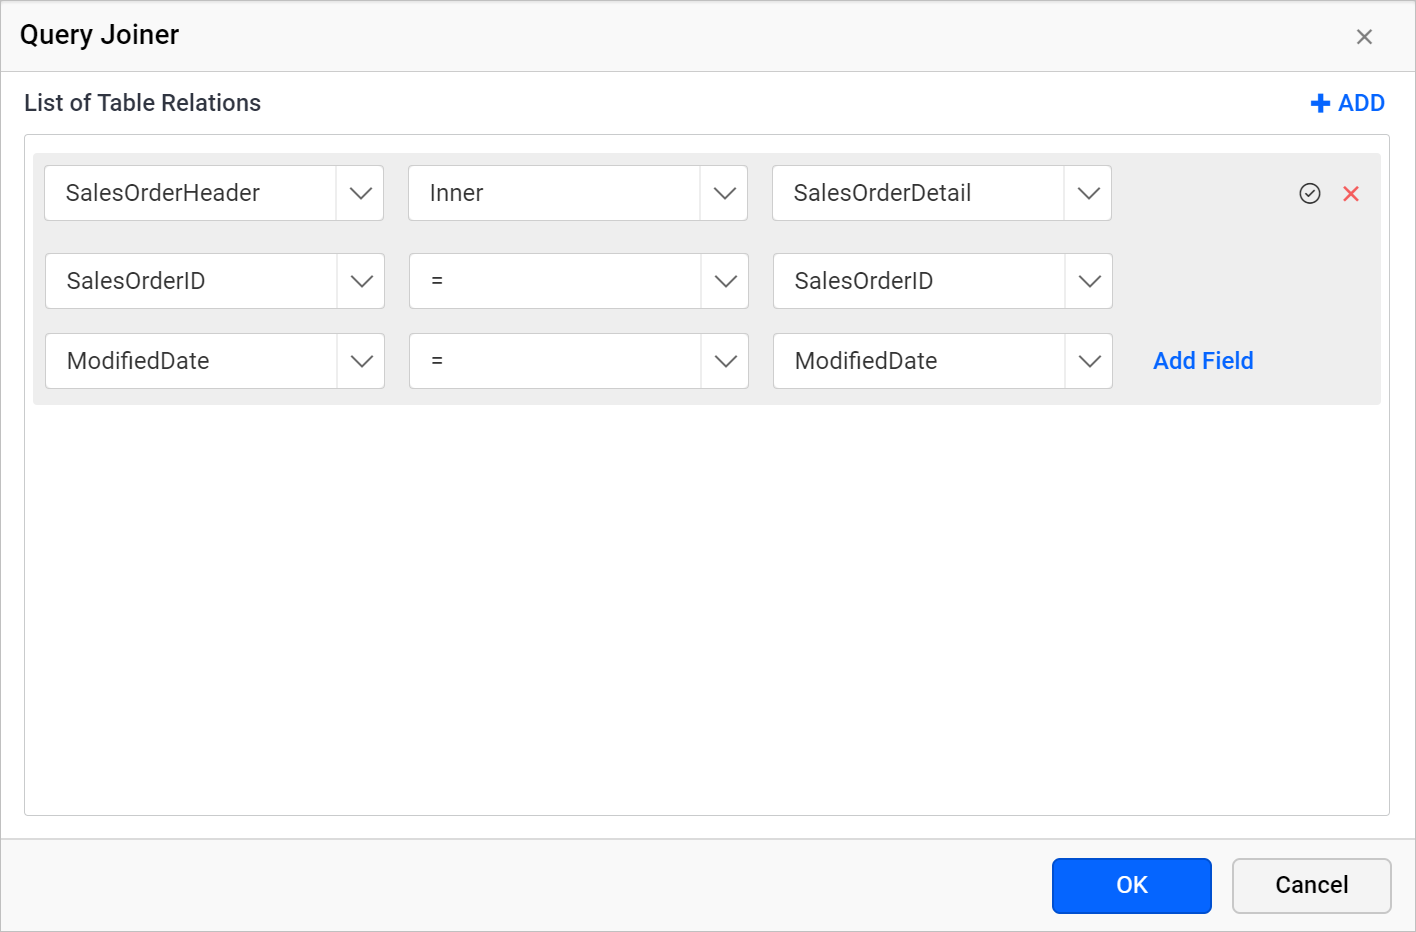
Create multiple join condition
If you want to create multiple join condition for single table relation follow the below steps:
- Click on the
Add Fieldbutton to create multiple join conditions for single table relation.
- Choose the new column field in Left Field and Right Field drop-down list, then choose the operator condition.
- Now, a new join condition will be created like below.
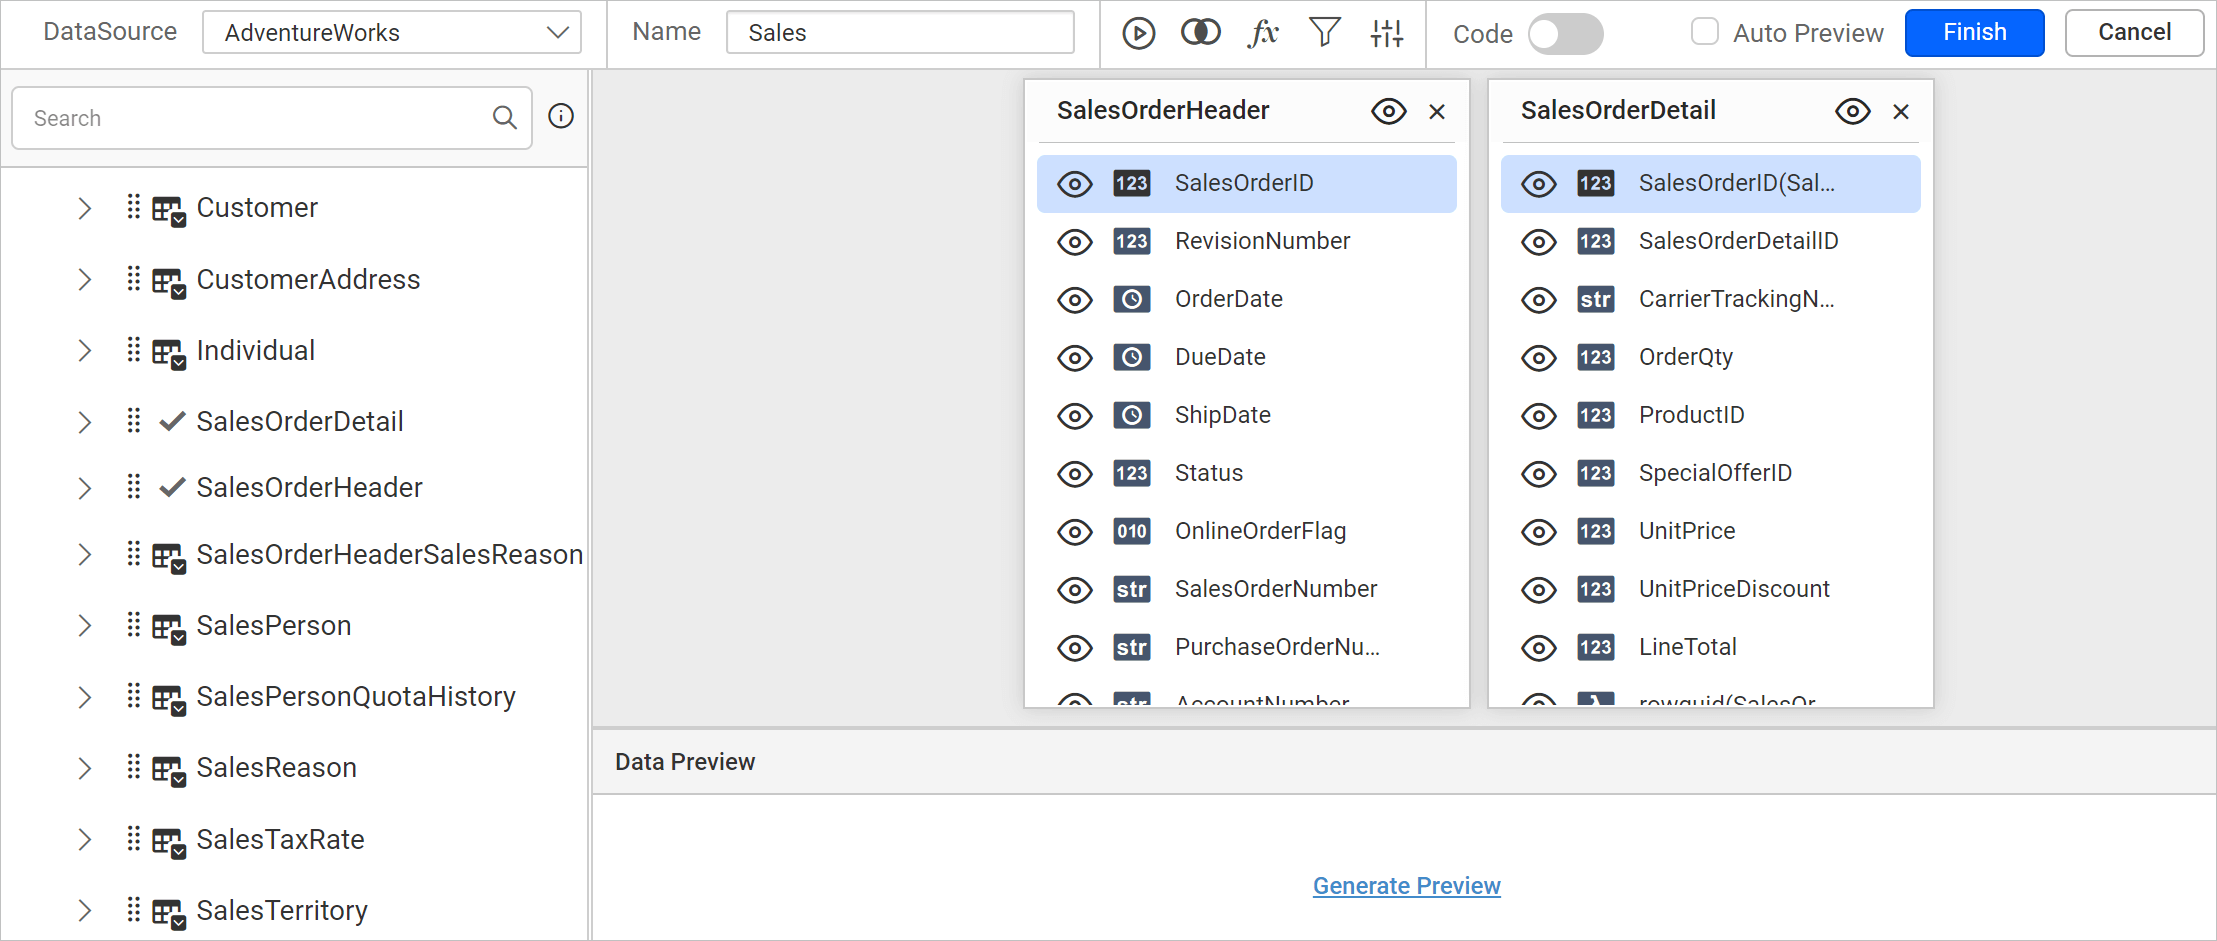
Save a table relation
- Click on the tick icon in the first row of table relation.

- Click on the
OKbutton.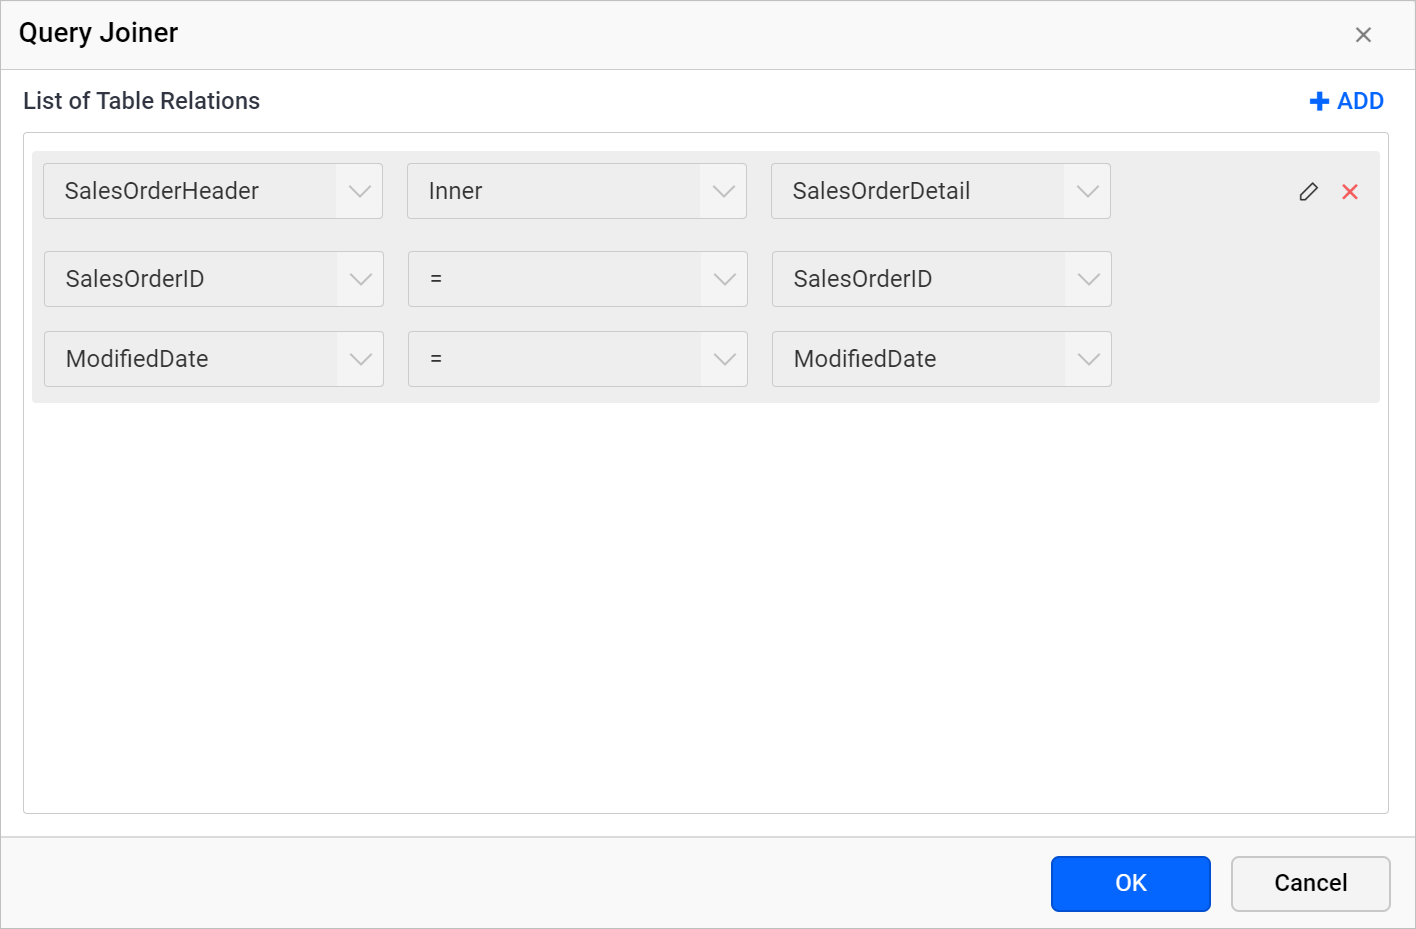
- Now, the second table will be dropped in the design area like below.
Edit a table relation
- Click on the
Joinicon in the toolbar to open theQuery Joinerdialog. - To edit the existing join condition in a table relation, click on the
Editicon in the respective field.
- Clicking on the icon will enable the respective join fields.
- Edit the join condition as required and click on the
tickicon to update the edited join condition. - Then, click on the
Okbutton to save the modified join relationship.
Delete a join condition
To delete a join condition in a table relation follow the below steps.
- Open the
Query Joinerdialog. - Mouse hover on the respective join field, to enable the delete option.

- Click on the above highlighted icon, to remove the join condition.
- Click on the
tickicon to update the join condition and then click on theOkbutton to save the table relation.
A table relation must have atleast one join condition.
Delete a table relation
- Open the
Query Joinerdialog. - Delete a table relation by clicking the close icon placed at right corners in first row of table relation .

- Click on the
Okbutton to save the joiner state.
Create multiple table relation
- Drag and drop minimum three tables into the design area
- Open the
Query Joinerdialog and click on theADDicon to create a new table relation.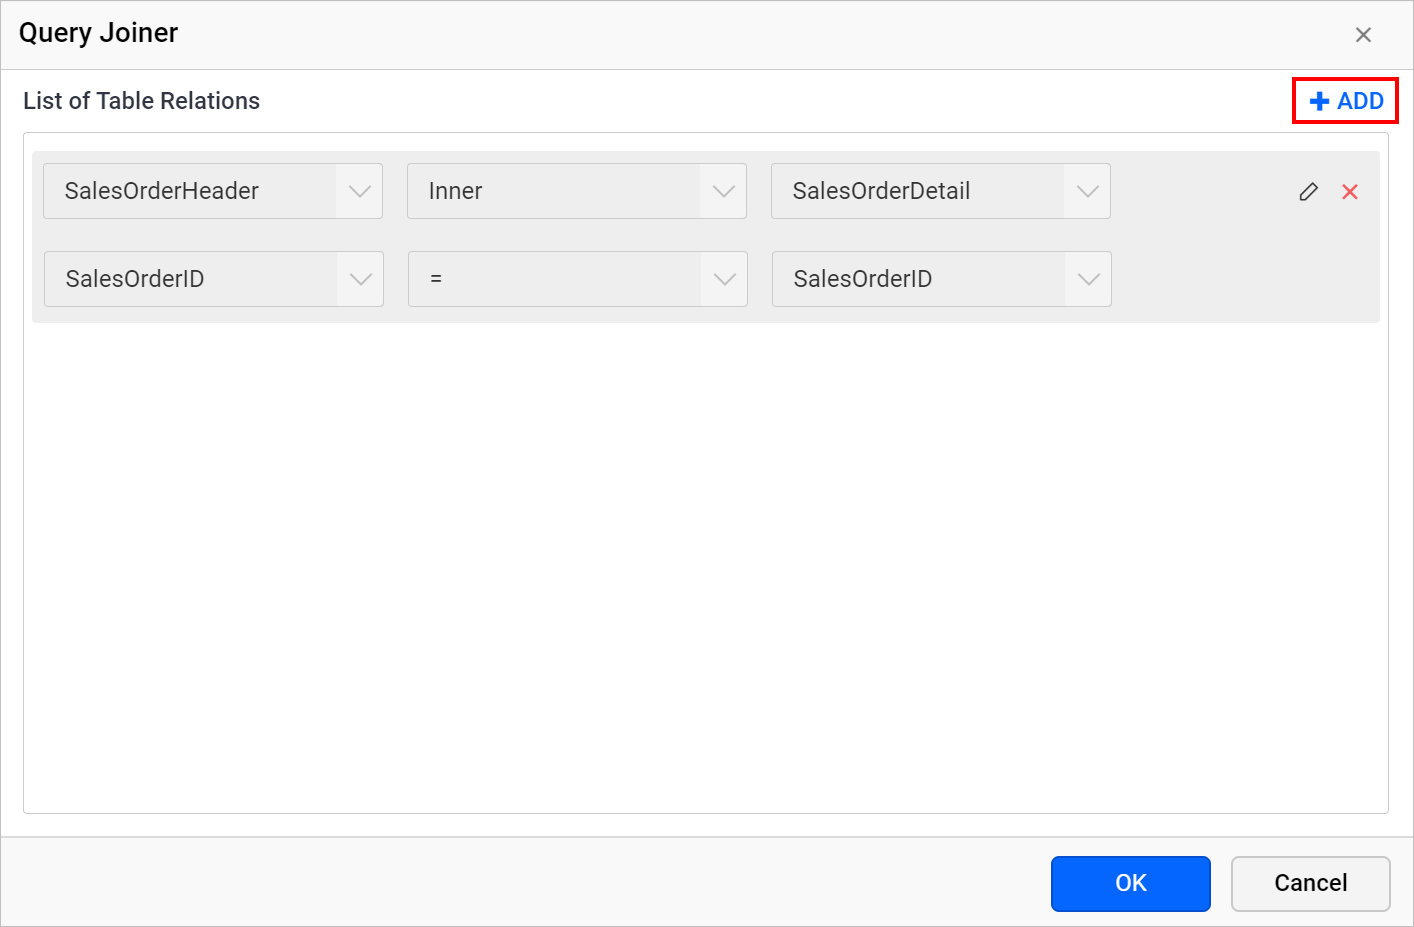
- Choose the new tables and join information in the fields and click on the tick icon.

- Click on the
OKbutton to save the joiner state.